
 Nederlands
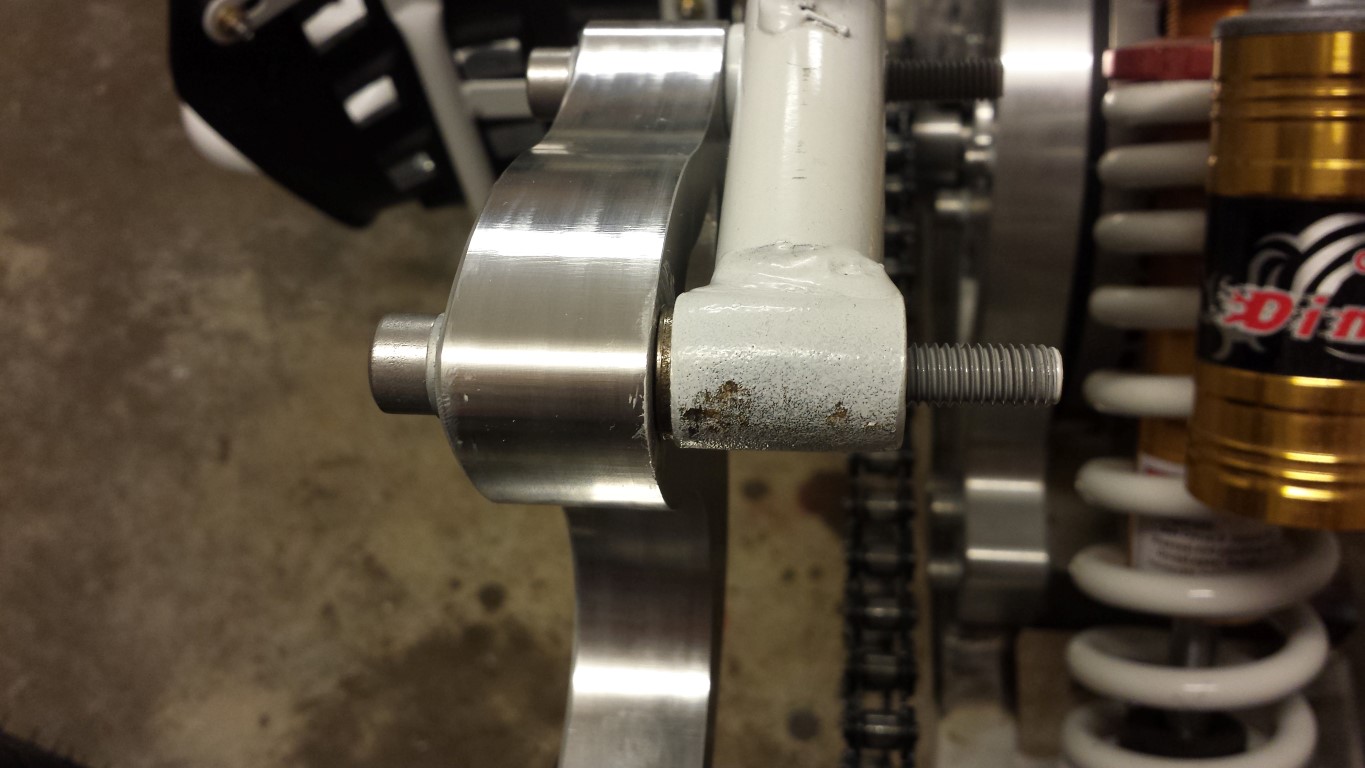
Blog / September 2013
Posted on 14 September 2013 at 12:02 am (CET)
Category: Controller
Posted on 14 September 2013 at 12:02 am (CET)
Category: Controller
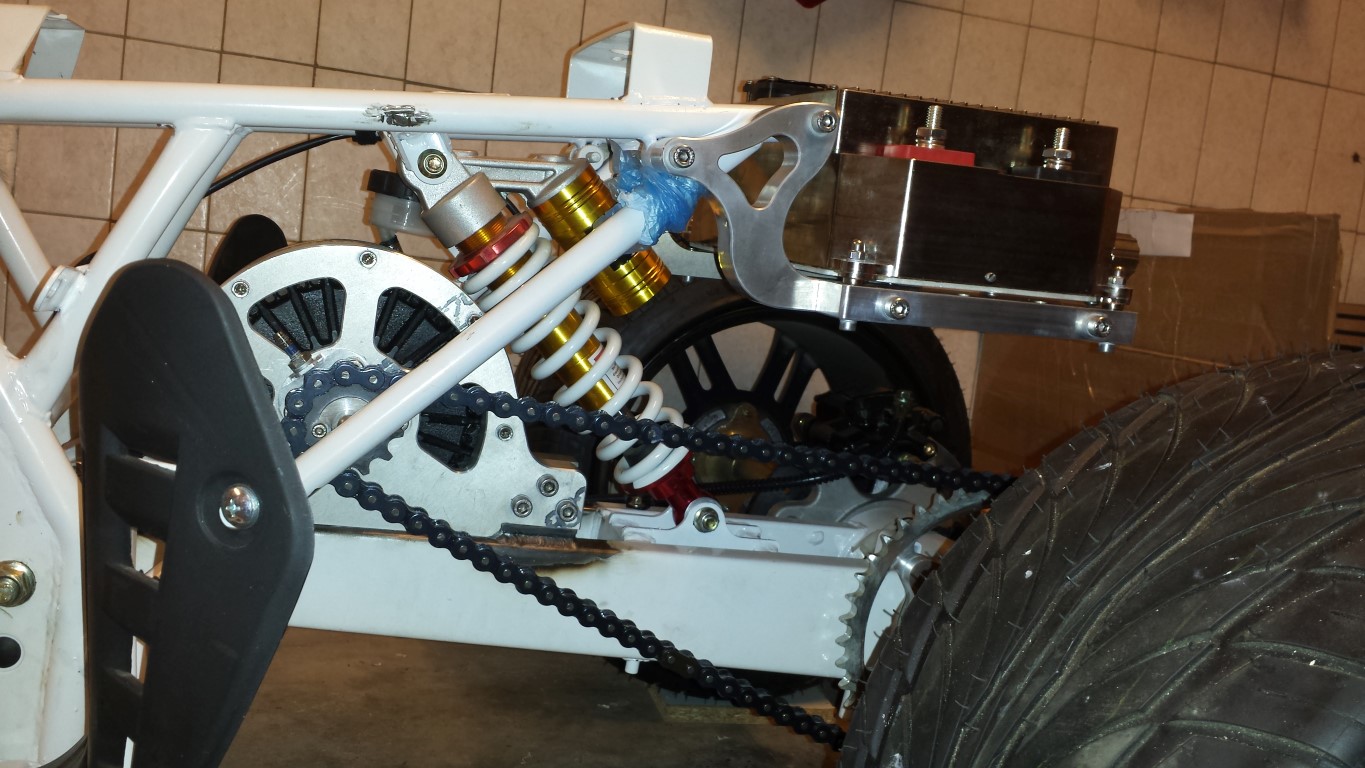
Today I wanted to grind off a bit of those 2 mounting points so the mounts would be sitting straight. But I found out this wasn't possible since those 2 points were already even with the frame. So I found another solution, just adding a ring on the other 2 points and they sit perfectly straight now.
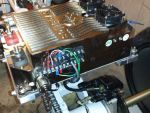
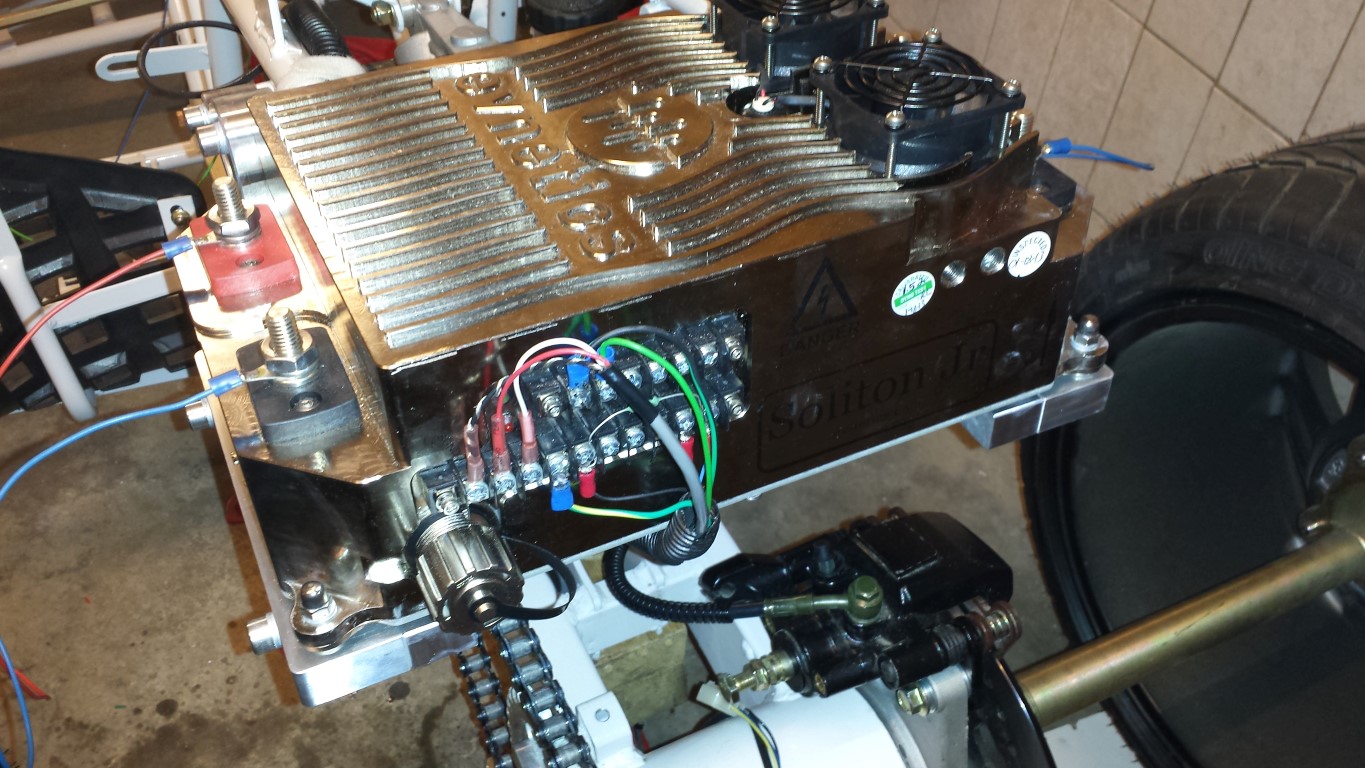
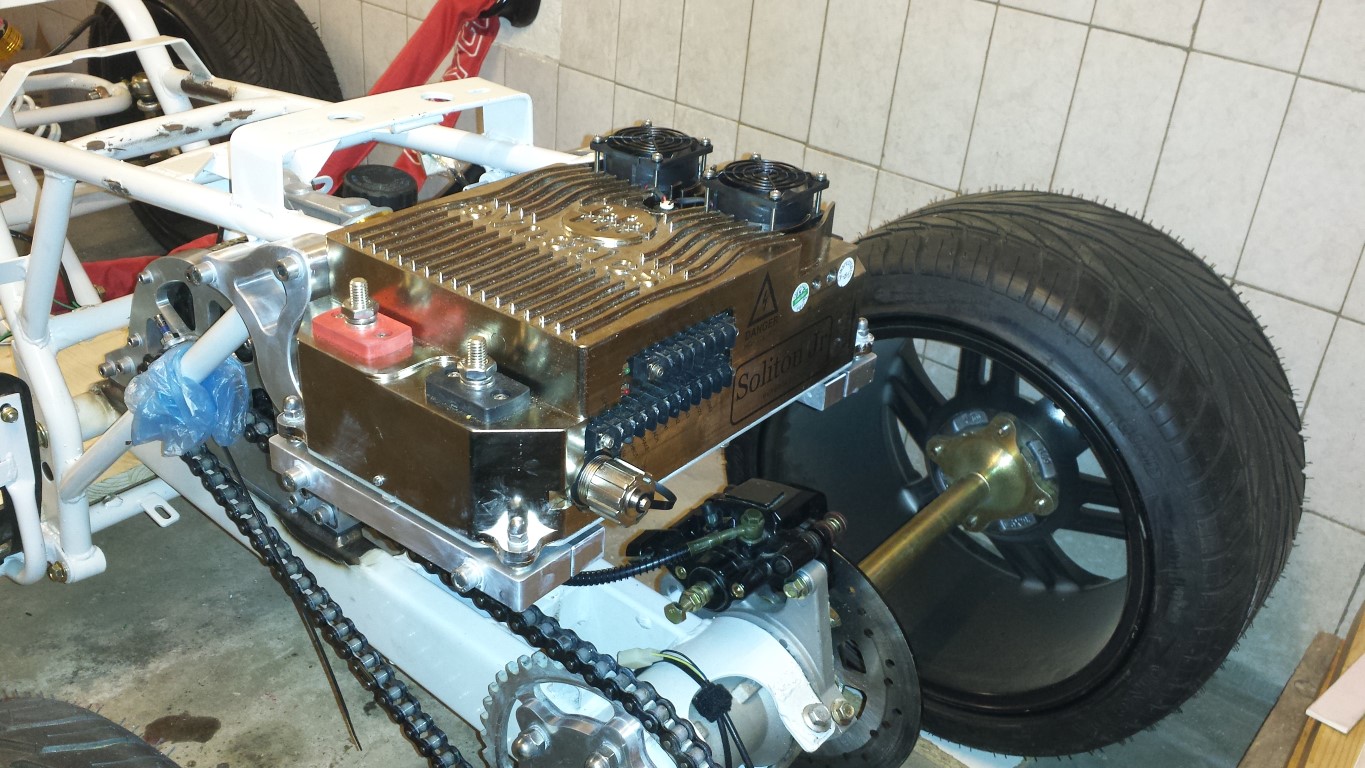
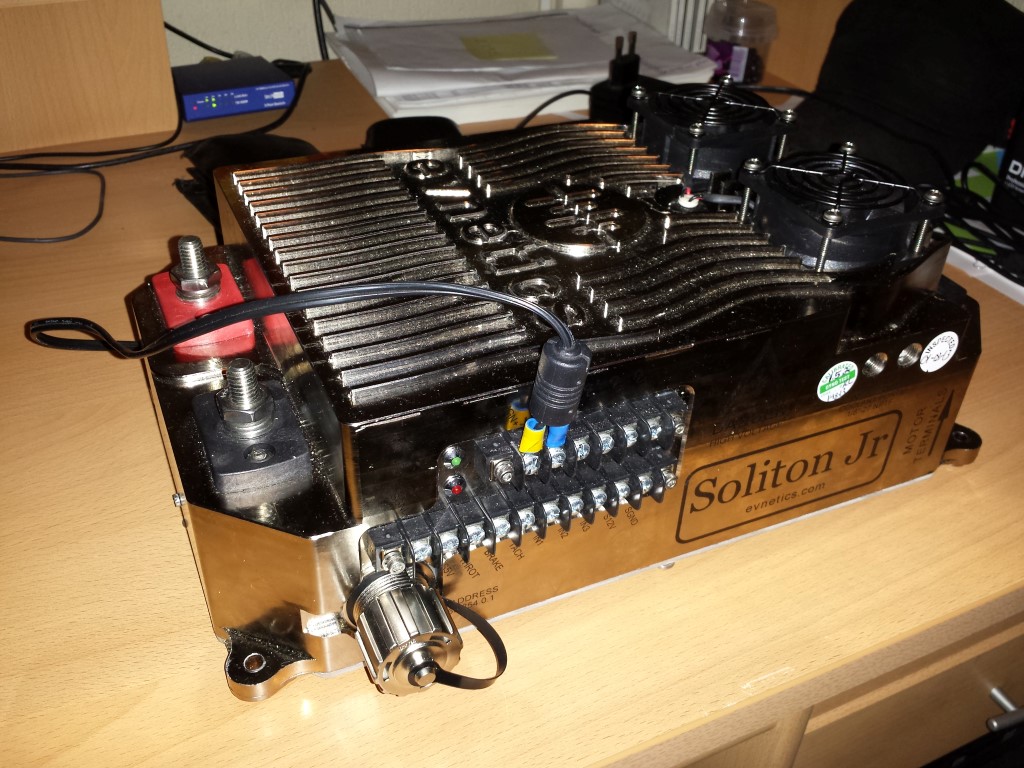
Another picture now everything's really attached. Eventually the aluminium enclosure will be placed around the controller. Can't leave it open like this later on with the lithium batteries, quite deadly if you'd touch the 2 terminals where the cables of the batteries are connected to.
Today I spent most of the time on the wiring to be able to start testing. Cut almost everything out of the old wire harness and tidied it up a bit with a piece of wire loom. Otherwise the wires could cause some problems if they'd hit the chain.
And something else happened today but I'll save that for tomorrow.
Posted on 13 September 2013 at 12:28 am (CET)
Posted on 13 September 2013 at 12:28 am (CET)
Very good news today, the mounts for the controller and a new plate for the RPM sensor are done and also fitted them already. Been working on it for the whole evening. I do have to grind off 2 mounting points on the frame though since the mounts are pointing inward a bit. But it's an easy fix, will do it tomorrow. Couldn't make any noise anymore here so late in the evening.
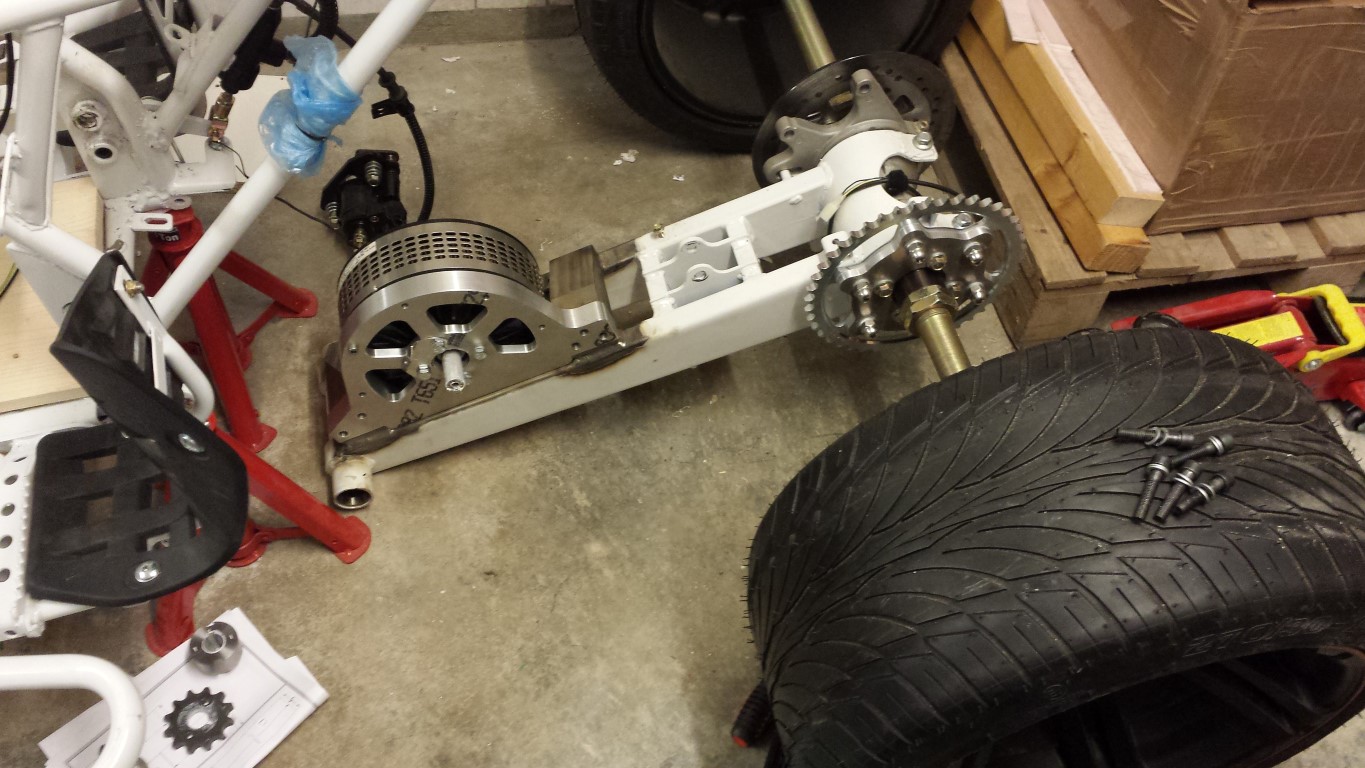
First off I removed the rear swingarm again so I could place all the new stainless steel bolts on the motor mount and to place the new plate for the RPM sensor.
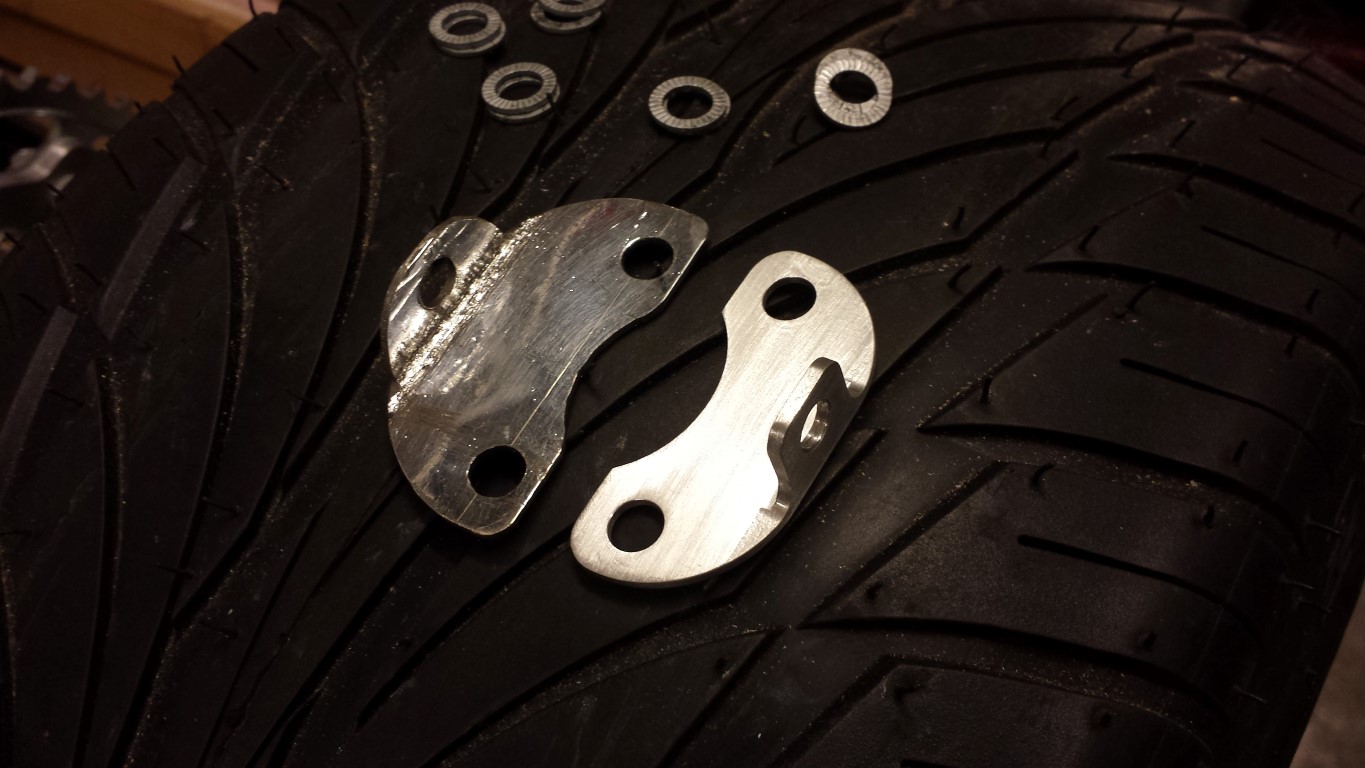
Difference between my own handmade plate and the new plate for the RPM sensor. Makes mine look pretty bad.
Here are all the stainless steel bolts in the motor mount and the plate for the RPM sensor fitted.

The motor back on the rear swing arm, also with the new stainless steel bolts. Looks a lot better than with the black steel bolts which were already rusting.
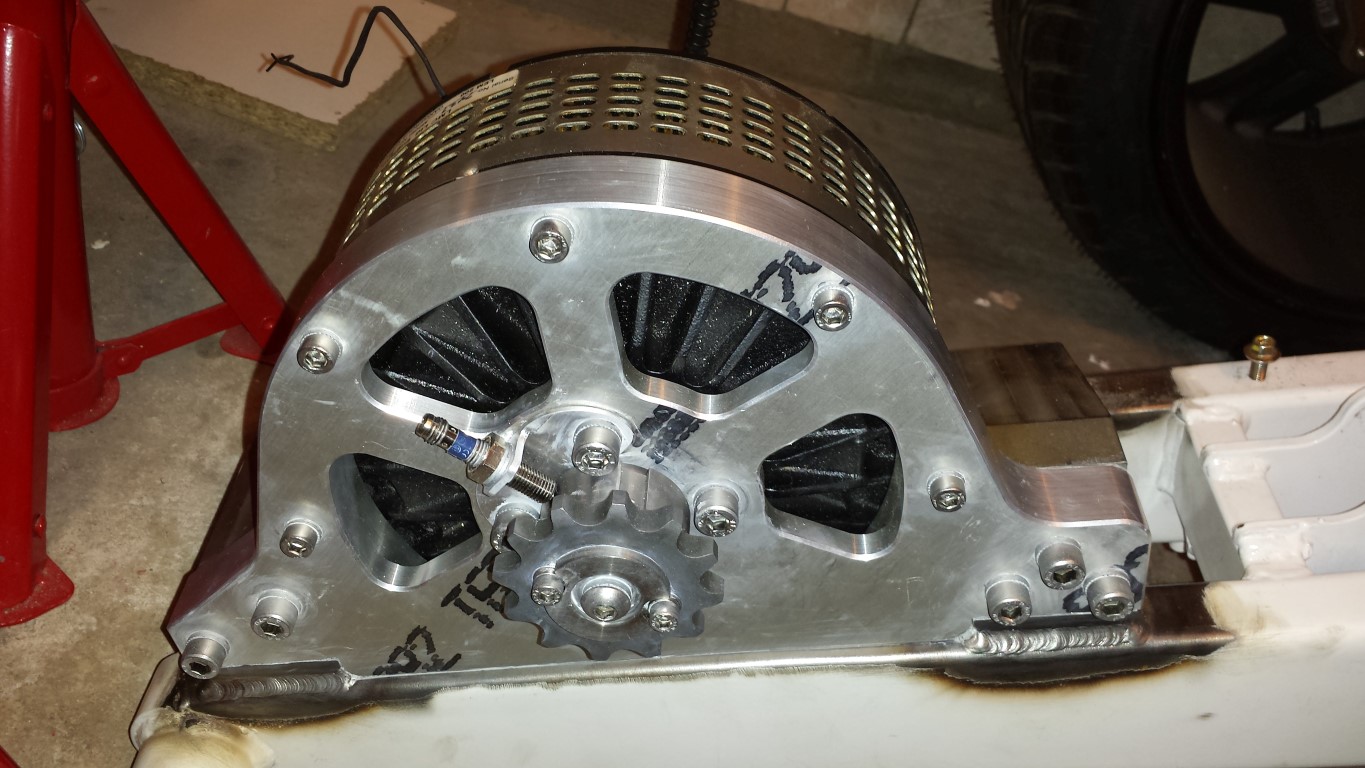
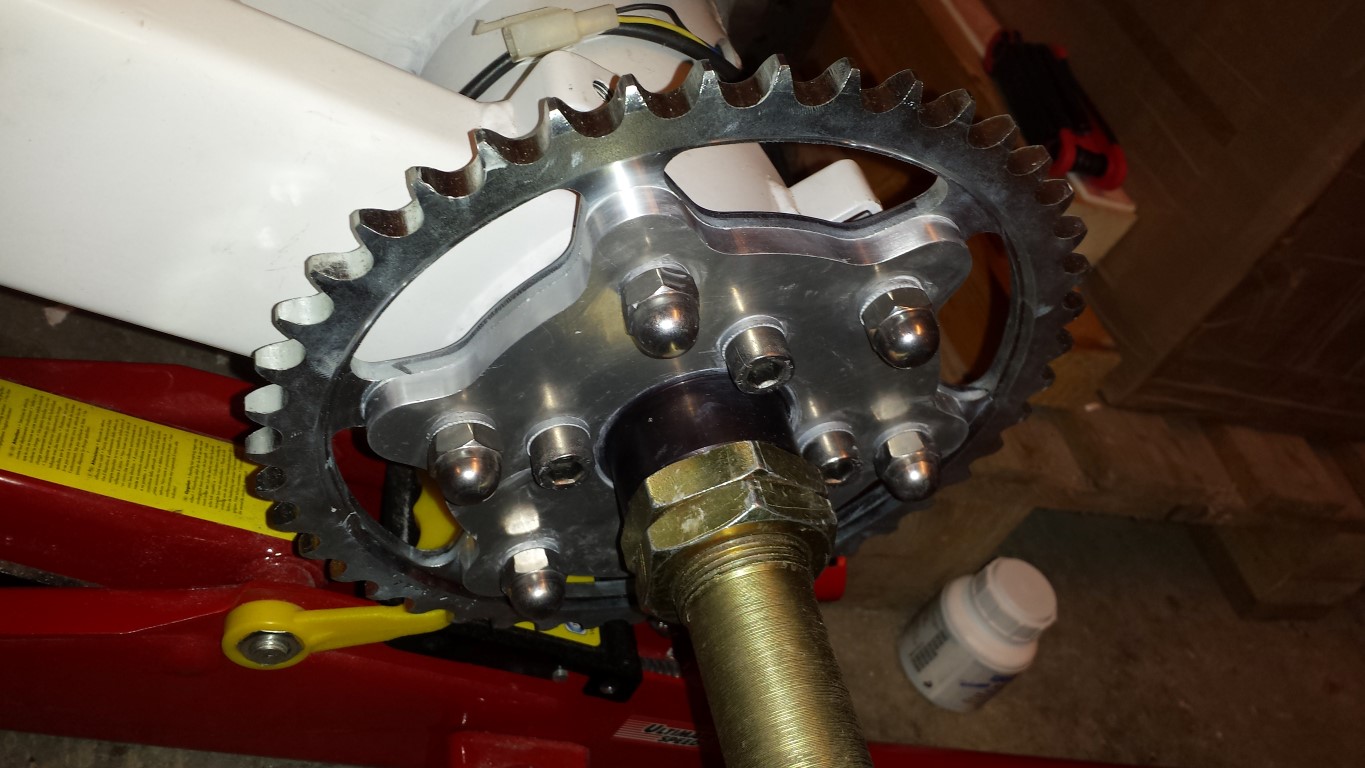
The inside bolts on the adaptor for the rear sprocket are also stainless steel now. Needed fine metric for this. I think there's a lot of tension on these bolts now though, don't know if this will cause any problems. Apparently they're just a tiny bit thicker than the original bolts or something. Really needed a lot of force to fasten them. Also added the last 2 cap nuts.
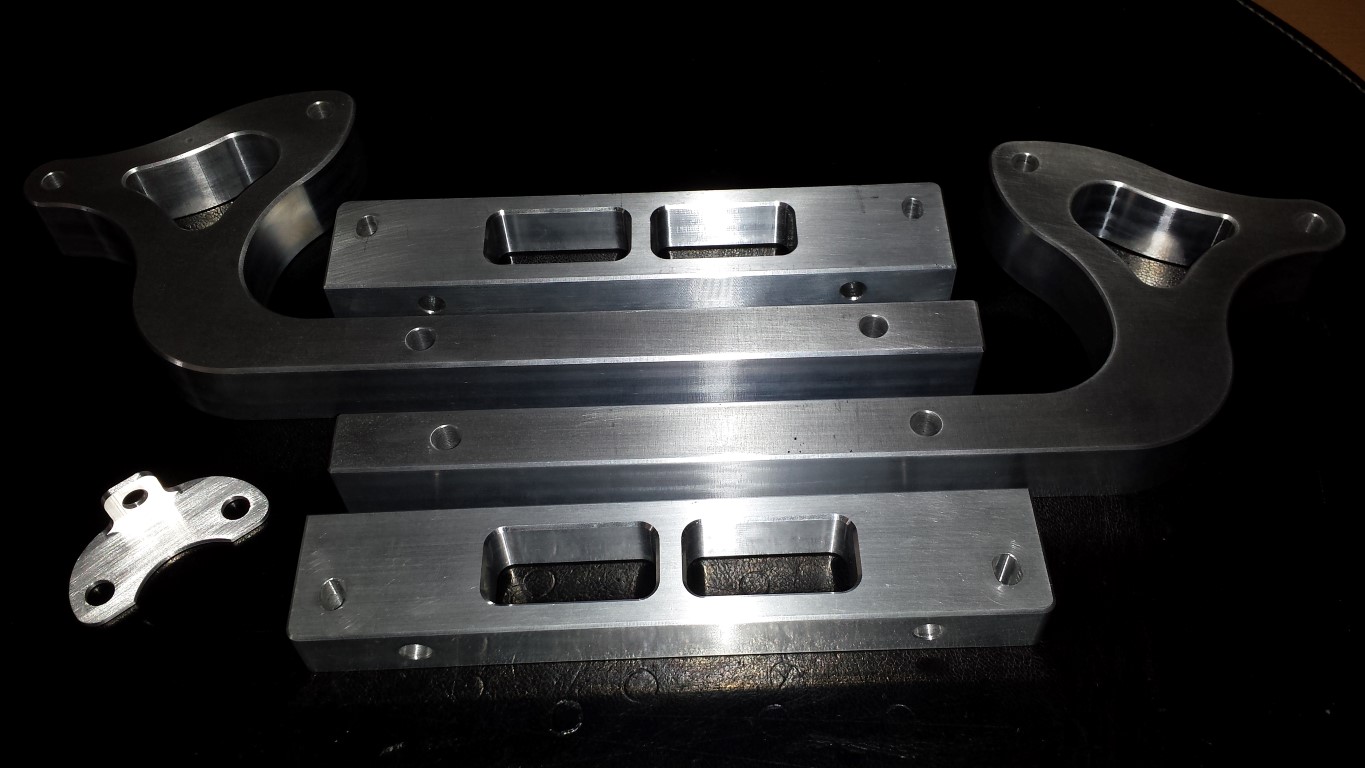
And now the mounts for the controller. I'll really keep saying this, great company who made this (Geraets Metaalbewerking). It really turned out very nicely. A lot better looking than the mounts I originally wanted. And it's definately strong enough, I think it can take at least 10x the weight of the controller.
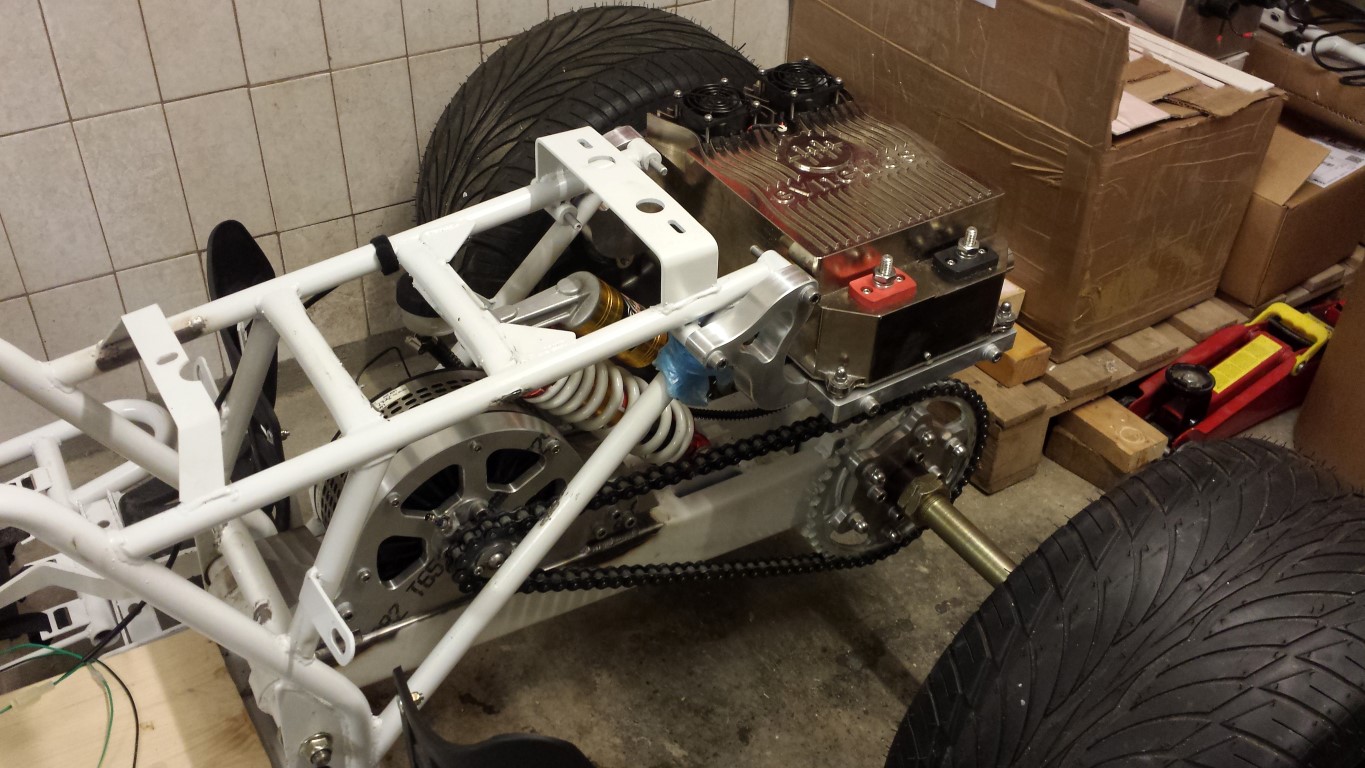
Here you can see it fitted on the quad bike with the controller already on it.
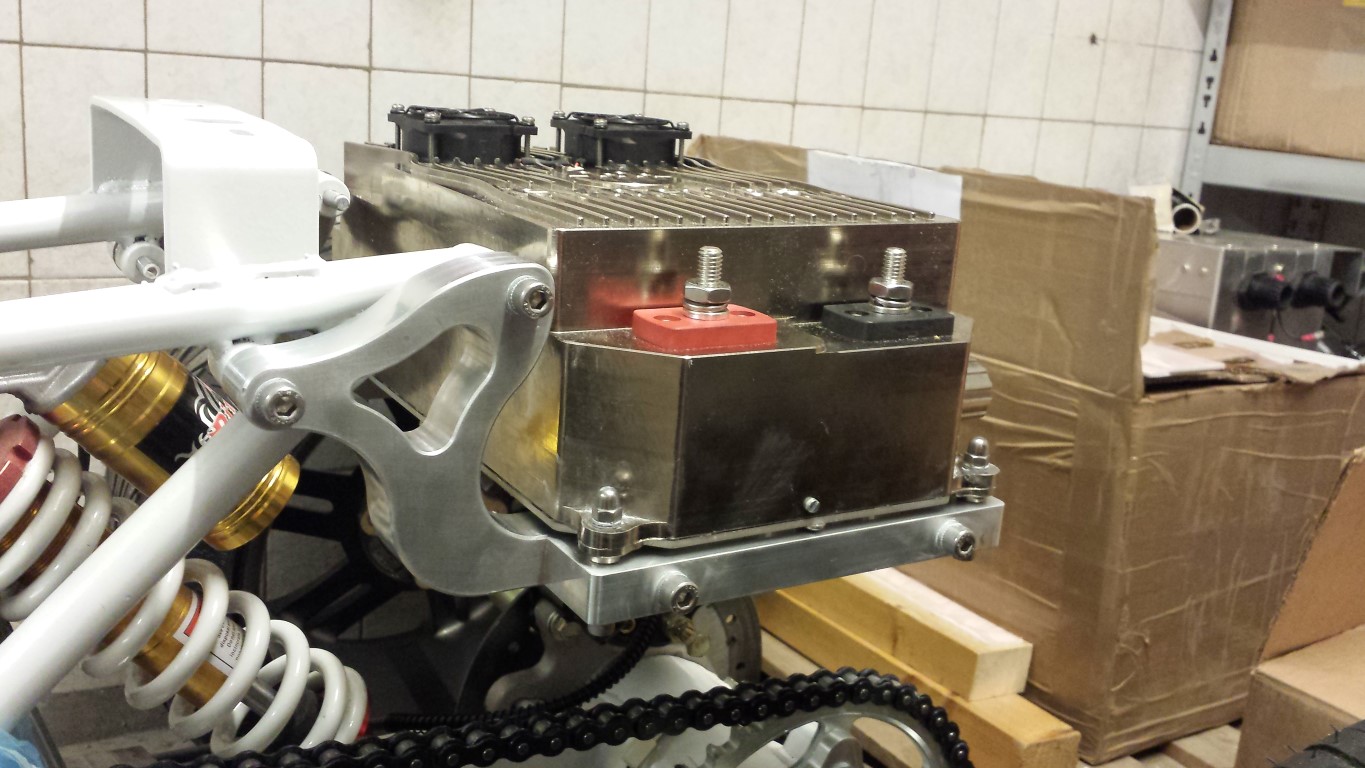
But it's all still loose, I first have to grind off a bit of the 2 front mounting points so the mounts will be sitting straight. Otherwise there will be too much tension on the mounts or the frame if I were to attach it like this. But it'll all be good, another day tomorrow. Here you can see that they're not sitting straight right now.
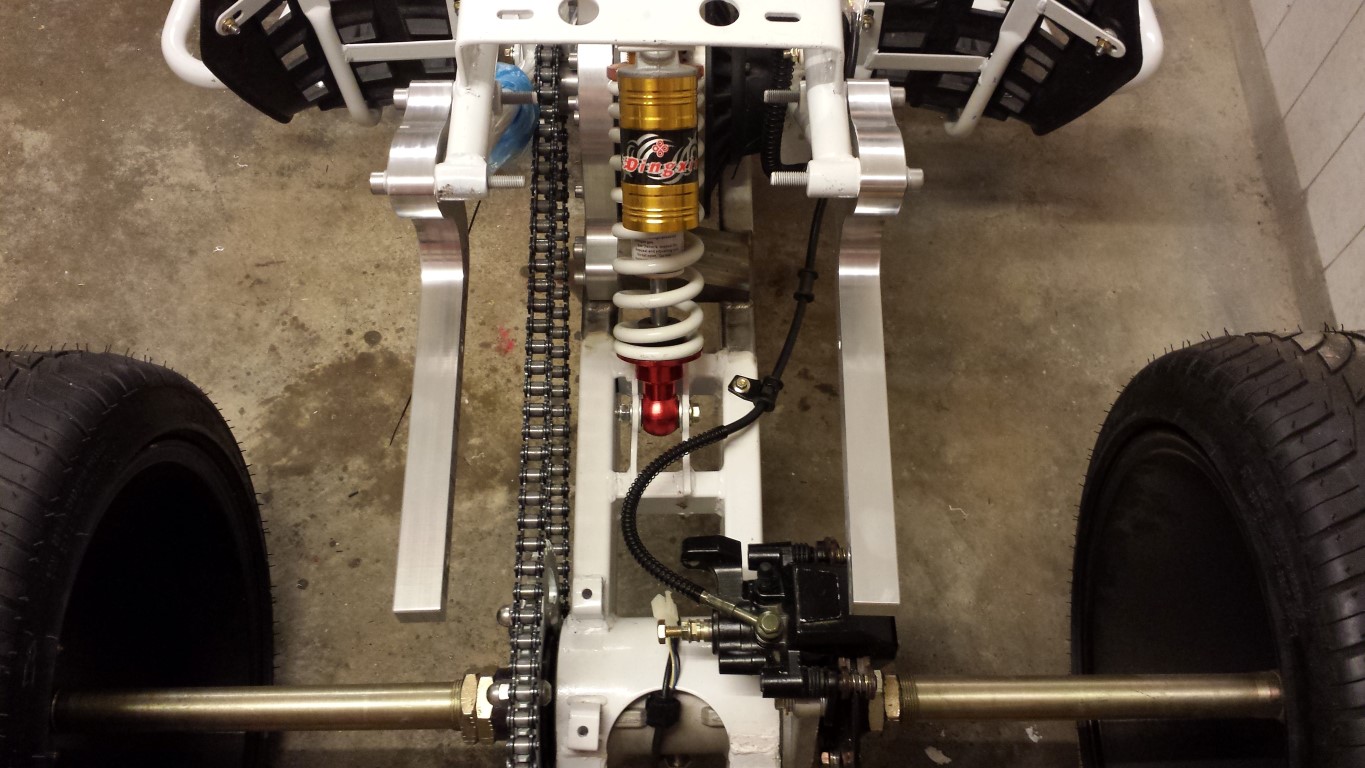
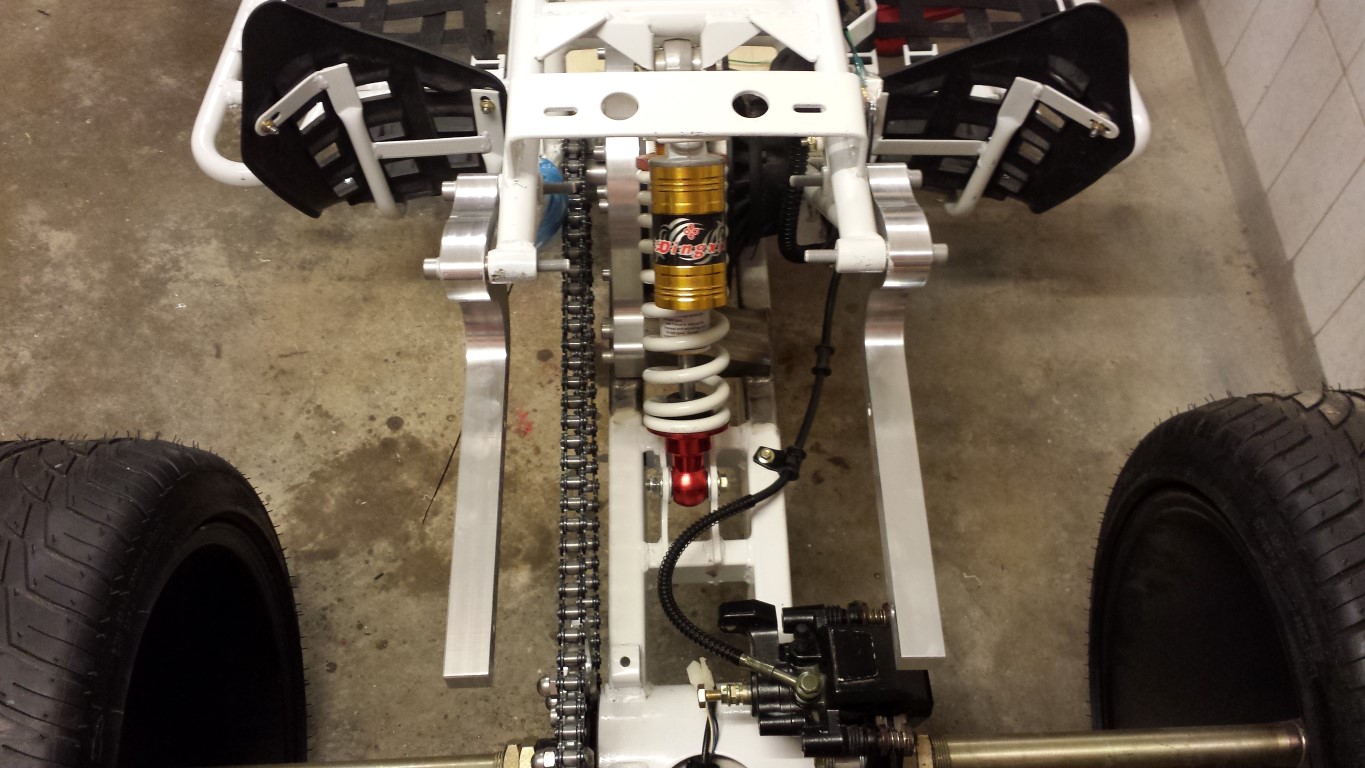
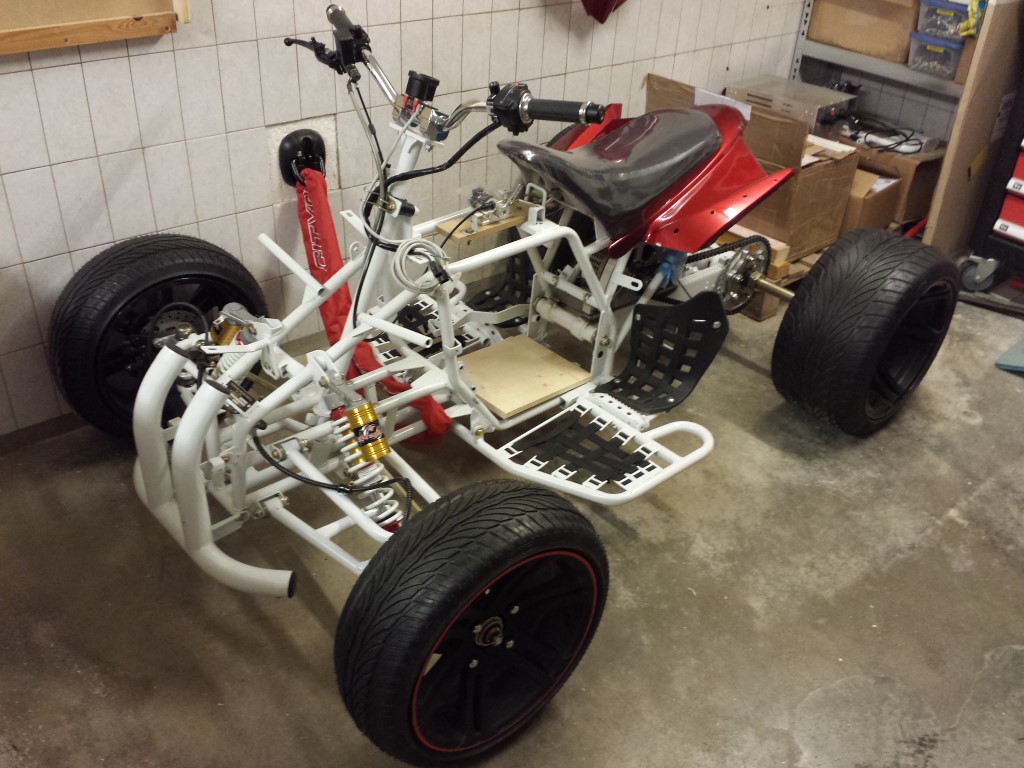
Here's the whole picture again. Rear end of the quad bike is pretty full now.
I also lubed the chain. And the rear swingarm's bearings didn't have much grease on them so I greased them some more. There's still something squeeking near the rear axle though when I turn the wheels, I think the bearings. But I'll be replacing them by SKF bearings anyway so I'll just leave it like this for now.
This weekend I'll definately have my first testride.
Posted on 11 September 2013 at 10:33 pm (CET)
Today I also fitted the nerfbar and hielguards. Even though it won't be going fast, I think it's a bit safer than just having the foot pegs. Also fitted the saddle. Just had to place the rear fender as well otherwise the saddle would bend too much. Don't know how strong it is. Also screwed a wooden board on the frame for the batteries to sit on, just don't think I can fit 2 car battery's on there. But I'll see when it's ready. Also tightened the wheel nuts, almost forgot they were still pretty loose.
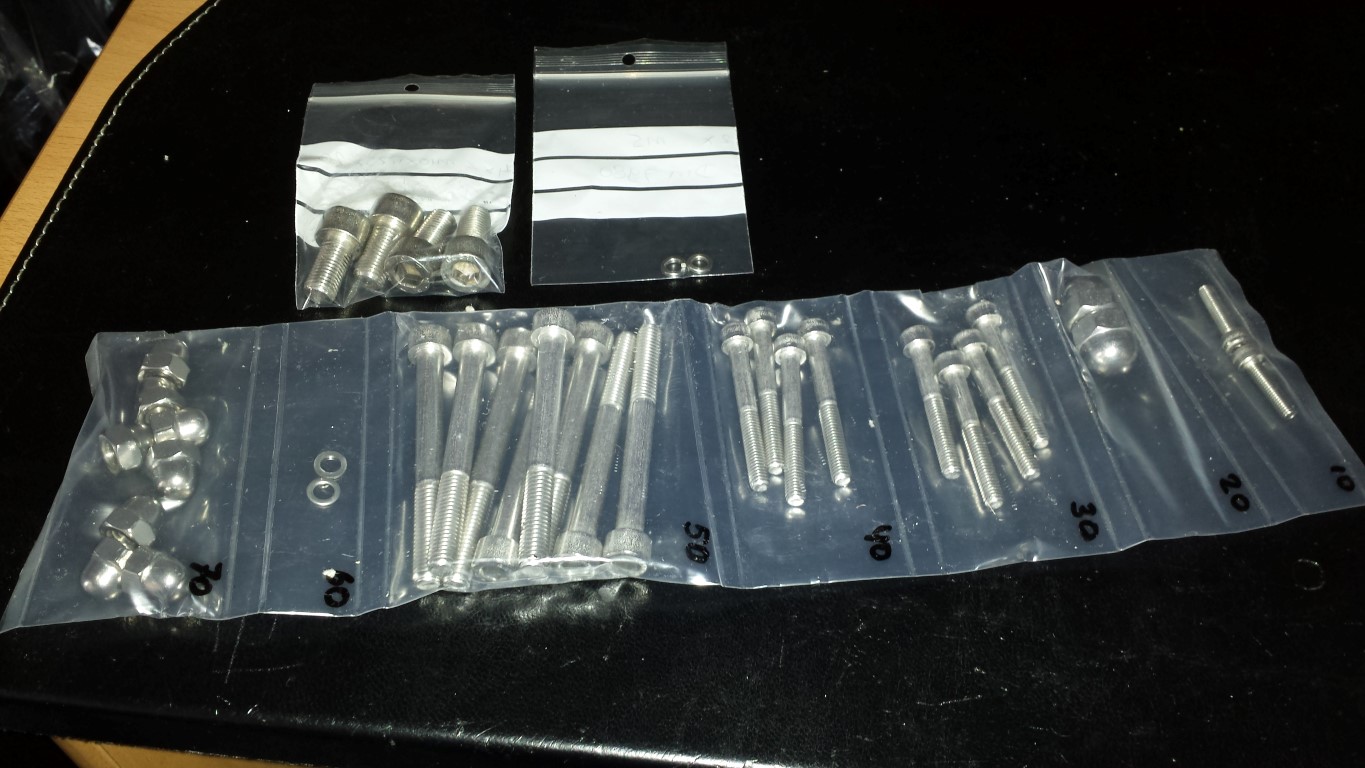
And I received some more stainless steel bolts, nuts and rings. Now I just still need the controller mounts.

Posted on 8 September 2013 at 11:03 pm (CET)
Category: General
Today I continued preparing the quad bike for the testride. Temporarily fitted the display so I could at least see the voltage, current etc. while testing.
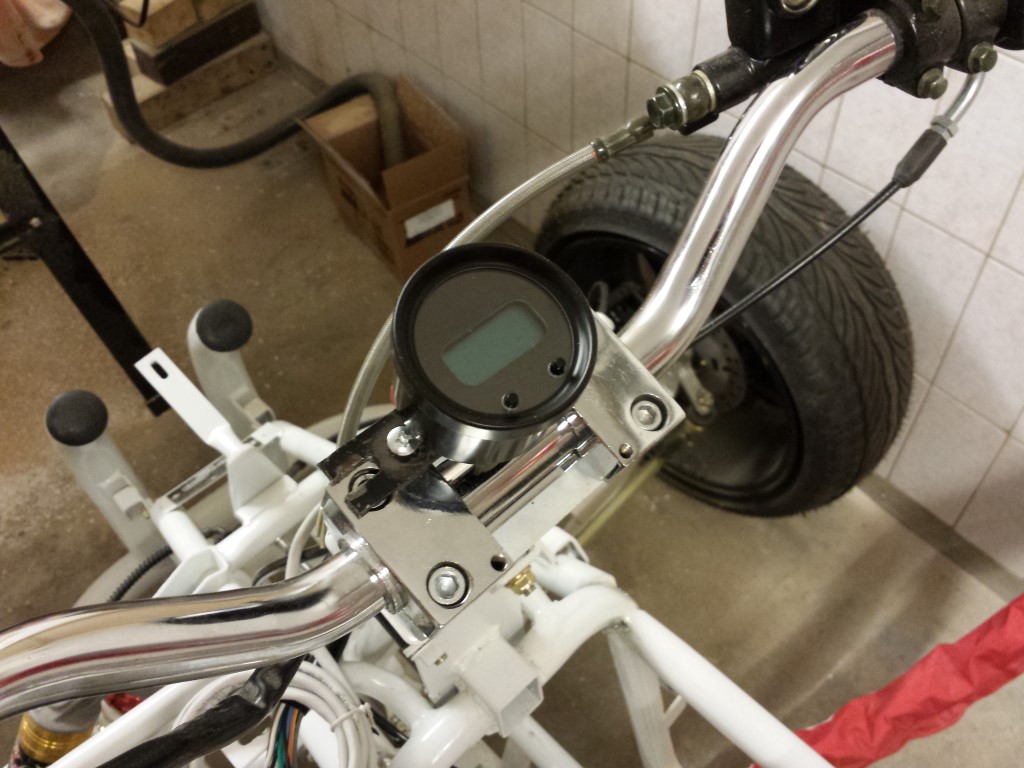
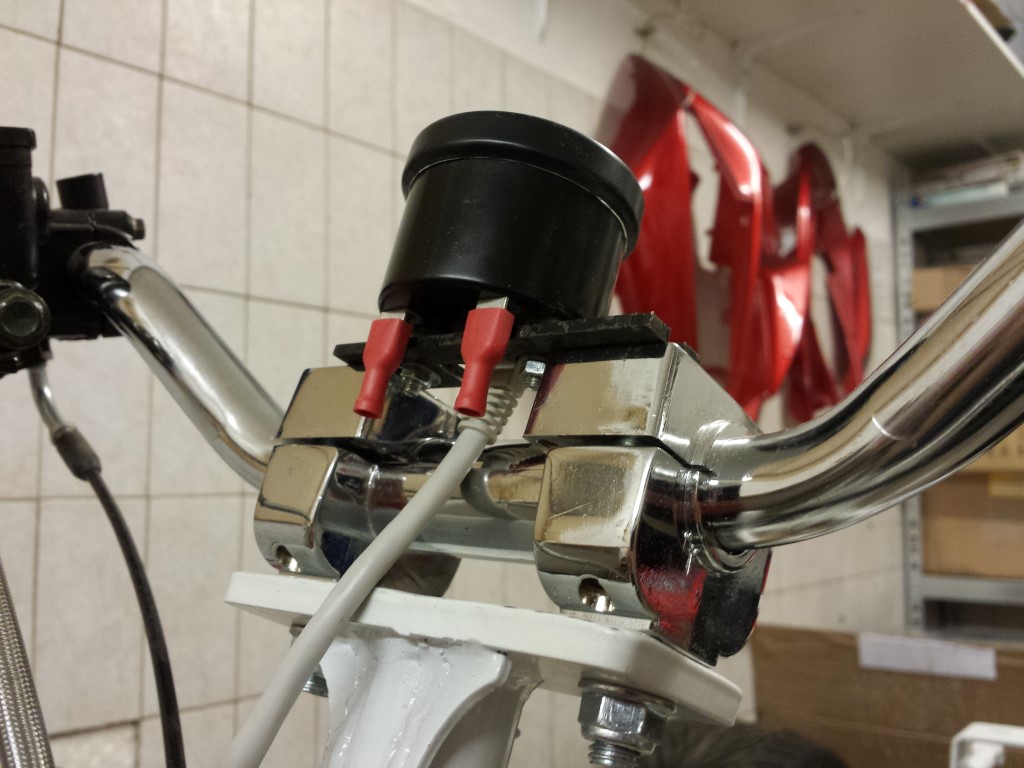
Works pretty straightforward, just plug in the UTP cable and you're done. There will still be a sensorplate somewhere on a cable of the batteries though.
Also adjusted camber and toe. At least by sight, when it's ready to go on the roads I'll really adjust it by measuring. For just testing on low speed it really doesn't matter, I just didn't like how it looked originally (positive camber and toe out). Would they actually drive the quad bikes like that in China?
Posted on 7 September 2013 at 12:30 am (CET)
Made some progress again.
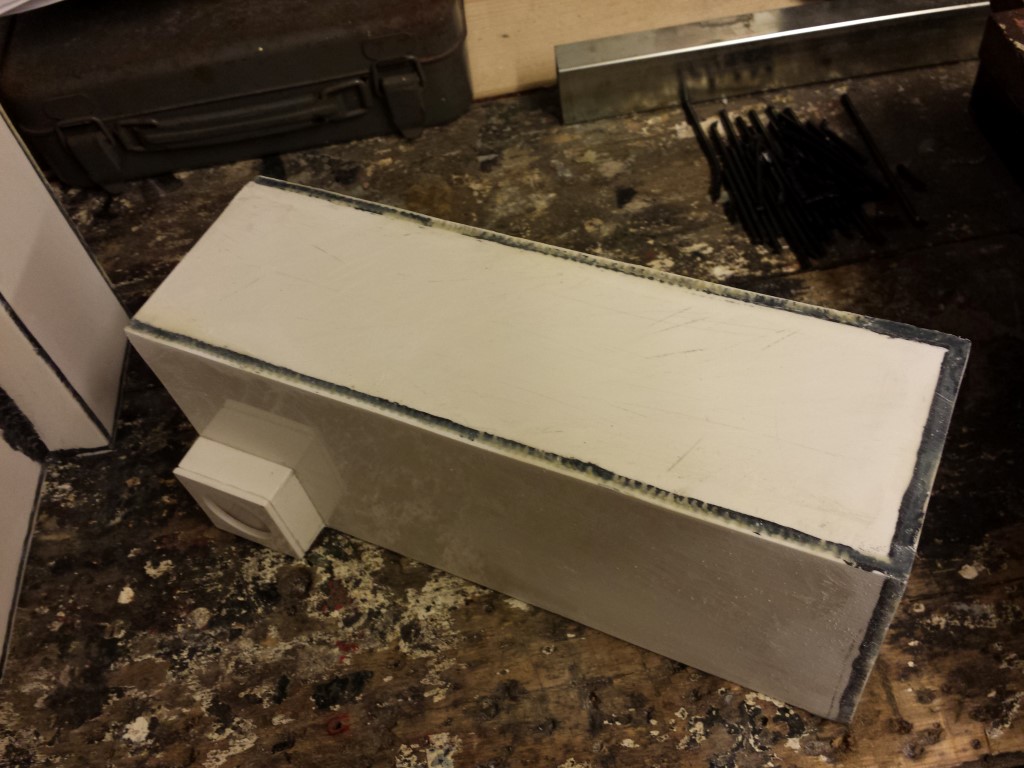
These past few days I've been busy with epoxy glue on the battery boxes. Works pretty well, is very strong and fills reasonably good. Just not everywhere since the grooves are rather deep in some places. But might be able to just use filler for that before it gets sprayed. In any case it's sturdy enough now.
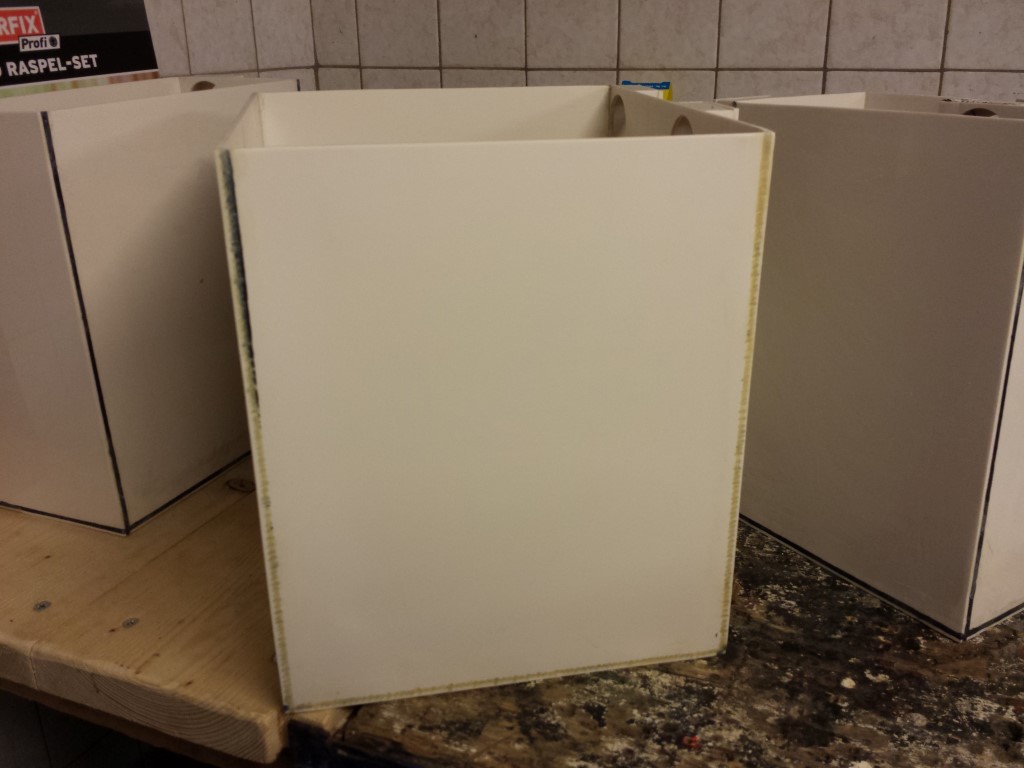
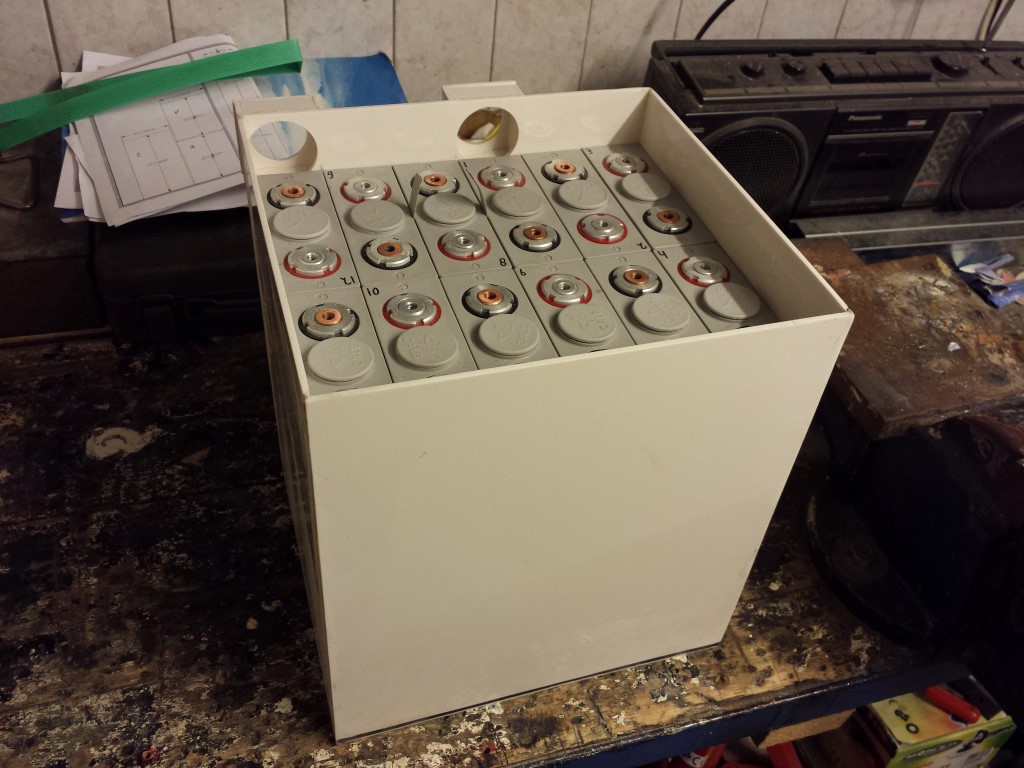
Today I tried fitting the batteries in all the battery boxes again. I got some green plastic straps from someone of the China Quad forum during a club meeting but unfortunately these were just a bit too thick (0,9 mm). But coincidentally I received a package today with some smaller gray plastic straps around them (0,65 mm). It were 2 straps with just the right length to make 4 pieces out of them.

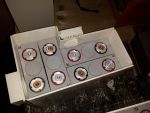
In the biggest and smallest battery box they fit perfectly without having to modify anything. In the bigger one which has 6 batteries I had to file the top of one of the batteries a bit. The plastic enclosure is thick enough anyway and the top part kind of sticks out a bit on them all. Ofcourse I first put some tape on the terminals. Accidentally causing a short circuit with the file doesn't seem fun to me. But it worked, the strap fits in this battery box as well now, can still get the battery out with a little force.
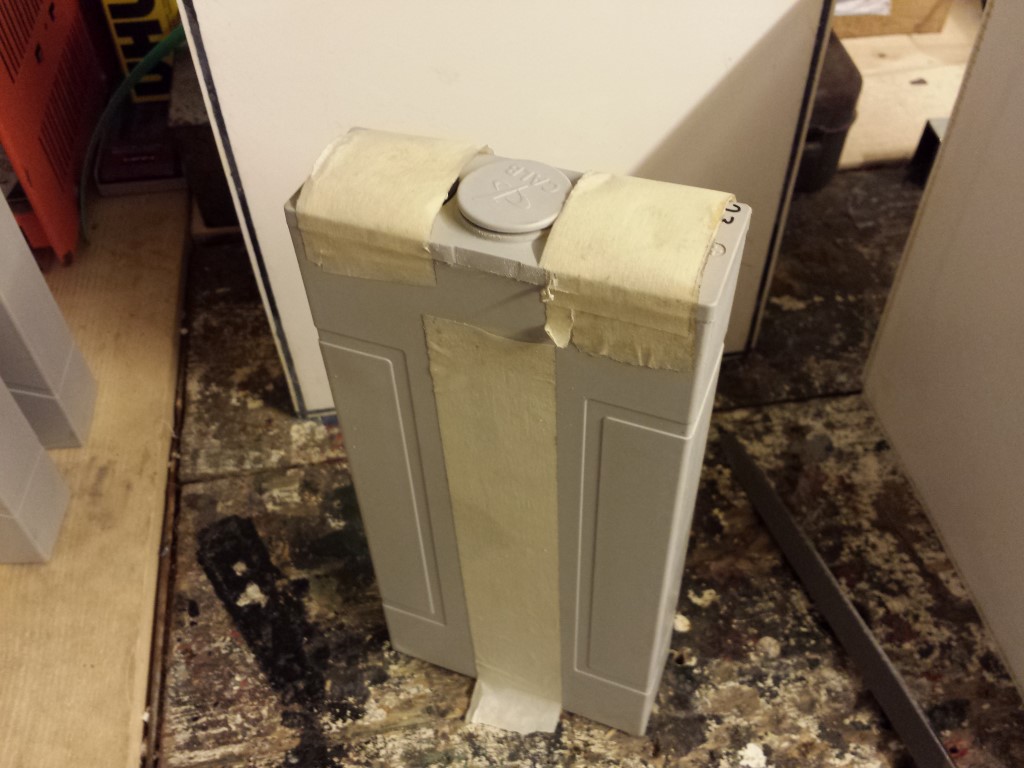
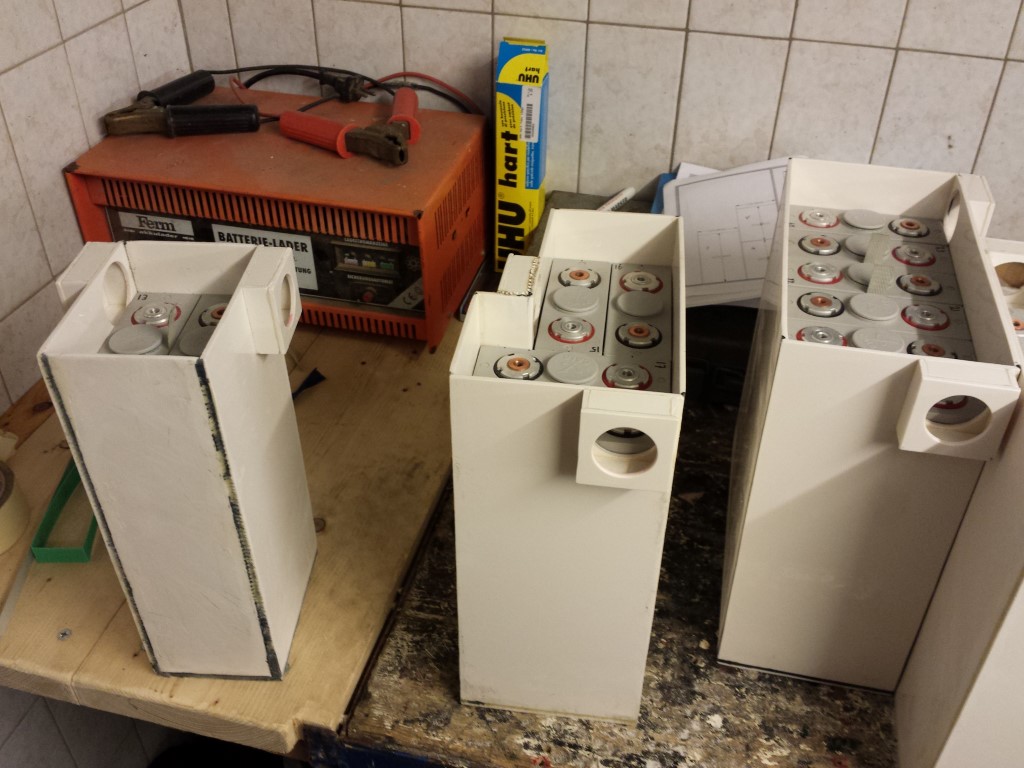
But then the battery box with the corner in it. Been messing around with this box since the beginning and ofcourse it gave me some more problems now. Without a strap the batteries barely fit. There just wasn't enough space for a strap so I also filed the top of the batteries quite a bit. But unfortunately the problem isn't at the top but at the bottom of the battery box. There's just no space left there at all for a strap and I can't file the bottom of the batteries. So I have no idea what to do with this. For now I just left them in without a strap. Can still get them out by placing the battery box upside down but ofcourse this won't work once it's fitted onto the quad bike. I will try and find a solution for this later.

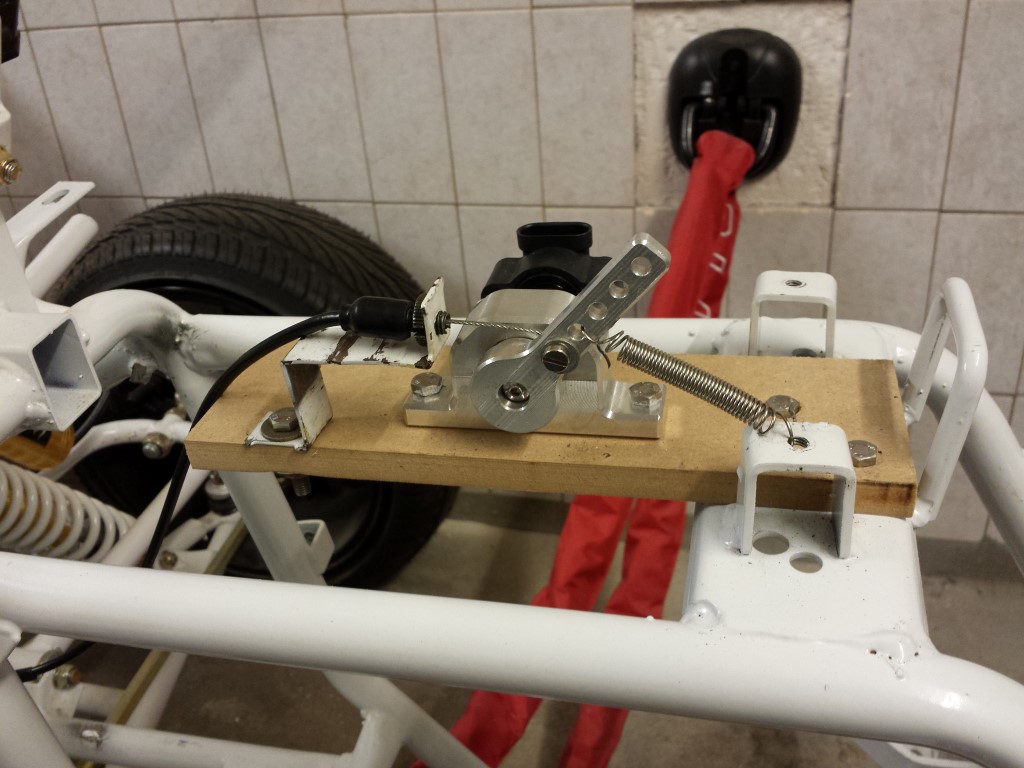
For the rest I also temporarily fitted the hall sensor and placed the throttle cable on it. This is only for the testride which will be soon, eventually I'll make something different for this and also in an enclosure so there can't get any dirt or water in there.
Now I just need to wait for the controller mounts, if all goes well they should be done wednesday and then I can finally attach the controller to the frame.
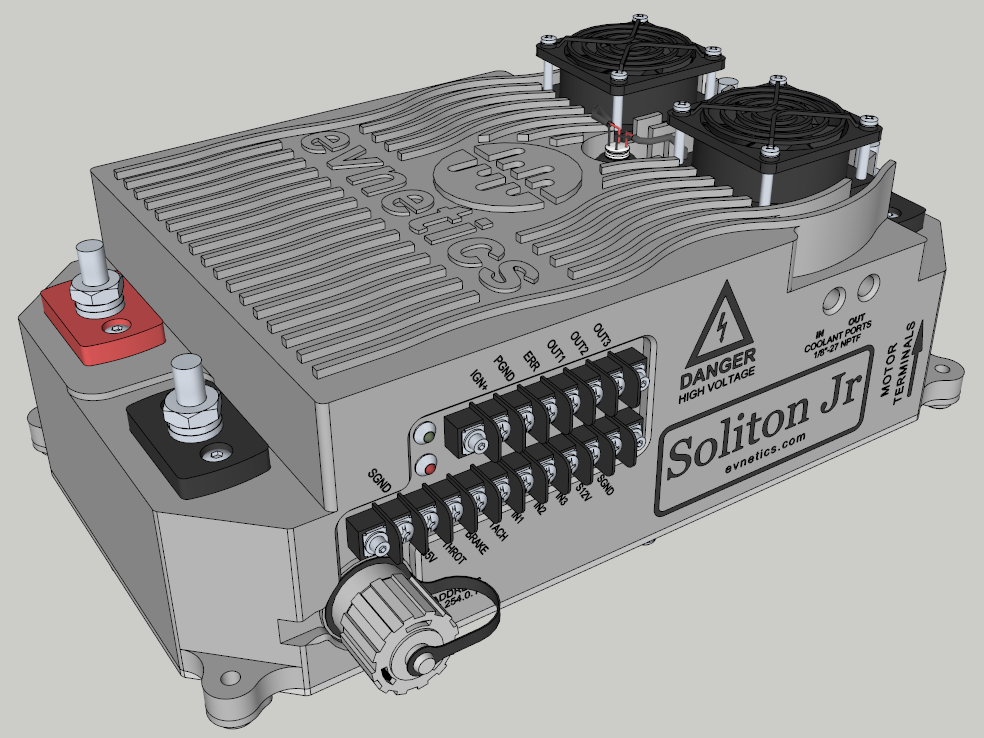
Was a bit bored meanwhile so I tried to replicate the controller in SketchUp. Think it turned out pretty good. I just can't get it to shine so it's very gray now.
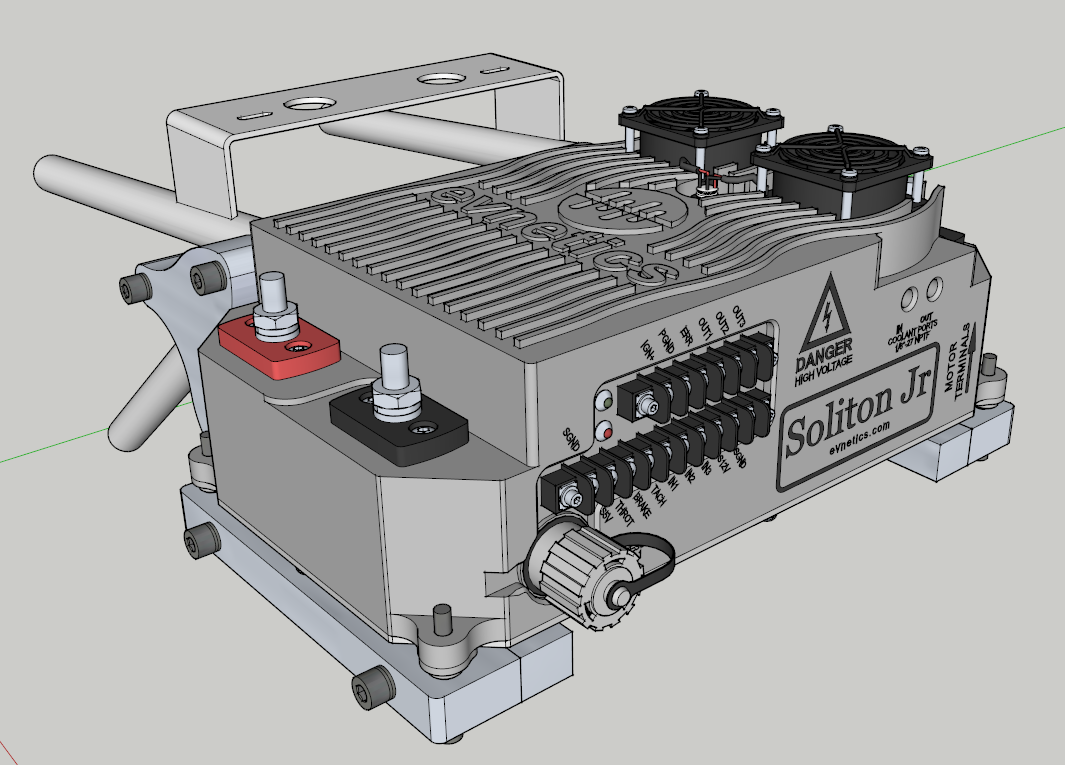
And here on the mounts. Hopefully it actually fits this well.
That was it for today.