Nederlands
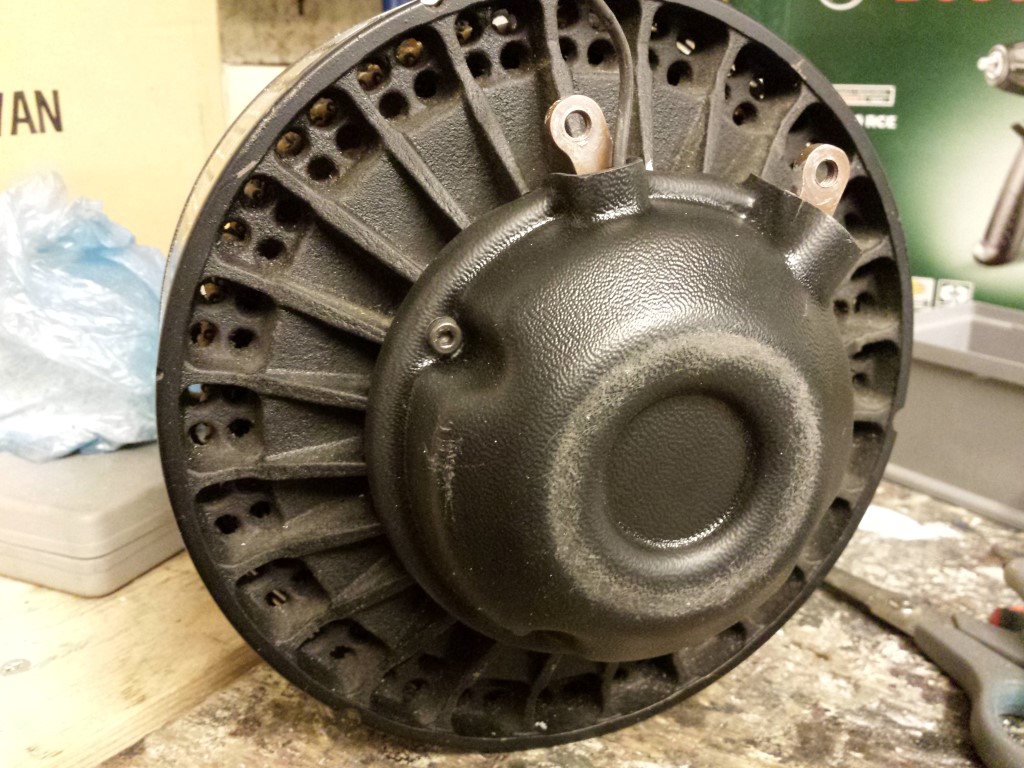
Blog / Electric motor
Posted on 26 August 2014 at 12:05 am (CET)
Category: Electric motor
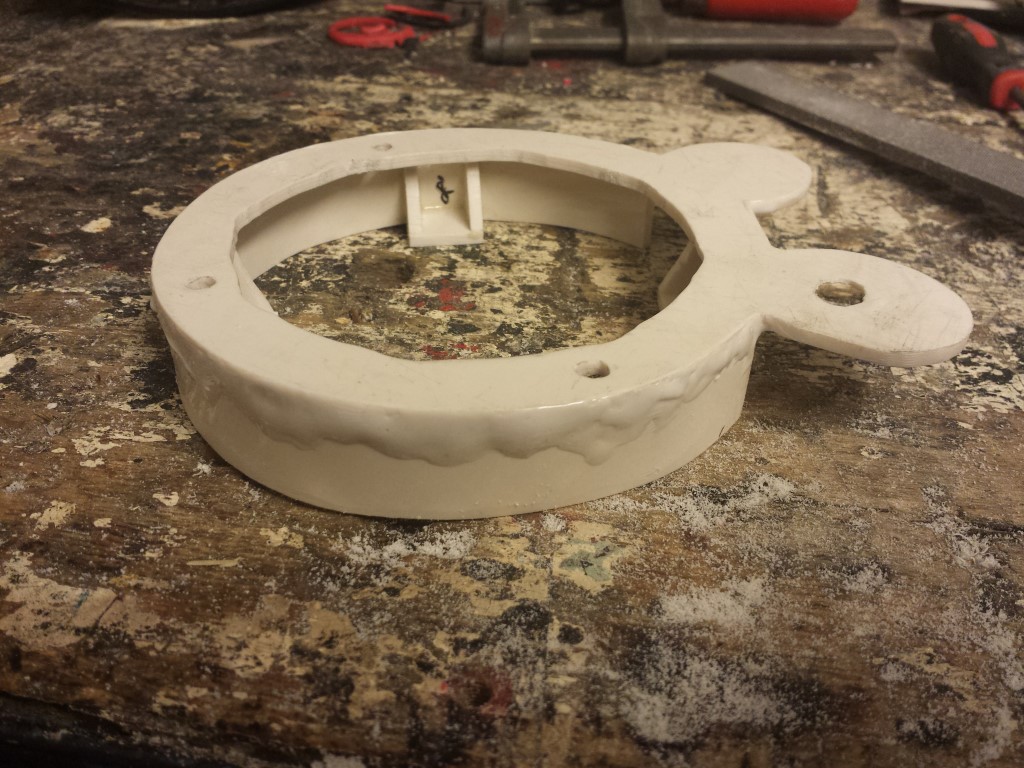
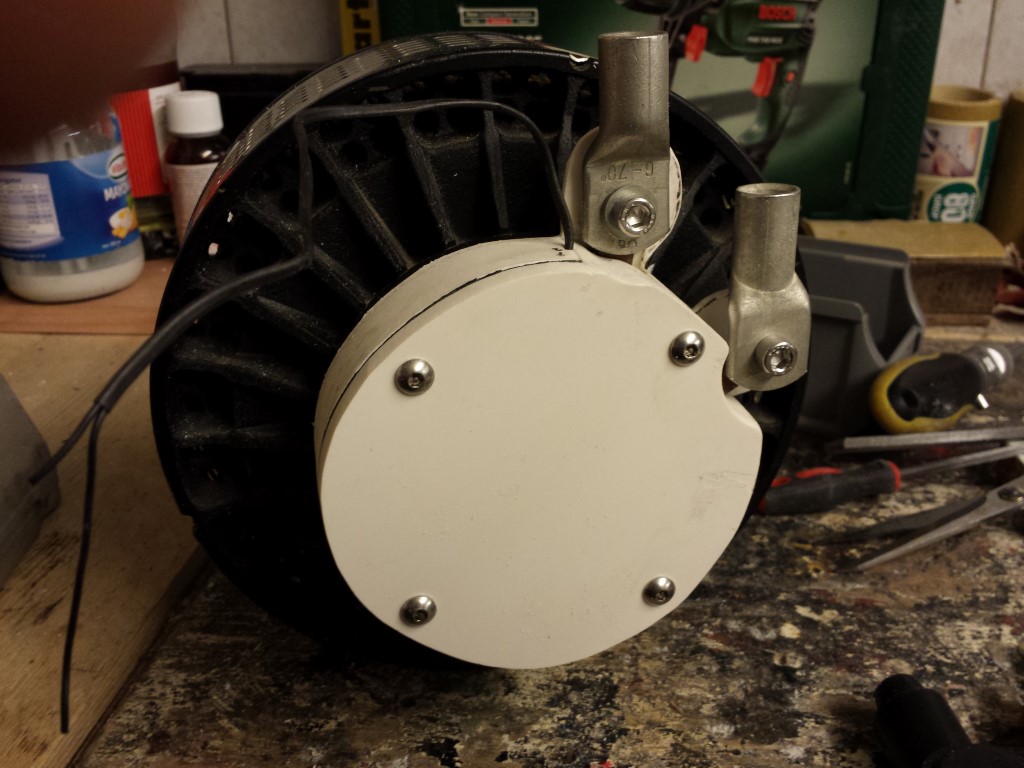
Past few days I've mostly been busy making a new protective cover for the motor. The original one which was on it I can't use since the cable shoes won't fit in there and it's definately also not safe to touch which isn't so good for the safety inspection of the RDW. This is the original one.
While making this protective cover I also wanted to try something new again since the epoxy I still had left had already become hard. I got a bottle of acetone en put this together with some pieces of plastic in a jar. Waited a day and then I had liquid plastic. All connections of the different pieces of plastic I just melted together with a soldering gun and filled up all openings with this liquid plastic. While it did need a bit longer to harden than glue or epoxy it has definately become very strong. And it also looks very nice after filing and sanding. I also used this to fill up some small gaps on the battery boxes.
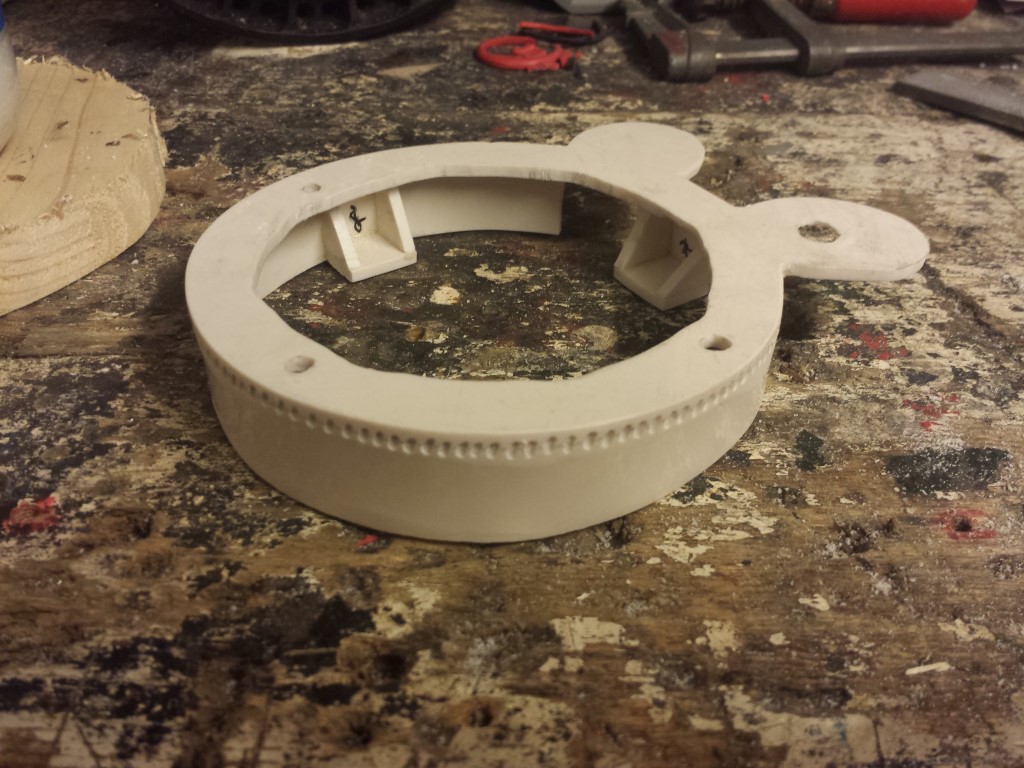
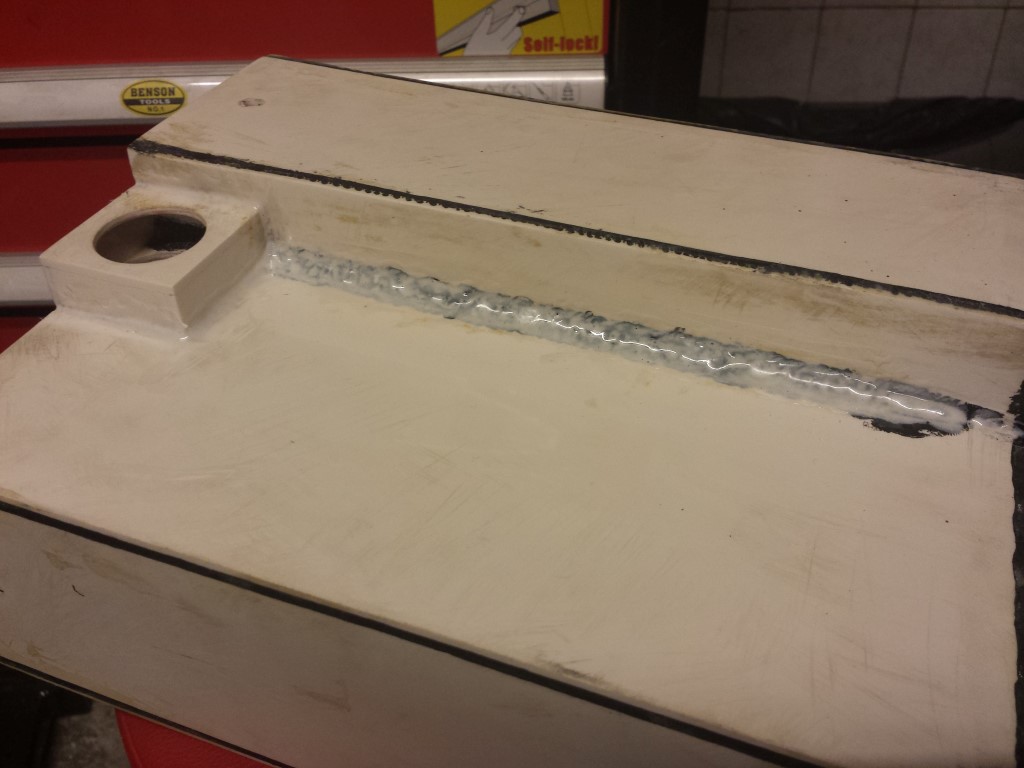
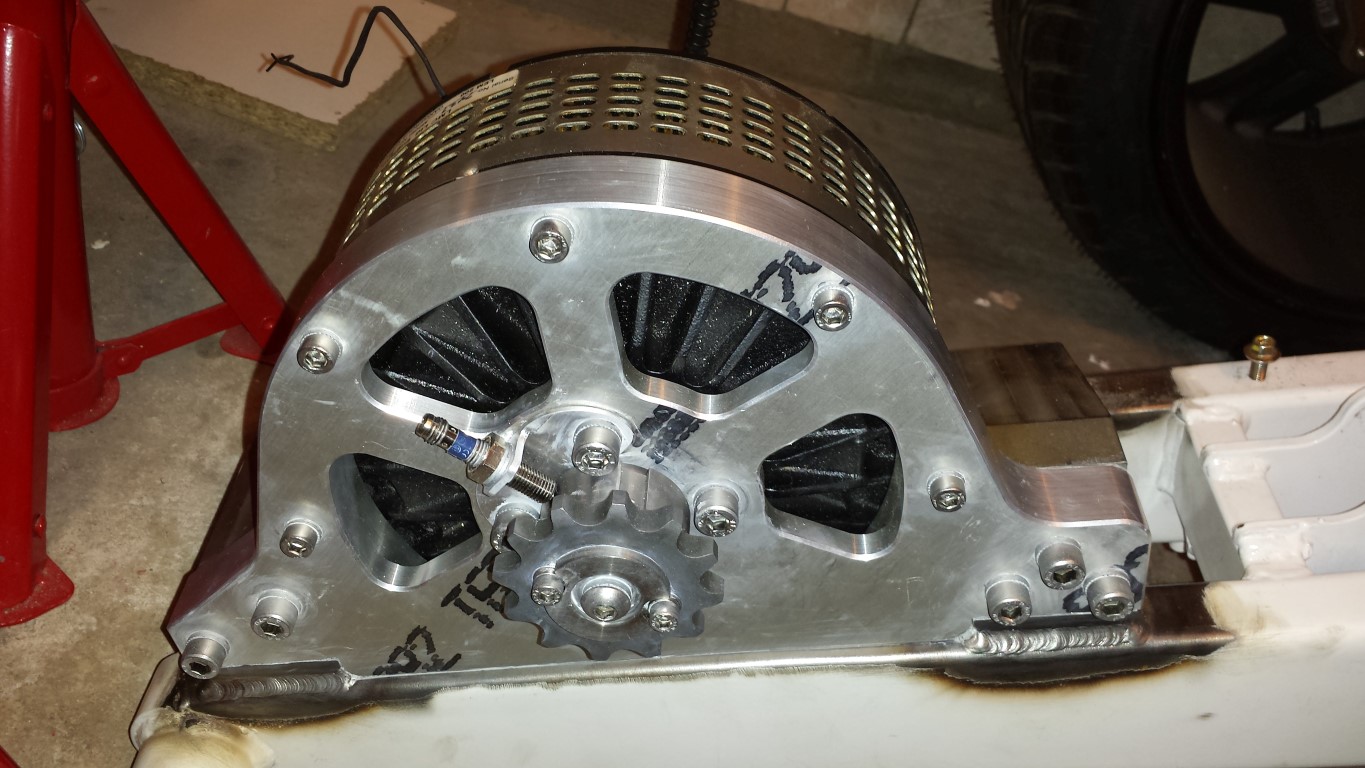
Took me a few days to get the protective cover all done but it eventually turned out pretty good. Here's the part that gets attached to the motor.
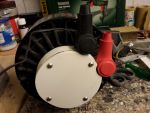
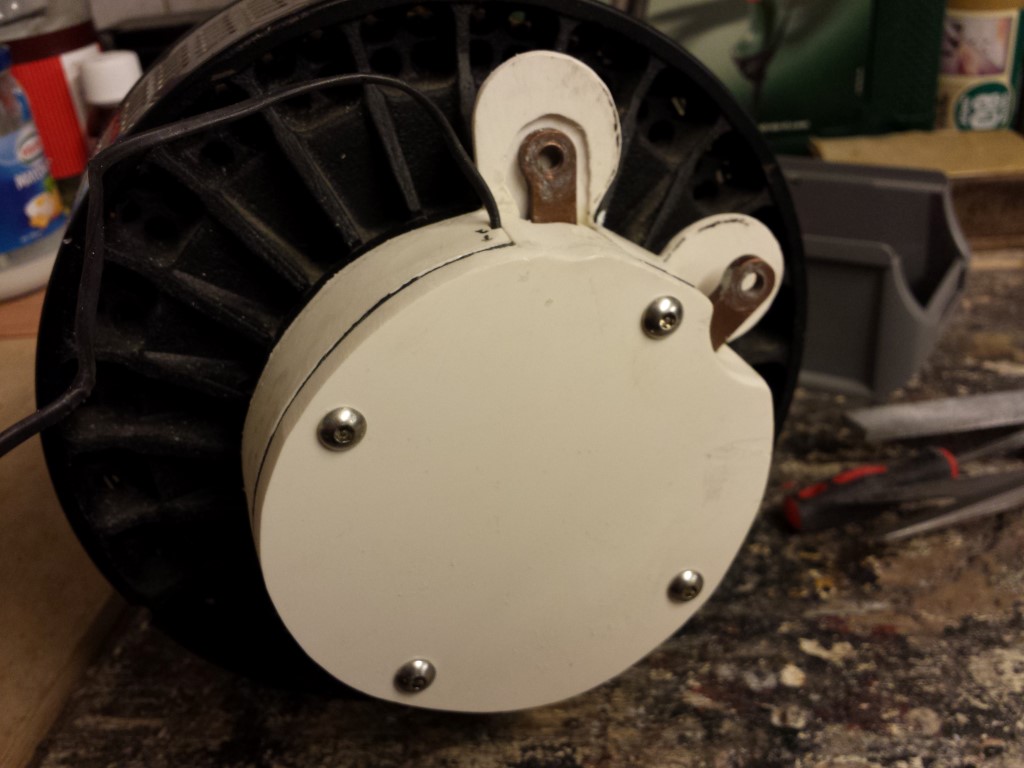
Then the cover can go on it.
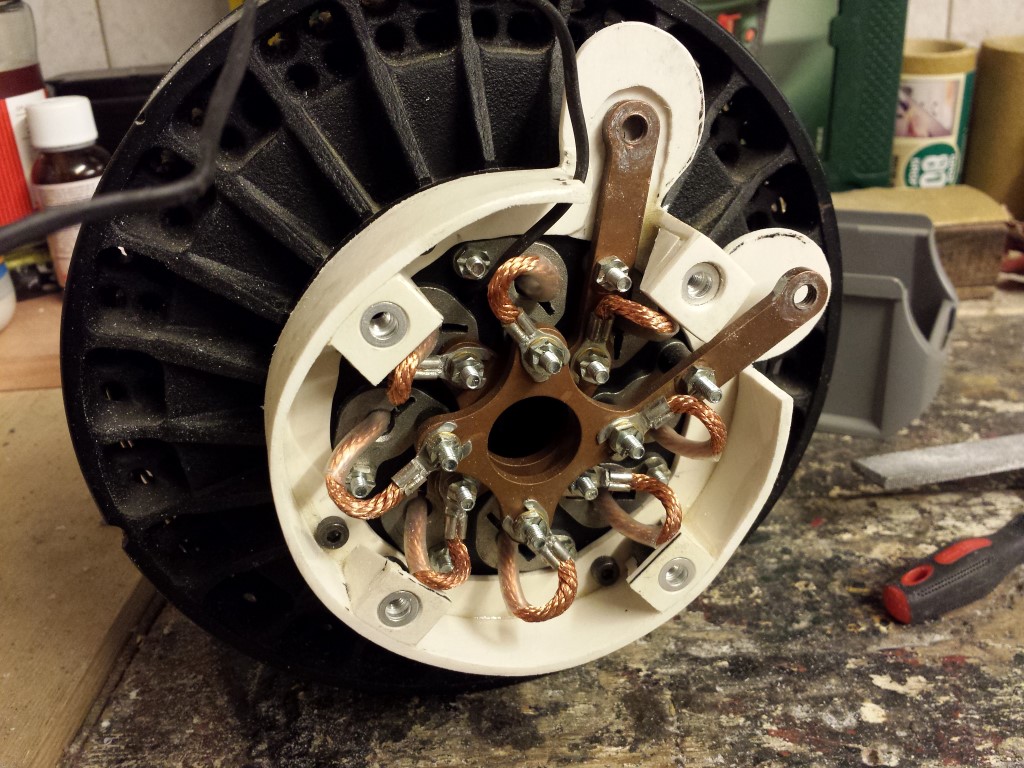
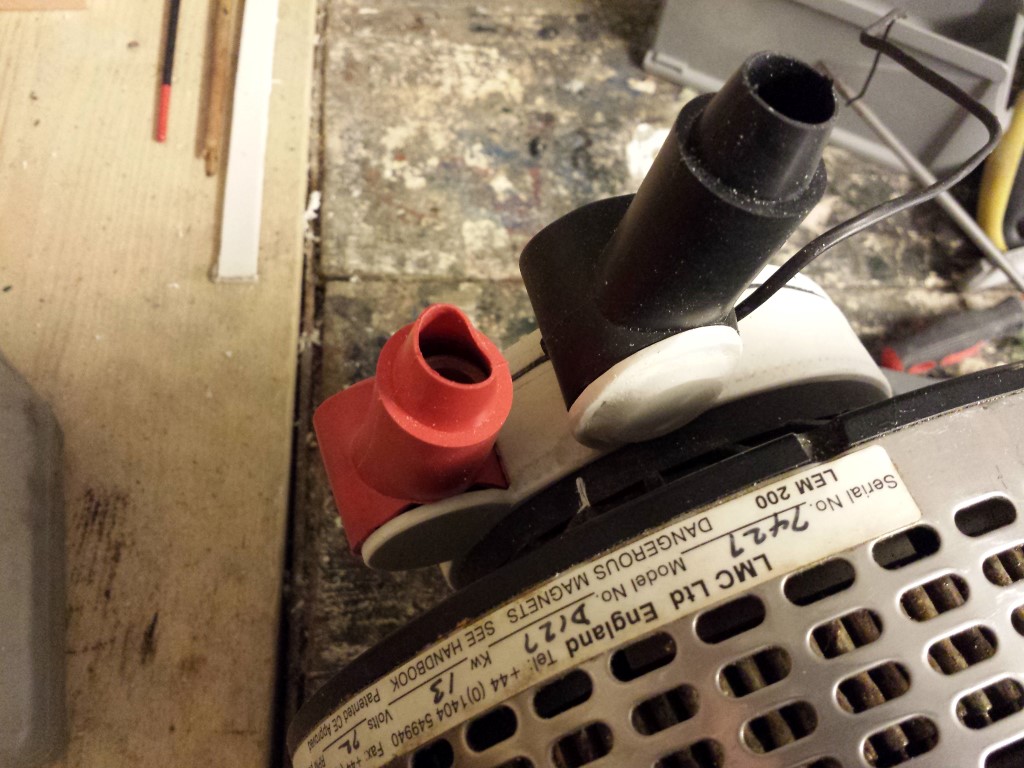
The cable shoes and rubber isolators I can just put on with a closed cover, so that's pretty nice.
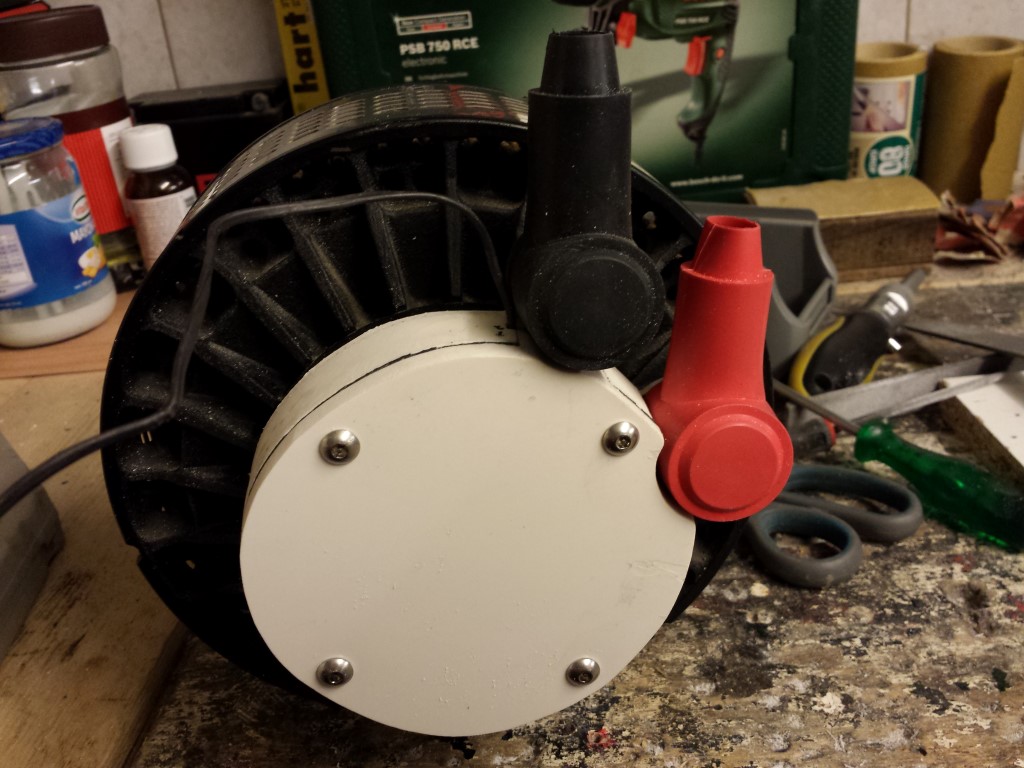
With this protective cover you can't touch anything high voltage anymore, not even from the rear. So this should be good enough for the RDW I hope. But I also think it's better myself and it's also a bit thinner than the original so there's a bit more clearance with the frame.
I also sanded all boxes one last time, so these are also finally all done now. Meanwhile all of the frame parts are with the sandblaster. If everything goes well I can already pick these up tomorrow evening, so it's very exciting. After that everything can be sprayed.
Posted on 13 September 2013 at 12:28 am (CET)
Posted on 13 September 2013 at 12:28 am (CET)
Very good news today, the mounts for the controller and a new plate for the RPM sensor are done and also fitted them already. Been working on it for the whole evening. I do have to grind off 2 mounting points on the frame though since the mounts are pointing inward a bit. But it's an easy fix, will do it tomorrow. Couldn't make any noise anymore here so late in the evening.
First off I removed the rear swingarm again so I could place all the new stainless steel bolts on the motor mount and to place the new plate for the RPM sensor.
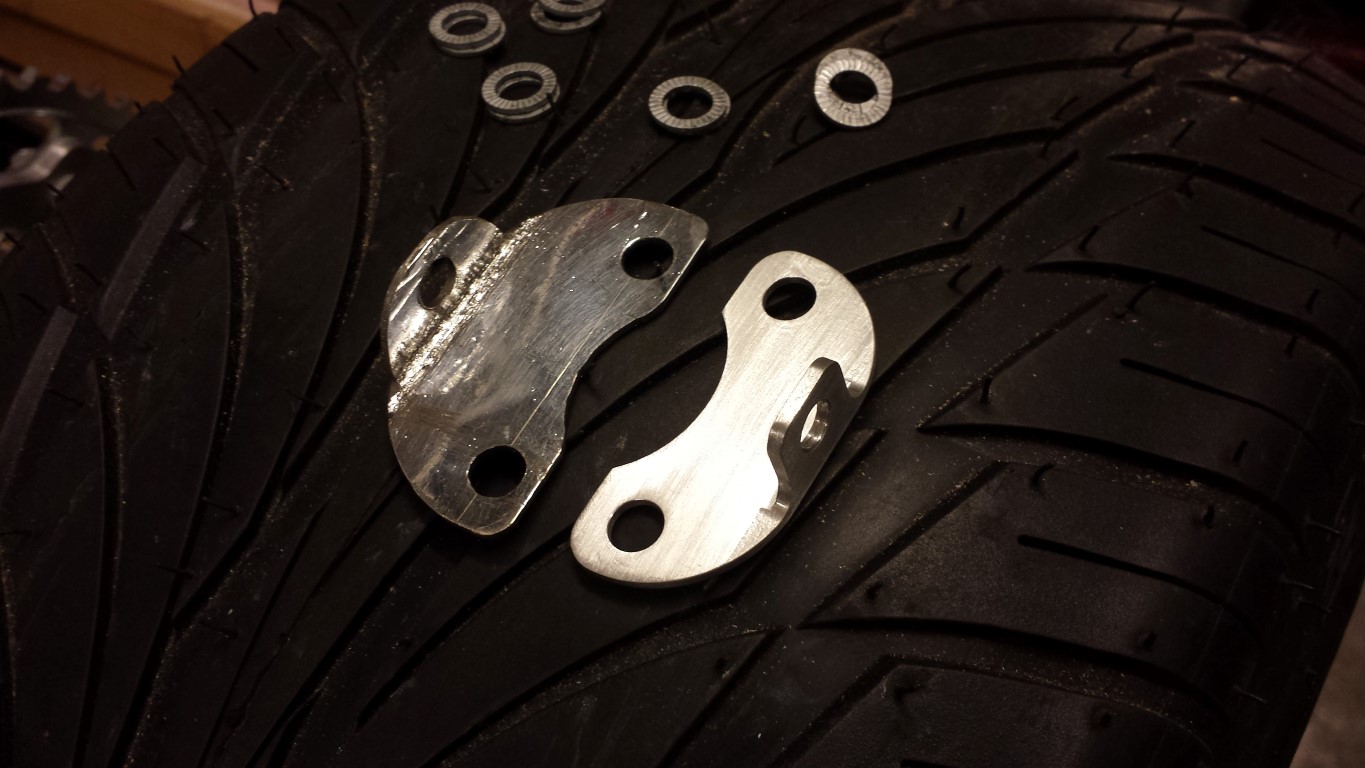
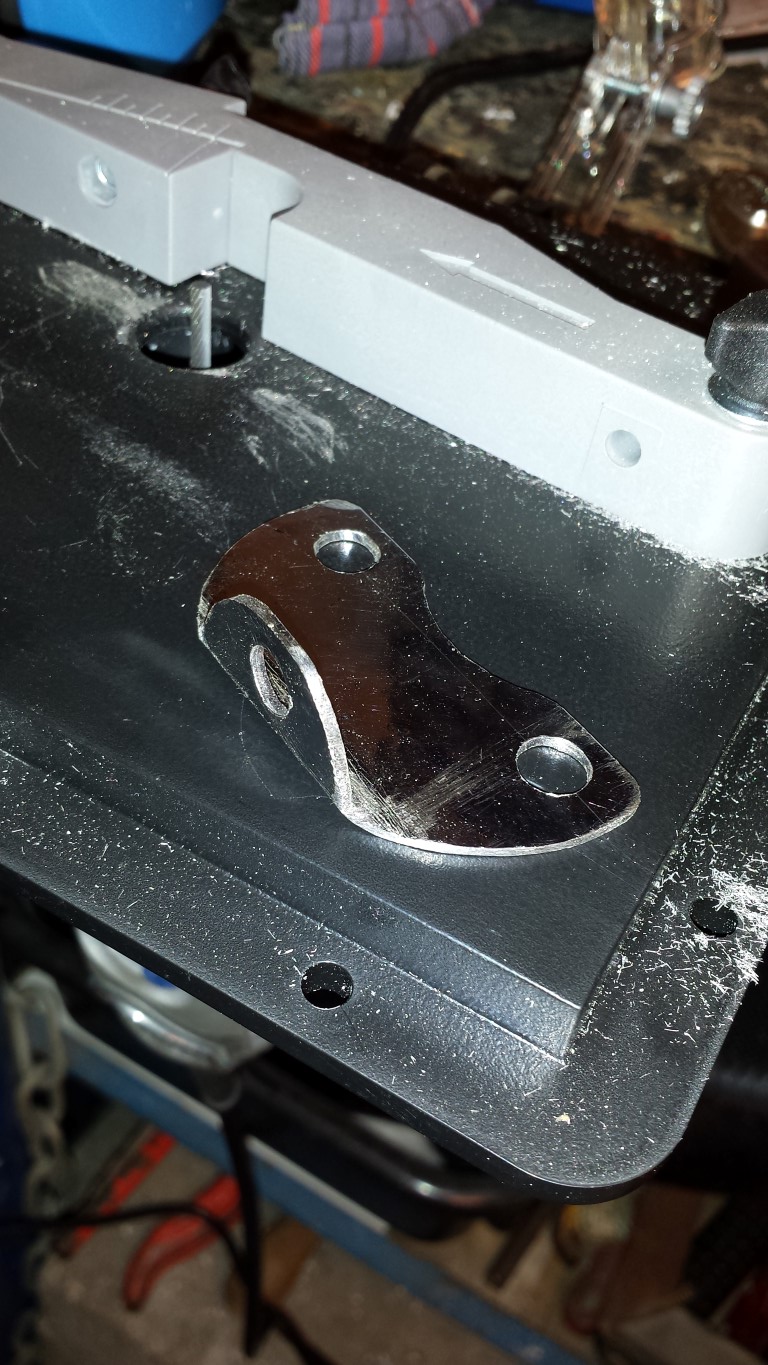
Difference between my own handmade plate and the new plate for the RPM sensor. Makes mine look pretty bad.
Here are all the stainless steel bolts in the motor mount and the plate for the RPM sensor fitted.

The motor back on the rear swing arm, also with the new stainless steel bolts. Looks a lot better than with the black steel bolts which were already rusting.
The inside bolts on the adaptor for the rear sprocket are also stainless steel now. Needed fine metric for this. I think there's a lot of tension on these bolts now though, don't know if this will cause any problems. Apparently they're just a tiny bit thicker than the original bolts or something. Really needed a lot of force to fasten them. Also added the last 2 cap nuts.
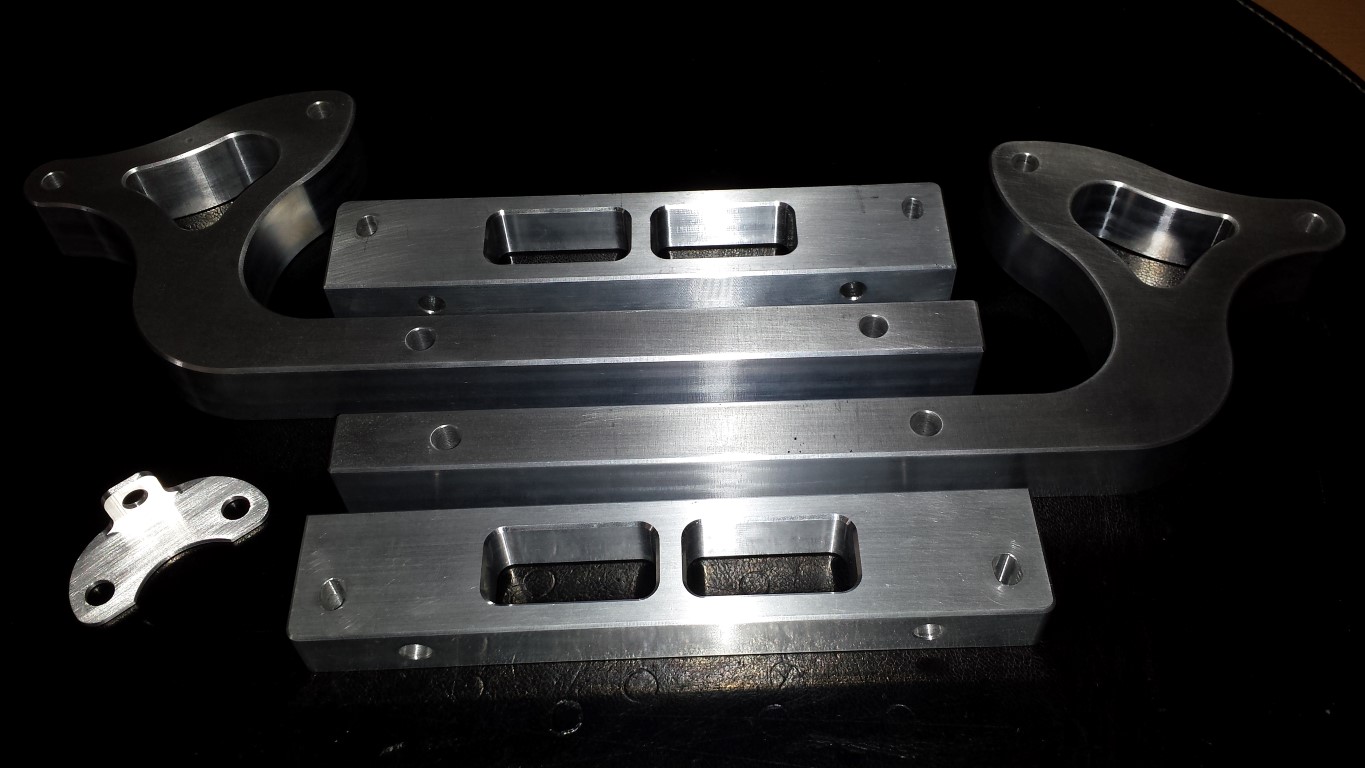
And now the mounts for the controller. I'll really keep saying this, great company who made this (Geraets Metaalbewerking). It really turned out very nicely. A lot better looking than the mounts I originally wanted. And it's definately strong enough, I think it can take at least 10x the weight of the controller.
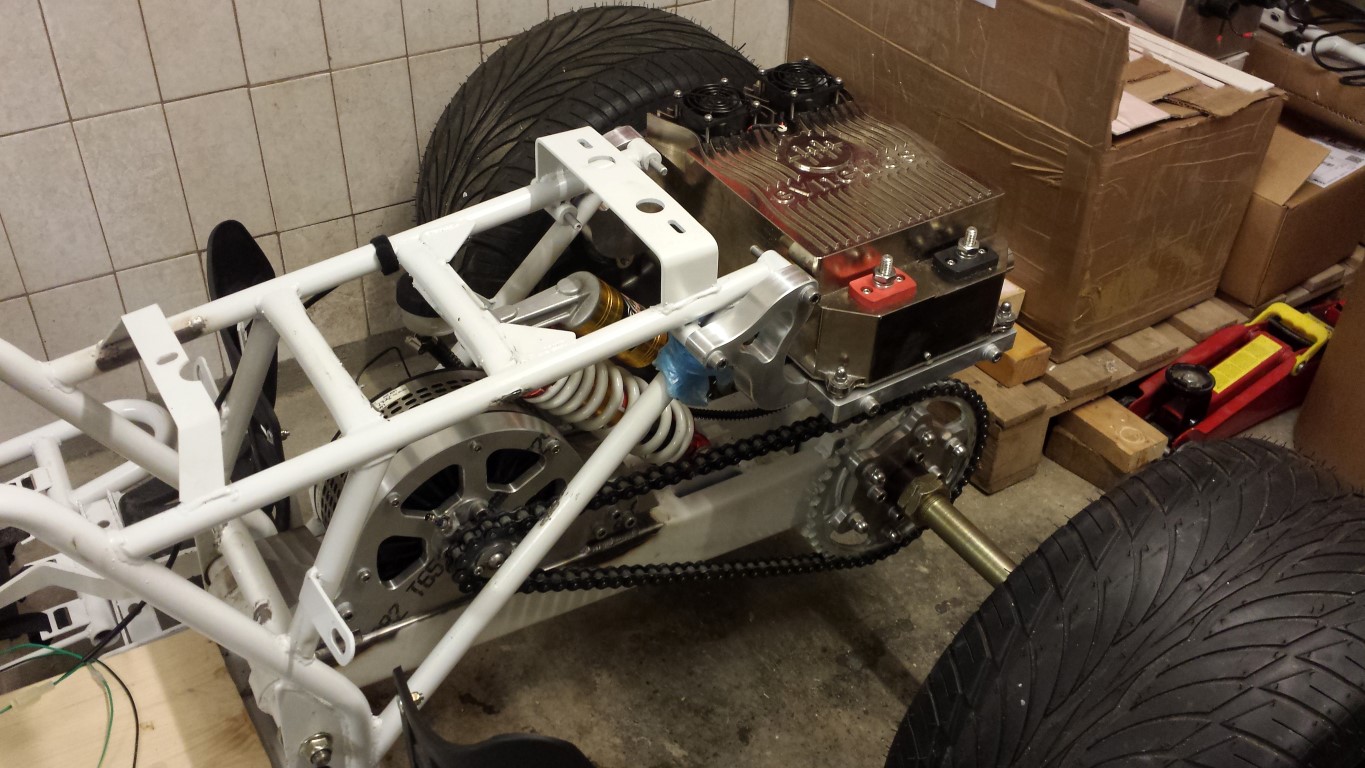
Here you can see it fitted on the quad bike with the controller already on it.
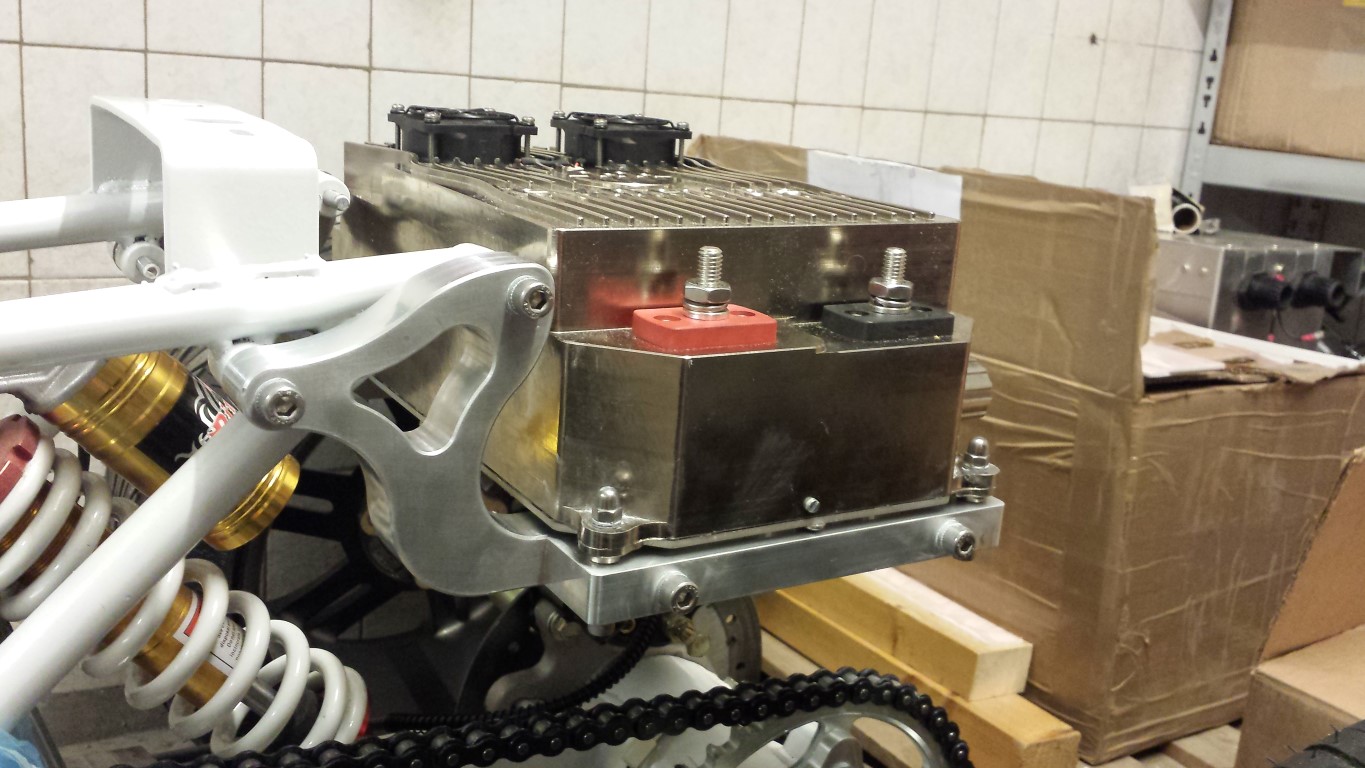
But it's all still loose, I first have to grind off a bit of the 2 front mounting points so the mounts will be sitting straight. Otherwise there will be too much tension on the mounts or the frame if I were to attach it like this. But it'll all be good, another day tomorrow. Here you can see that they're not sitting straight right now.
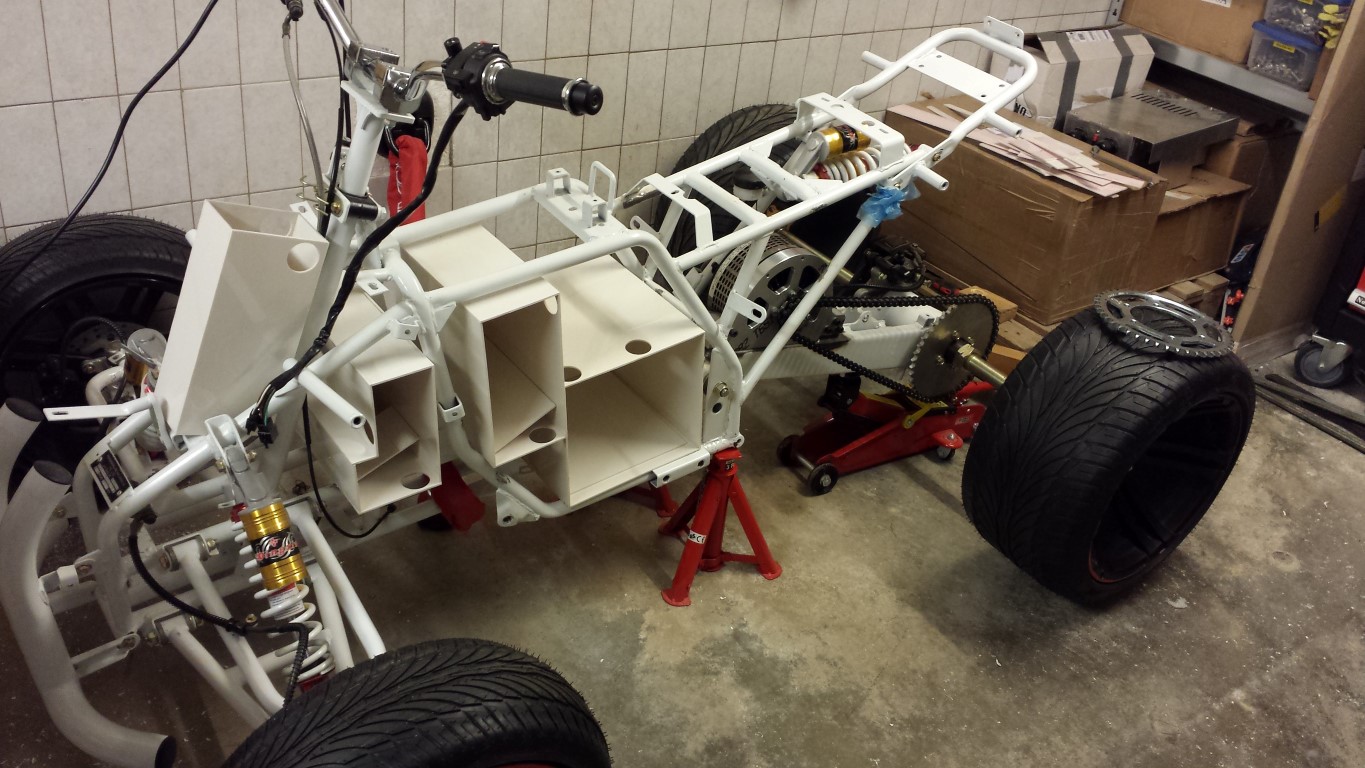
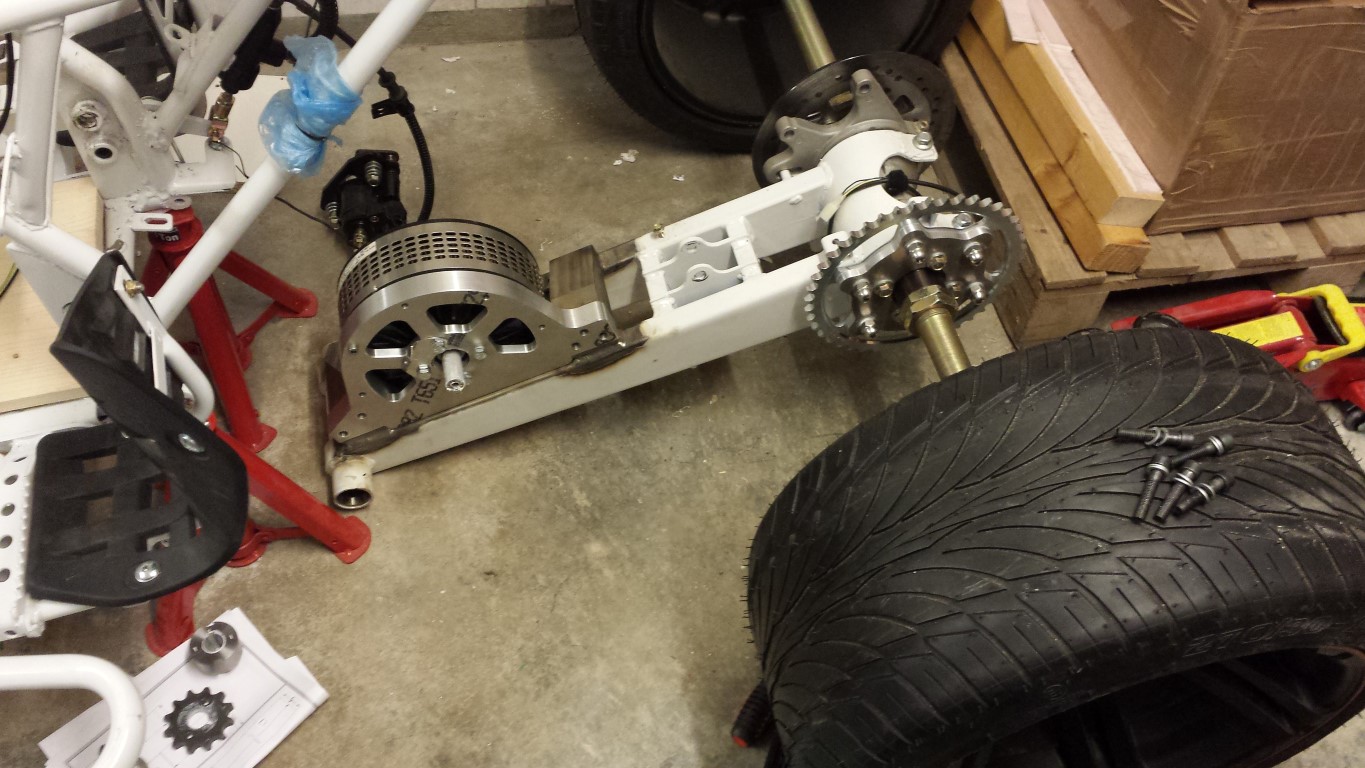
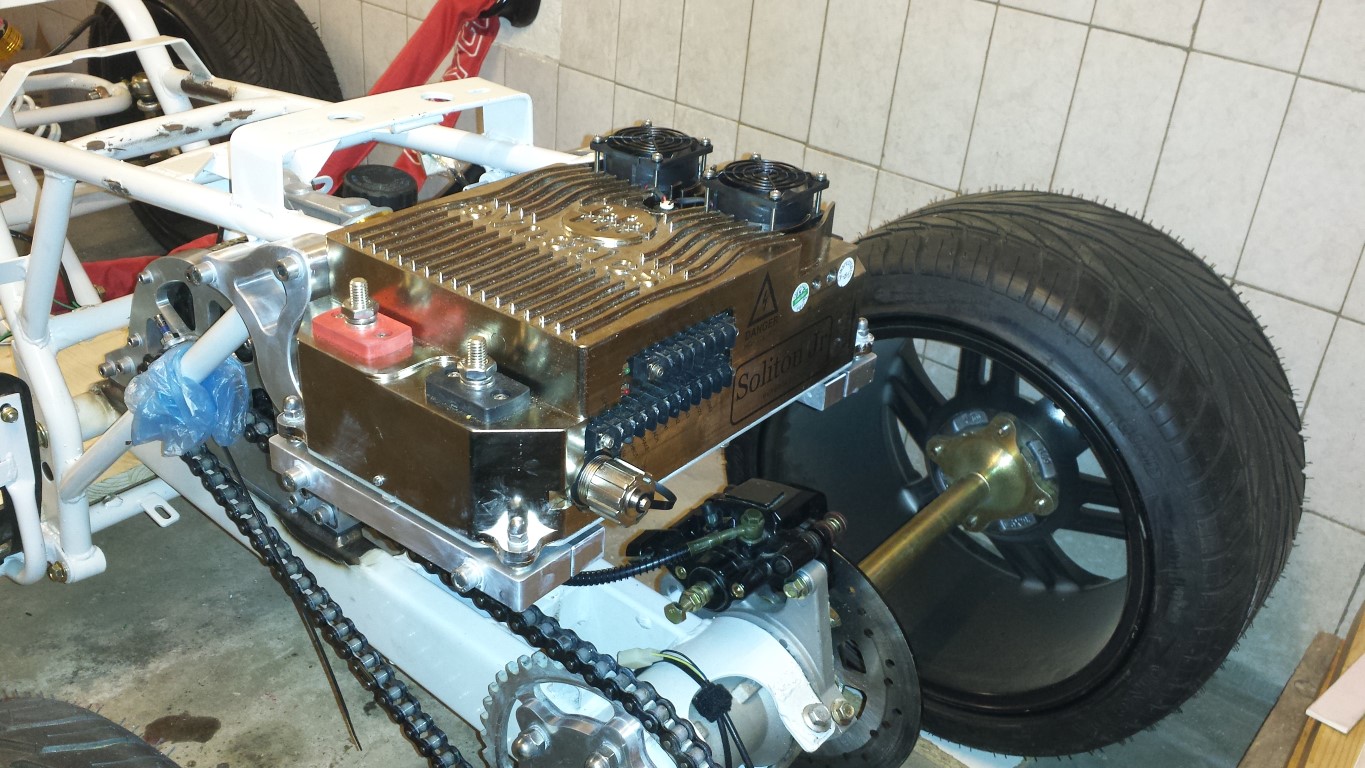
Here's the whole picture again. Rear end of the quad bike is pretty full now.
I also lubed the chain. And the rear swingarm's bearings didn't have much grease on them so I greased them some more. There's still something squeeking near the rear axle though when I turn the wheels, I think the bearings. But I'll be replacing them by SKF bearings anyway so I'll just leave it like this for now.
This weekend I'll definately have my first testride.
Posted on 23 August 2013 at 10:59 pm (CET)
Category: Electric motor, Parts
Today I received both adaptors and ofcourse I already fitted them. The metalworking company (Geraets Metaalbewerking) did a very good job, it all looks great and fits perfectly.
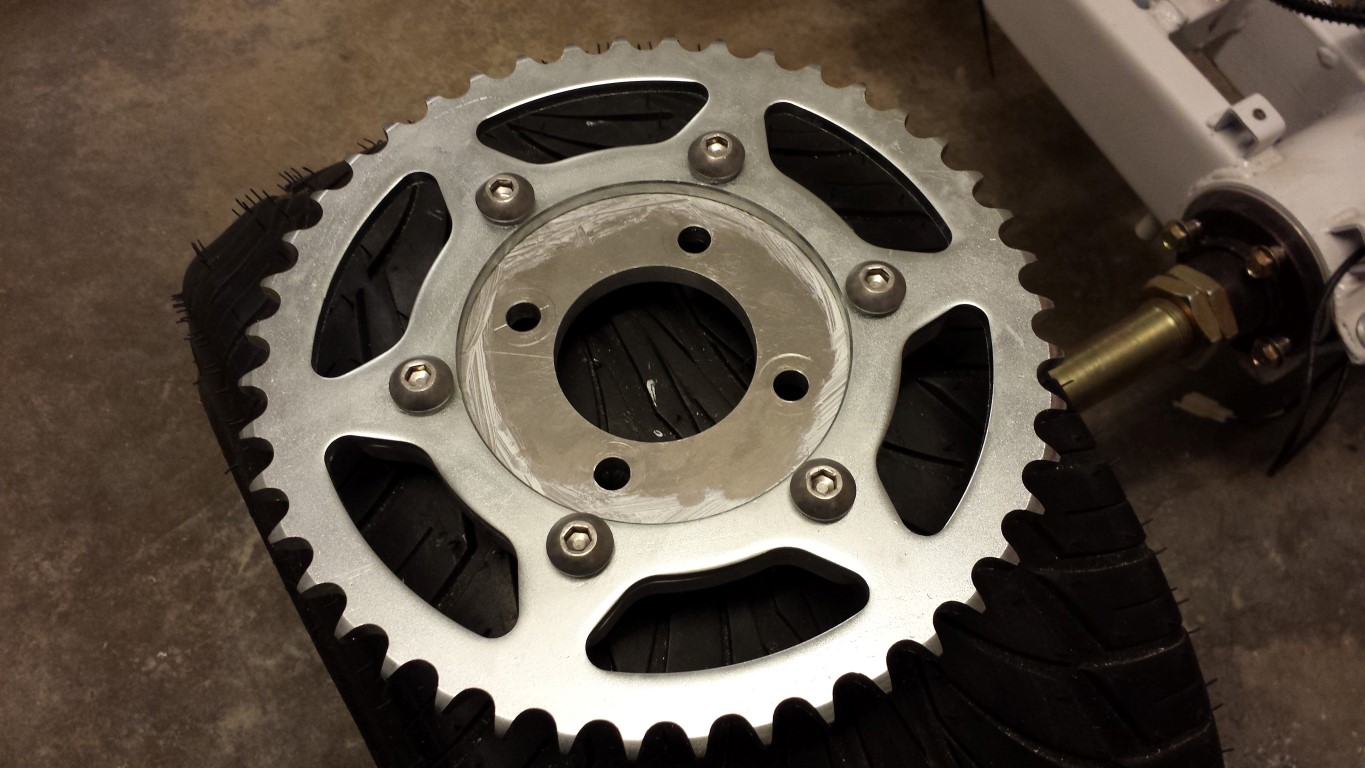
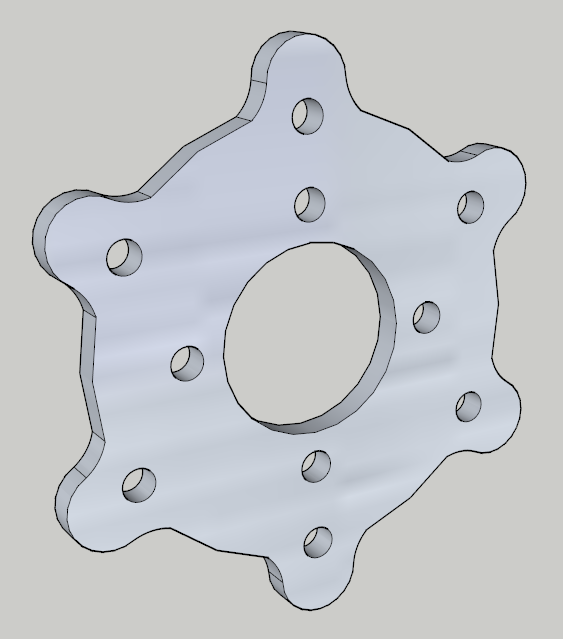
What used to be a rear sprocket has now become an adaptor for the new rear sprocket.
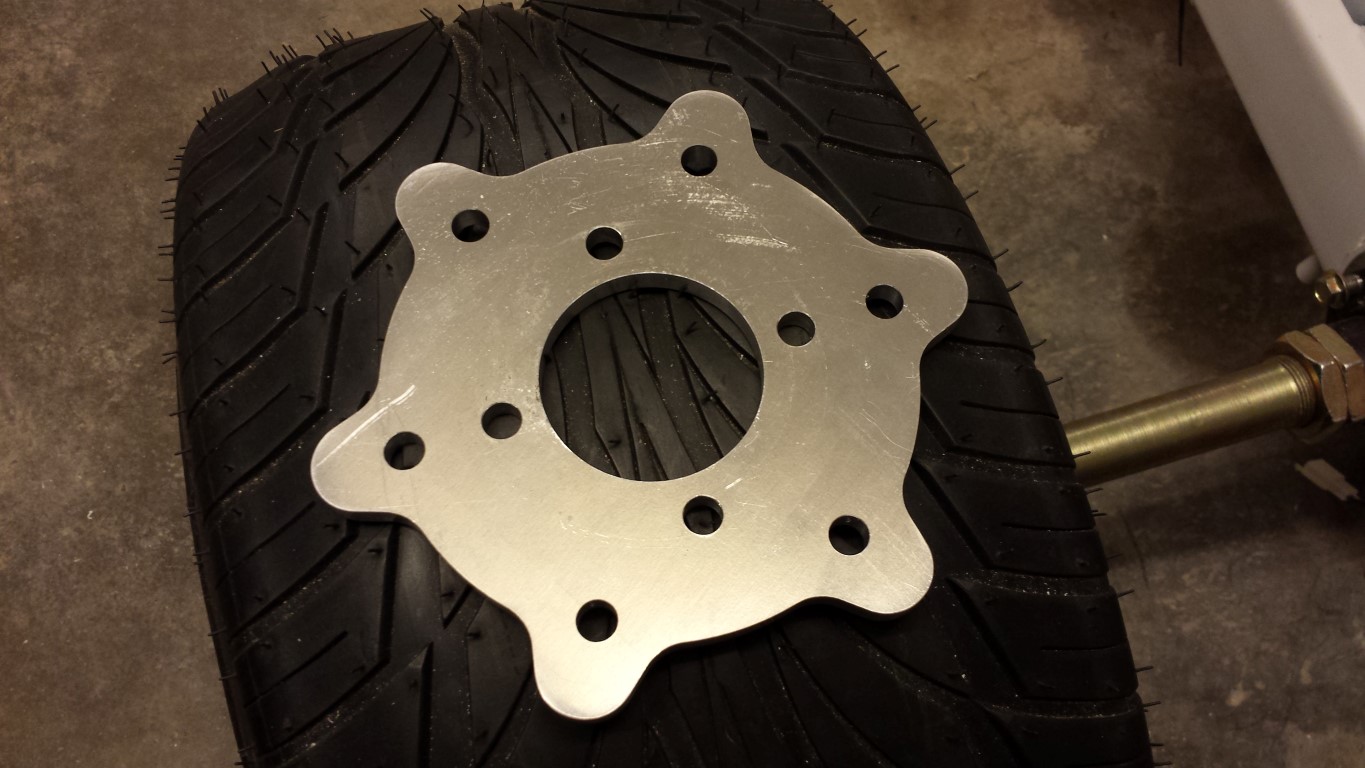
With this adaptor the rear sprocket can be placed a bit more inward so that the chain will run perfectly straight. Here you can see how the adaptor fits on the rear sprocket. They really made a lot of effort to perfectly align all the edges with the sprocket. It looks great.
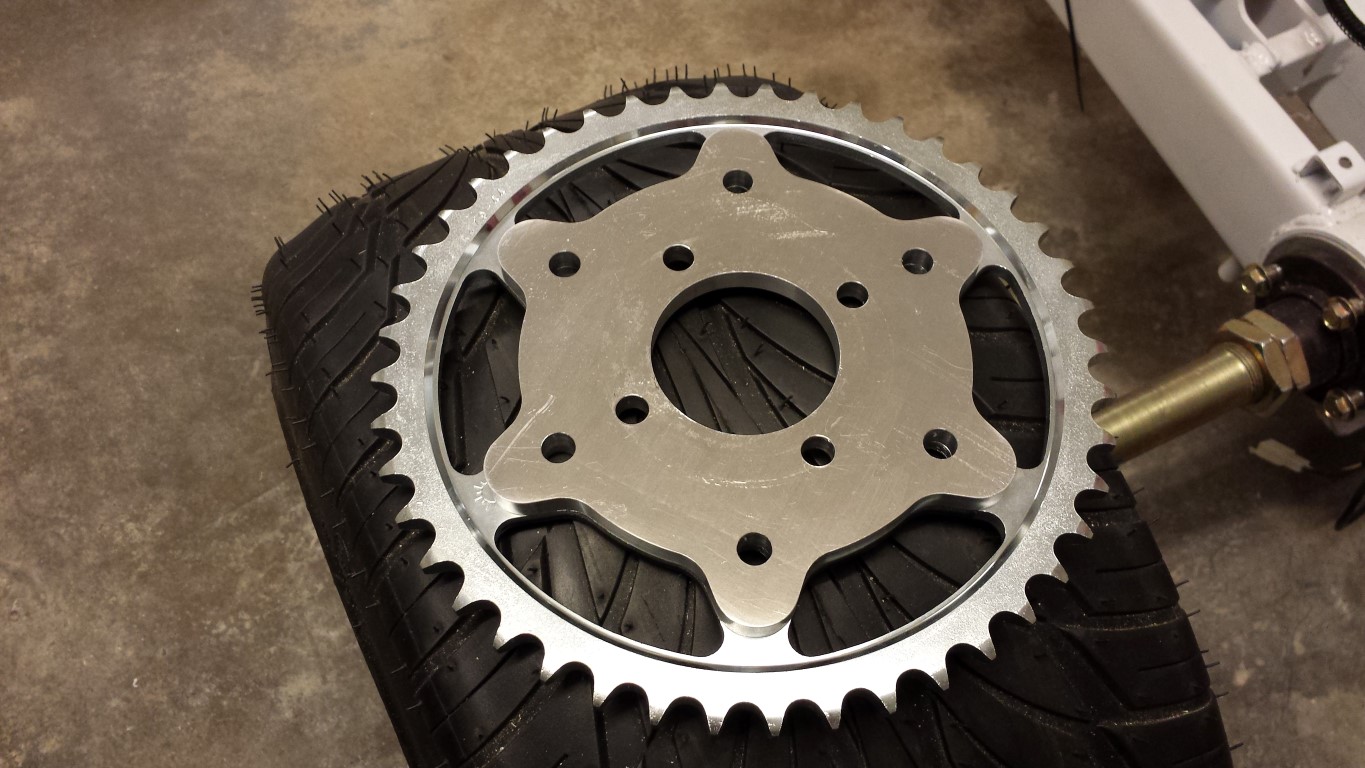
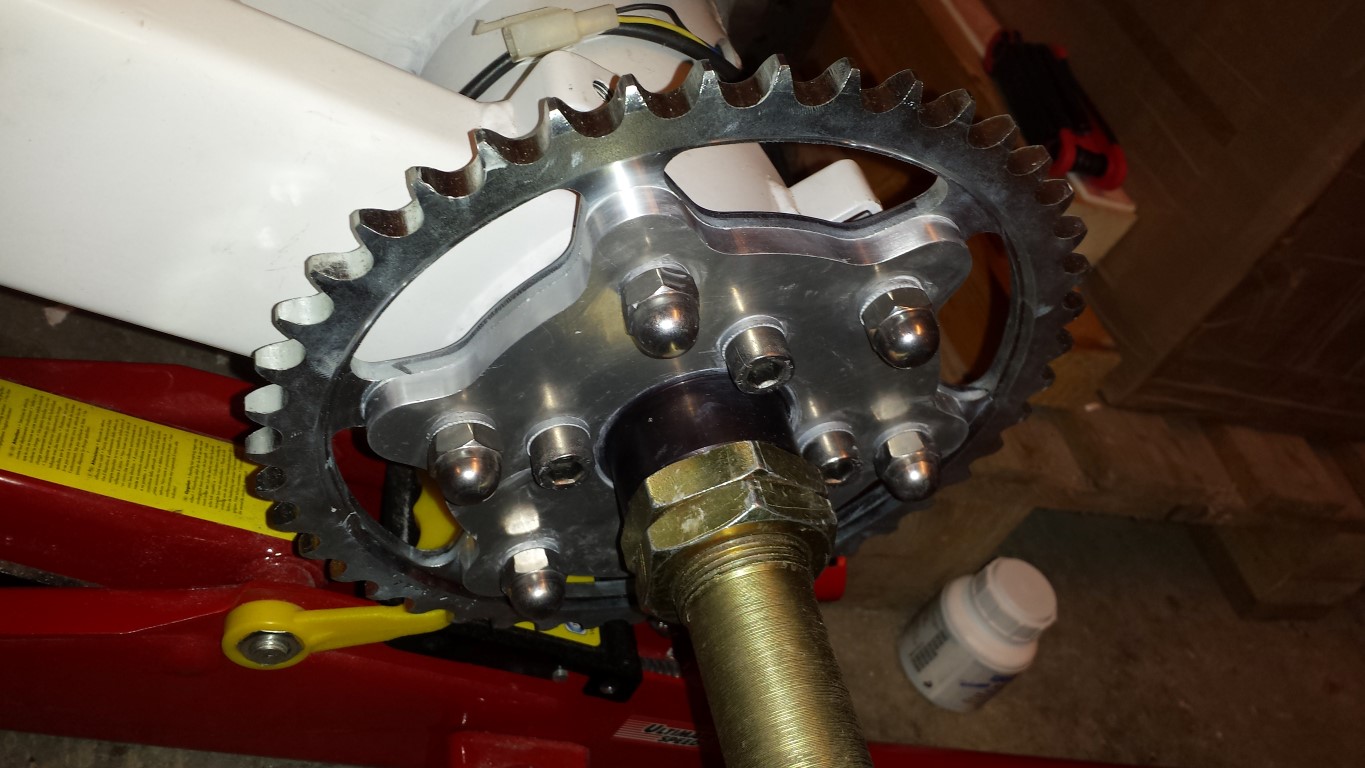
And here with the bolts and nuts on it. Everywhere where different materials are touching eachother I used anti-seize paste to prevent corrosion. Sprocket is steel, adaptor is aluminium and bolts/nuts are stainless steel. Without the paste this usually wouldn't work out so well.
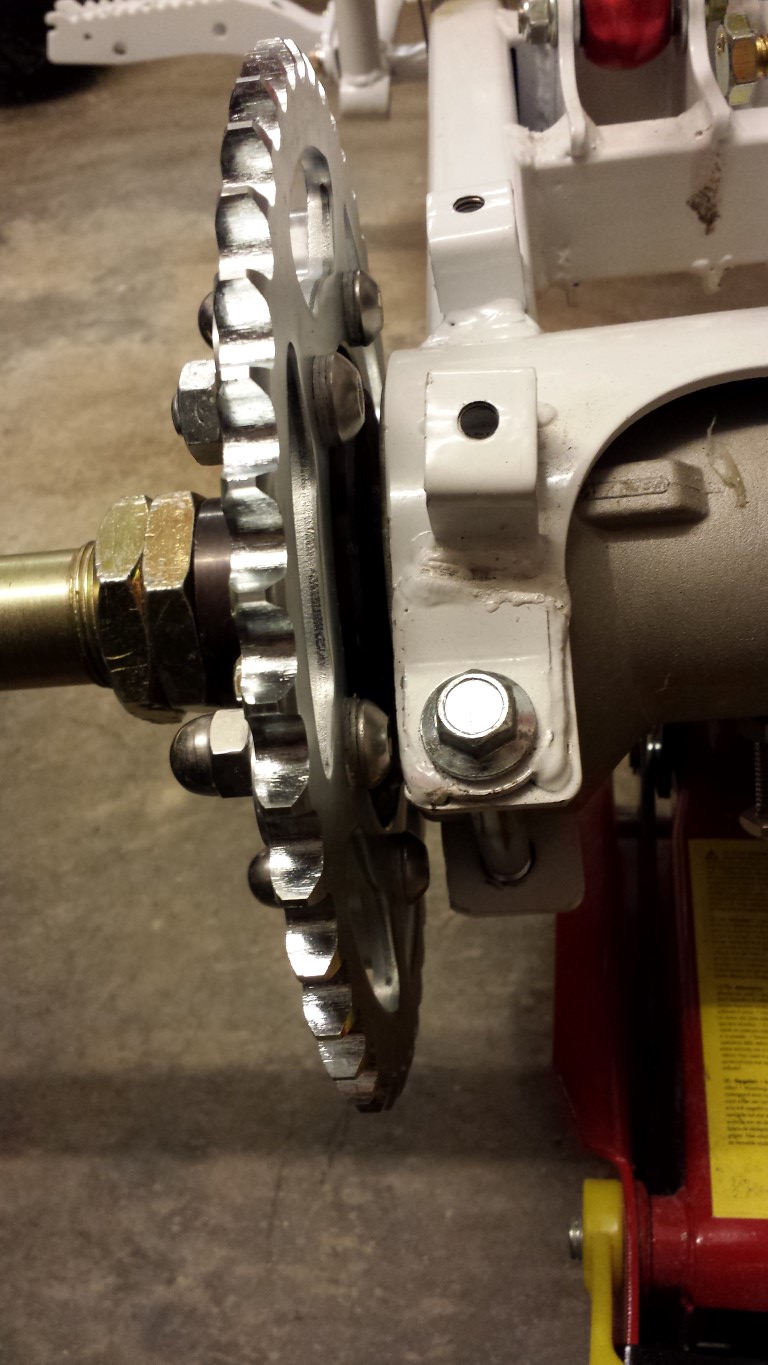
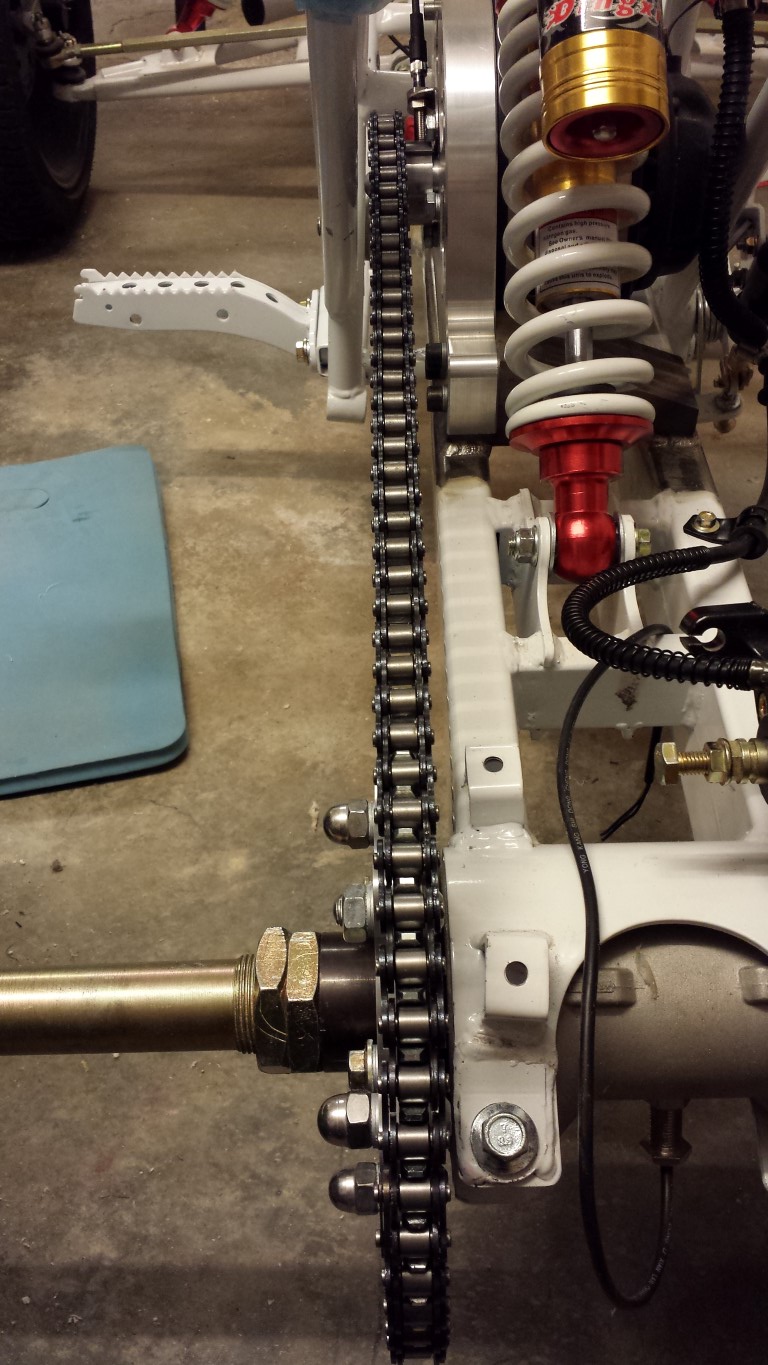
Here's the adaptor with the rear sprocket attached to the rear axle. It all fits very good, I was only missing 2 cap nuts. I will replace these later when I have to order some more fastening materials. Also need to get new ones for the 4 bolts on the axle. I ordered bolts with 1.5 thread, but the original bolts are 1.25. Pretty odd since I even measured this beforehand but apparently I made a mistake.
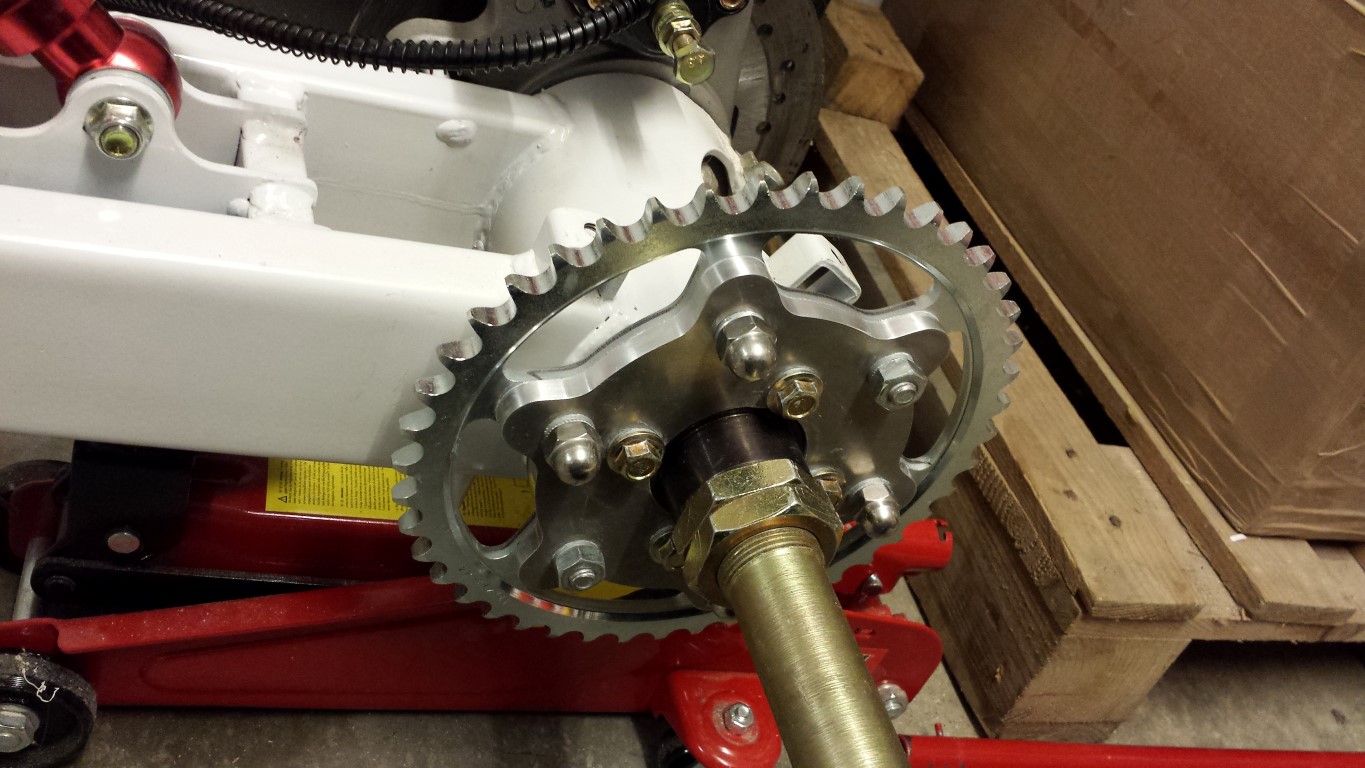
Already chose bolts with a low head to get the most clearance between the bolts and the rear swingarm which was definately a good choice. To be sure I even filed some of the welds that were sticking out. On some points there's like 1,5-2 mm clearance. So it barely fits. But it's mainly because of the Nord-locks that are inbetween. I'm really a big fan of these rings so I use them everywhere on parts that shouldn't come loose.
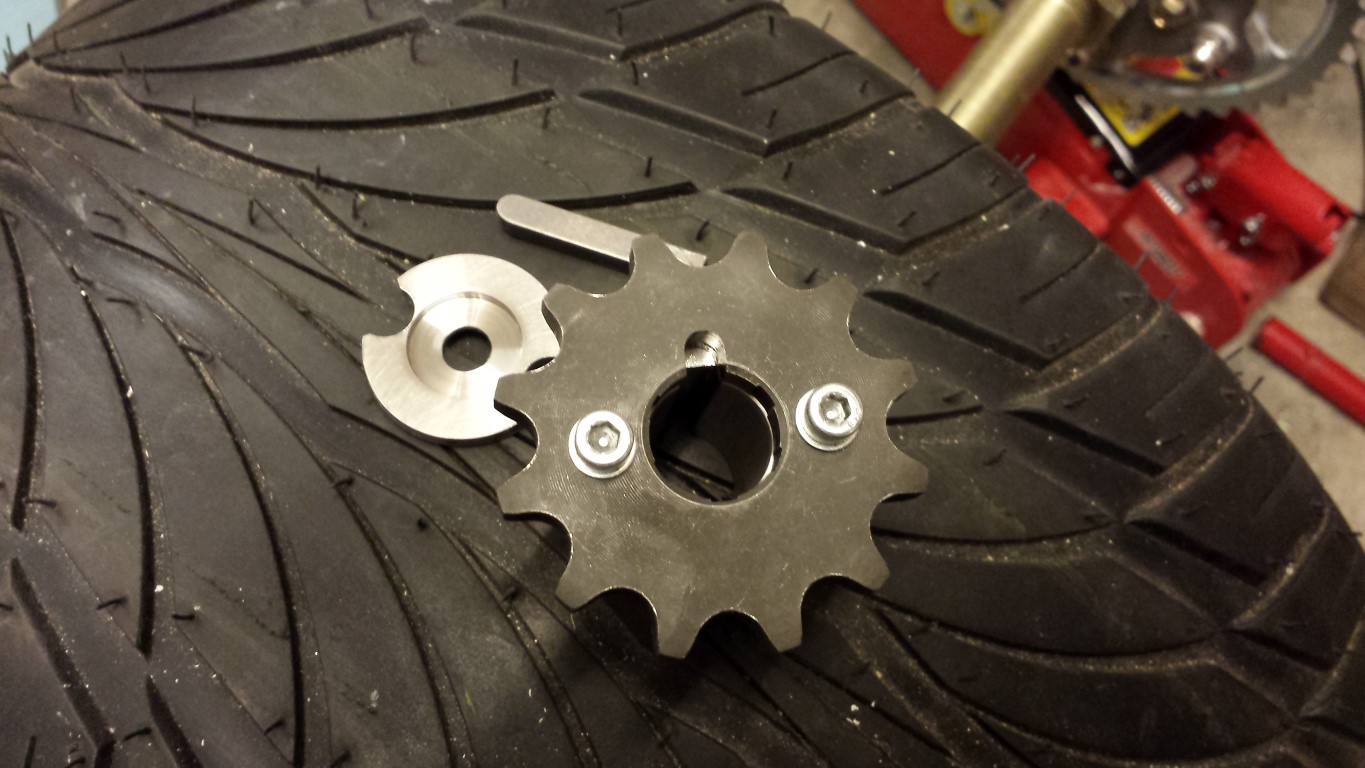
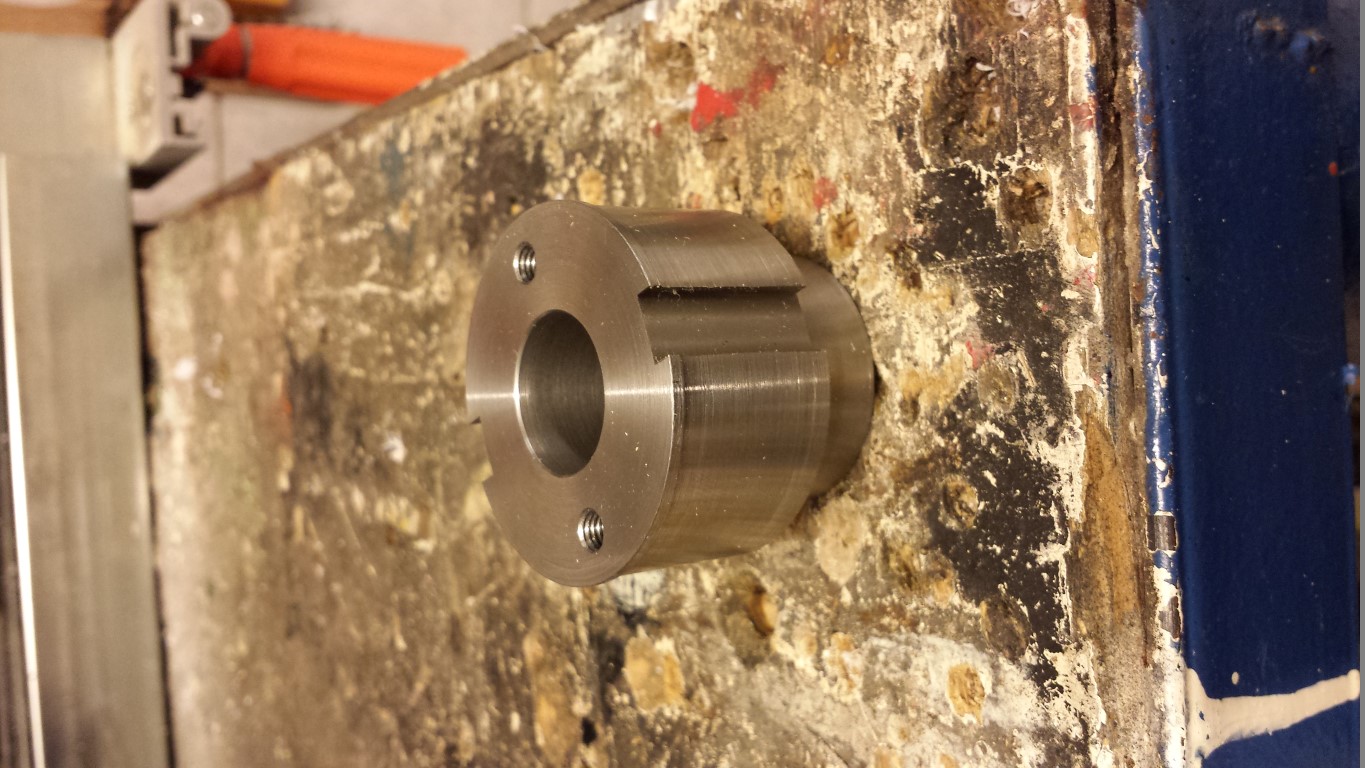
So rear end done, back to the front. The adaptor for the front sprocket has been modified quite a bit. The grooves for the sensor weren't equal and the side where the sprocket attaches to had to be rounded off a bit. There's also finally a keyway in there. And that ring has been made a little deeper in the middle so the bolt that comes on there has some more clearance with the quad bike's frame. So now it finally is exactly the way I wanted it from the beginning.
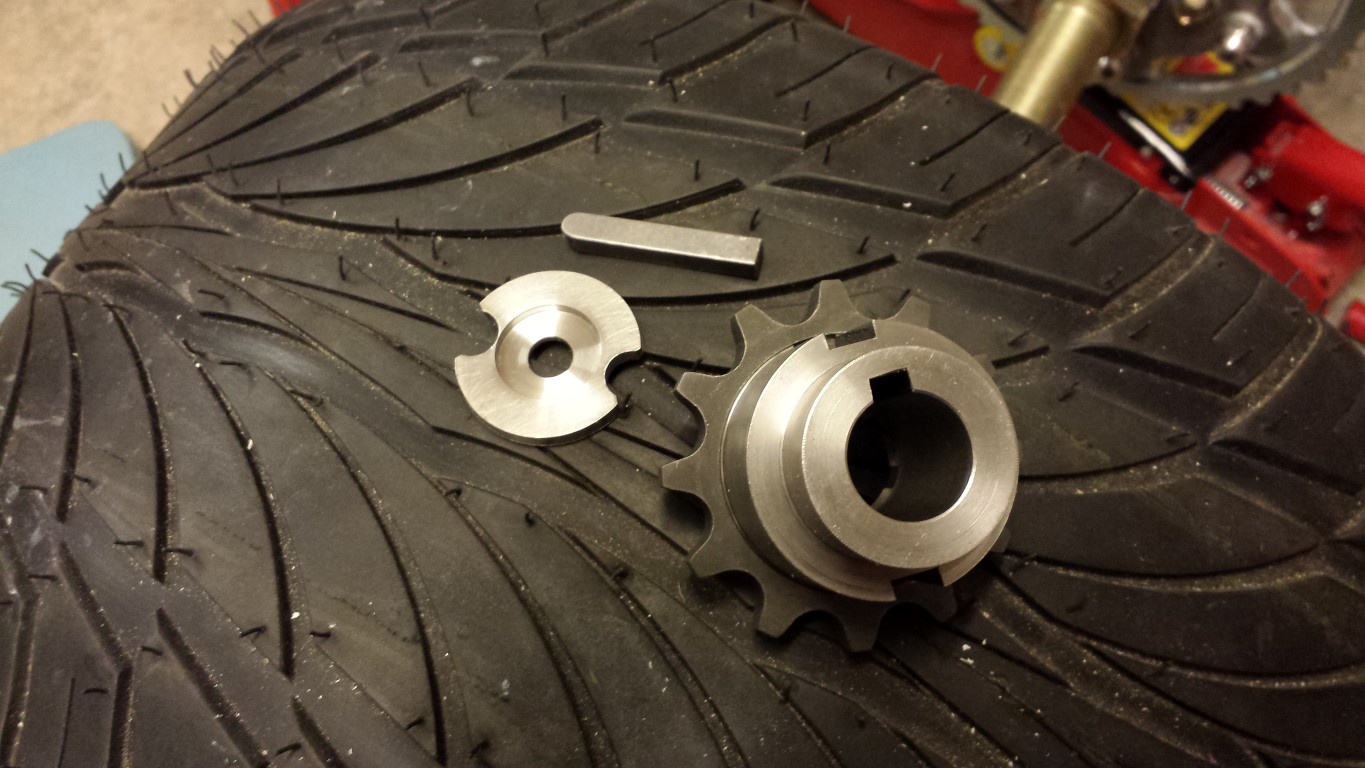
The keyway is also in the sprocket itself for some extra strength. I thought the 2 bolts alone wouldn't be enough with all the force that will be on here. The sprocket was very hard so they did this with a small router bit instead of broaching. Because of this it's rounded on the top but this doesn't matter at all for the key. And you won't see this anyway with the ring on there.
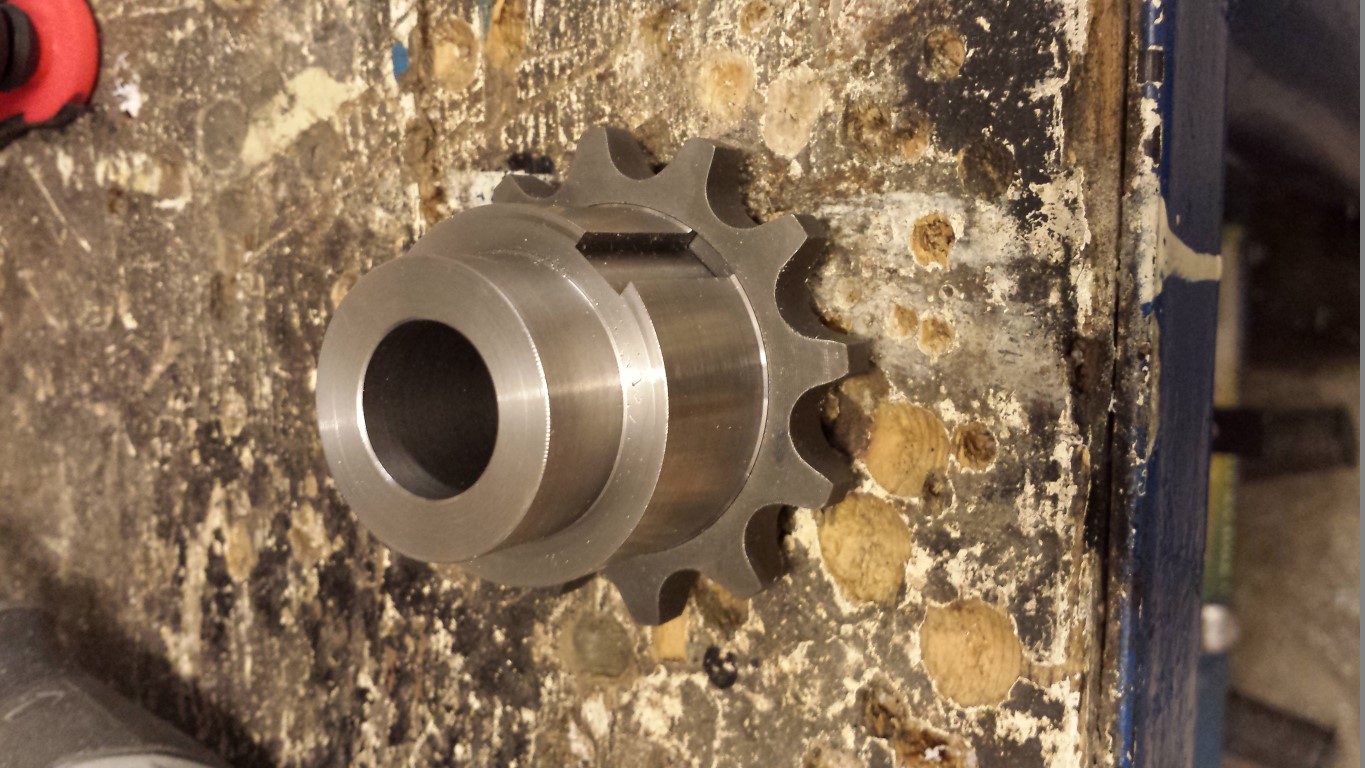
Here's the whole adaptor with sprocket attached to the motor's axle. There's still a very minimal amount of play though between the axle and adaptor, not sure if this will be a problem.
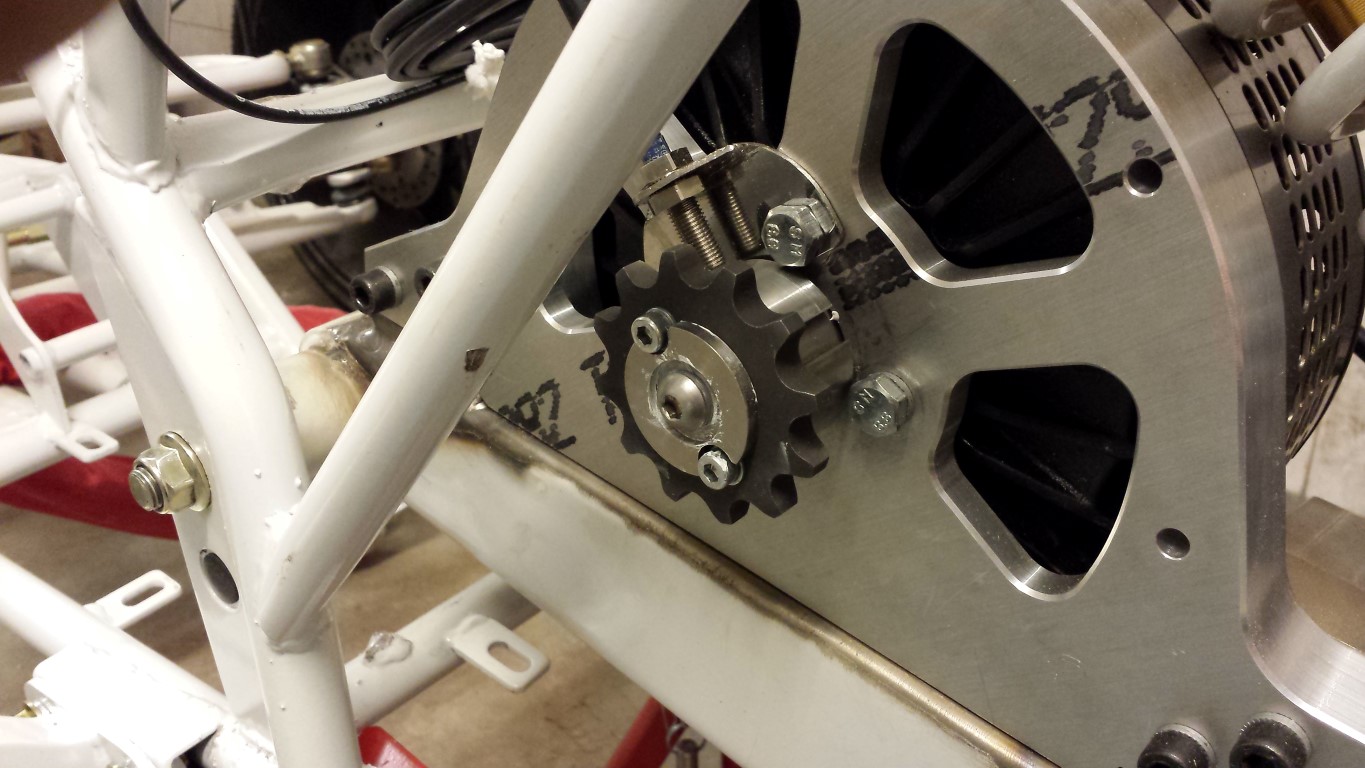
And with the chain on it again. I measured and turned it around a few times, the chain is sitting perfectly in the middle of the sprockets. This means it runs perfectly straight which is what I was hoping for.
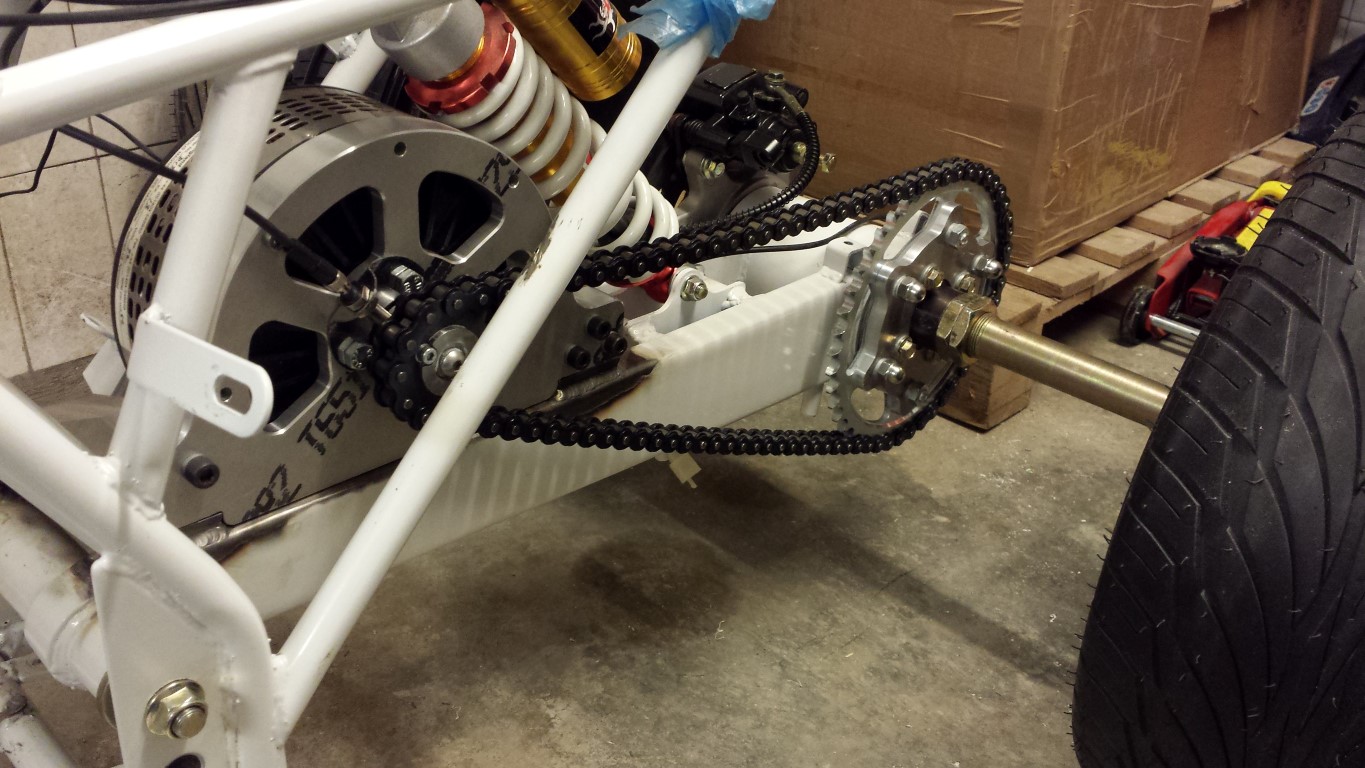
Here a complete picture of what it looks like right now. Ofcourse I wouldn't really say something negative about it myself but I really do think it looks very nice now.
So I'm happy to say that this part of the project is finally done. The next step will be the controller mounts. Just still have to measure a few things and check if everything is right, then I can also have them made at the same metalworking company.
Posted on 14 July 2013 at 06:28 pm (CET)
Category: Electric motor, Parts
Posted on 14 July 2013 at 06:28 pm (CET)
Category: Electric motor, Parts
A little progress again, but something very important. The mount for the RPM sensor. Still had a small steel plate laying around with the right size. Only had to bend it a bit and make it round.
And here it's mounted on the motor mount. There's around 1 mm between the sensor and adaptor and the sensor has a range of 1,5 mm so it should work fine like this.
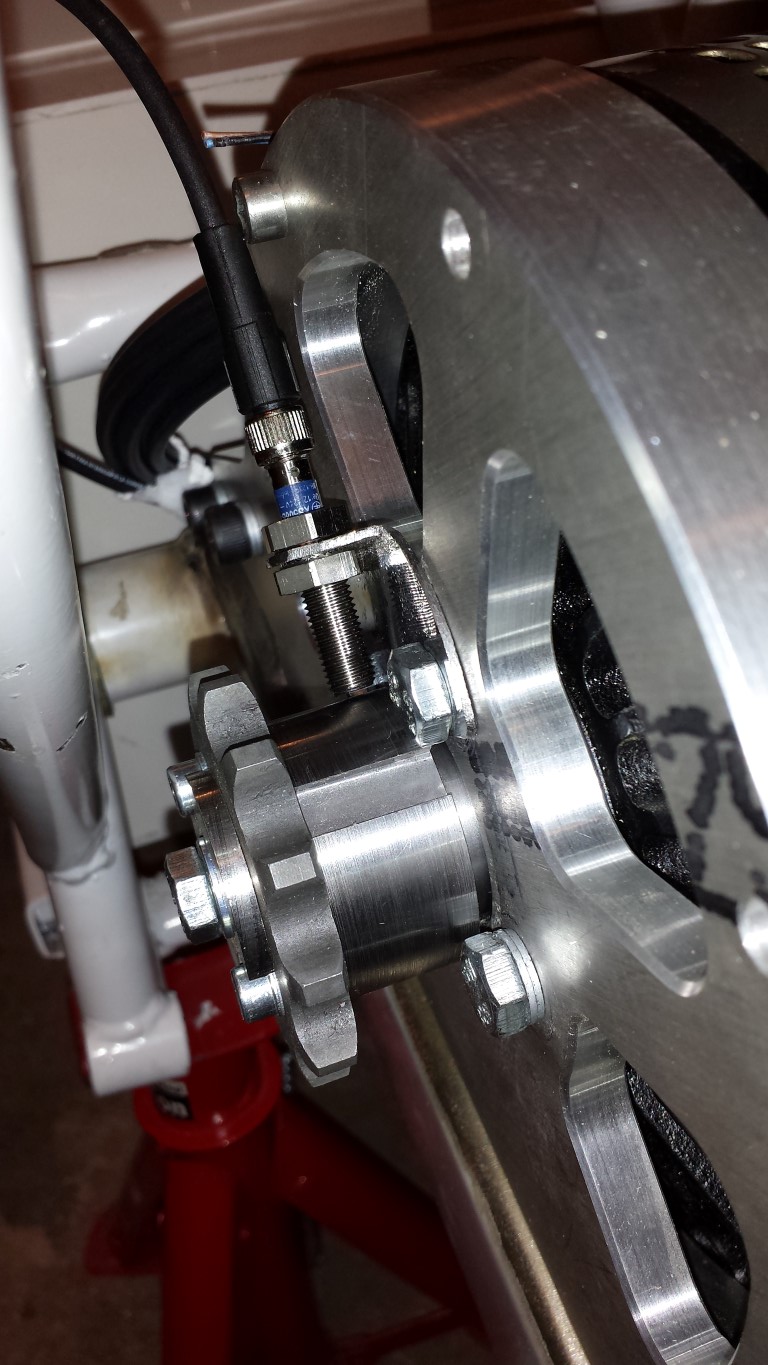
Could've been a little lower but I think it's okay. At least the chain will have some more space now.
Posted on 12 July 2013 at 10:22 pm (CET)
Posted on 12 July 2013 at 10:22 pm (CET)
Finally some progress again. Or well, I'm back where I was one and a half month ago. The new adaptor for the front sprocket has been made. I asked for stainless steel but it's a steel one. Looking back at it this seems to be better anyway, I contacted some metalworking company about this. They said that stainless steel probably wouldn't be strong enough for this application. But it all fits pretty well now, also no more play between the adaptor and sprocket which was the case with the old adaptor. There's only a little bit of play between the motor's axle and the adaptor but it's very minimal. It'll be firmly attached anyway so I don't think it'll be a problem.
Just have go search for someone who has a wire cutting machine now to cut out a keyway in the adaptor and sprocket. Apparently this can't be done any other way. But after this I will actually have it the way I wanted it from the beginning.
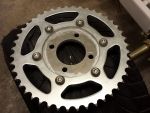
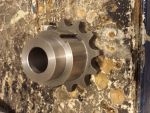
Today I also got something else. A new rear sprocket, steel 44 tooth of a Suzuki GSX-R 1000.
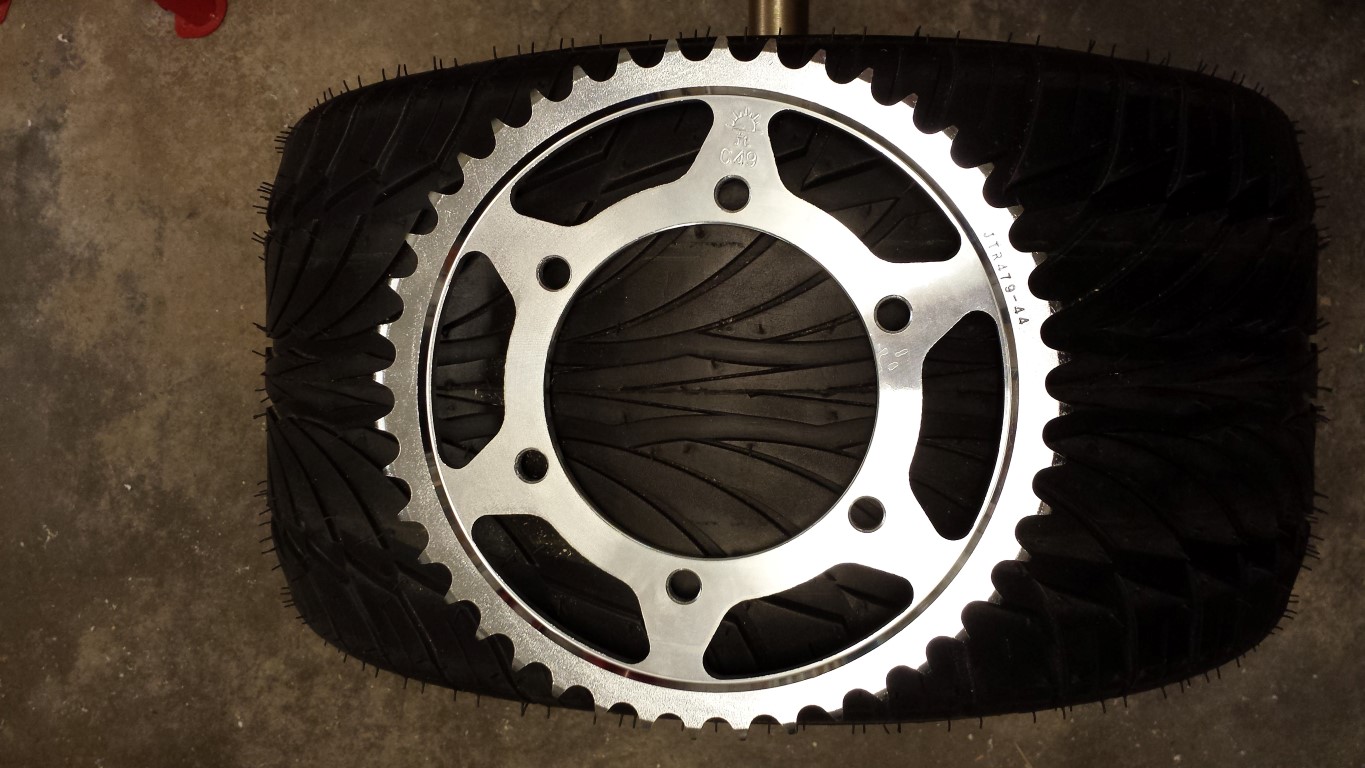
The aluminium sprocket will get a new life as an adaptor. I already drew it, just still need to get it routed. The rear sprocket can then be placed more inward and the chain will then run in a perfectly straight line. This is what it'll look like.
And a quick picture of the whole quad bike after today.