Nederlands
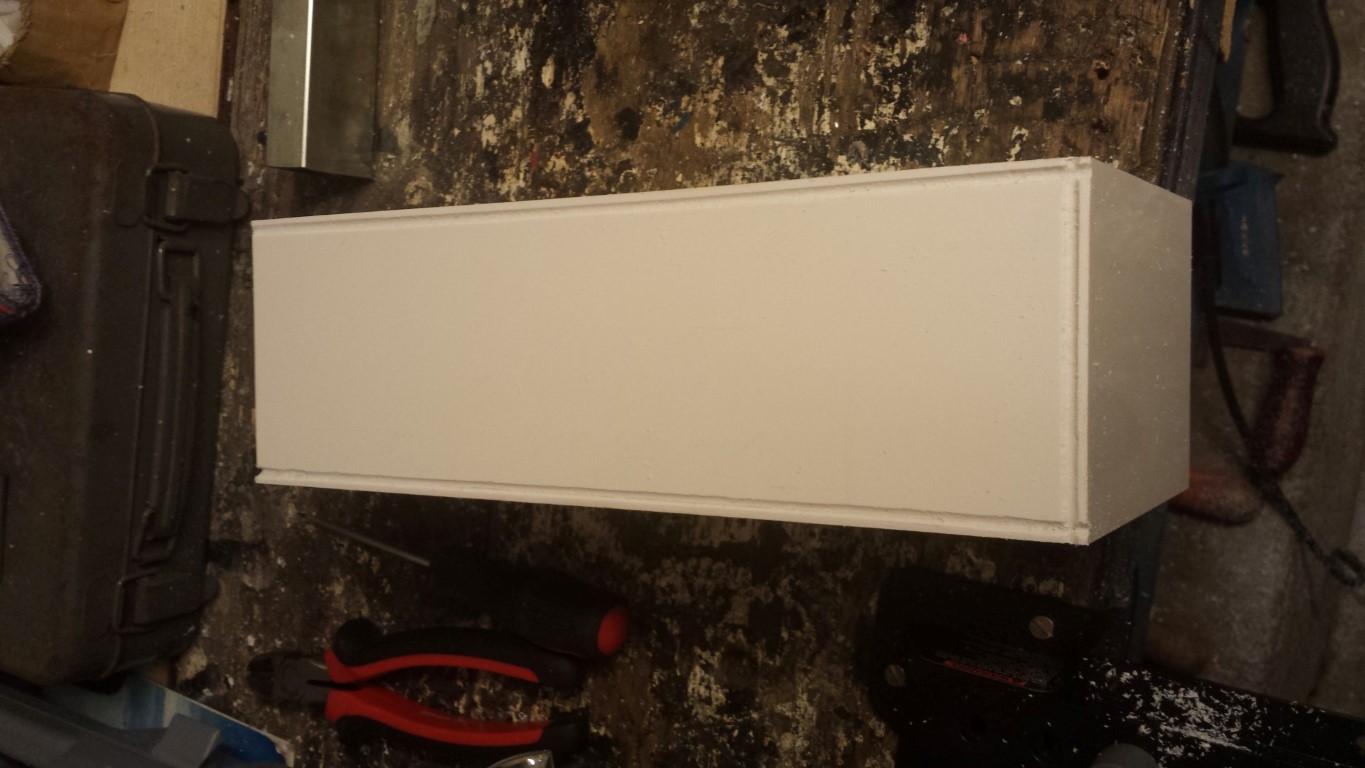
Blog
Posted on 22 July 2013 at 07:05 pm (CET)
Category: Batteries
Posted on 22 July 2013 at 07:05 pm (CET)
Category: Batteries
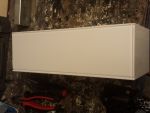
Today I've been busy making grooves on the outsides of all battery boxes. This is what it looks like.
In the next few days I'll try to weld them all. This should make them stronger than just having them glued.
Posted on 20 July 2013 at 05:03 pm (CET)
Category: General
Posted on 20 July 2013 at 05:03 pm (CET)
Category: General
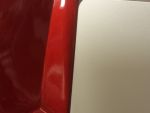
I received a color steel sheet with the new color the frame will get. Here it is in combination with the bordeaux red fenders.
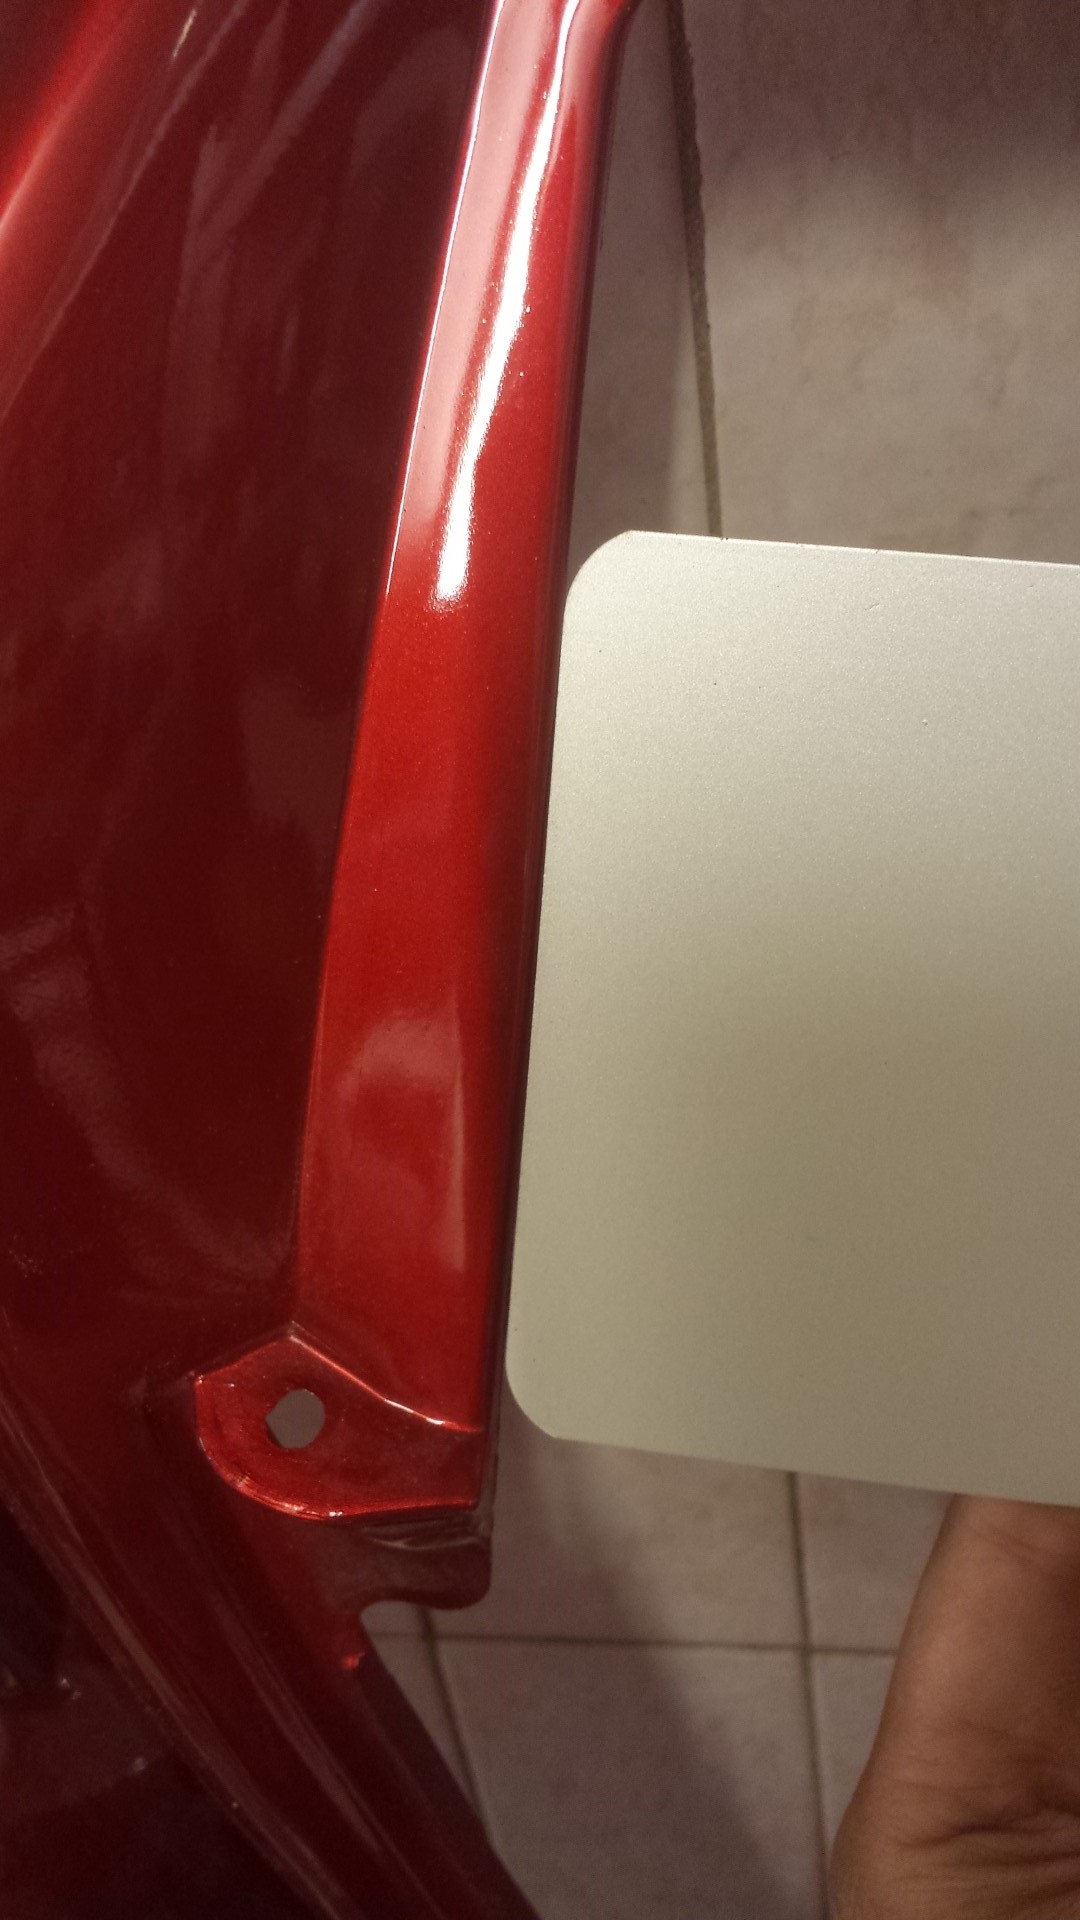
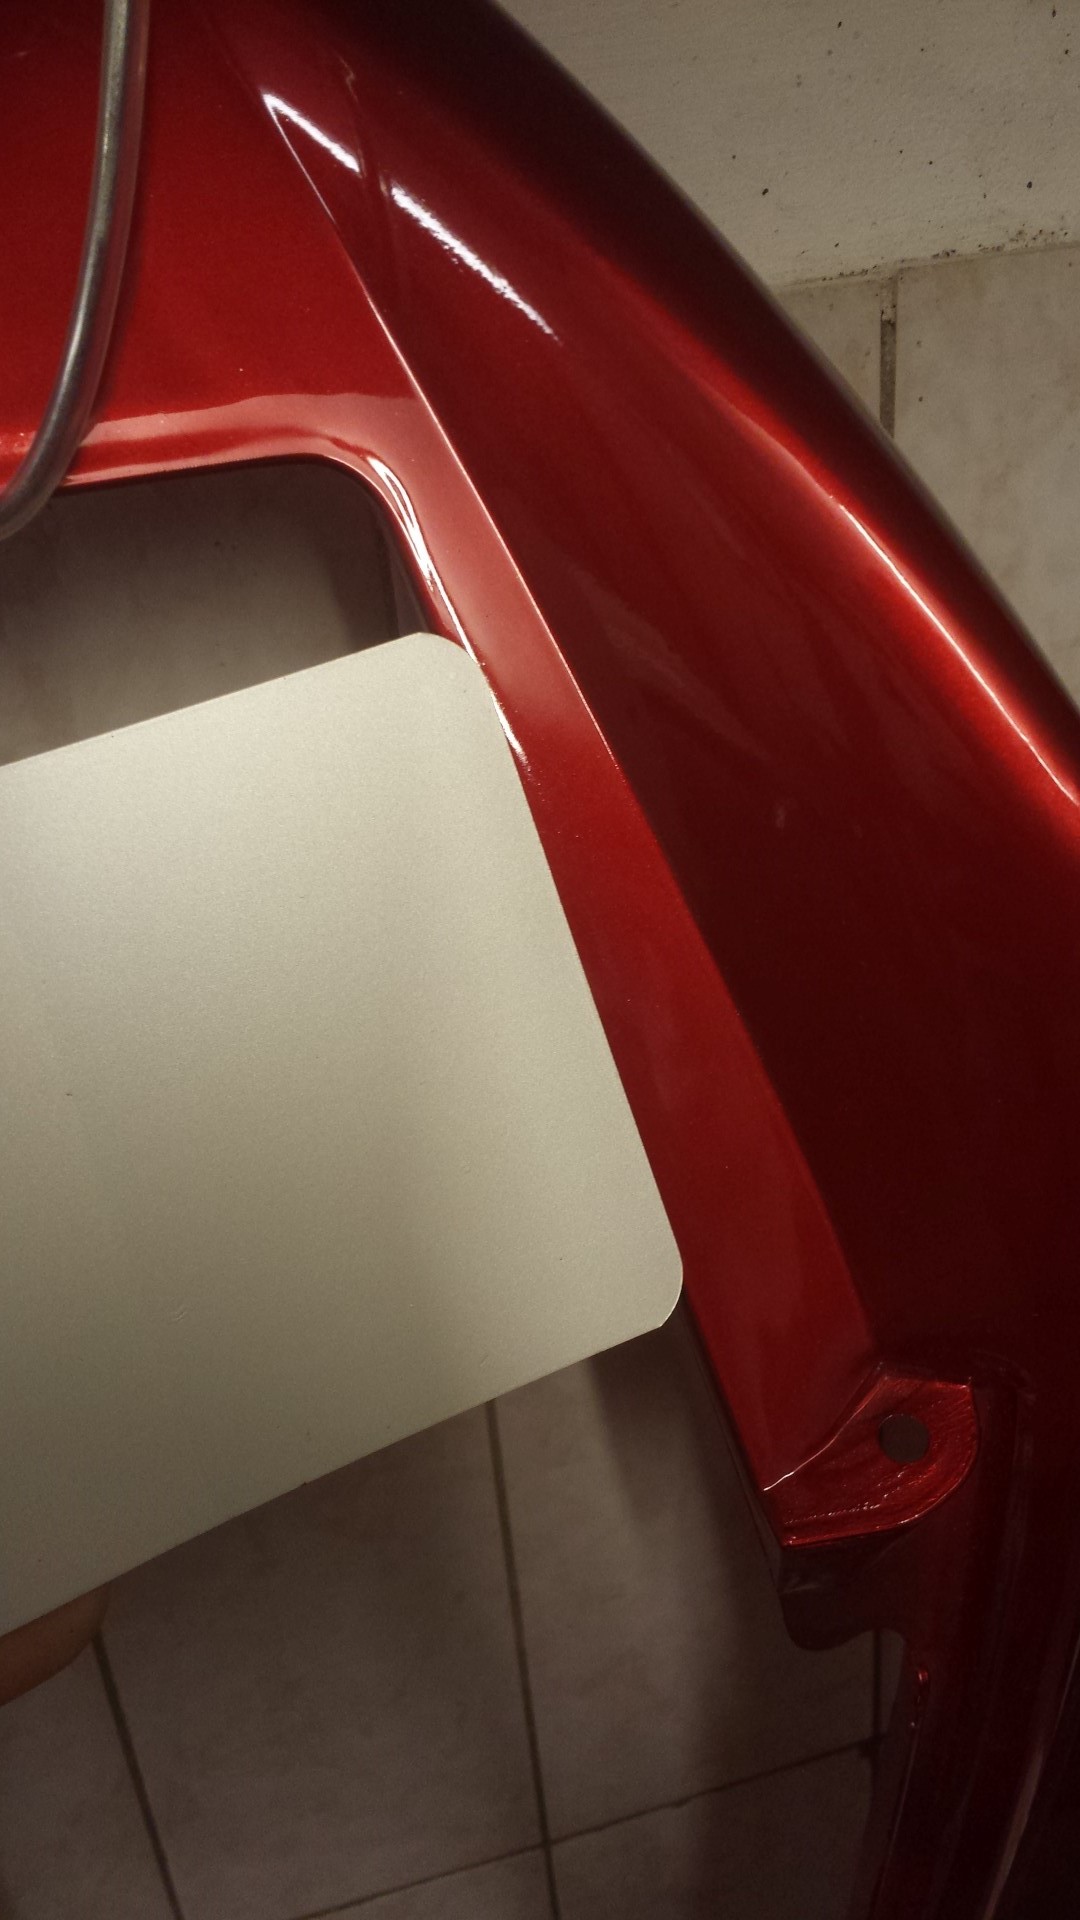
Bianco Canopus of Lamborghini, the best looking matte white color there is. The pictures don't really show how great the color looks though, but it really does look great. Just do a search for it on Google, there are some better pictures there of the color. I only haven't seen this color on a frame yet so it'll still be a surprise how it'll look like.
It'll only still take a while before the frame will be sprayed. This can only be done after everything that still has to get welded is actually welded. And I don't really know yet where exactly everything needs to get welded. So still need to have some patience.
Posted on 16 July 2013 at 07:16 pm (CET)
Category: Parts
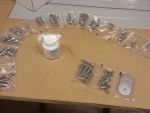
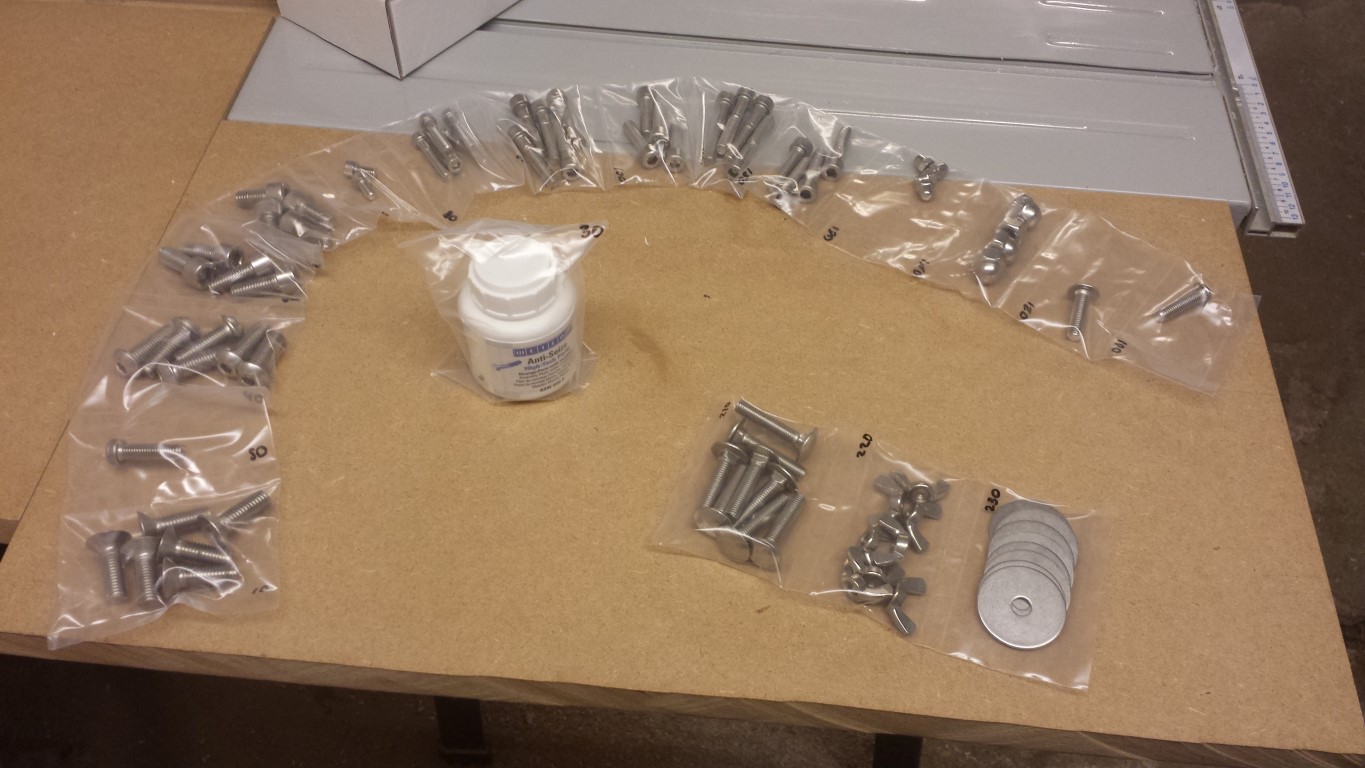
Today I received another package. All stainless steel bolts and nuts, everything's for the quad bike except the bottom 3. Also bought some anti-seize paste to prevent corrosion between the different materials.
For the rest not much news sadly, still trying to find a company that can help me with modifying the adaptor for front sprocket, making the adaptor for the rear sprocket and the mounts for the controller.
Posted on 14 July 2013 at 06:28 pm (CET)
Category: Electric motor, Parts
Posted on 14 July 2013 at 06:28 pm (CET)
Category: Electric motor, Parts
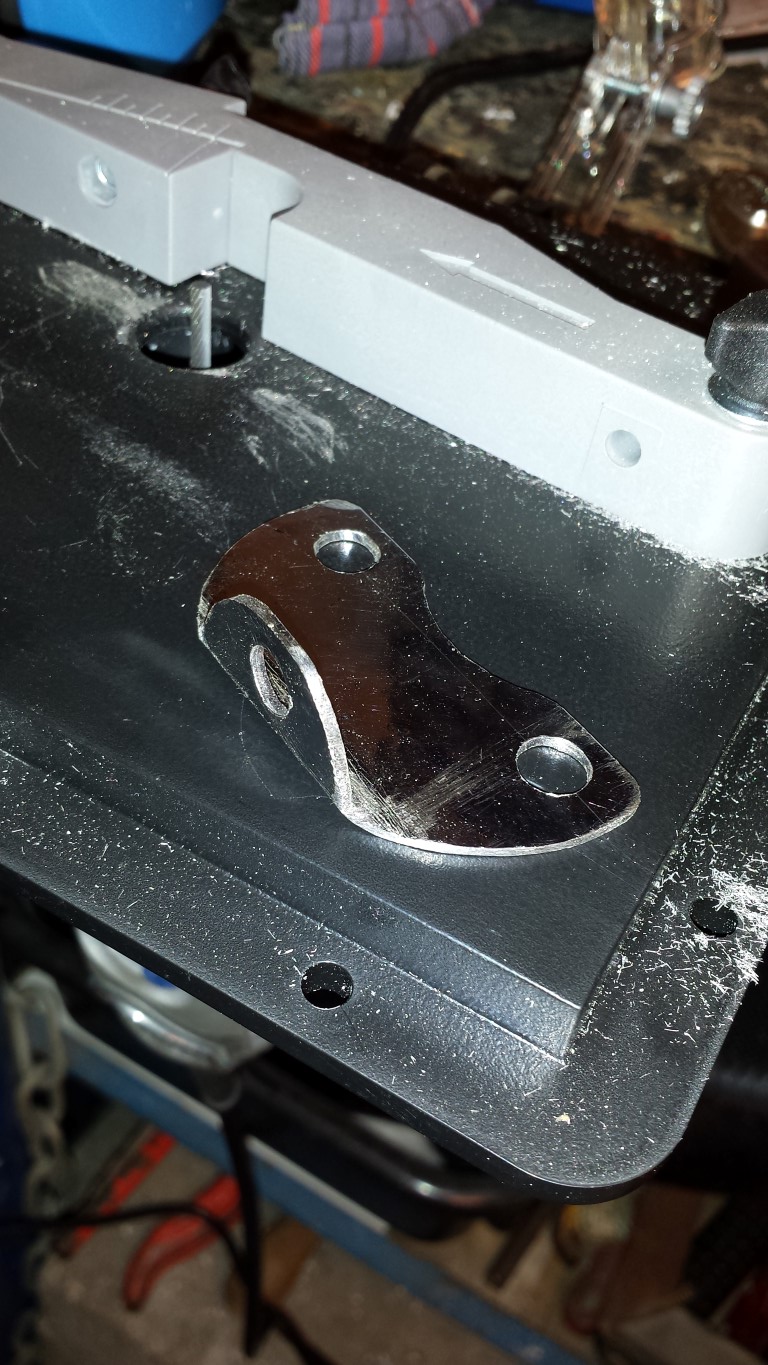
A little progress again, but something very important. The mount for the RPM sensor. Still had a small steel plate laying around with the right size. Only had to bend it a bit and make it round.
And here it's mounted on the motor mount. There's around 1 mm between the sensor and adaptor and the sensor has a range of 1,5 mm so it should work fine like this.
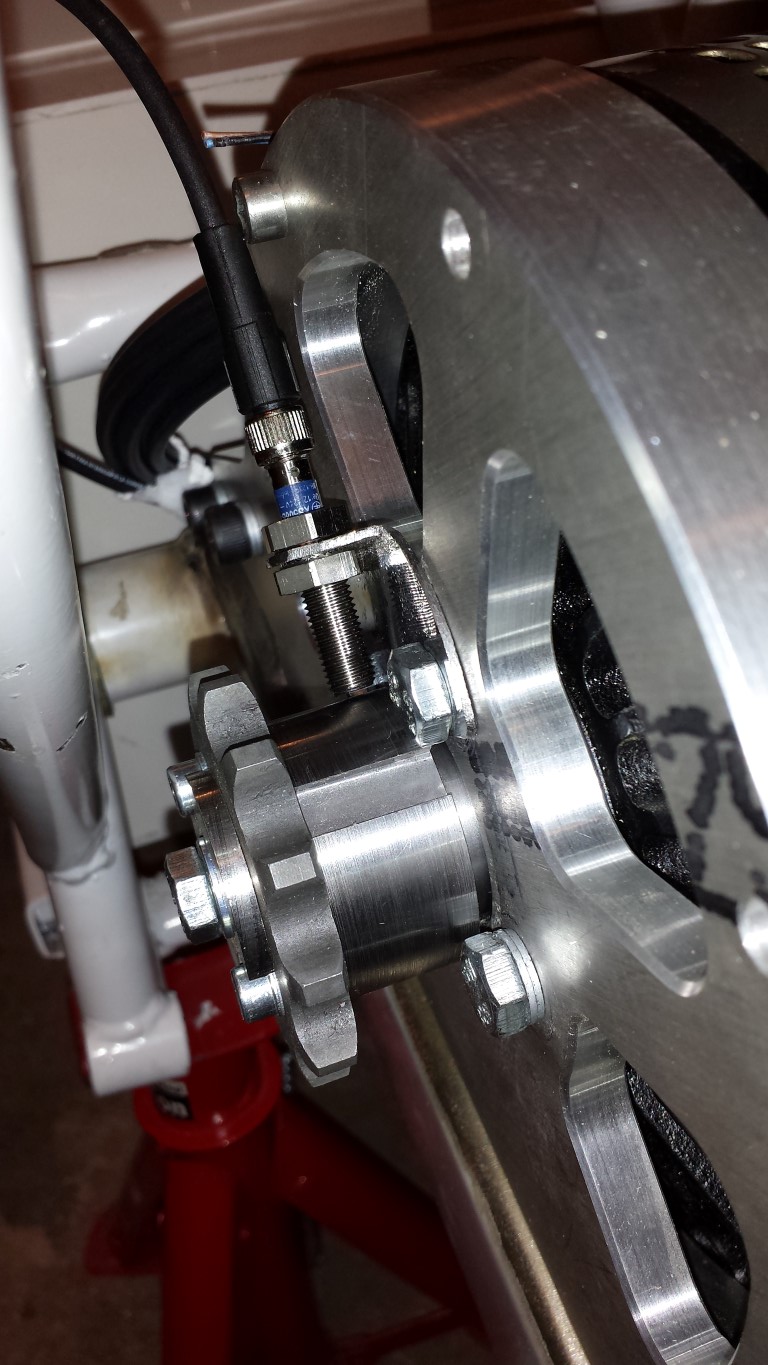
Could've been a little lower but I think it's okay. At least the chain will have some more space now.
Posted on 12 July 2013 at 10:22 pm (CET)
Posted on 12 July 2013 at 10:22 pm (CET)
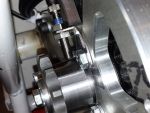
Finally some progress again. Or well, I'm back where I was one and a half month ago. The new adaptor for the front sprocket has been made. I asked for stainless steel but it's a steel one. Looking back at it this seems to be better anyway, I contacted some metalworking company about this. They said that stainless steel probably wouldn't be strong enough for this application. But it all fits pretty well now, also no more play between the adaptor and sprocket which was the case with the old adaptor. There's only a little bit of play between the motor's axle and the adaptor but it's very minimal. It'll be firmly attached anyway so I don't think it'll be a problem.
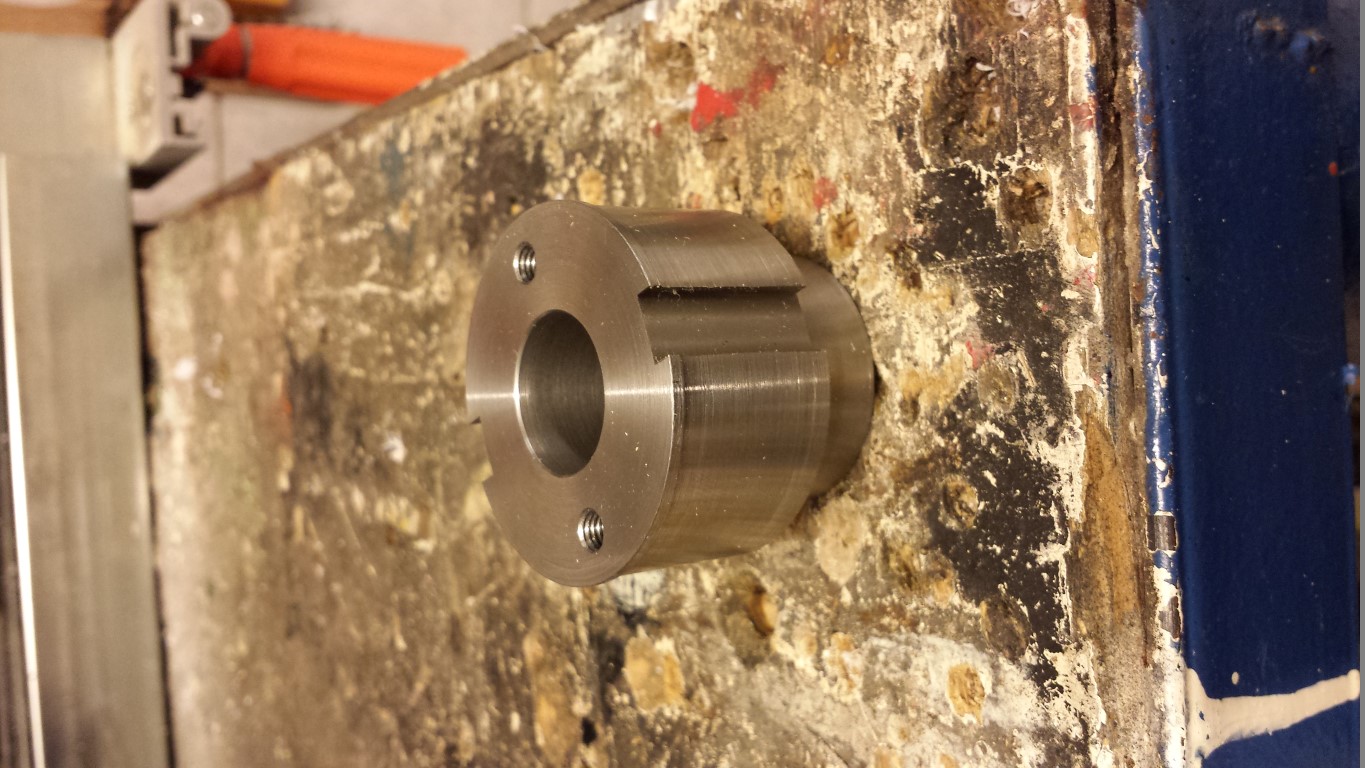
Just have go search for someone who has a wire cutting machine now to cut out a keyway in the adaptor and sprocket. Apparently this can't be done any other way. But after this I will actually have it the way I wanted it from the beginning.
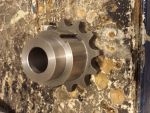
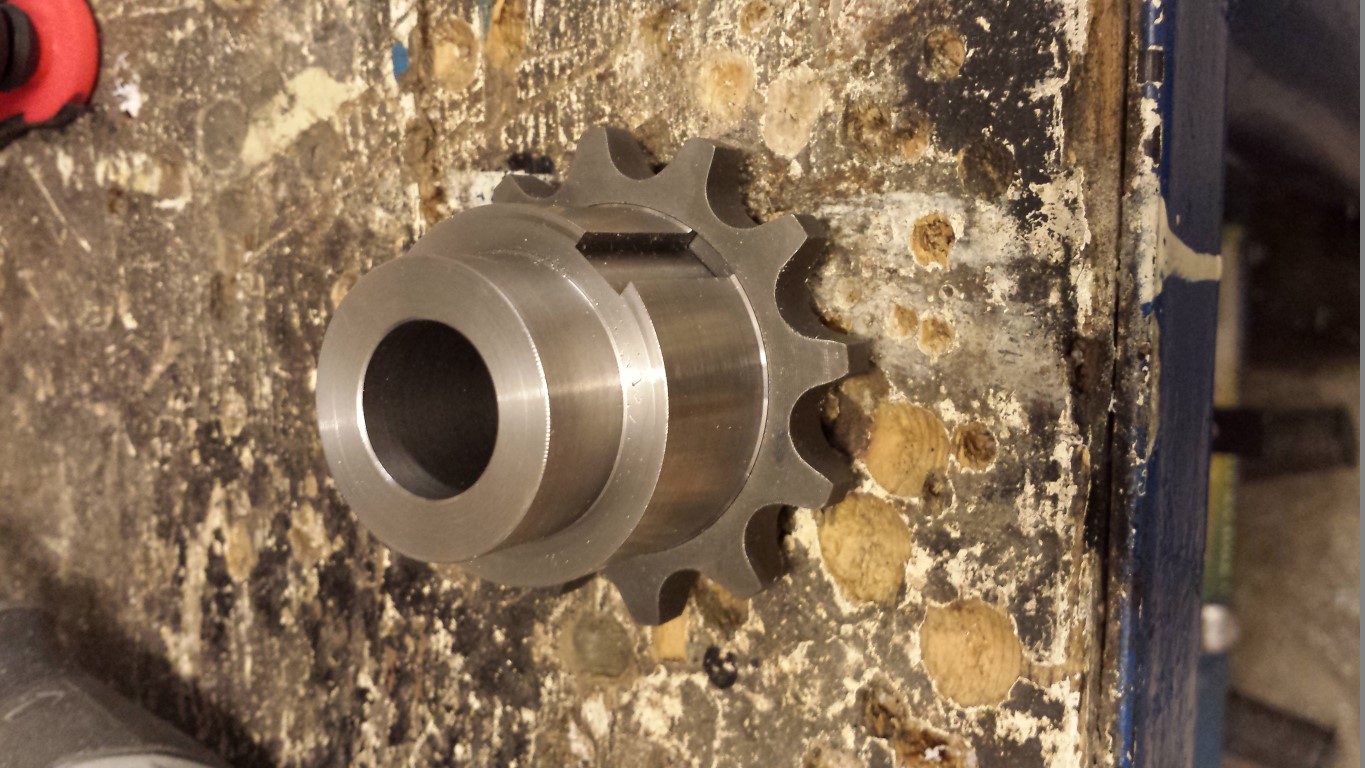
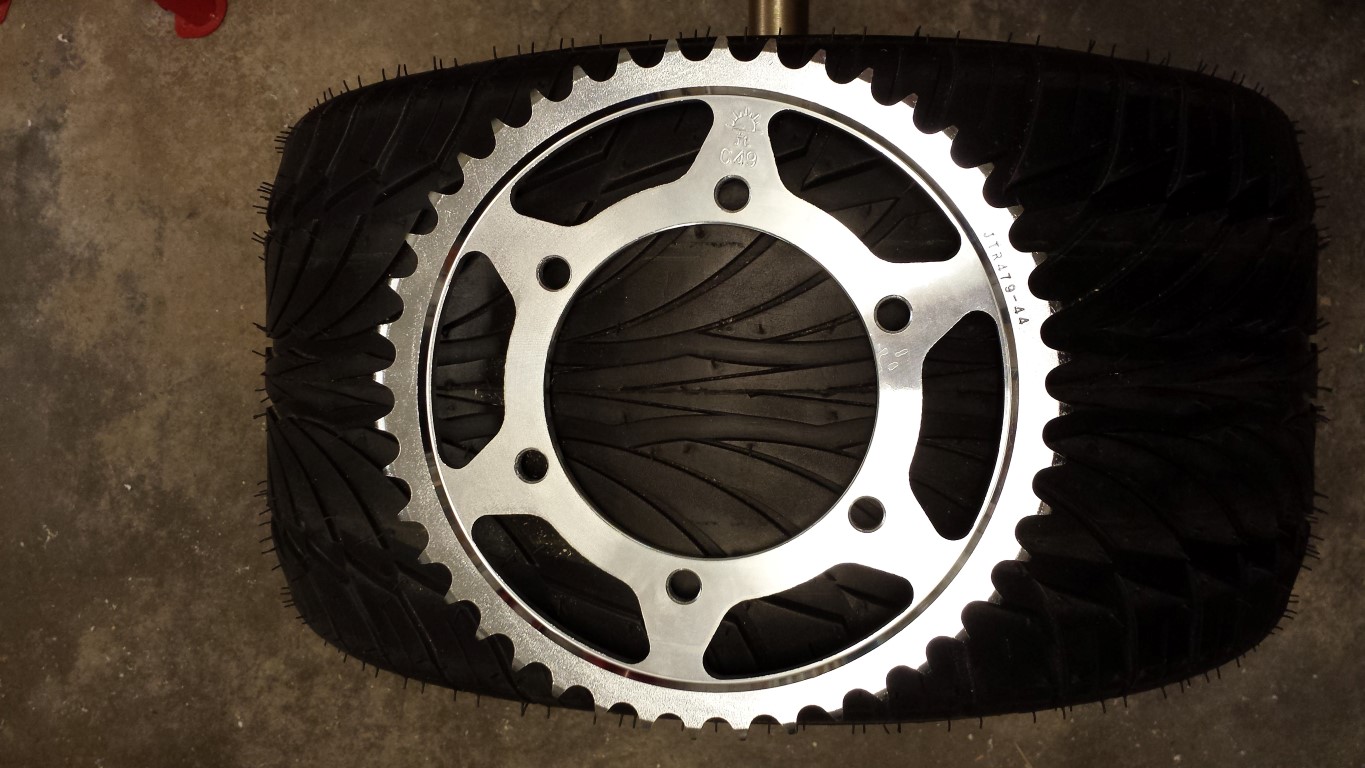
Today I also got something else. A new rear sprocket, steel 44 tooth of a Suzuki GSX-R 1000.
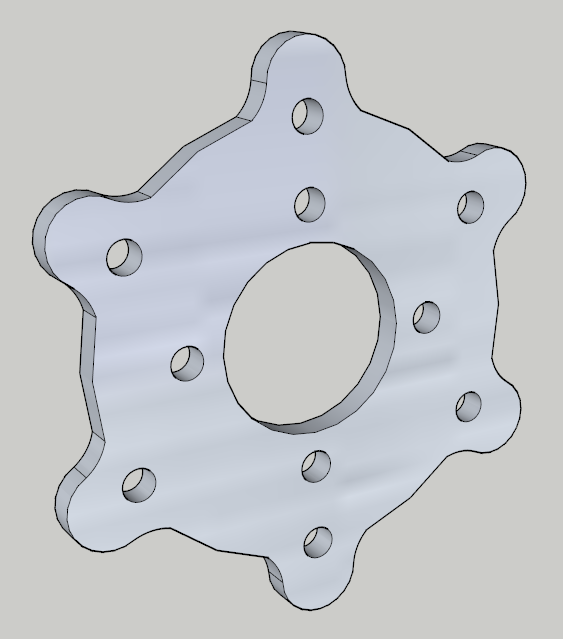
The aluminium sprocket will get a new life as an adaptor. I already drew it, just still need to get it routed. The rear sprocket can then be placed more inward and the chain will then run in a perfectly straight line. This is what it'll look like.
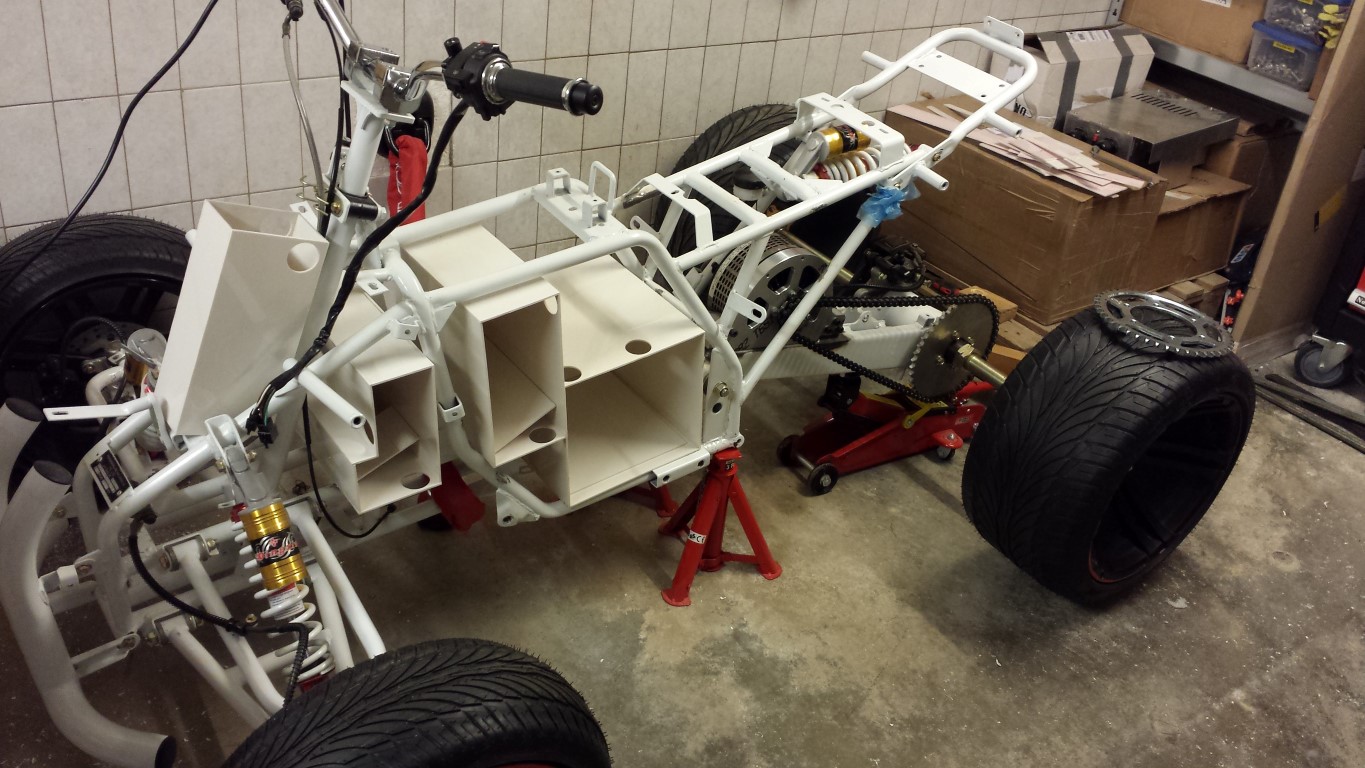
And a quick picture of the whole quad bike after today.