
 Nederlands
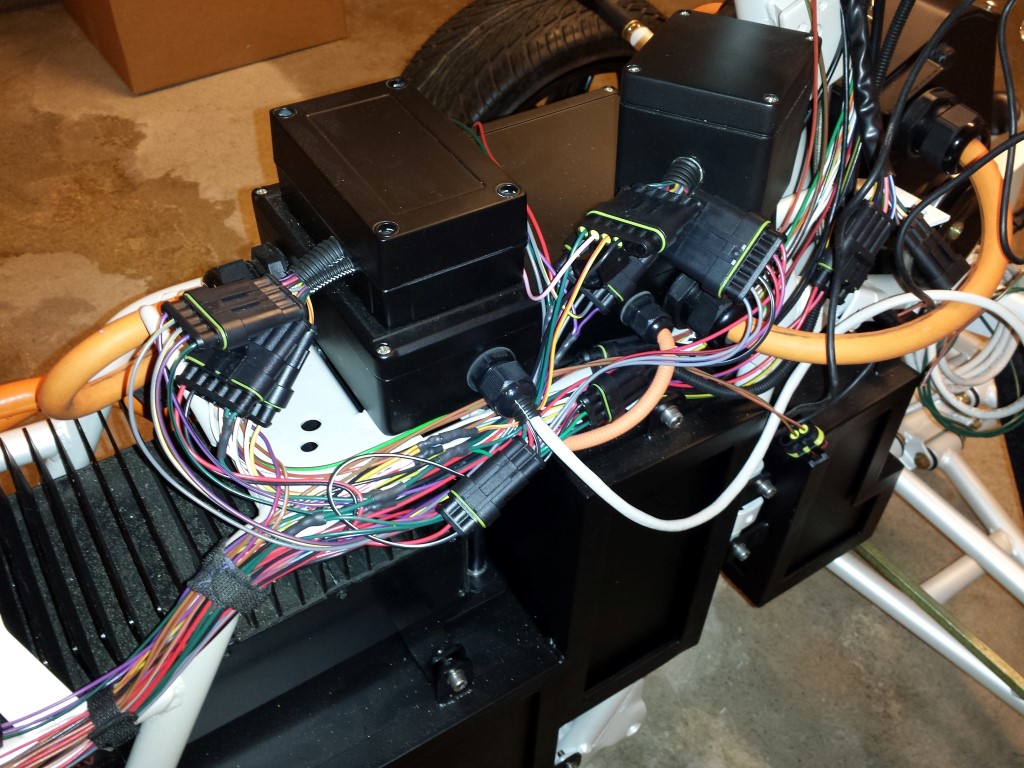
Blog / December 2014
Posted on 30 December 2014 at 11:52 pm (CET)
Category: Wiring (12V), Wiring (HV)
Posted on 30 December 2014 at 11:52 pm (CET)
Category: Wiring (12V), Wiring (HV)
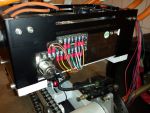
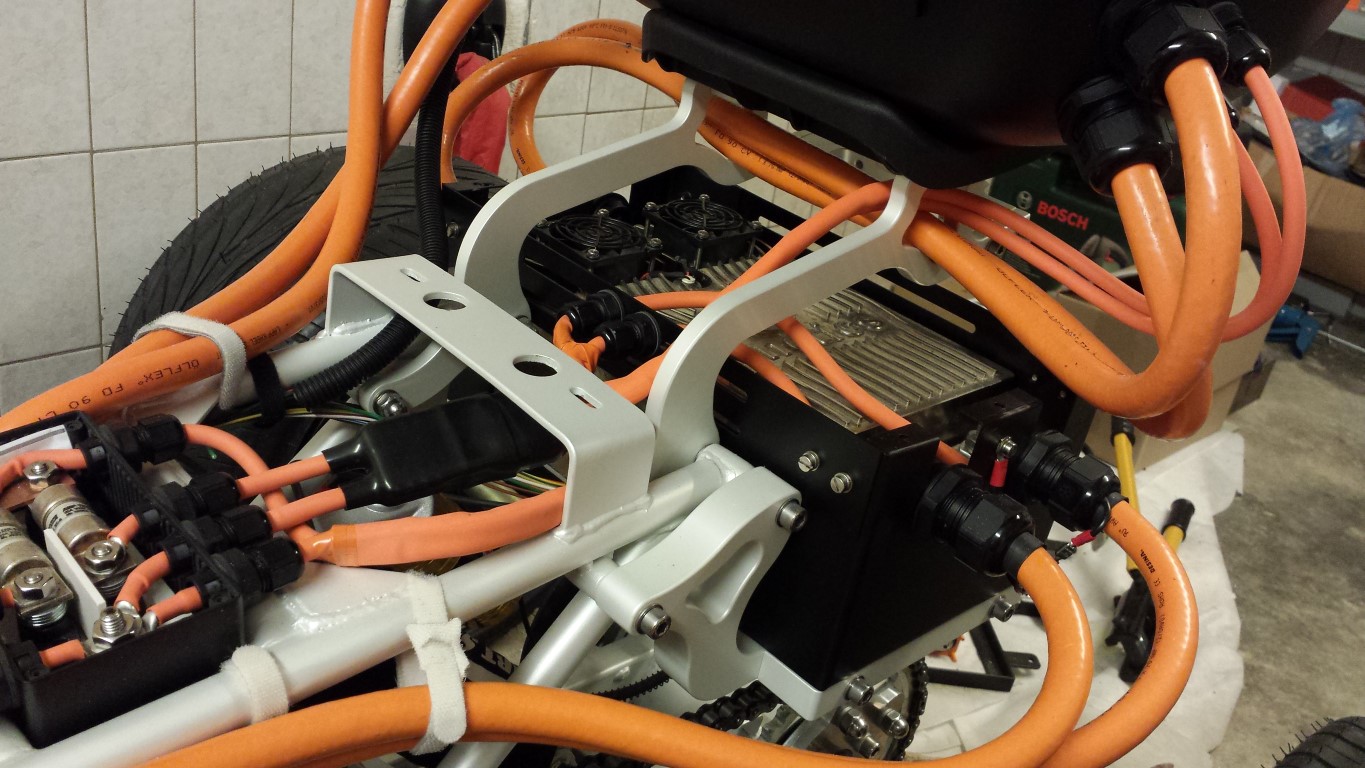
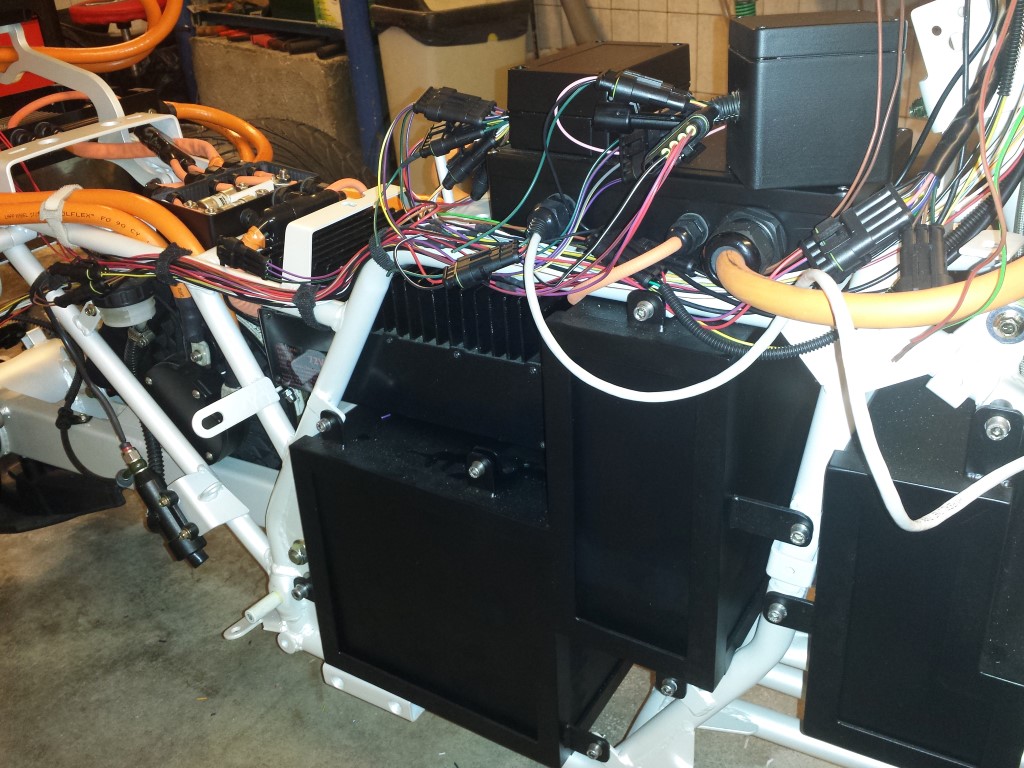
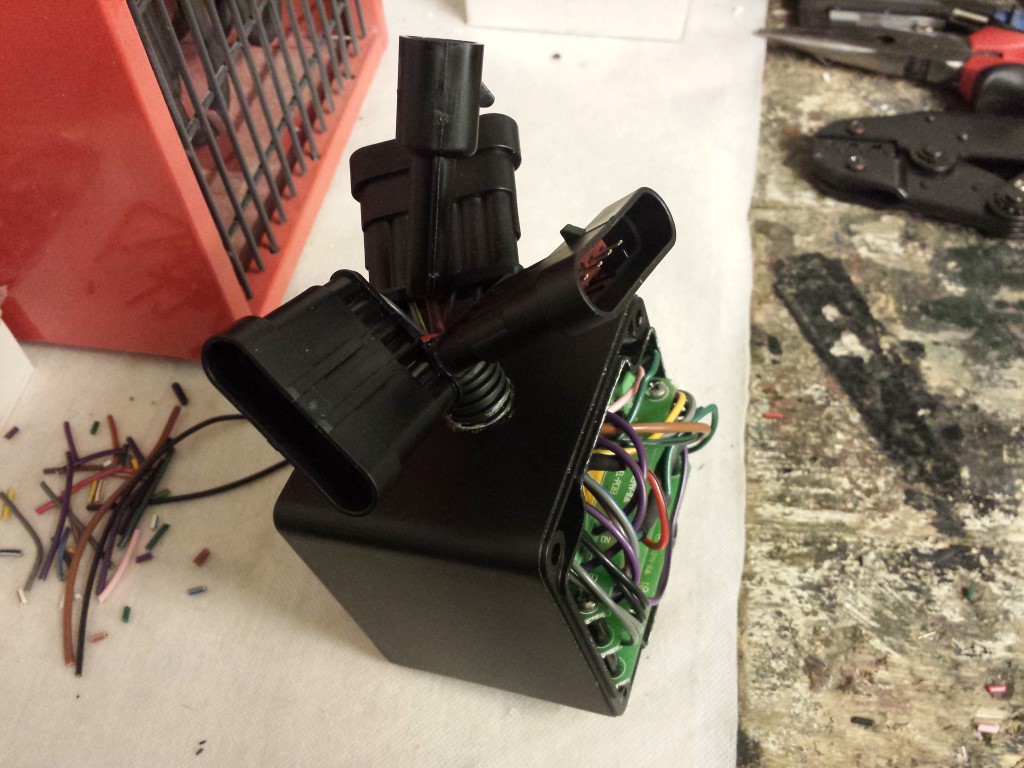
Just a quick update before the end of the year. I continued with the wiring again. The wire harness itself is pretty much done. Just still had to connect everything at the rear to the controller and in the top case.
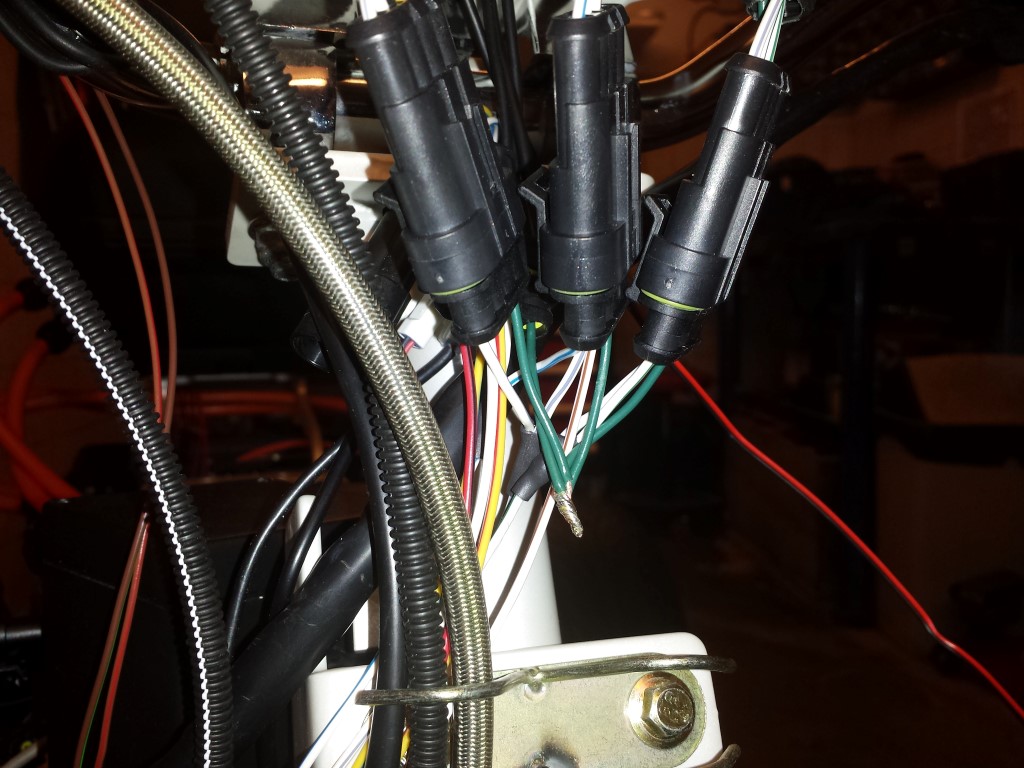
On the controller I've done it already, everything's connected there now.

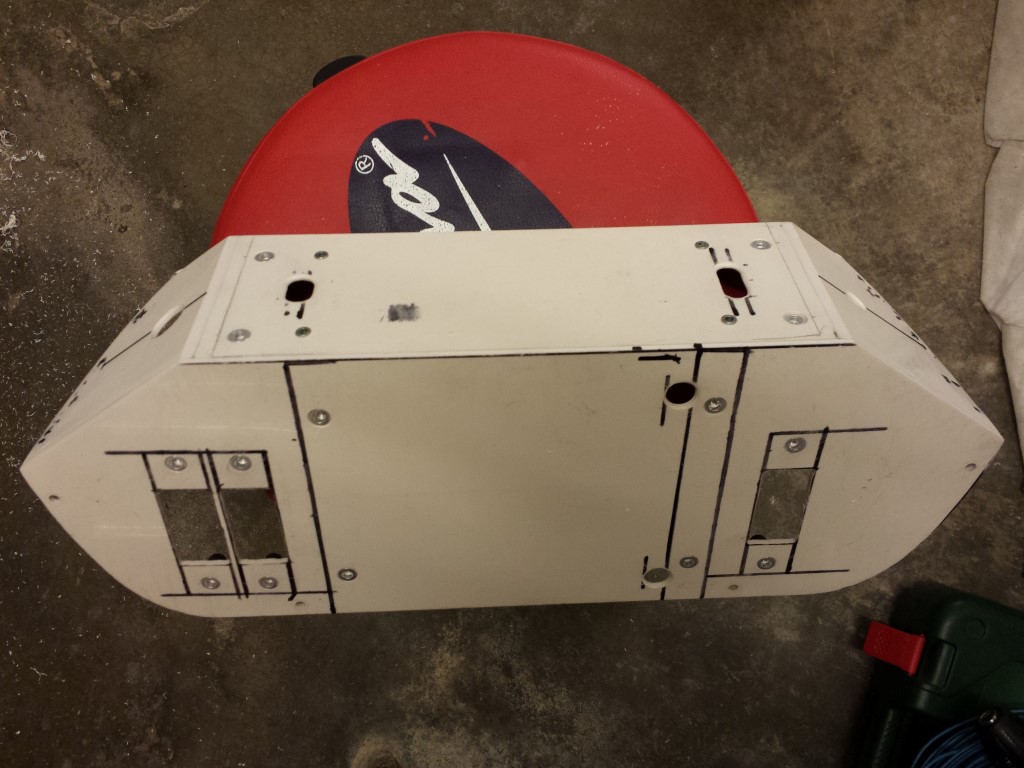
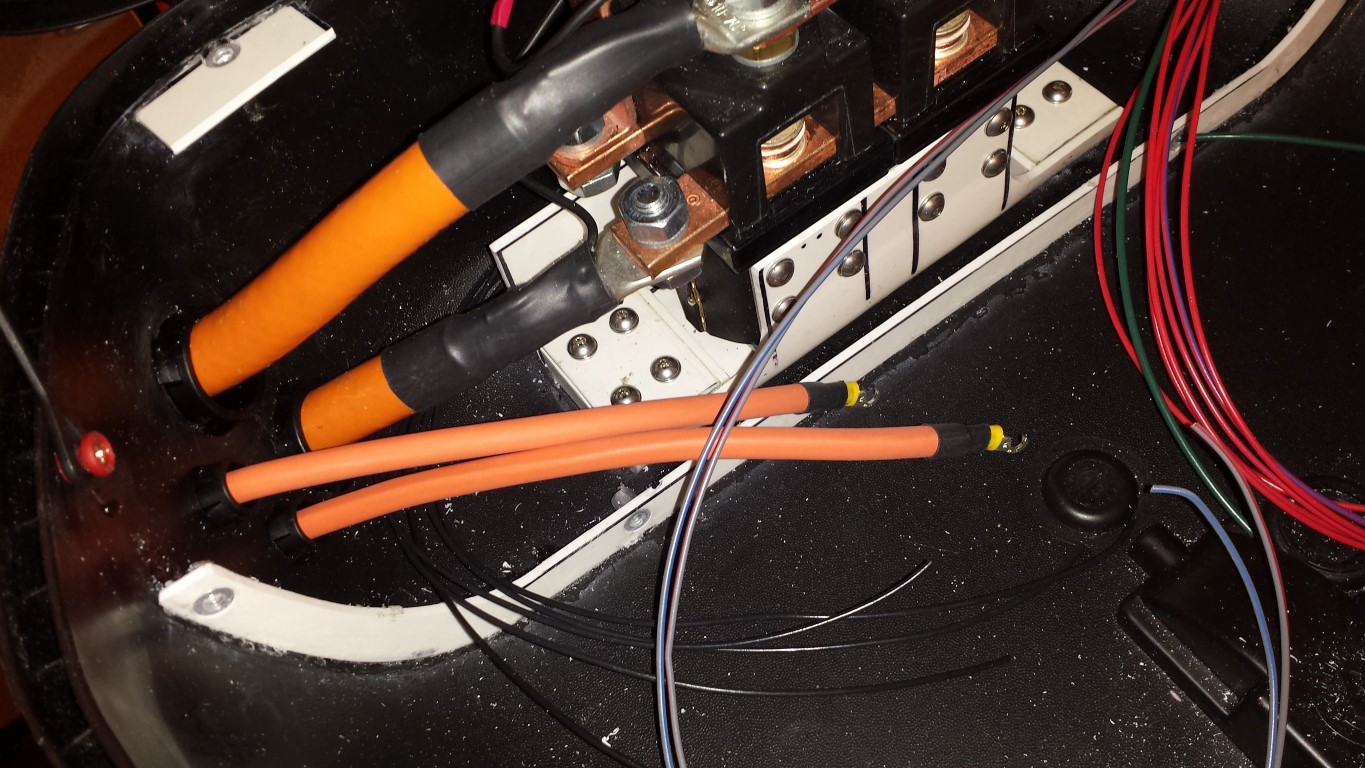
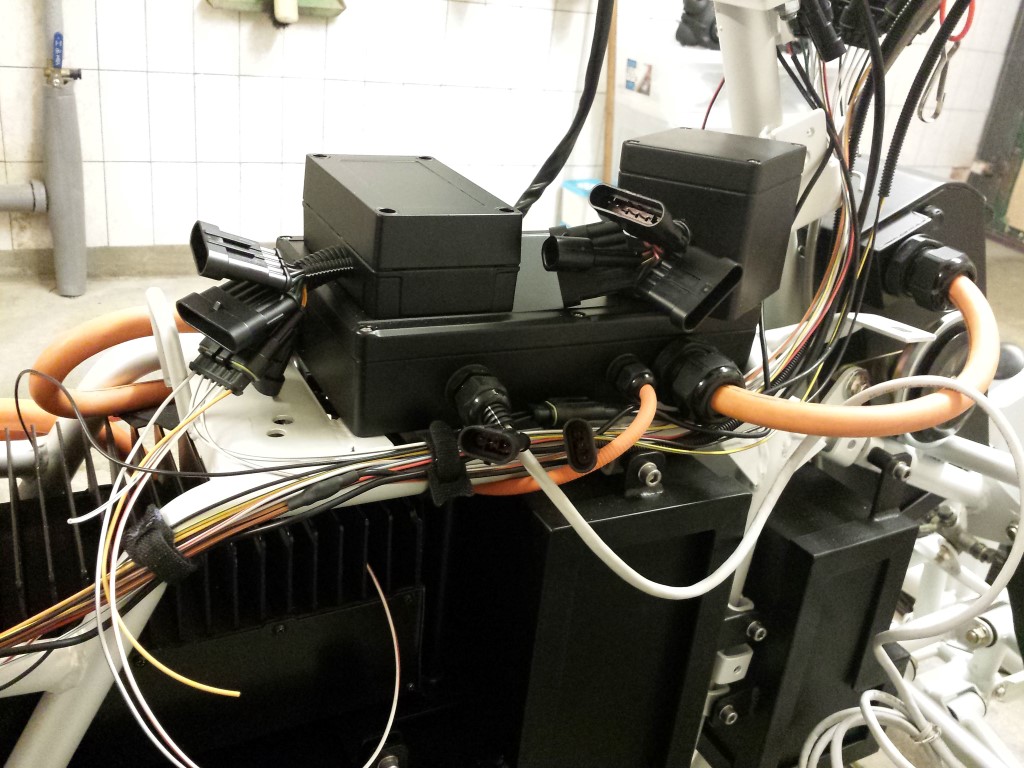
In the top case I removed the protective plate again and made some modifications. The round holes are for cable pass through and some switches. What the bigger holes in the front side are for I'll show you in a few days once the plates are sprayed and everything's on there.
The wires to the top case are also all in there already, just still have to connect them all.
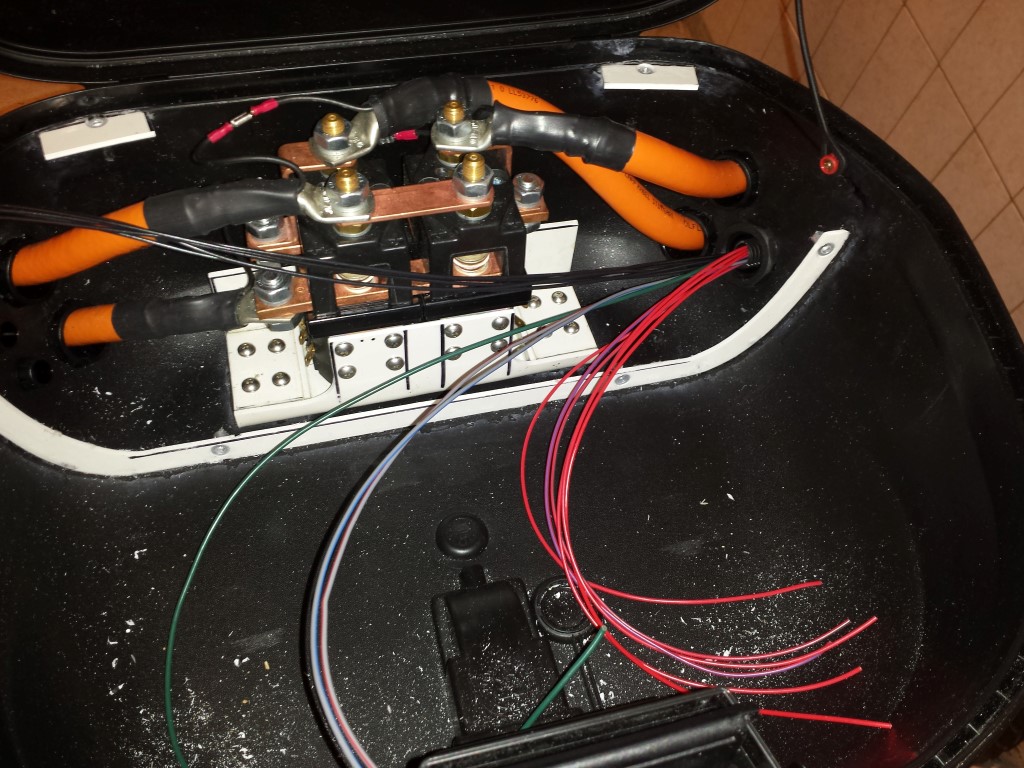

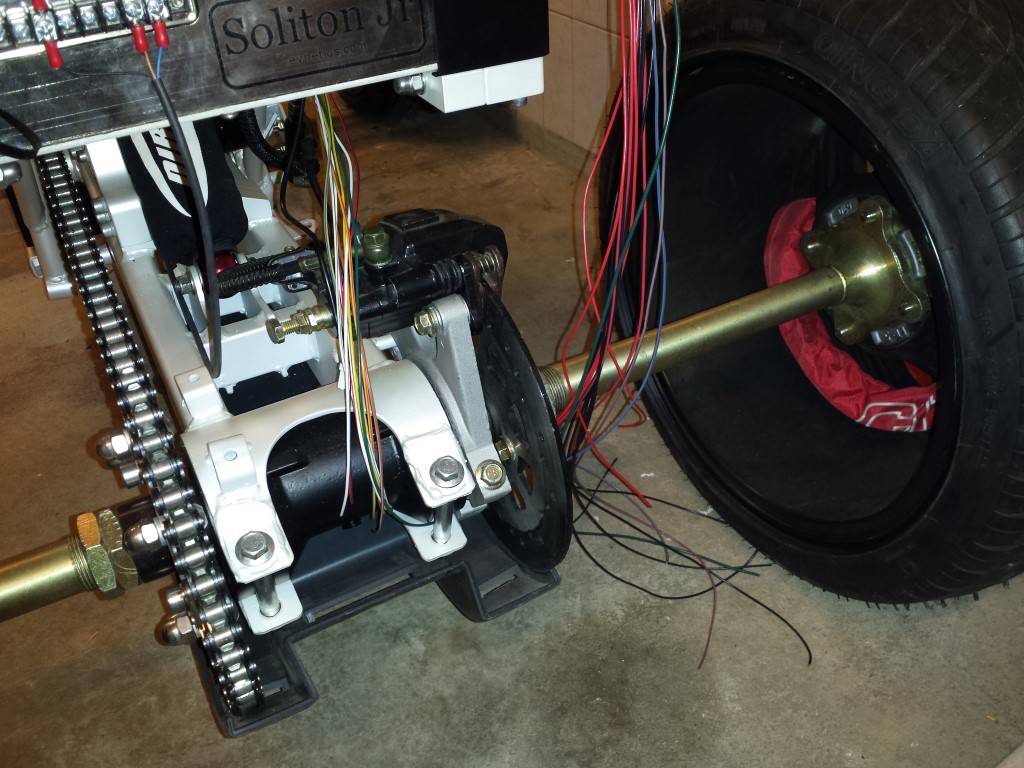
And the thicker high voltage wires for the DC-DC converter are also ready to be connected.
Next year there'll be more updates again. January will be very fun, that's what I can tell already.
Posted on 19 December 2014 at 12:11 am (CET)
Category: Charger, Wiring (12V)
Posted on 19 December 2014 at 12:11 am (CET)
Category: Charger, Wiring (12V)
Past few days I was able to do a bit more again. The charge inlet is all connected now. Just still have to find a way to seal the rubber at the bottom.
I also still continued with the wire harness, there are quite a few wires added again and everything that had to be combined is already soldered.
The wire harness is almost completely done for a test ride now. Just still have to add the wires for the lighting after that. But I'm still waiting on the new wires that I ordered, untill I get them I can't really continue with it.
Posted on 7 December 2014 at 11:43 pm (CET)
Category: Wiring (12V)
Posted on 7 December 2014 at 11:43 pm (CET)
Category: Wiring (12V)
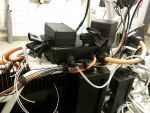
The past 3 weeks I unfortunately didn't have much time to work on the quad bike so not much has happened. But I did make a start already on the wire harness.
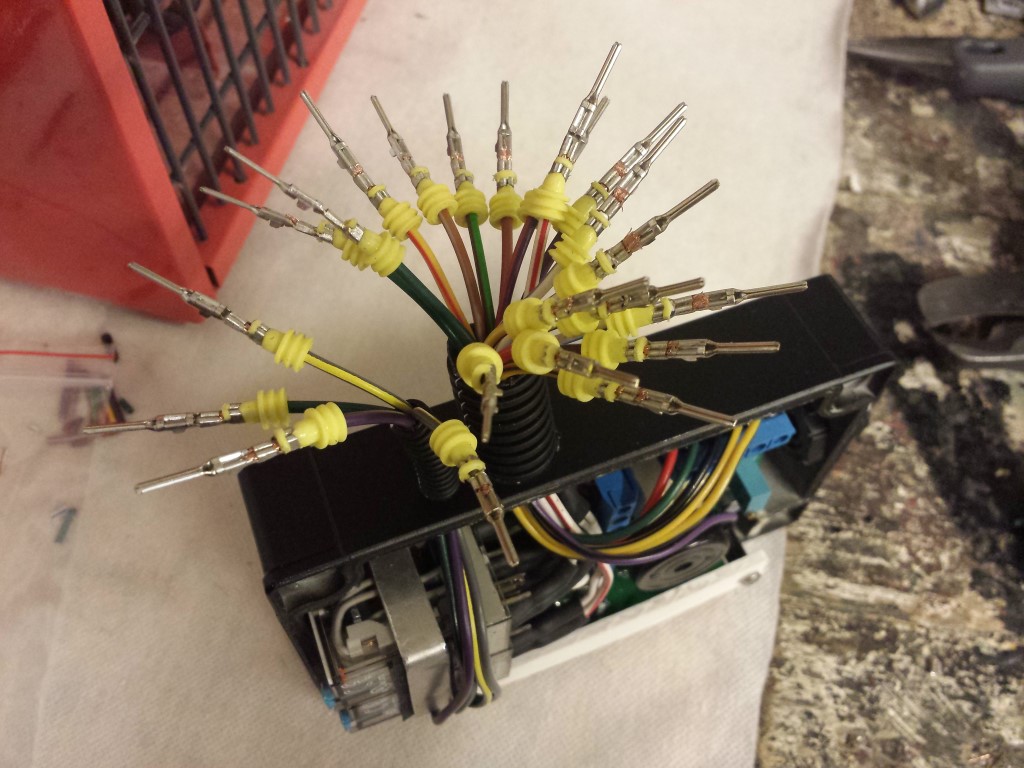
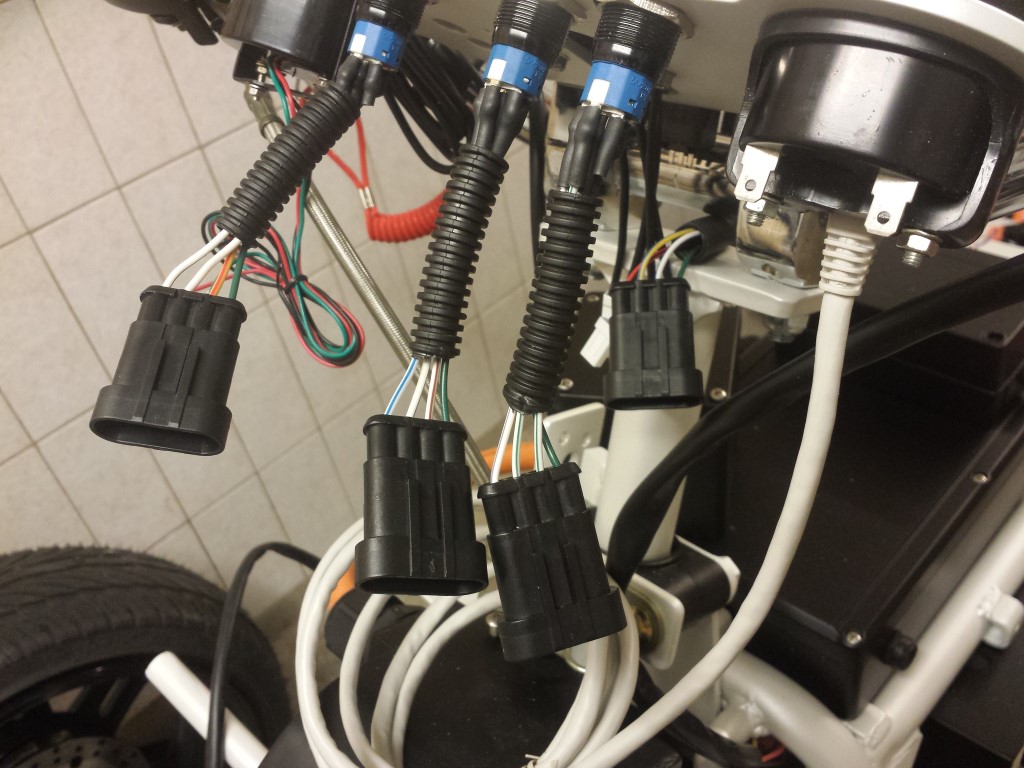
First I started with placing the waterproof connectors on all of the wires. A lot of time went into this. I do have a special tool for this but there are quite a lot of wires where I have to crimp the contacts onto.
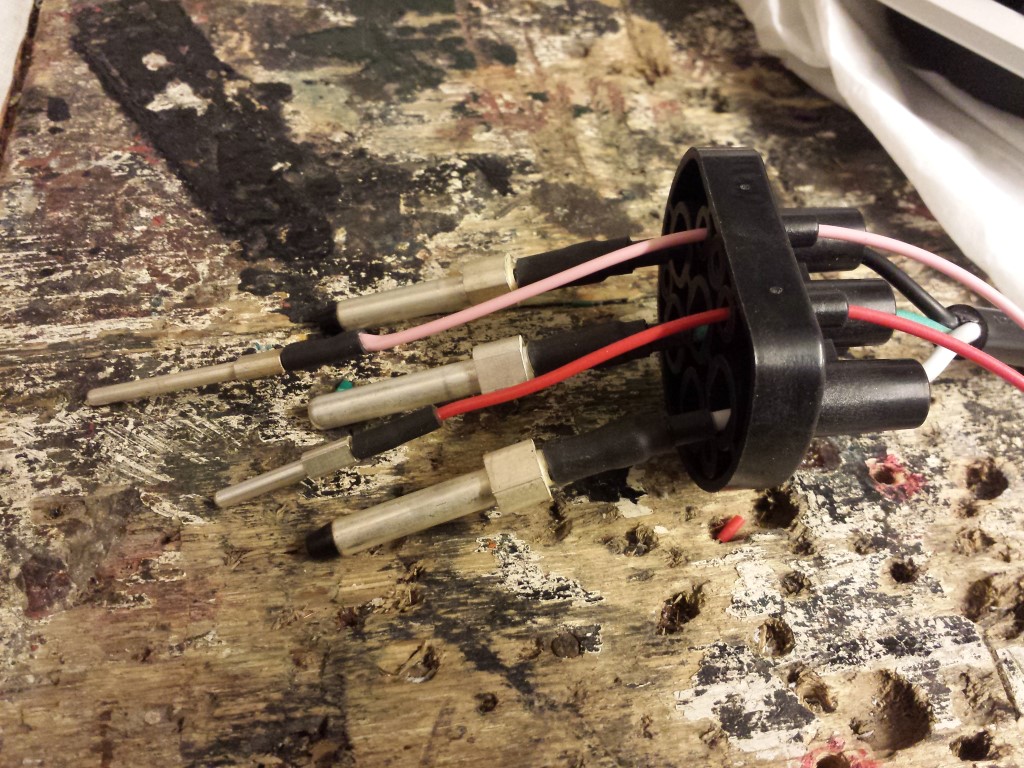
Here with just the contacts and rubbers on there.

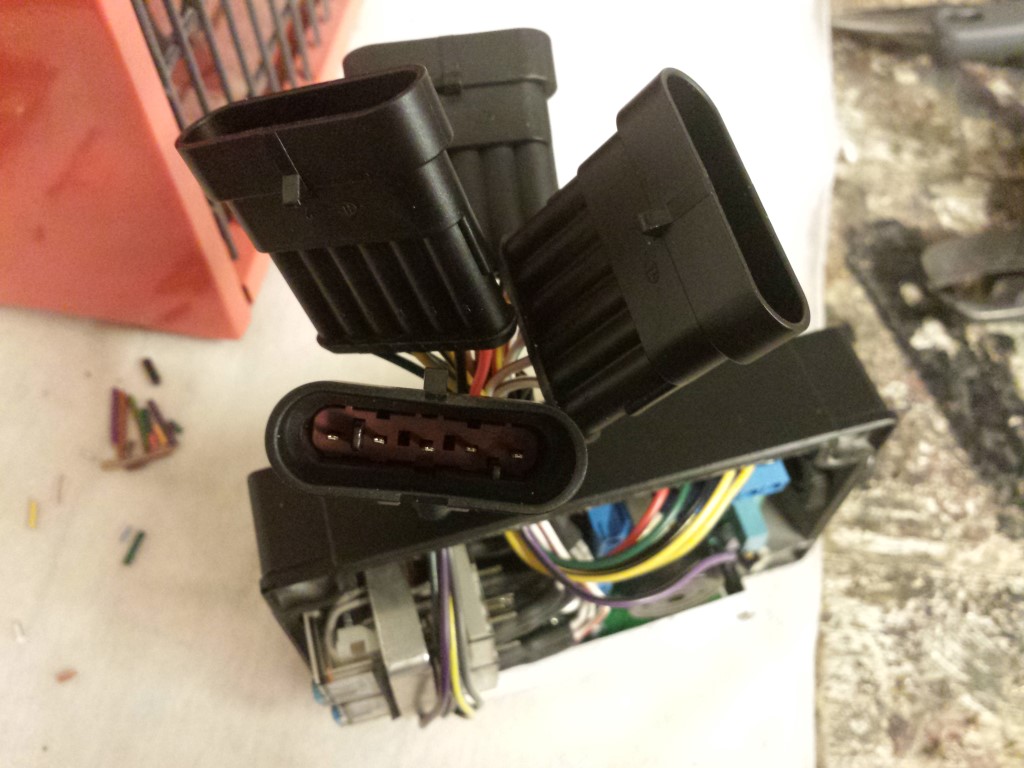
Then I placed the connector enclosures on there.
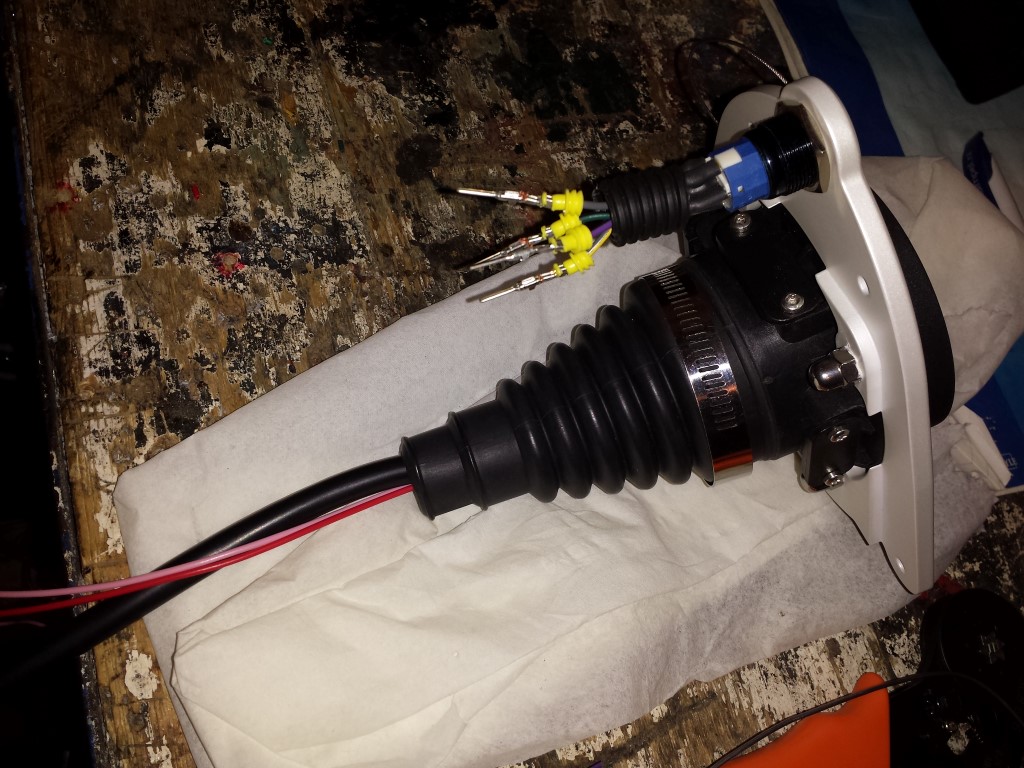
I've done the same with all of the switches on the gauge plate.
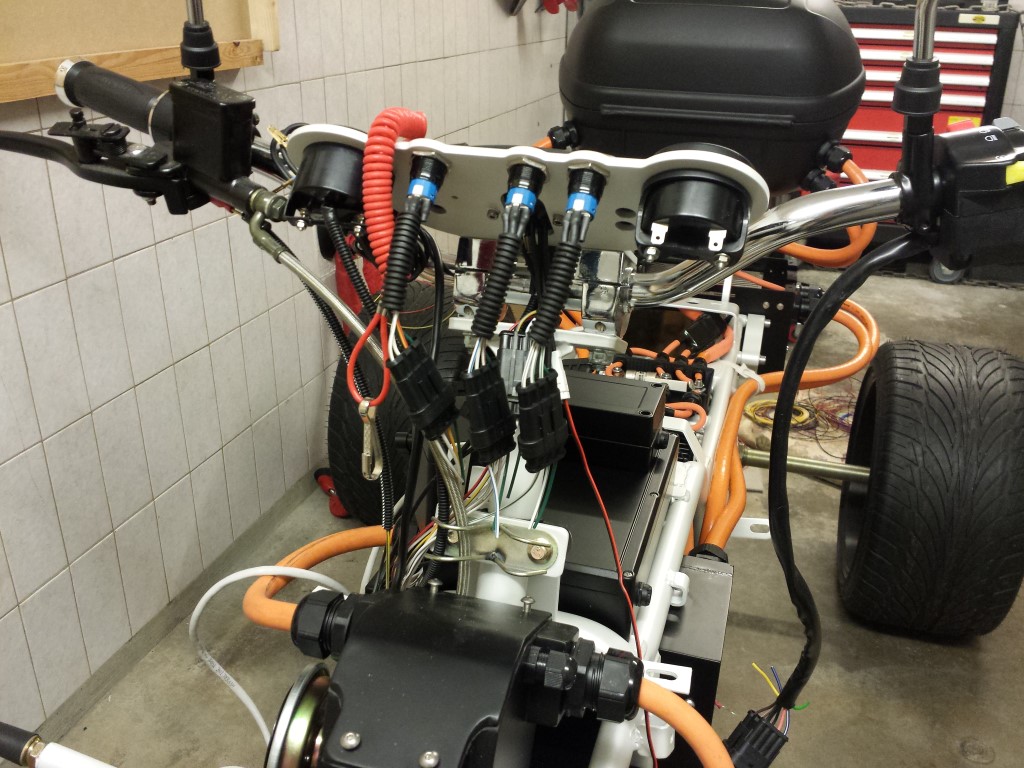
This weekend I could finally start with the wire harness itself. I just found out already that I don't have enough wires and also not enough connectors. So I'll have to wait for that to be able to continue again. But I do already have a few wires done.
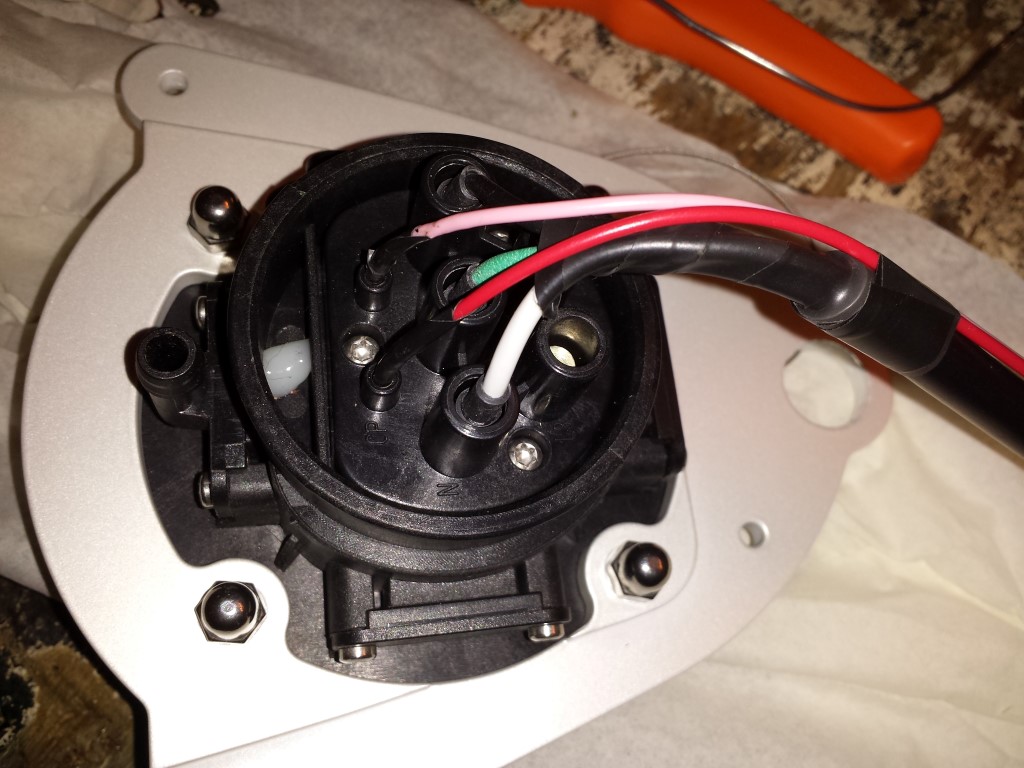
Meanwhile I also had to modify the handlebar switch a bit. I saw in the diagram of it that it has to be connected in a different way than the original one I had. The killswitch and horn used the same + wire, that would never work well in my case. So I gave the horn a seperate + wire and I also switched around the wires for the killswitch so the icons will match with what it actually does. Was a bit easier than having to adapt the whole wire harness to this.

The coming days I'll continue with the wire harness again, this is the kind of work that I really like.