
 Nederlands
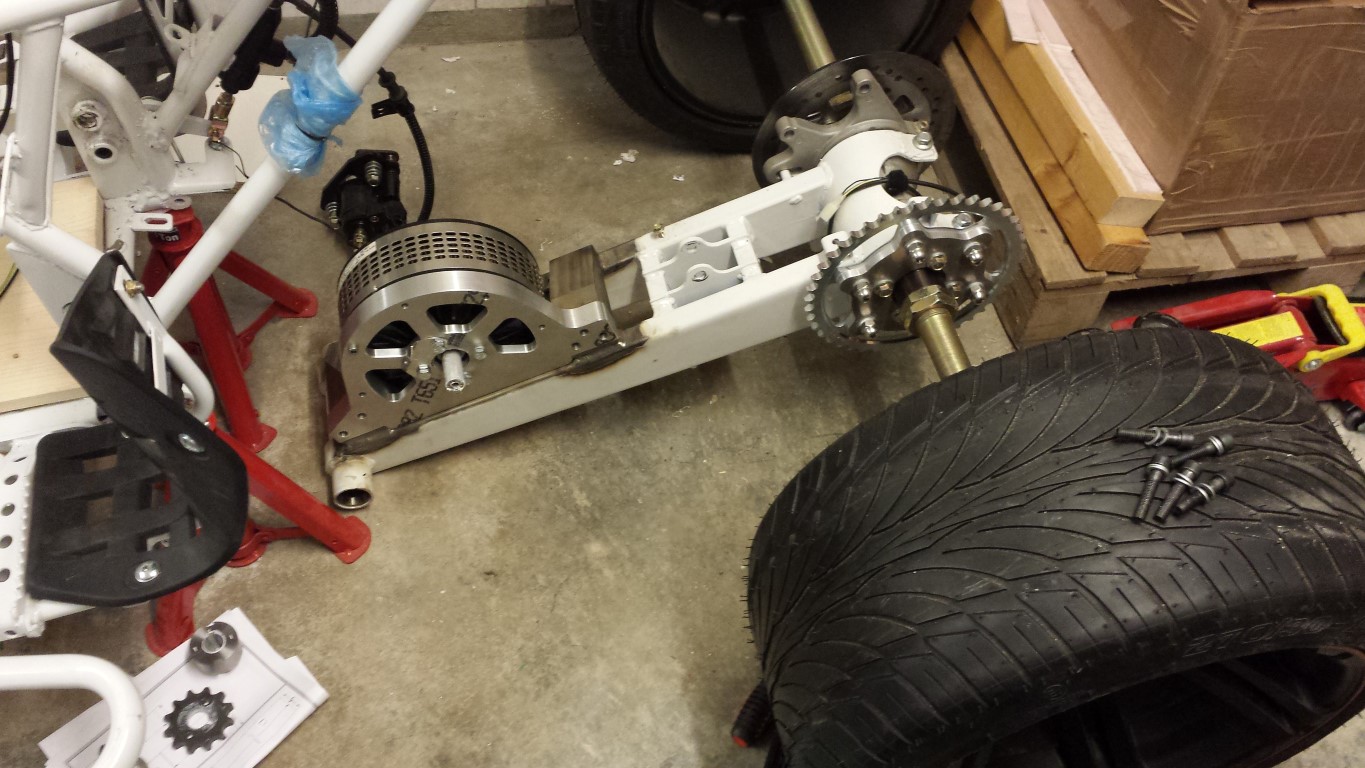
Blog / Controller
Posted on 13 September 2013 at 12:28 am (CET)
Posted on 13 September 2013 at 12:28 am (CET)
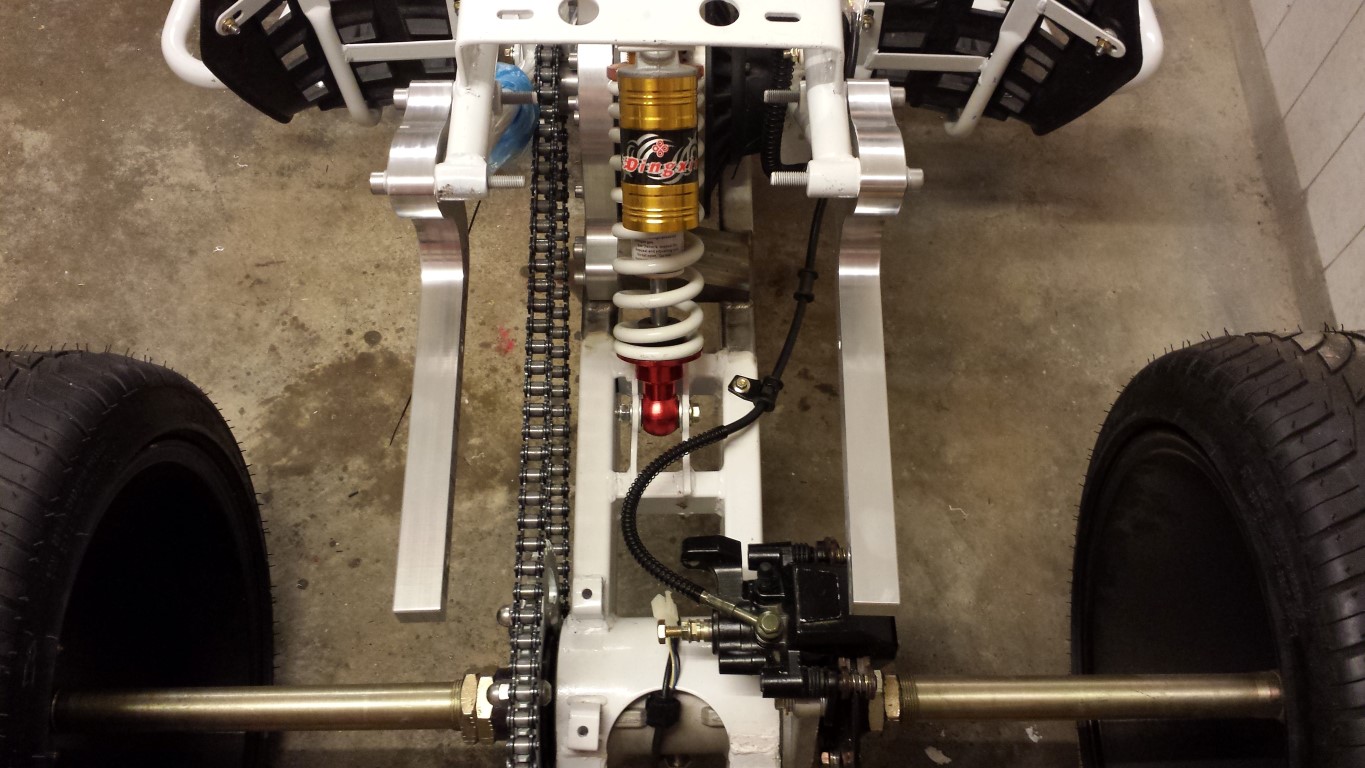
Very good news today, the mounts for the controller and a new plate for the RPM sensor are done and also fitted them already. Been working on it for the whole evening. I do have to grind off 2 mounting points on the frame though since the mounts are pointing inward a bit. But it's an easy fix, will do it tomorrow. Couldn't make any noise anymore here so late in the evening.
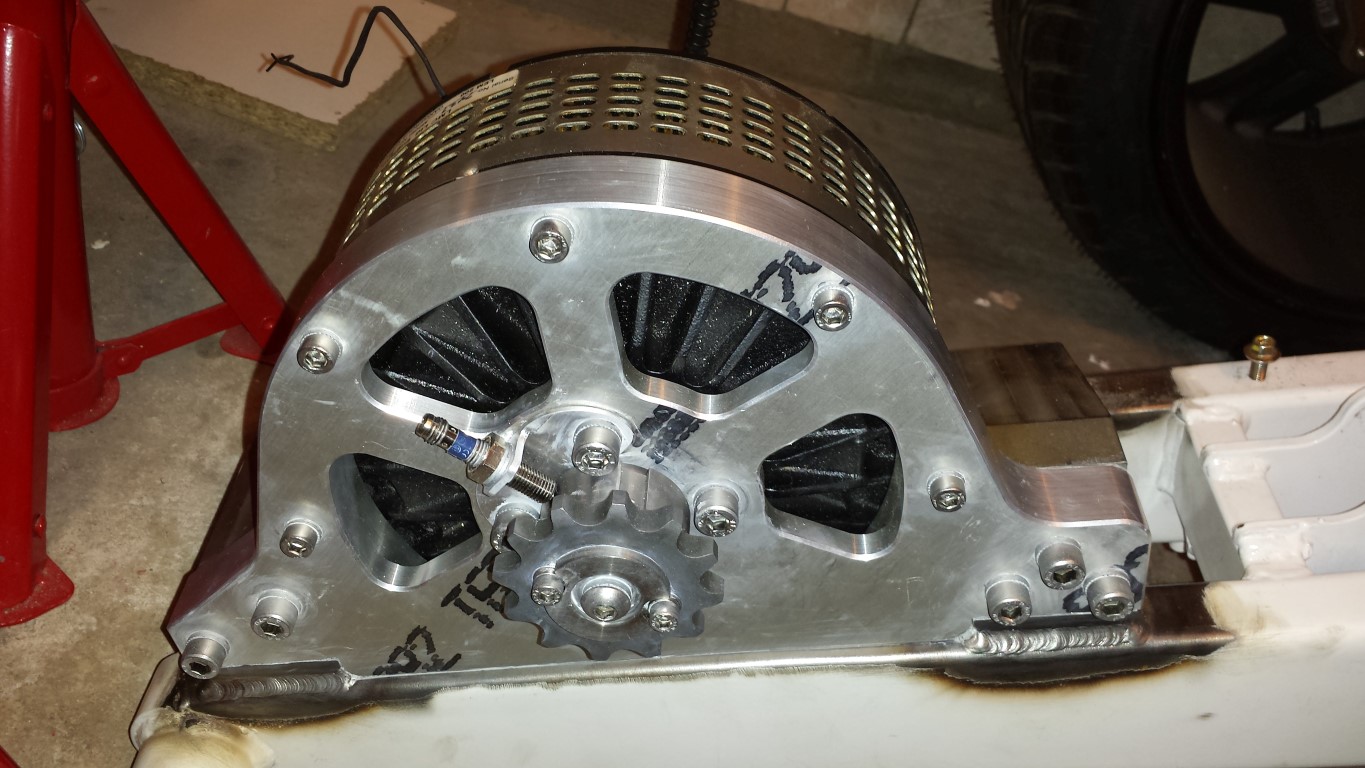
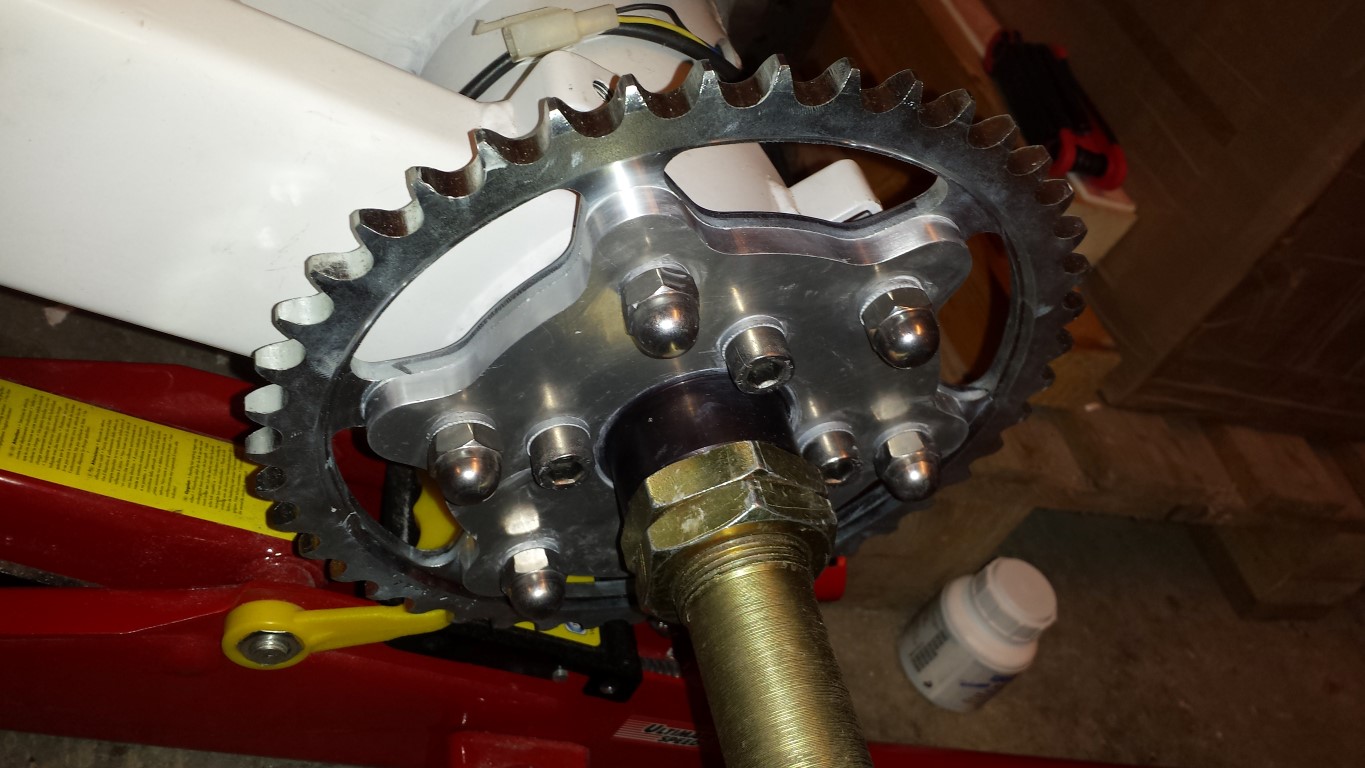
First off I removed the rear swingarm again so I could place all the new stainless steel bolts on the motor mount and to place the new plate for the RPM sensor.
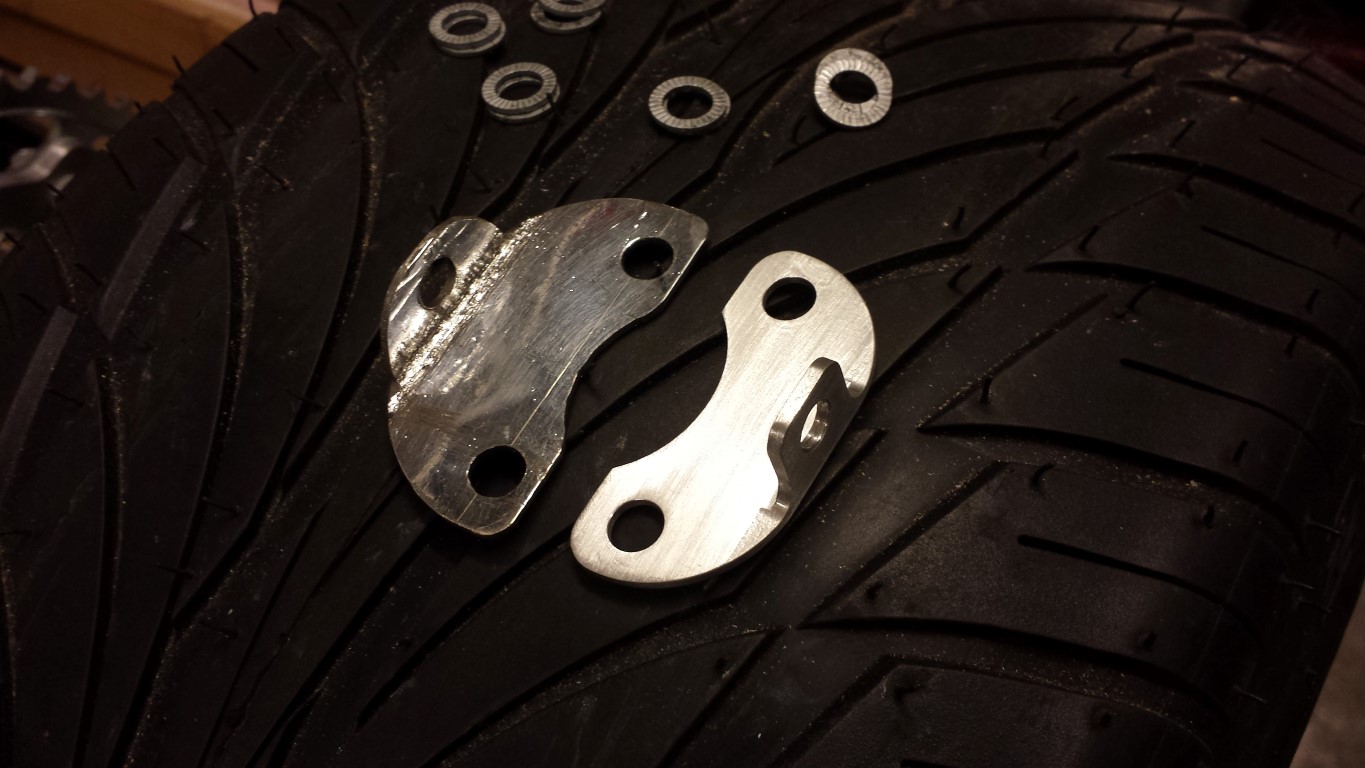
Difference between my own handmade plate and the new plate for the RPM sensor. Makes mine look pretty bad.
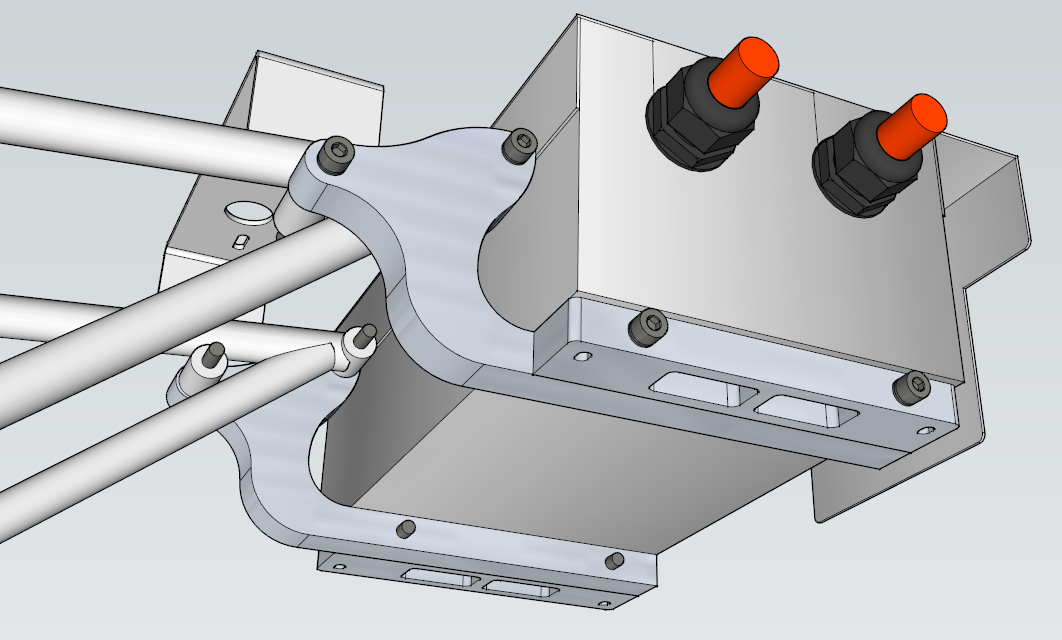
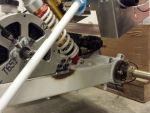
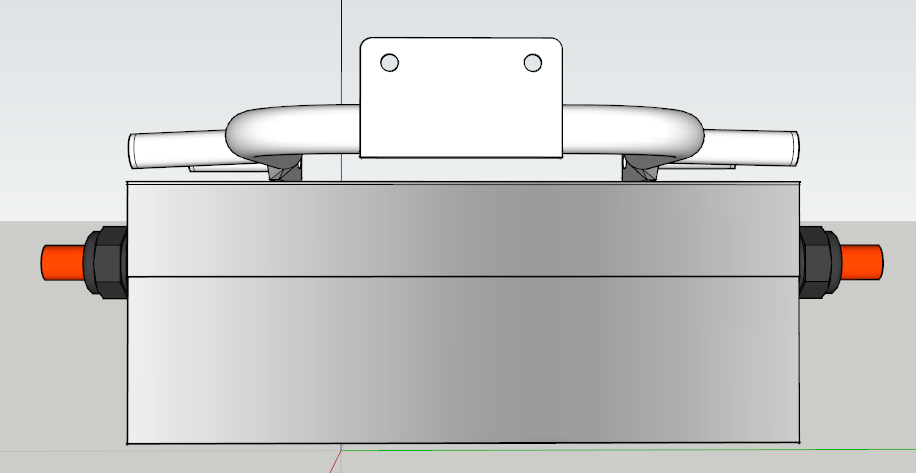
Here are all the stainless steel bolts in the motor mount and the plate for the RPM sensor fitted.

The motor back on the rear swing arm, also with the new stainless steel bolts. Looks a lot better than with the black steel bolts which were already rusting.
The inside bolts on the adaptor for the rear sprocket are also stainless steel now. Needed fine metric for this. I think there's a lot of tension on these bolts now though, don't know if this will cause any problems. Apparently they're just a tiny bit thicker than the original bolts or something. Really needed a lot of force to fasten them. Also added the last 2 cap nuts.
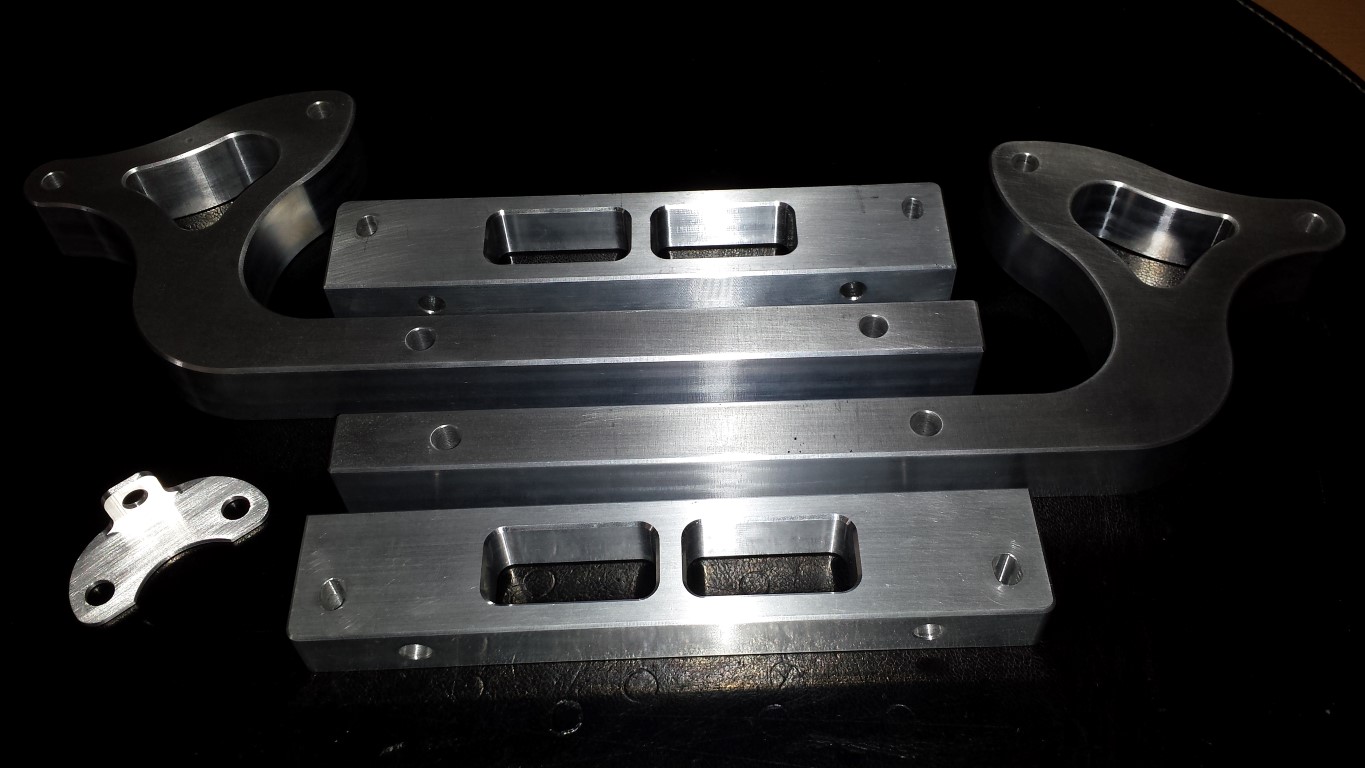
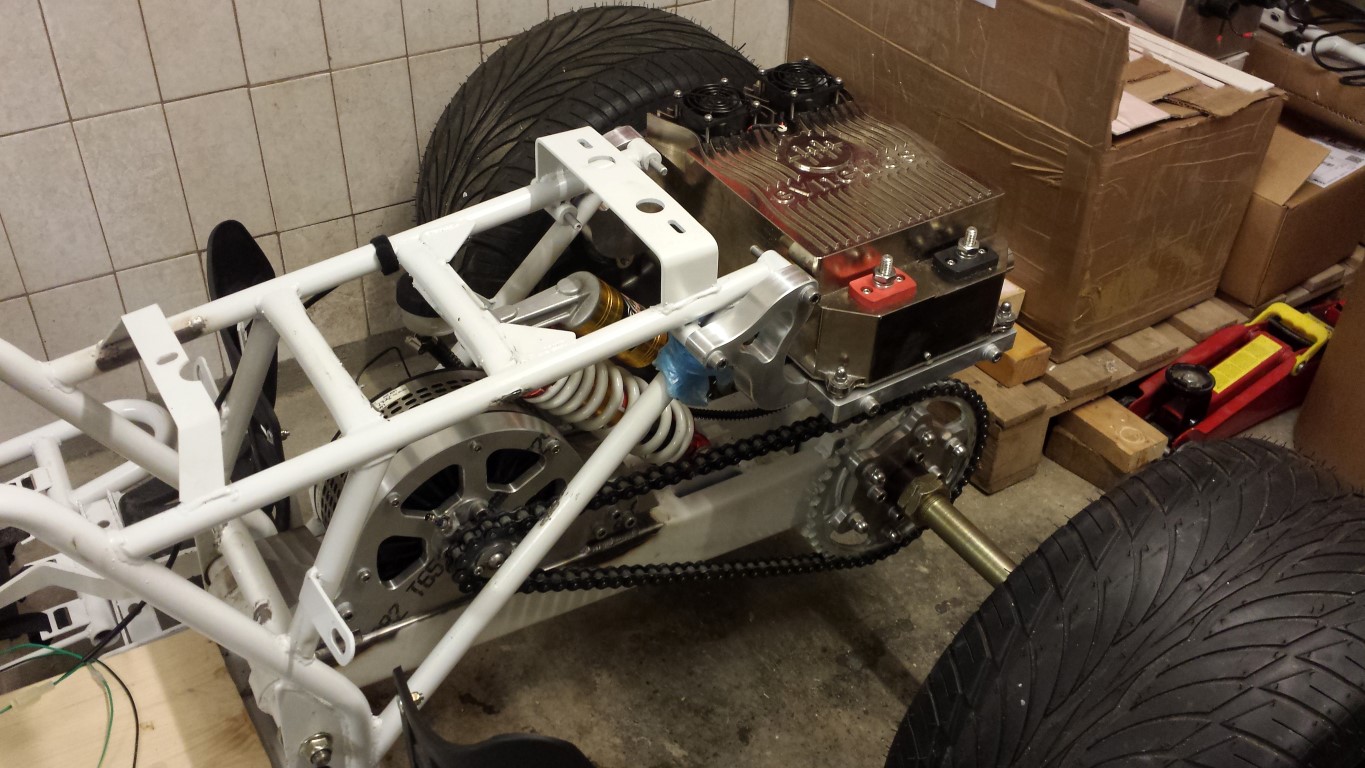
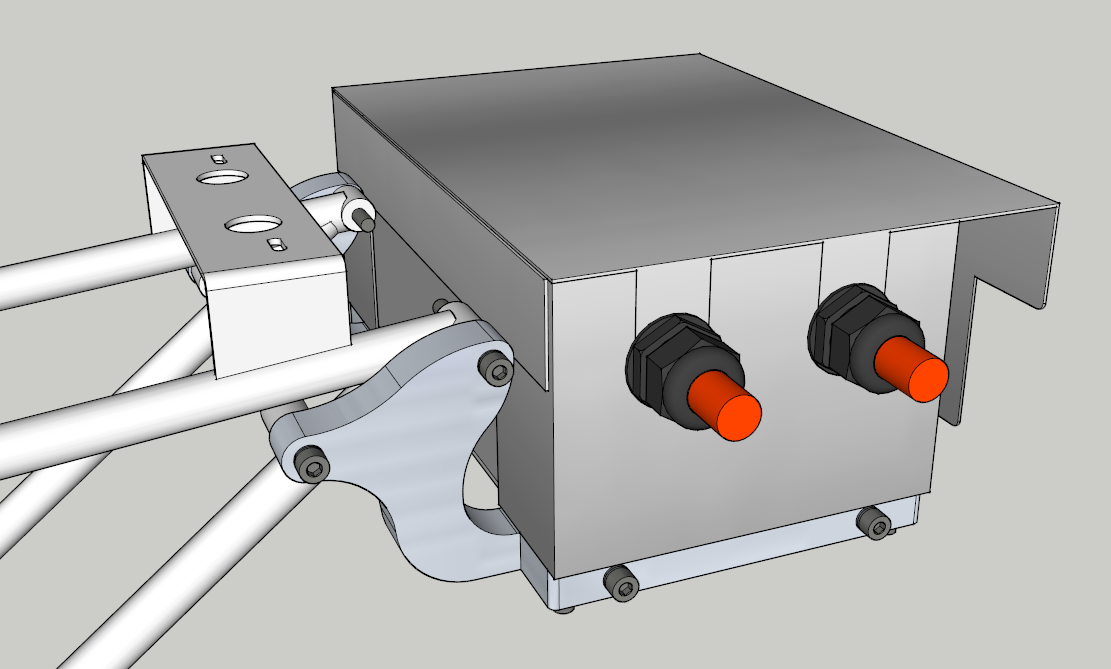
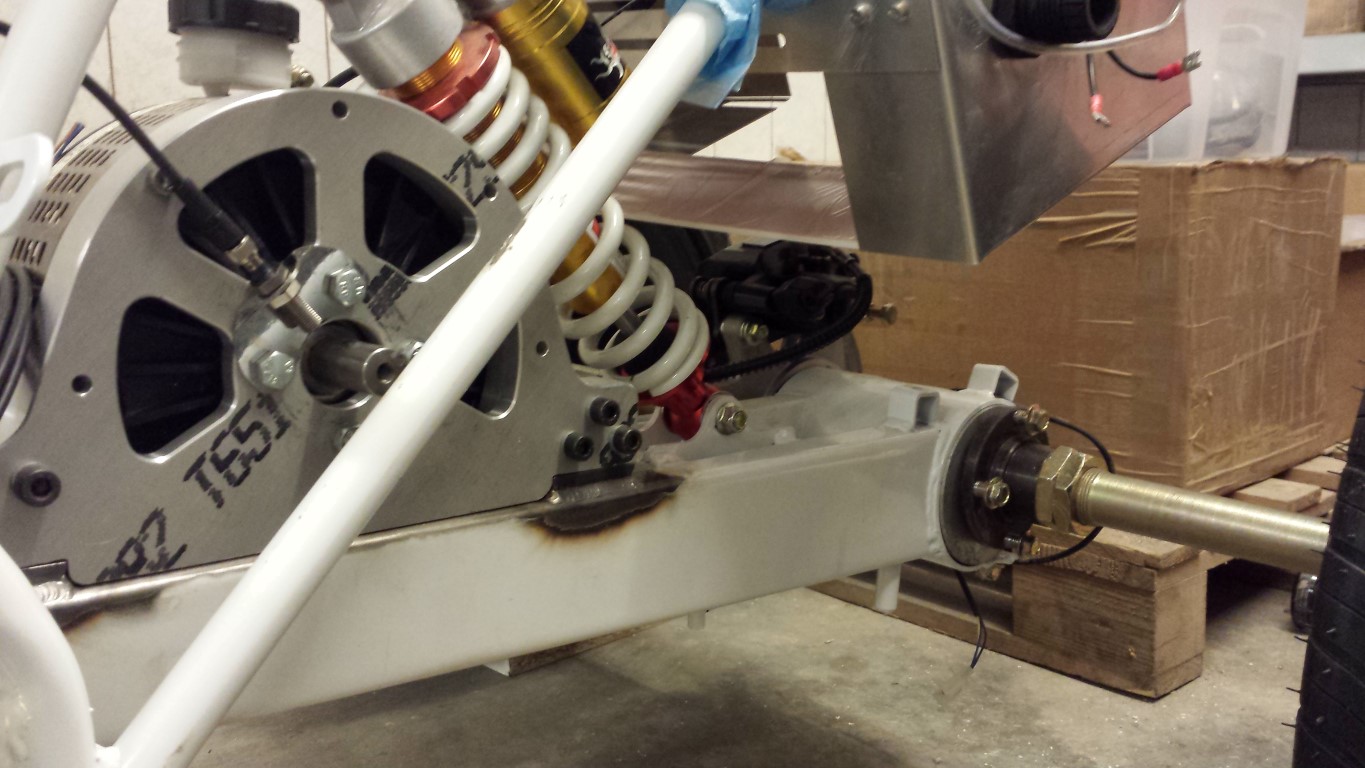
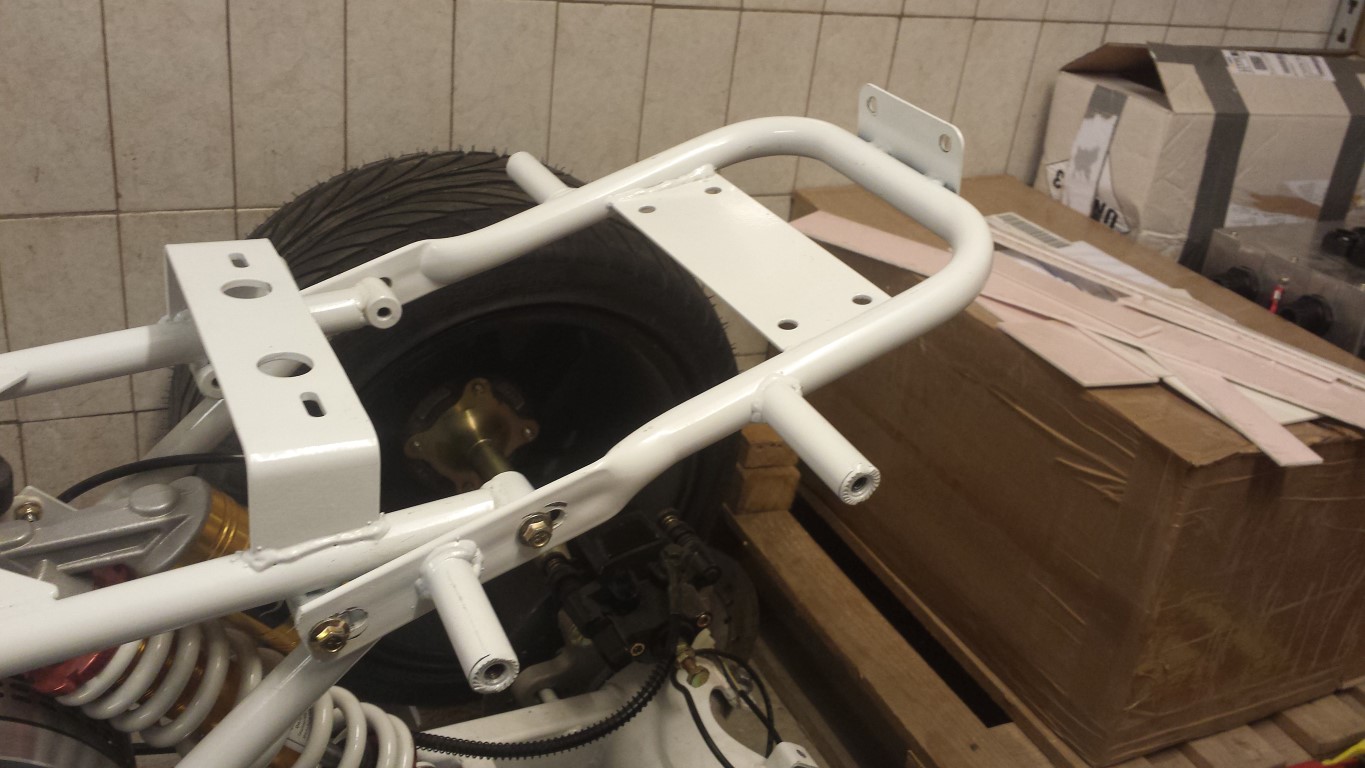
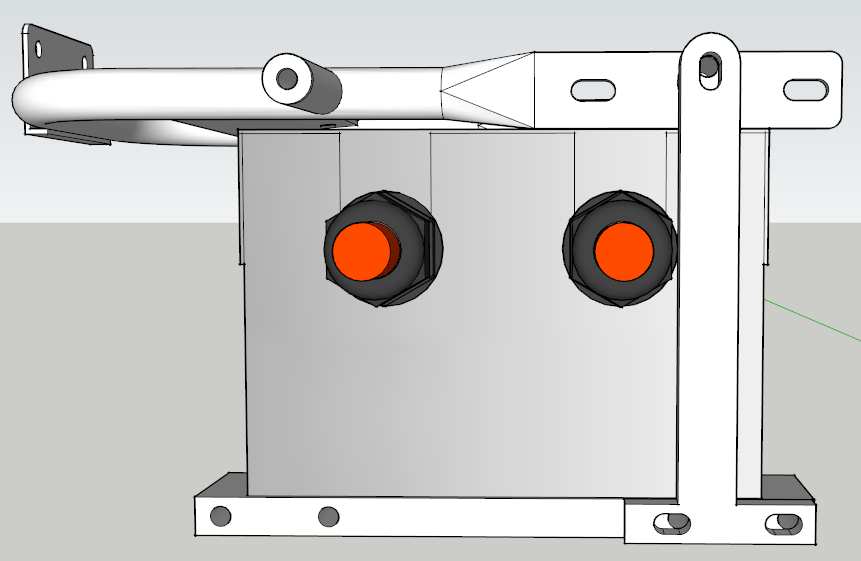
And now the mounts for the controller. I'll really keep saying this, great company who made this (Geraets Metaalbewerking). It really turned out very nicely. A lot better looking than the mounts I originally wanted. And it's definately strong enough, I think it can take at least 10x the weight of the controller.
Here you can see it fitted on the quad bike with the controller already on it.
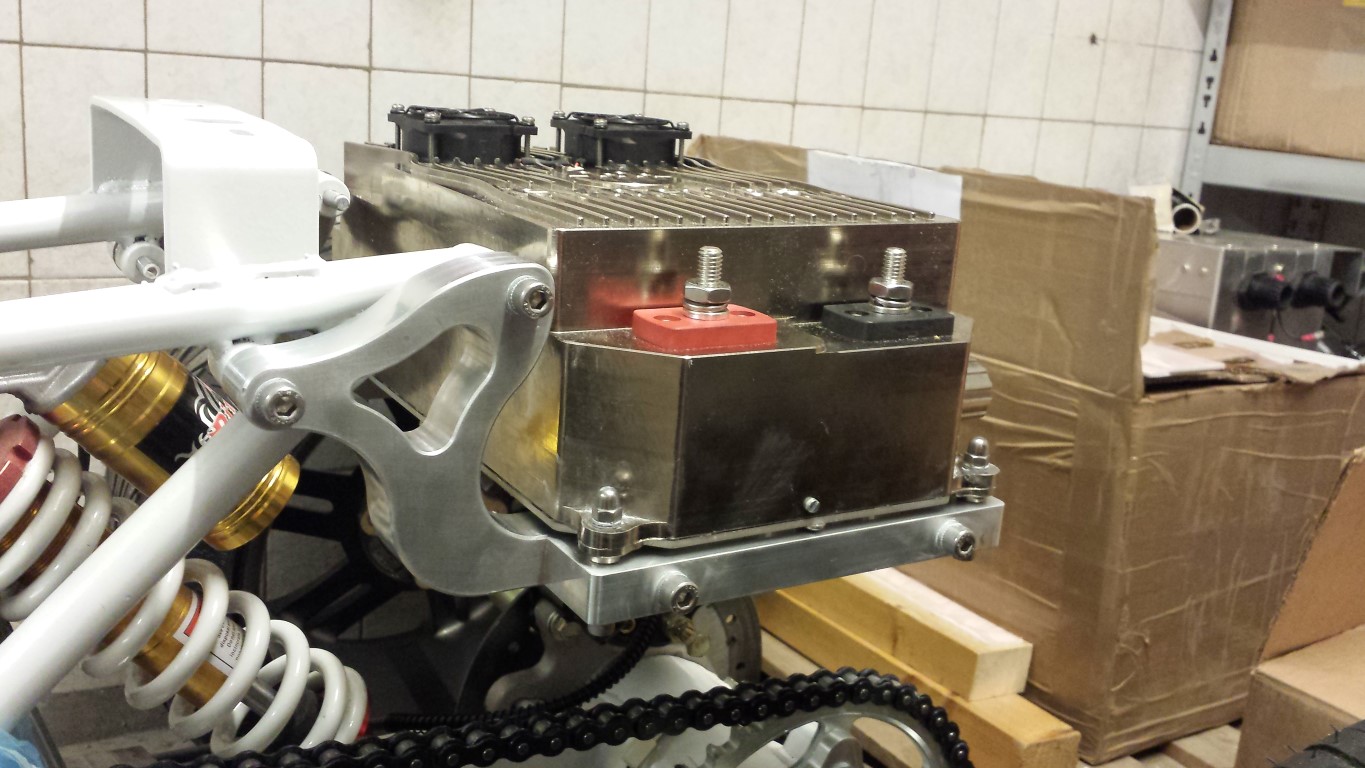
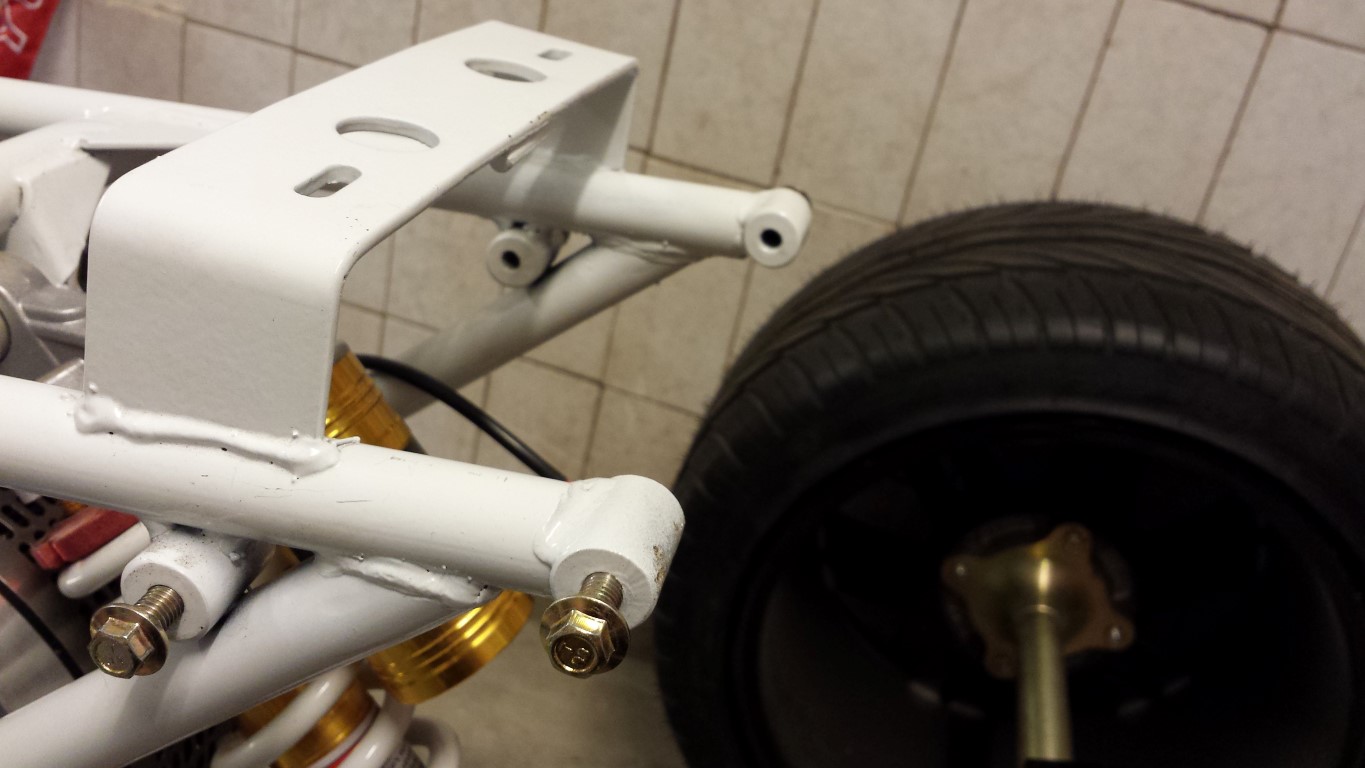
But it's all still loose, I first have to grind off a bit of the 2 front mounting points so the mounts will be sitting straight. Otherwise there will be too much tension on the mounts or the frame if I were to attach it like this. But it'll all be good, another day tomorrow. Here you can see that they're not sitting straight right now.
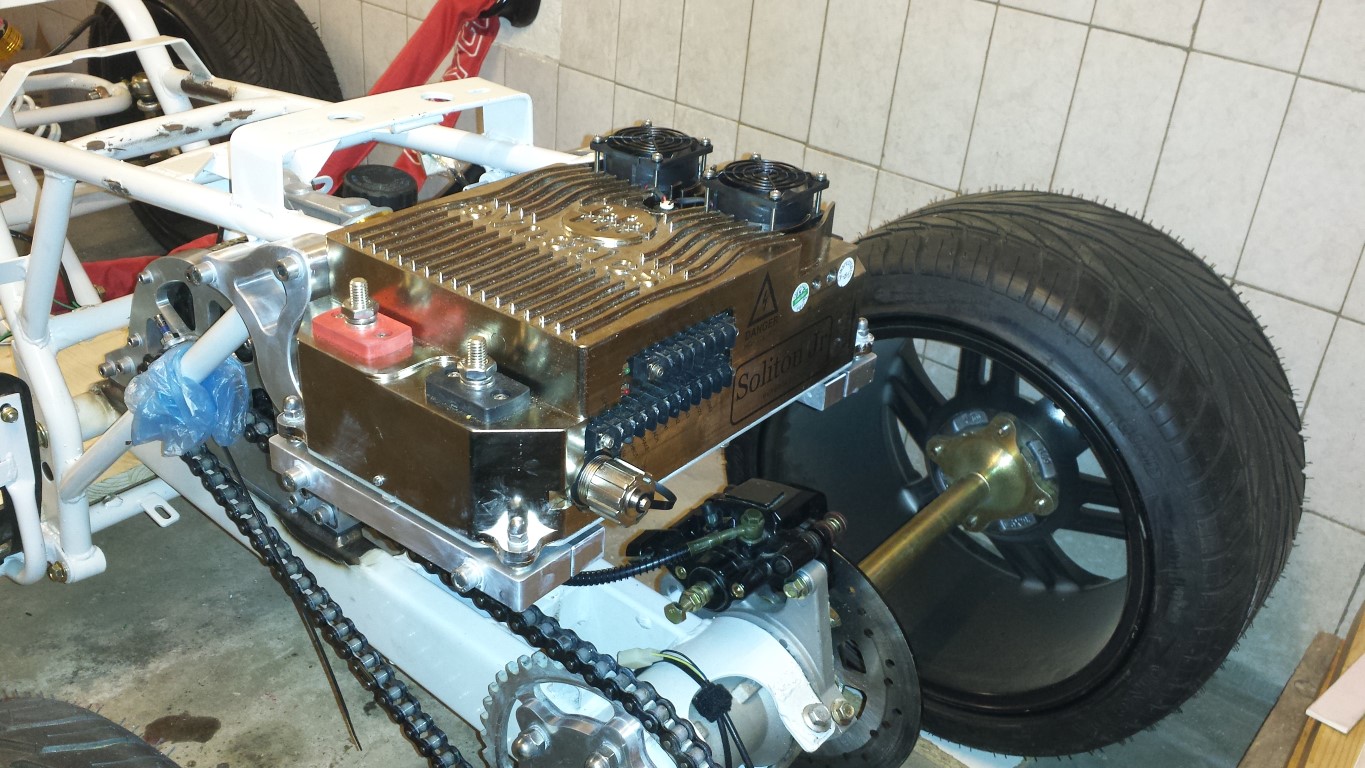
Here's the whole picture again. Rear end of the quad bike is pretty full now.
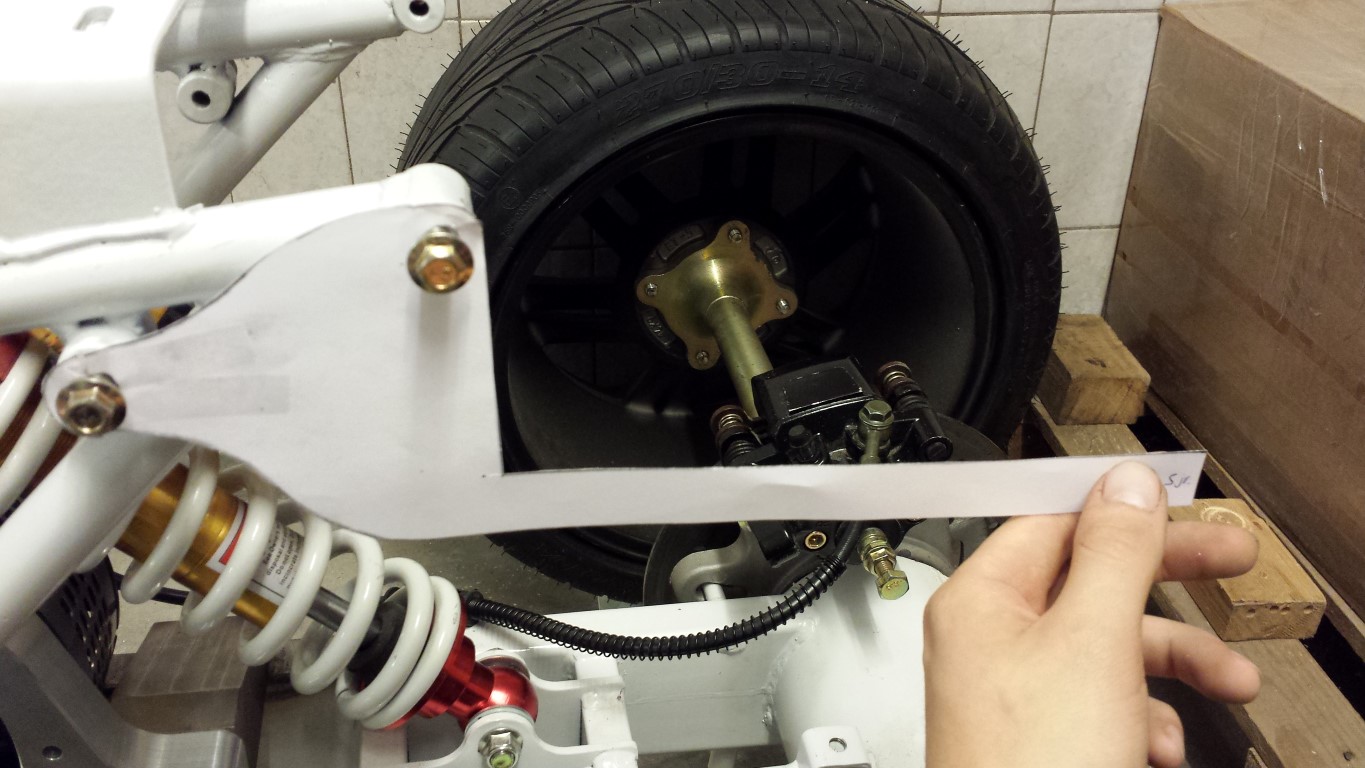
I also lubed the chain. And the rear swingarm's bearings didn't have much grease on them so I greased them some more. There's still something squeeking near the rear axle though when I turn the wheels, I think the bearings. But I'll be replacing them by SKF bearings anyway so I'll just leave it like this for now.
This weekend I'll definately have my first testride.
Posted on 22 August 2013 at 12:10 am (CET)
Category: Controller, Drawings
Posted on 22 August 2013 at 12:10 am (CET)
Category: Controller, Drawings
Today I contacted the metalworking company, the parts are almost done. They just had to order some things to be able to broach the keyway in the adaptor, guess they didn't have the right size. And the key itself had to be ordered as well. It might still arrive there this week and then everything would be done. Really looking forward to see what they made of it all.
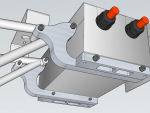
Then on to the controller mounts again. I'm going to do this differently now. The rack with those 4 points of the exhaust silencers will be removed. It just wouldn't have enough clearance with the chain if I'd hang the controller from there and it didn't help that those points were out of alignment either.
So now I'll be using the 4 points on the frame itself (where the rack was actually attached to), these are pretty much straight and it'll be a lot easier to make mounts for this. I tried to measure and draw these points again.
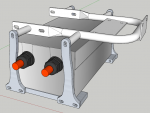
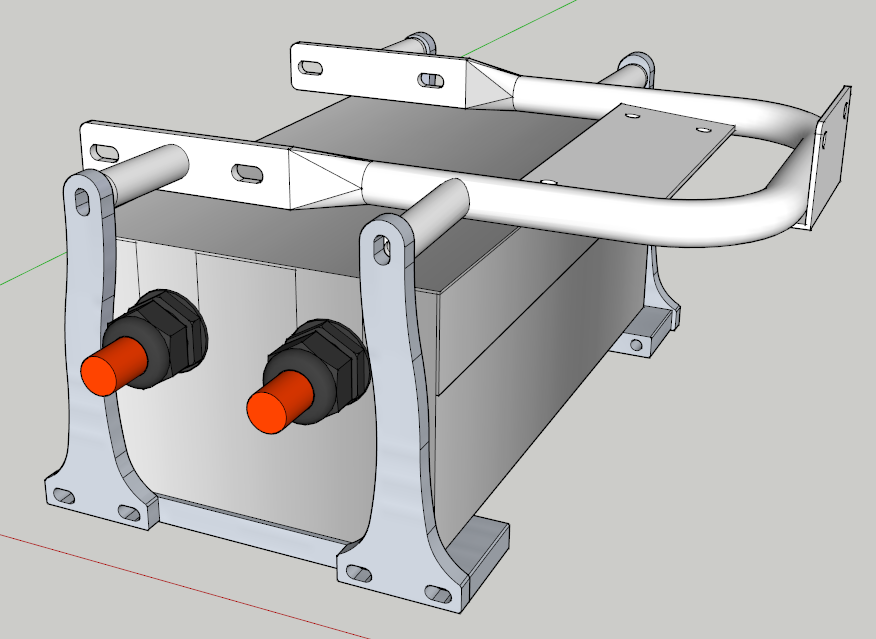
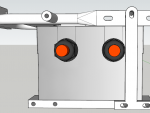
And this is what I have in mind. Looks good and strong enough.
But then I do still have to make something to attach the rear lights to. But I can figure that out later, will probably be seperate mounts on the inside of those same 4 points.
Meanwhile I also made some paper models to see how they fit on the frame. They'll fit pretty good and will never have any problems with the chain. Just still have to wait untill I have the other parts back so I can see how low I can make the mounts.
Posted on 11 August 2013 at 06:01 pm (CET)
Category: Controller
I've been a little stupid. Today I thought, lets check again how the controller's enclosure fits before I actually have the mounts made. Well, I found out that I have a problem, the chain might not have enough clearance with the controller in this position. It's been a while again since I had the chain on so I didn't really think about this. I only checked if there would be enough clearance with the brake caliper and suspension.
Hard to see without the sprockets and chain but I measured it. The way it is now it'll definately fit but when the suspension compresses it might not. Wouldn't be so great if the chain would hit the controller then. But it's still too hard to tell so for now I'll wait with these mounts for the controller. First need to have the adaptors made and place the sprockets and chain on there. Only then I can really see how much space there is.
Posted on 31 July 2013 at 10:18 pm (CET)
Category: Controller, Drawings
Posted on 31 July 2013 at 10:18 pm (CET)
Category: Controller, Drawings
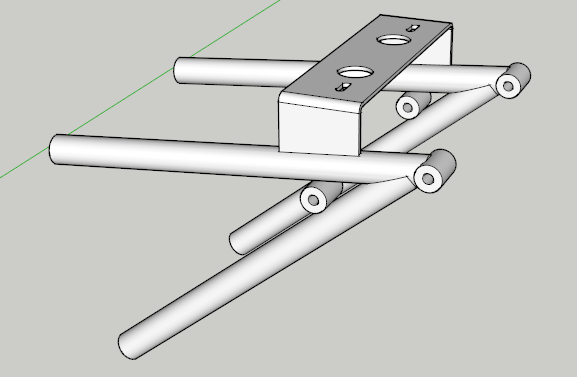
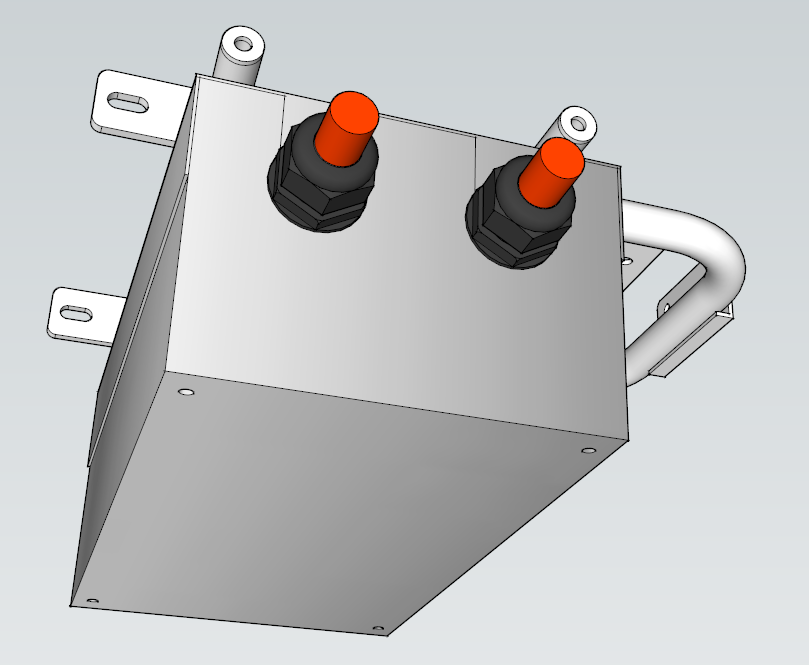
I finished the drawing of the controller mounts, think they'll actually be made like this. In the drawing everything fits well at least.
Just still have to think about it some more before actually having them made since there are still some small little problems with it. Will have to see if I can fix them.
Posted on 28 July 2013 at 09:49 pm (CET)
Category: Controller, Drawings
Posted on 28 July 2013 at 09:49 pm (CET)
Category: Controller, Drawings
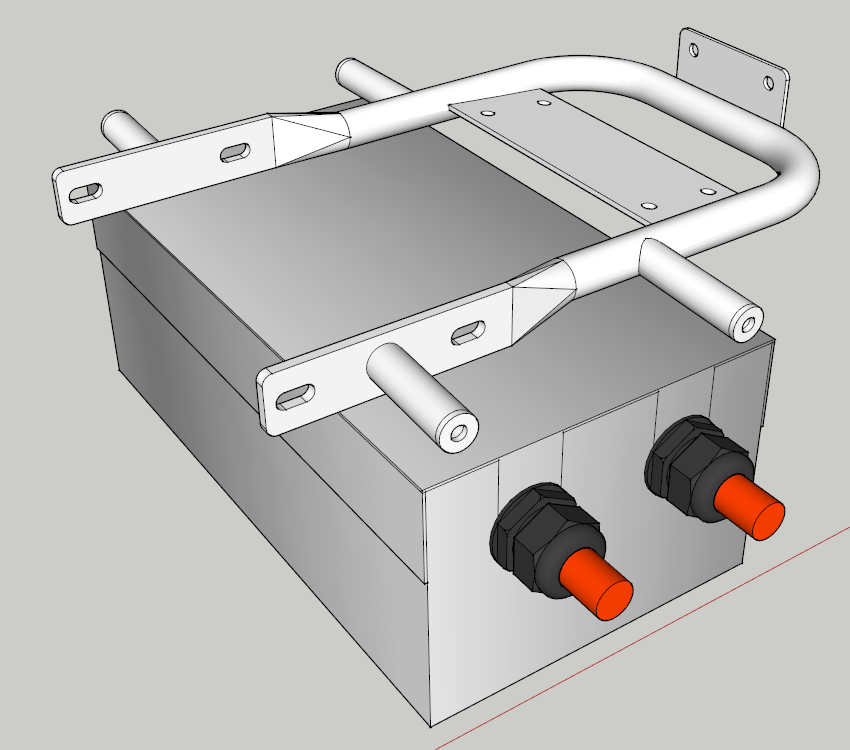
Yesterday I evened out all the welds on the battery boxes. So I can continue with those again. But first something more important, the controller mounts. I'm drawing again to see how I want them but it seems to be a bit harder than I thought it would.
The idea is that the controller will hang from these 4 points where the exhaust silencers used to hang from.
Problem is just that a Chinese probably welded this together on a monday morning. There are a lot of inaccuracies in it. I tried to measure and draw this as accurate as possible.
There will have to be 4 mounts that go all the way down, there are 4 points where I can attach the controller.
But as I said it's all very badly welded. Here you see really well that the upper left part points a little to the right. And the left bottom part points some more to the left. The inaccuracy between the middle of both sides is 4 mm. That's quite a lot to me but it'll have to do.

Then we have the 2 rear parts, while these are actually straight looking from above, there are sadly more inaccuracies when looking from the rear. Left part points down 3 mm and the right one 1,5 mm.
But that's not all, some points are also welded a bit more to the left or right again. So it'll be very hard to make mounts for this that'll fit well. Only way to do this is by making adjustable mounts since I want to have 4 mounts that are exactly the same. More or less like this.
With slotted holes the inaccuracies shouldn't be a problem. Just still have to draw it a little better with nicer shapes.