
 Nederlands
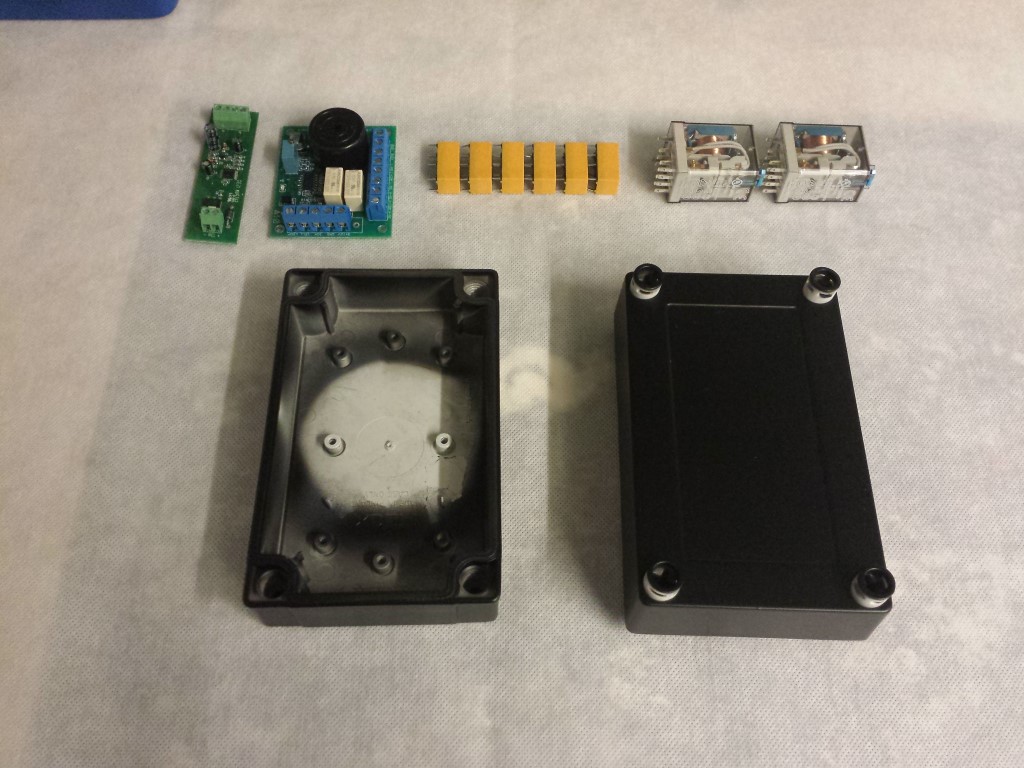
Blog / Wiring (12V)

Posted on 27 September 2014 at 12:04 pm (CET)
Category: Wiring (12V)
Posted on 27 September 2014 at 12:04 pm (CET)
Category: Wiring (12V)
The last few days I've been been busy filling up one of the boxes with components and wiring them all up. Quite a challenge to stuff as much as possible into it. The plan was to get all this in.
I just started wiring up the 2 bigger relays, these are for the 3 drive modes (low power, high power, reverse). All wires are soldered directly onto the contacts. The mounts for these kind of relays take up too much space.
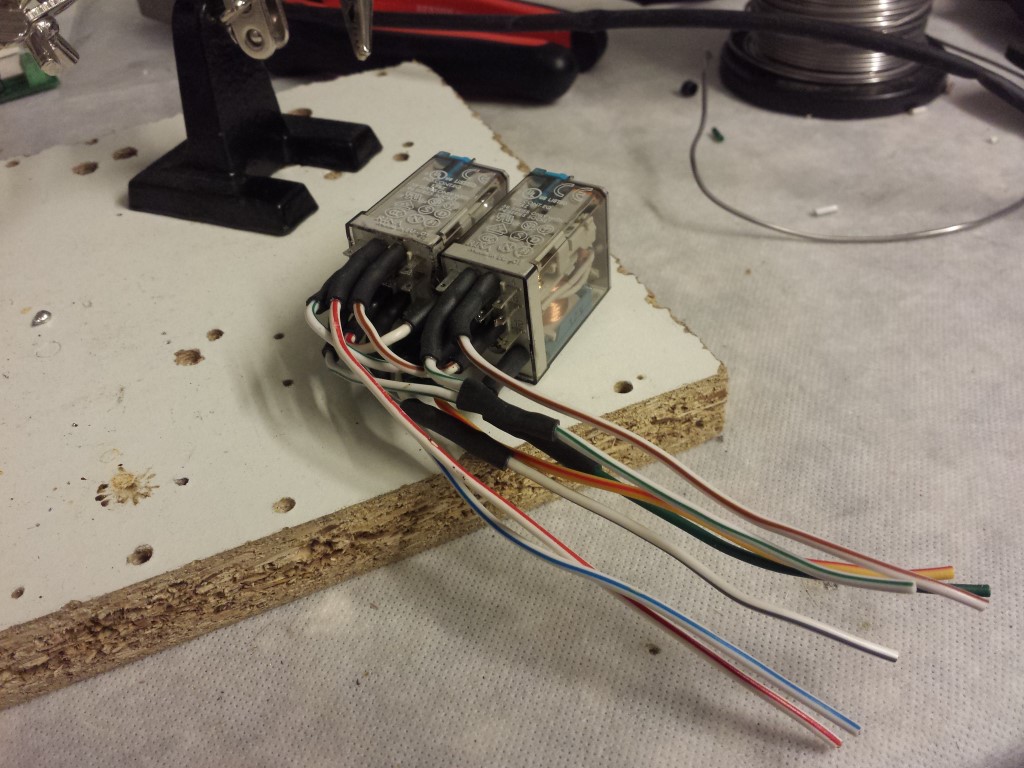
I wanted to do the same with the small relays but this wasn't such a good idea. They still took up too much space to be able to place them in the same box. The contacts also kept breaking when I was moving the wires a bit.

So for these I still bought some circuit boards and they will come in a seperate box. Should still have some space for that on the quad bike.
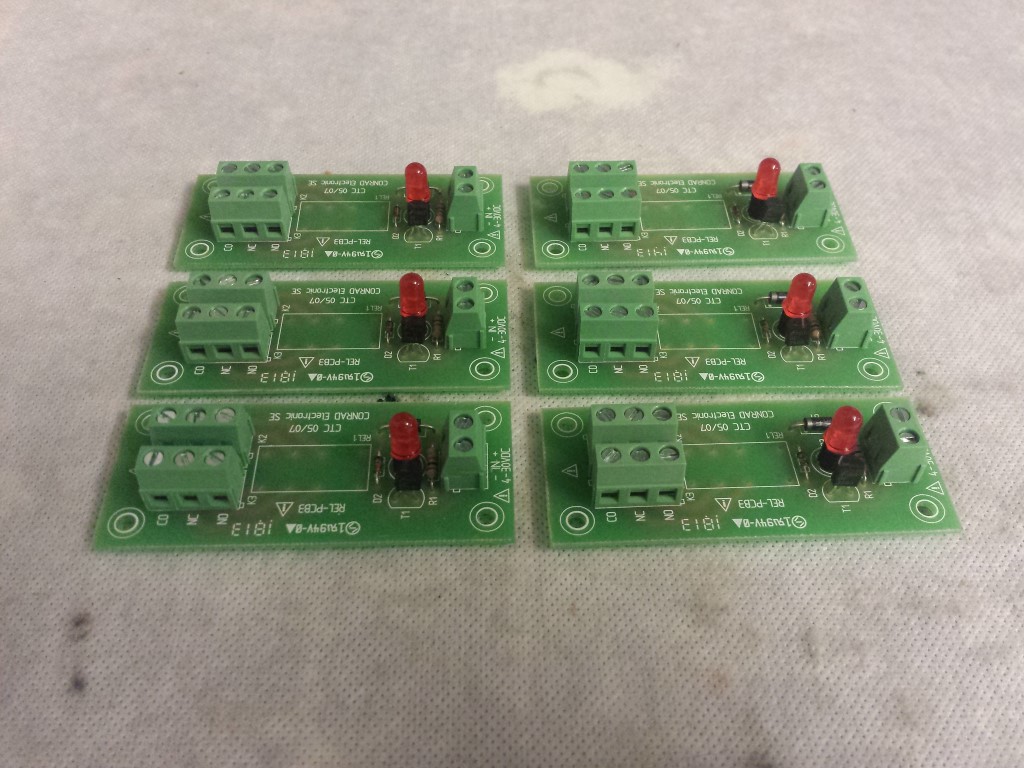
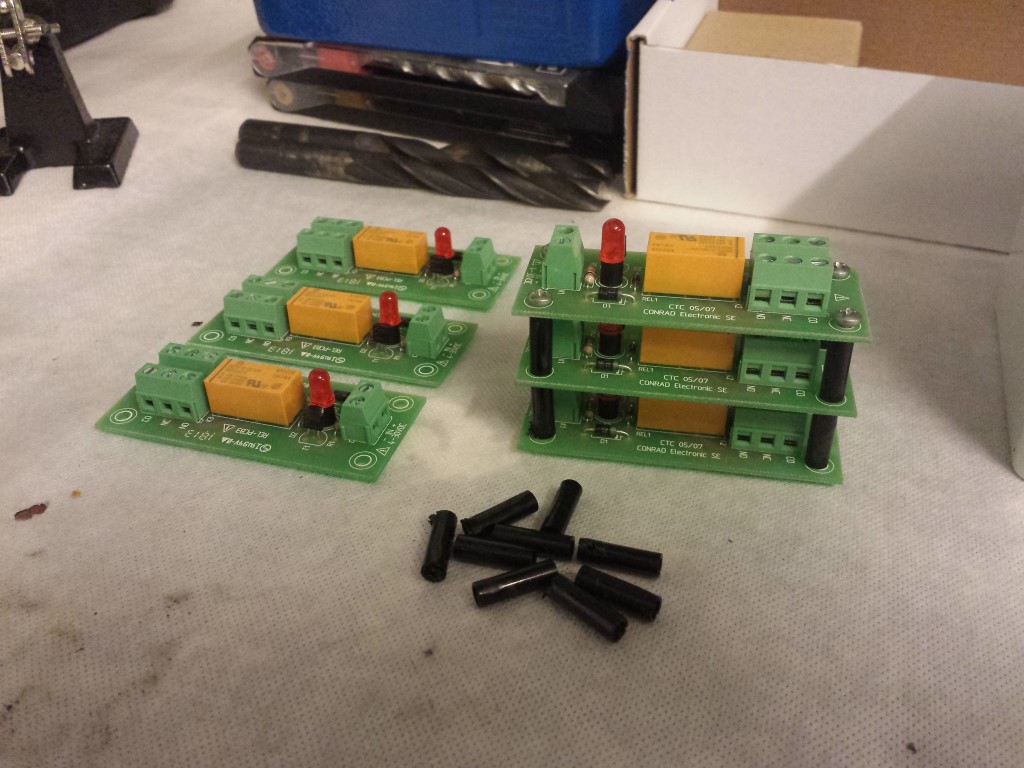
Already soldered the relays onto them. With some spacers inbetween the circuit boards I can stack 3 of them.
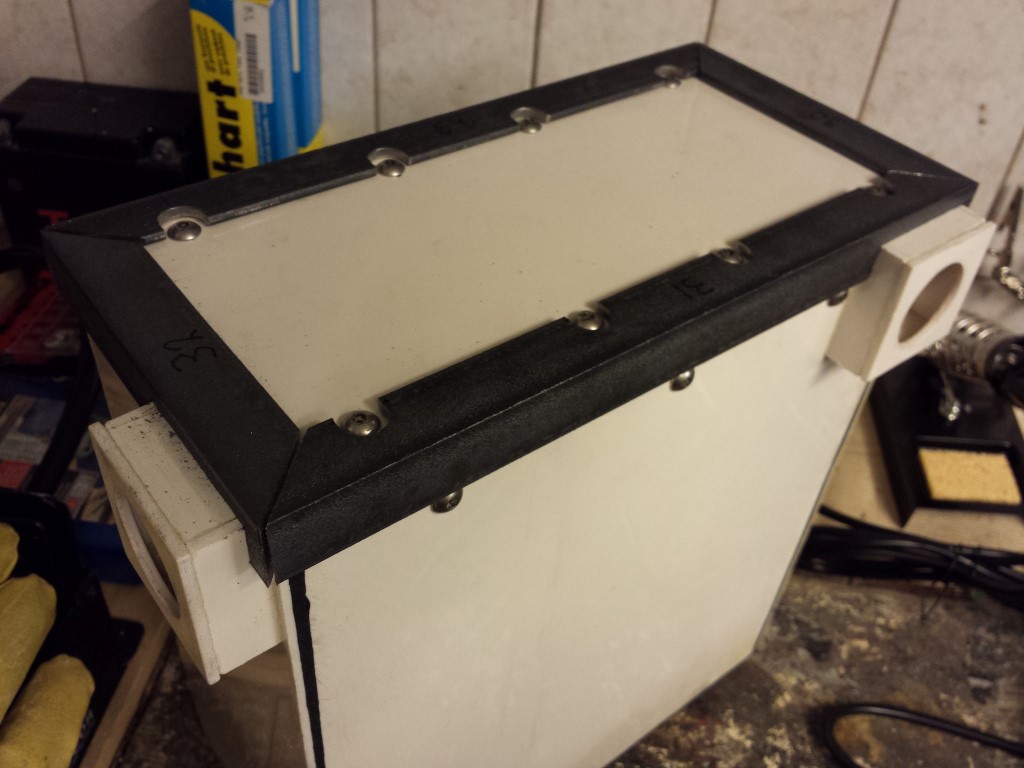
But that box will come later, still have to start on it. For the other box I was working on I made a plate that fits right in. I can screw all of the components onto that. Also wired these all up already. The bigger one is the main board for the BMS (Battery Management System) and the smaller one is to convert a pulse signal from a switch to on/off.
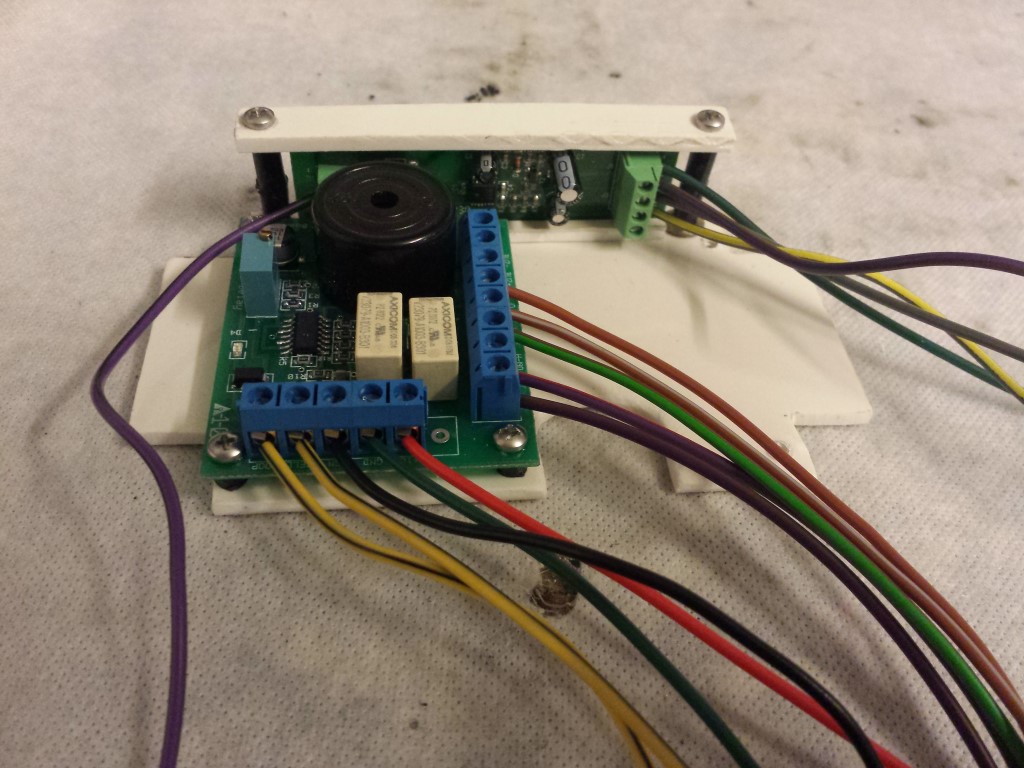
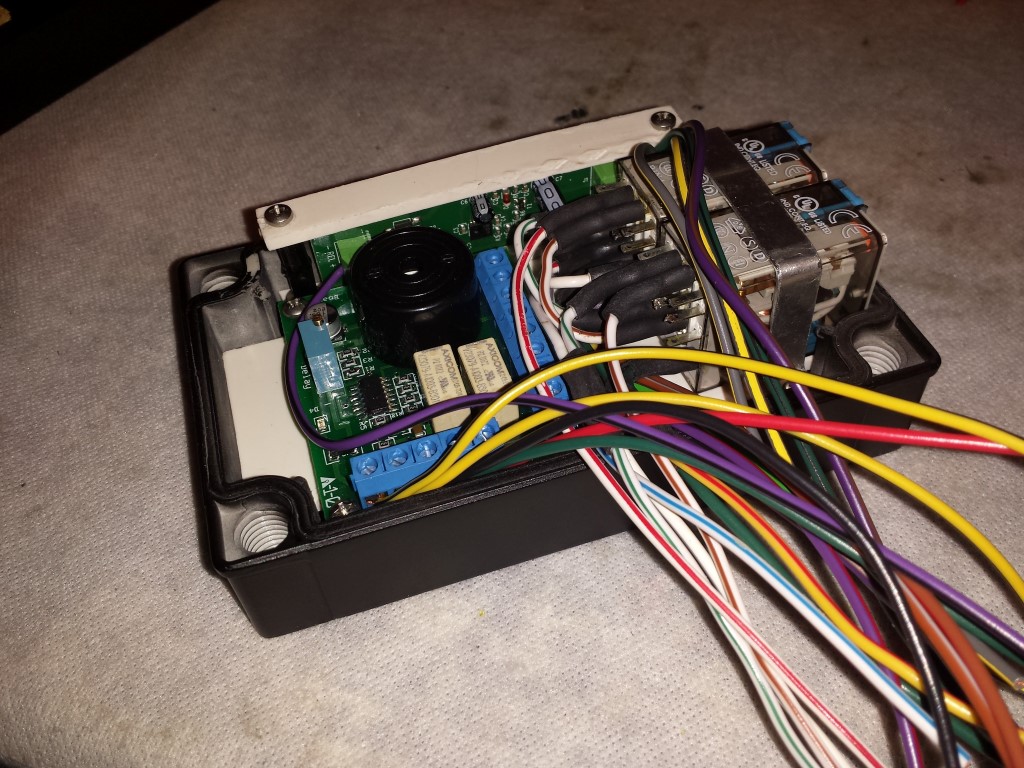
And here's everything in the box, it all barely fits. There are quite a lot of wires that have to go outside of the box. Still have to get some cable glands that I can place in the box but I'll wait with that untill I have the other boxes done as well.
Later on I'll have some more news if all goes well, in any case I'll have enough to do again this weekend.
Posted on 13 June 2014 at 01:06 am (CET)
Posted on 13 June 2014 at 01:06 am (CET)
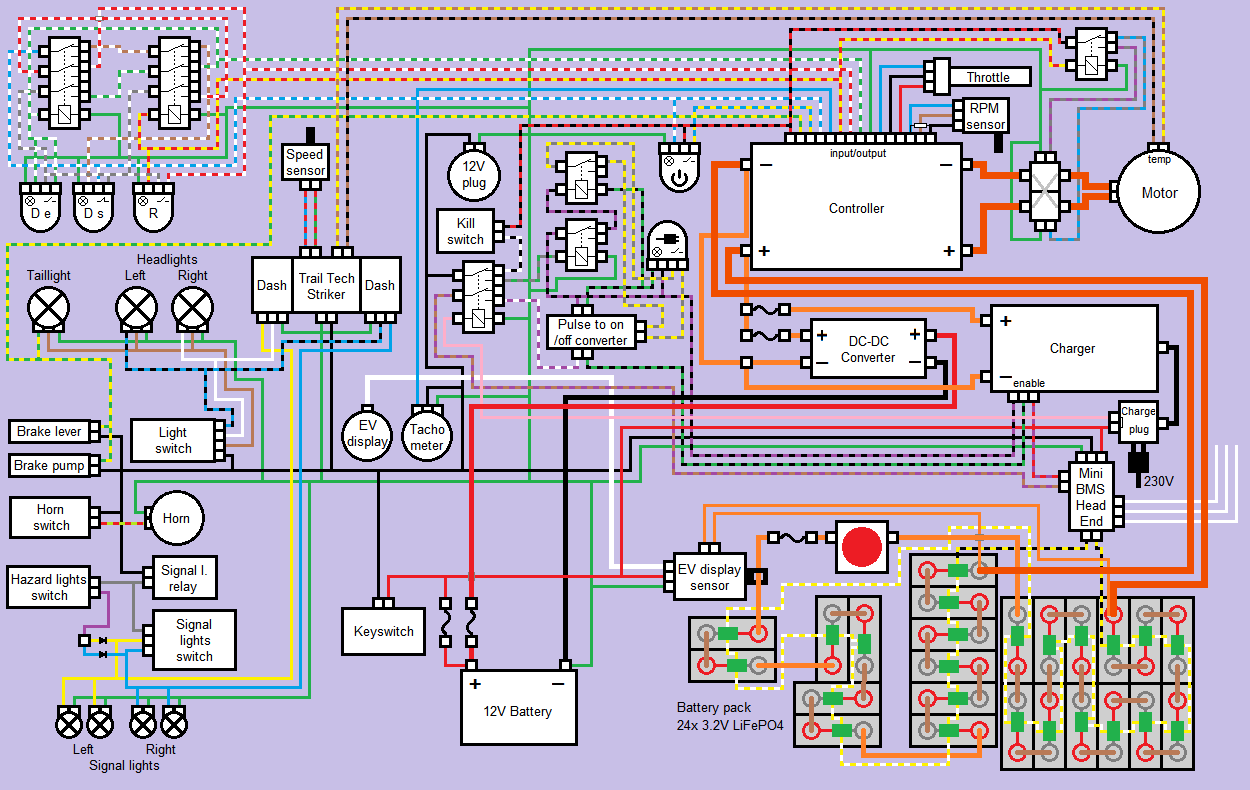
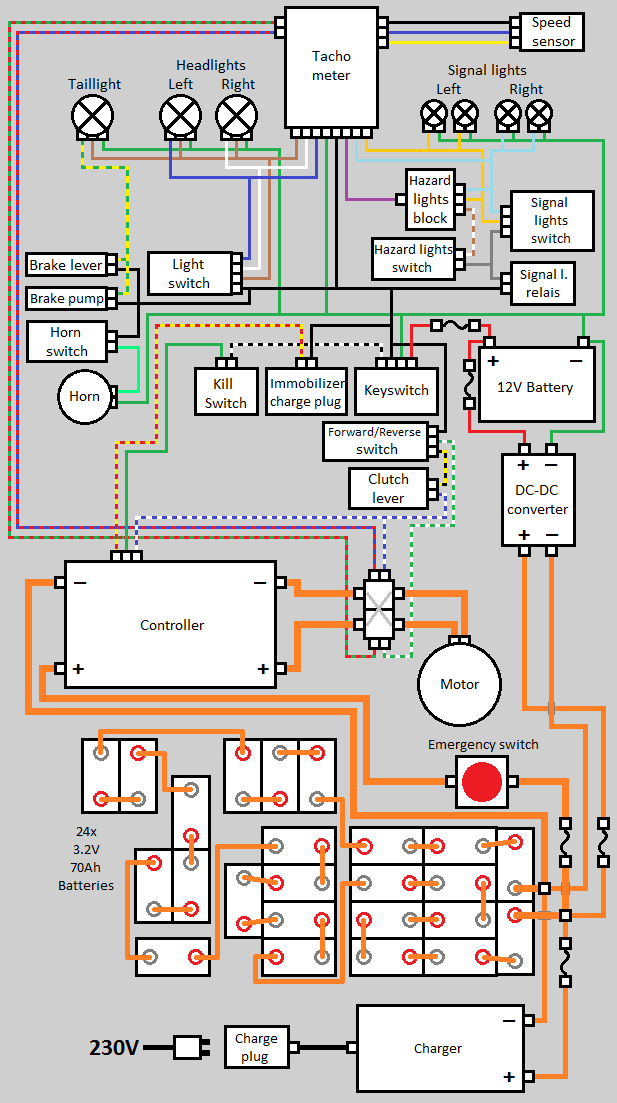
Past few days I've been busy drawing the whole wiring diagram. I'm pretty sure everything will actually be connected like this now. Only those 3 wires of the Battery Management System I'm not really sure about how to connect them yet. These are for drastically reducing the power when the batteries are empty so you can't undercharge them. But there should still be enough power to get the quad bike off the road safely. This can be connected in a few ways so I'll still wait with this.
Also made 2 extra circuits in it with a few buttons and relays. The one on the top left is for switching between low power (Drive Eco), high power (Drive Sport) and Reverse. And the one in the middle is for starting and stopping the charge process when the charge plug is connected. I might still get an actuator for this so the charge plug will get locked with this circuit while charging.
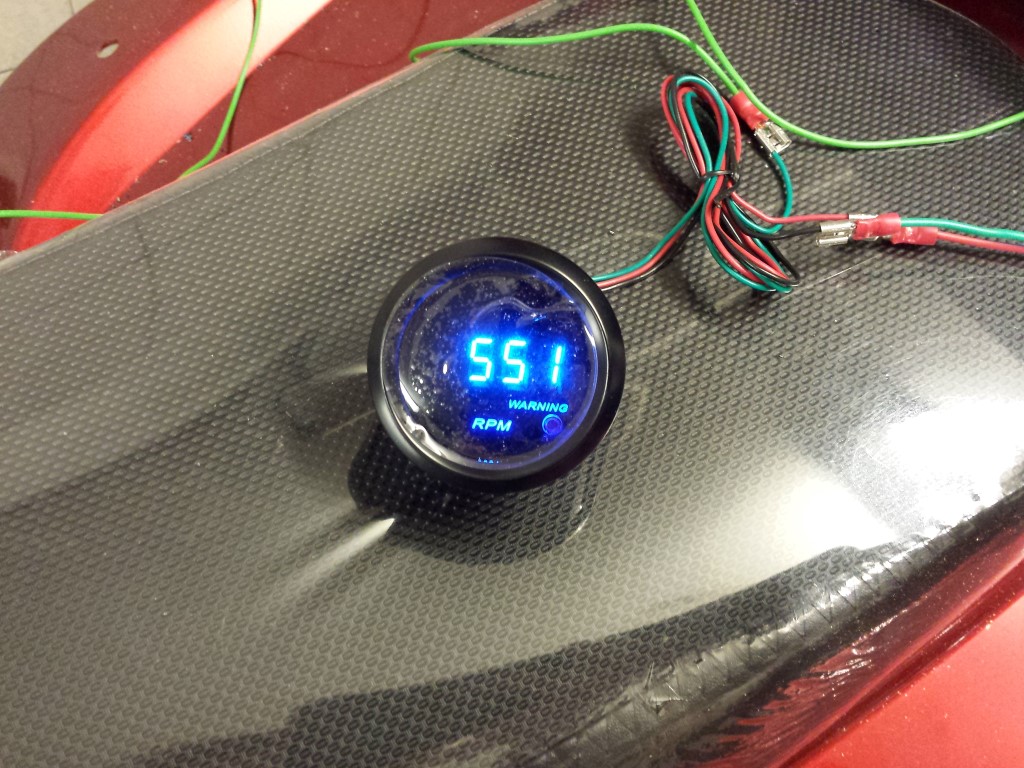
Also have another new tachometer, this time one from Hong Kong for 10 euros. And third time's the charm, this one works perfectly.
For the rest I've still been busy with the corner profiles on the side of the covers. Have to make quite a lot of cutouts in them for the cable glands and bolts. So this'll still take me a while. But for this battery box they're all done, still 3 to go.
Posted on 24 December 2012 at 06:13 pm (CET)
Posted on 24 December 2012 at 06:13 pm (CET)
Finished the whole wiring diagram now. Only still have to add the BMS but I can't yet till I actually have it here. No idea how it'll get wired up just yet.
The only thing I'm not sure about is the clutch lever. I want to use this in combination with the forward/reverse switch to be able to drive in reverse. According to the regulations of the RDW (Dutch road safety institute) you need 2 seperate actions for this (or only able to activate below 5 kmh but this will be too complicated I think) so I think this will be the easiest solution. Just don't know if it's possible this way or if I'd be shorting out the controller when the switch is in reverse and the clutch lever isn't pulled. So I'll have to ask around a bit before I actually connect it like this.
Posted on 23 December 2012 at 05:55 pm (CET)
Category: Drawings, Wiring (12V)
As I'm planning to make a new wire harness I already started making a wiring diagram. The 12V part is pretty much done now. Will probably have to add some more to it later on for the controller and BMS but still don't know exactly what.
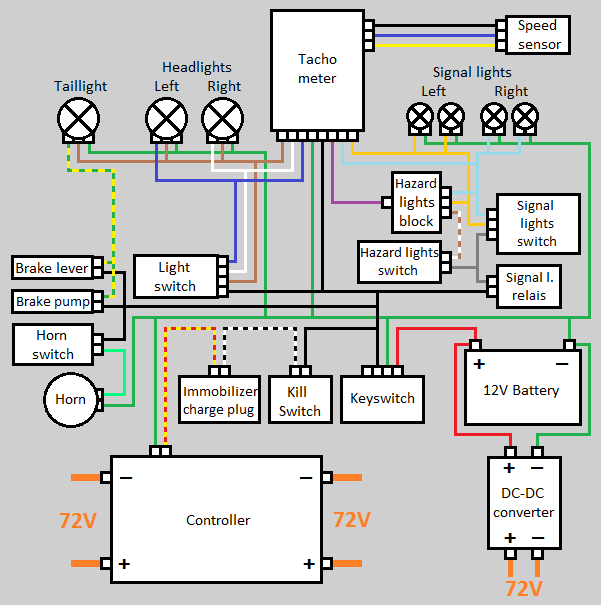
I think I'll just add the 72V wiring into this as well, at least I have one clear diagram for everything then.
Meanwhile I've also placed an order for the controller, charger, cables and some other small parts at Rebbl, a company that also converts cars to fully electric. If all goes well I should have all of these within 3 weeks.

Posted on 15 December 2012 at 10:15 pm (CET)
Category: Wiring (12V)
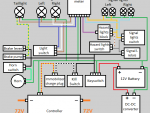
Today I checked the 12V wiring and tested if all the lights and tachometer works.
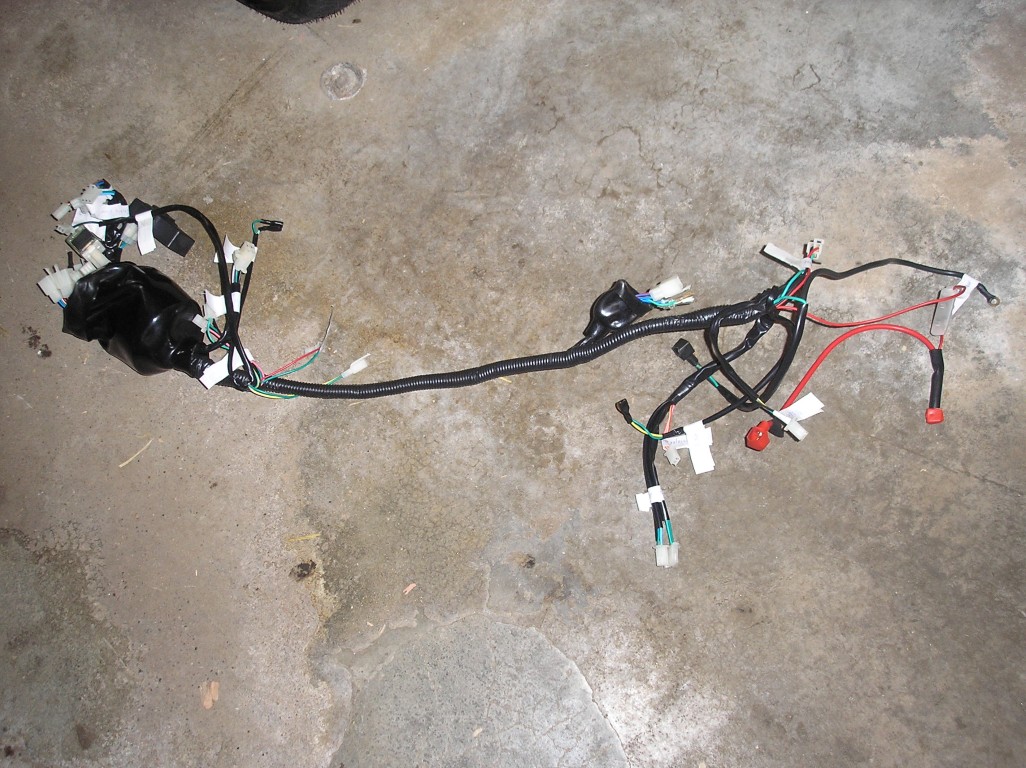
First I had to remove all tape so it would be easier to see how the wire harness is connected.

Everything worked well, except 2 wires that were switched in a plug but that was easy to fix.
I'm just not that happy with this wire harness since the color codes don't really match with some of the components. It's also soldered together pretty badly and the plugs aren't even waterproof. I'm thinking of just making a complete new wire harness instead of using this one. It's a bit more work again but it'll be worth it in the end.