Nederlands
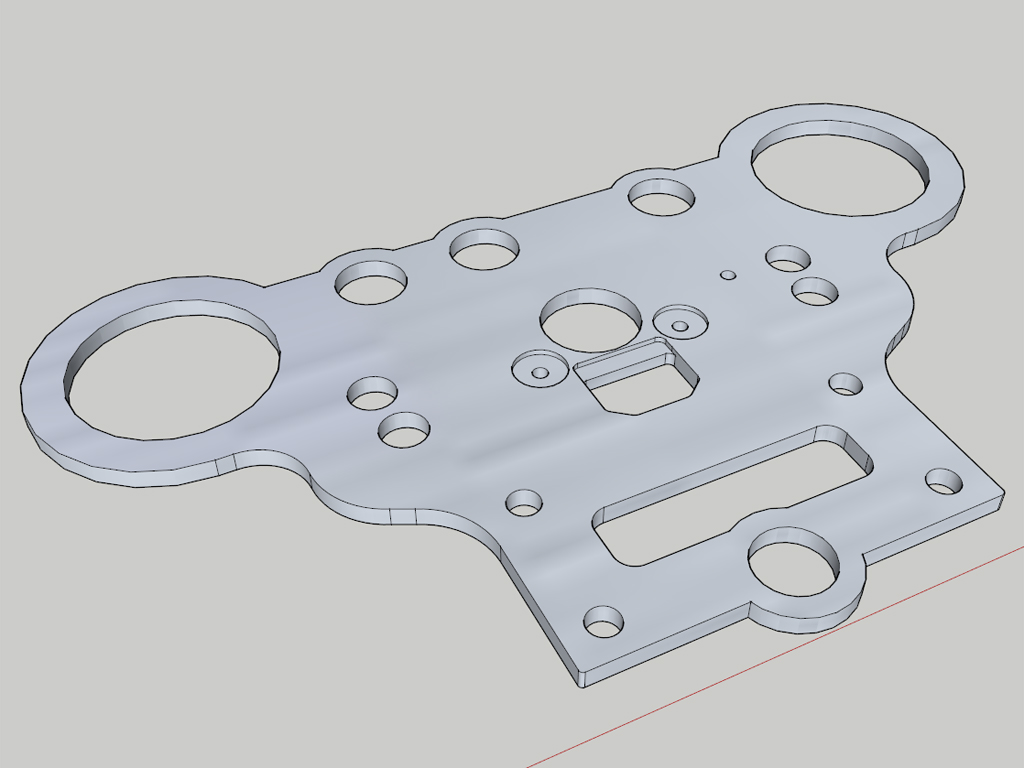
Blog / Drawings and fitting of plates for the gauges and charge inlet
I've made some drawings again. These will probably be the last 2 aluminium parts that still have to be made. First is a mounting plate for all the gauges and switches. This will be mounted on the handlebar.
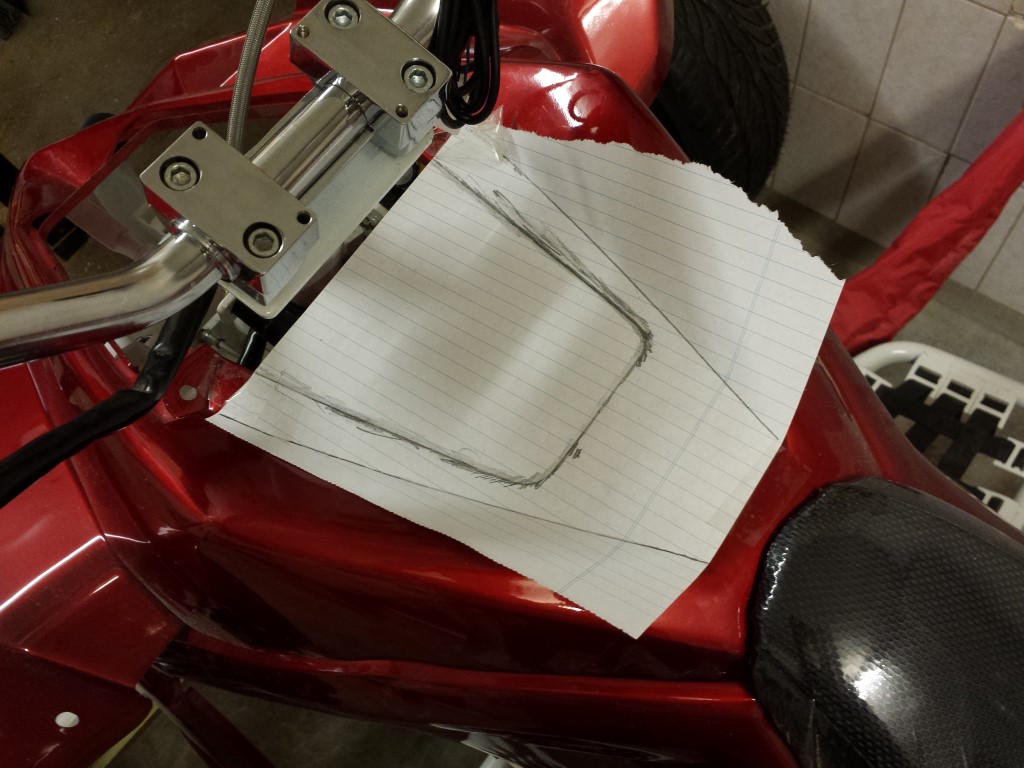
As usual I made a paper model of it to see how everything would fit.

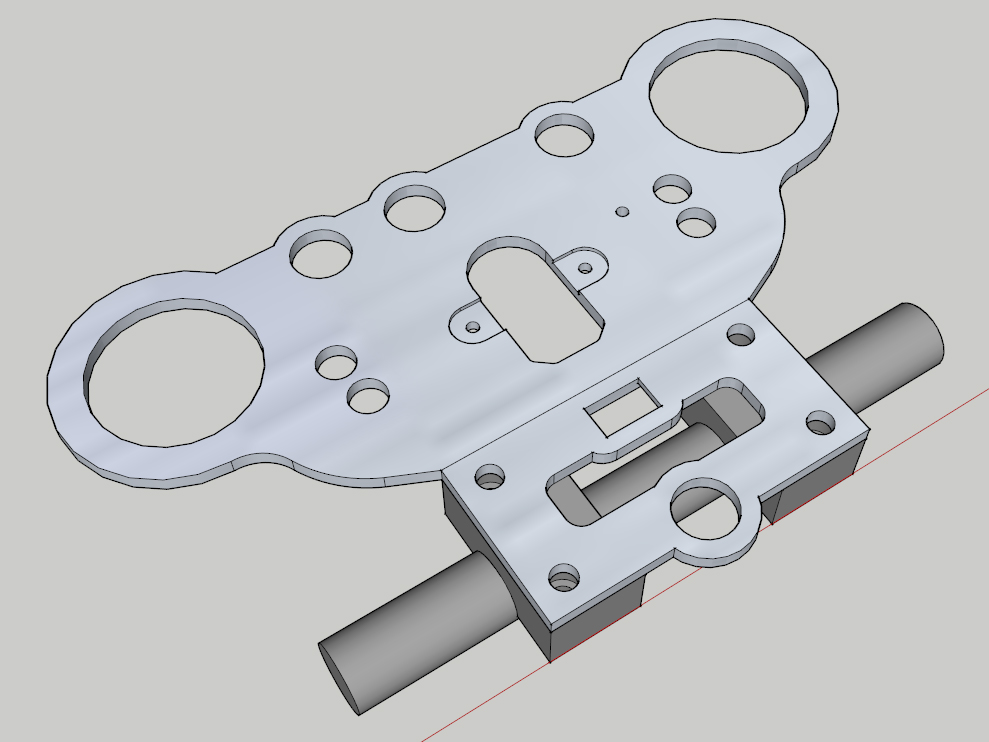
It all fits pretty good, just the angle of the gauges isn't really that great. Would be better if the plate could be bent to an angle of about 20 degrees, would be looking straight at the gauges then when sitting on the quad bike. I modified the drawing a bit to make this possible. Also made some small changes to make it easier to route and added another hole for the hazard lights switch. The plate will be bent by about 20 degrees on that line in the middle.
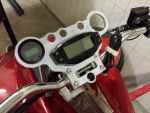
To be able to measure a few more things I had to place the fenders again. So here's a nice picture of the whole quad bike. It's actually starting to look like something.

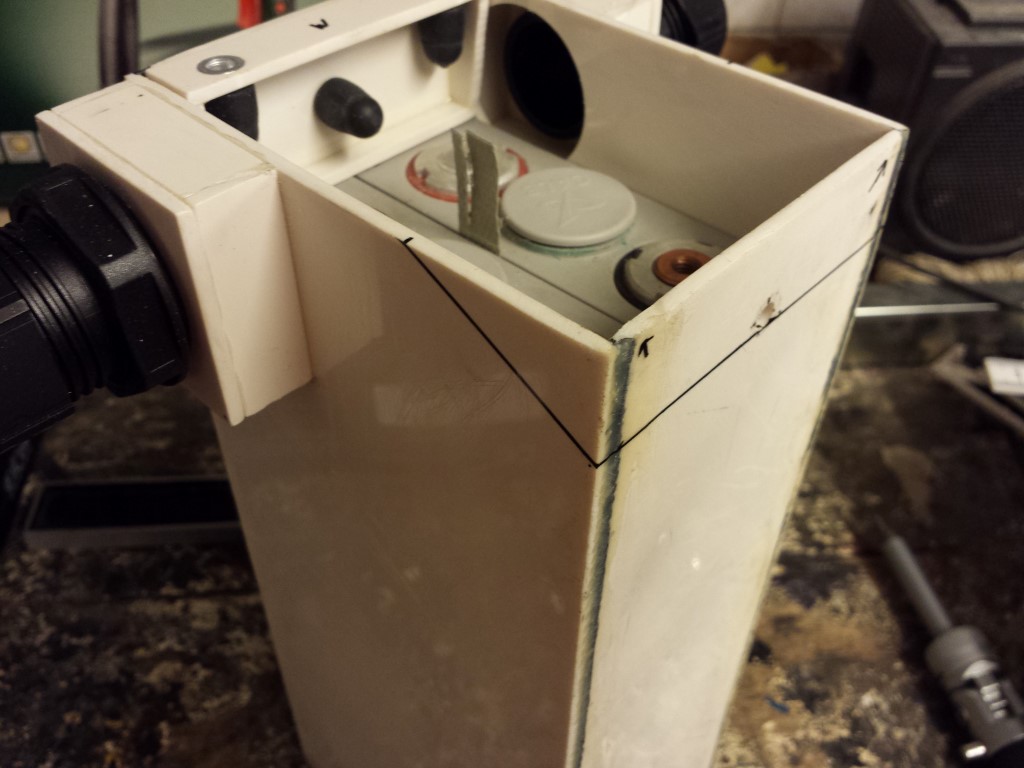
I just ran into a problem with the battery box that's in the front below the carbon fender. It barely doesn't fit and the box is being pushed against the steering shaft which isn't a good thing. So I'll have to modify this box a bit, make it beveled on one side. Because of this I also haven't been able to saw the steel corner profiles to size yet since they'll have to be different for this box as well.
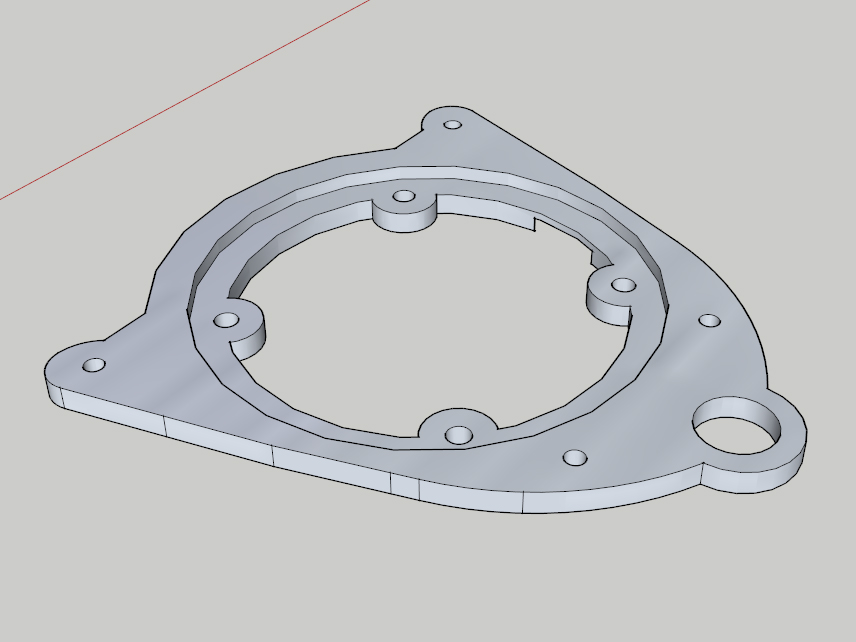
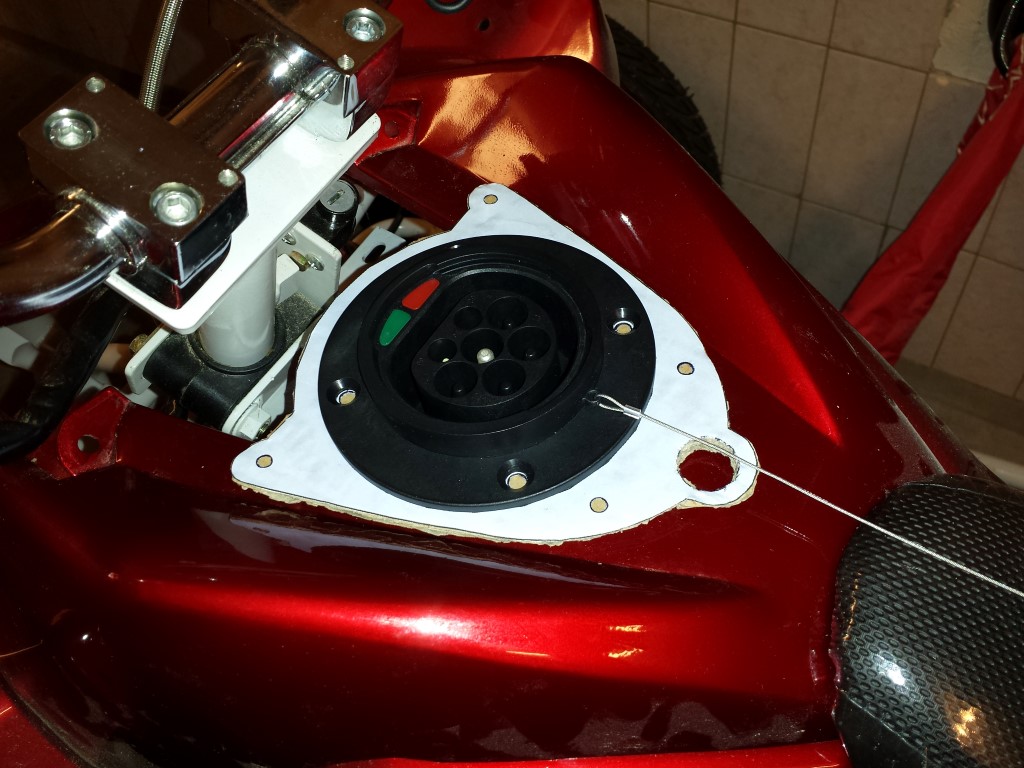
Then there's still the other plate. This one's for the charge inlet and will be in the same spot where the gas filler cap once used to be. For this I needed all the sizes of the fender which is quite tricky since the lines aren't straight but bent just slightly. I had the idea of just sticking a piece of paper on it and then try to find the lines with a pencil, worked pretty well.
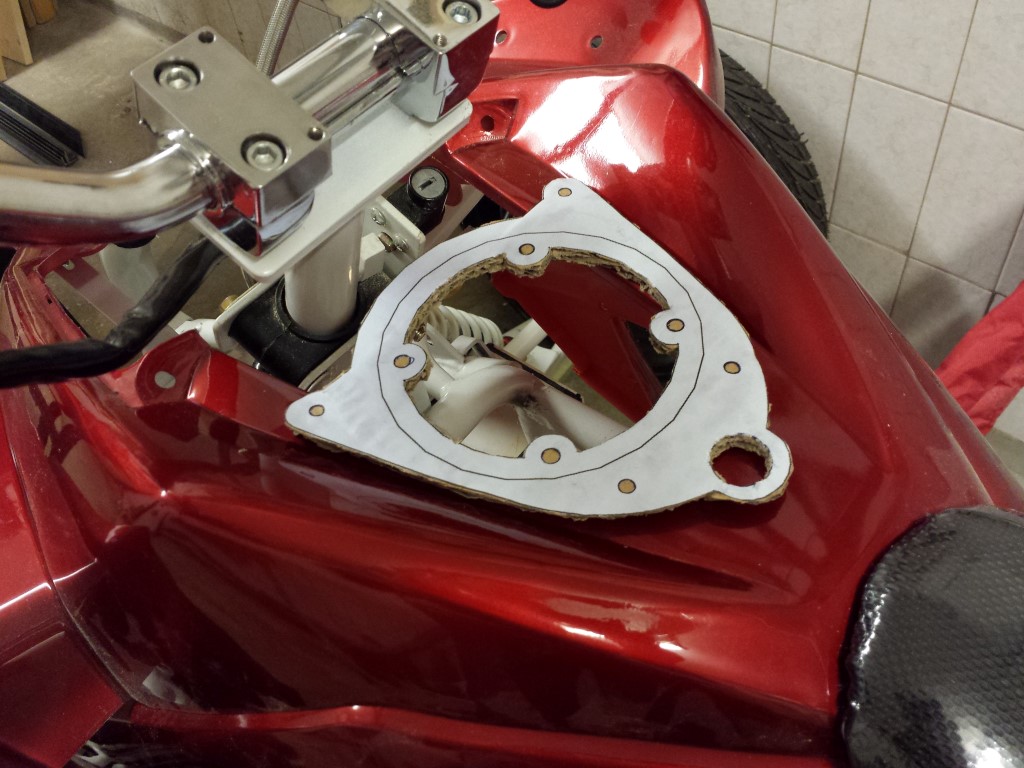
Now I could easily measure everything while drawing without having to take the whole fender with me.
I again made a paper model of it and it all fits perfectly, no modifications needed.
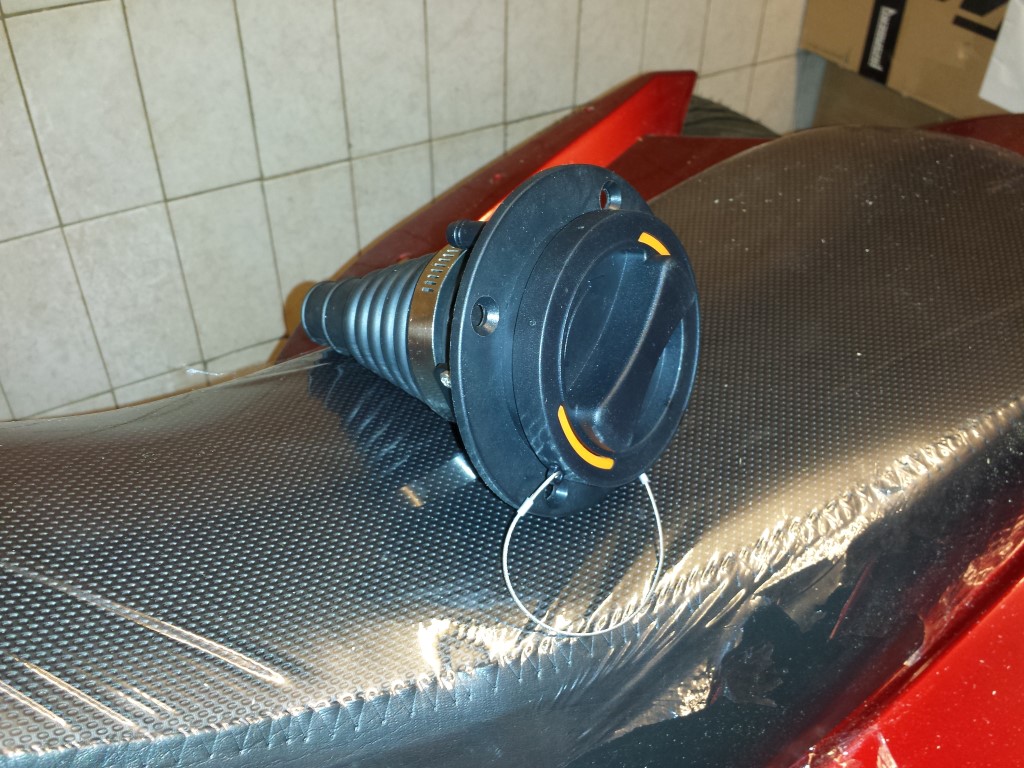
The charge inlet is new after some advice from Rebbl, this is a mode 3 type 2 (IEC 62196). It's the standard everywhere in Europe now for all electric vehicles. Last year or so I already bought a CEE inlet but meanwhile this won't be approved anymore at the RDW (our institute for road safety). So unfortunately I had no choice but to buy this one. But I'm quite happy with it now, it's much more solid, safer and also waterproof.
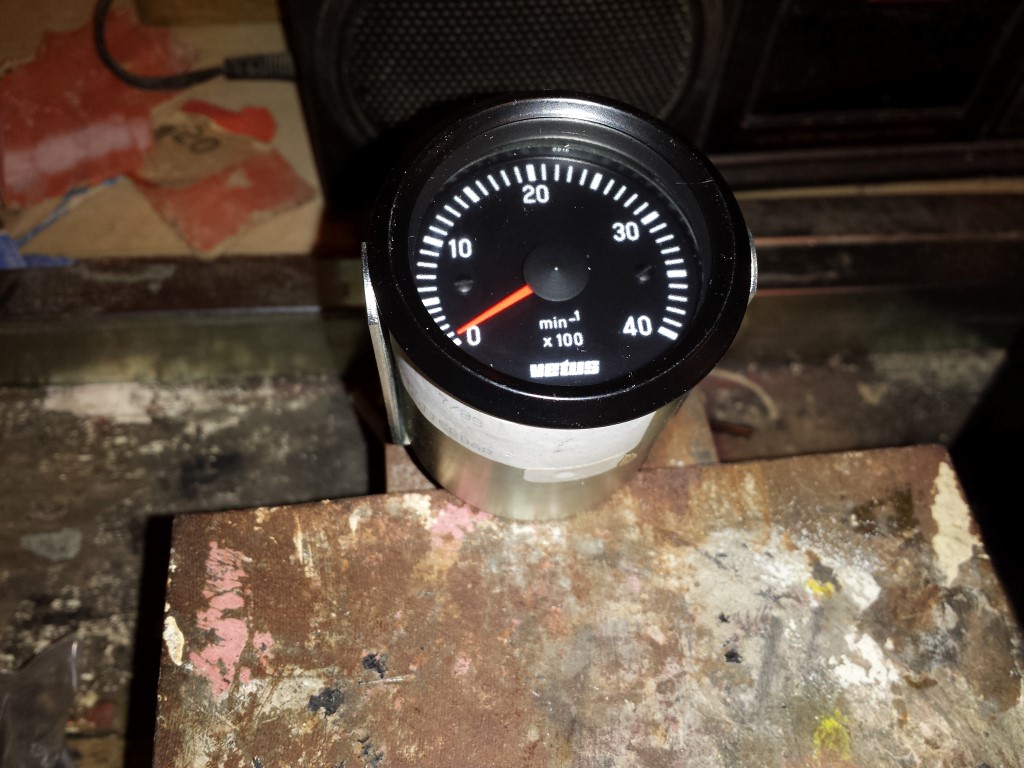
Also bought a new analog tachometer for a very cheap price. But unfortunately I can't get this one to work either. I was really sure it would work with this one since it normally gets connected to the alternator and also gets a pulse signal. But it doesn't do anything with the pulse signal that's coming from the controller. So I'll have to look for a solution again.