
 Nederlands
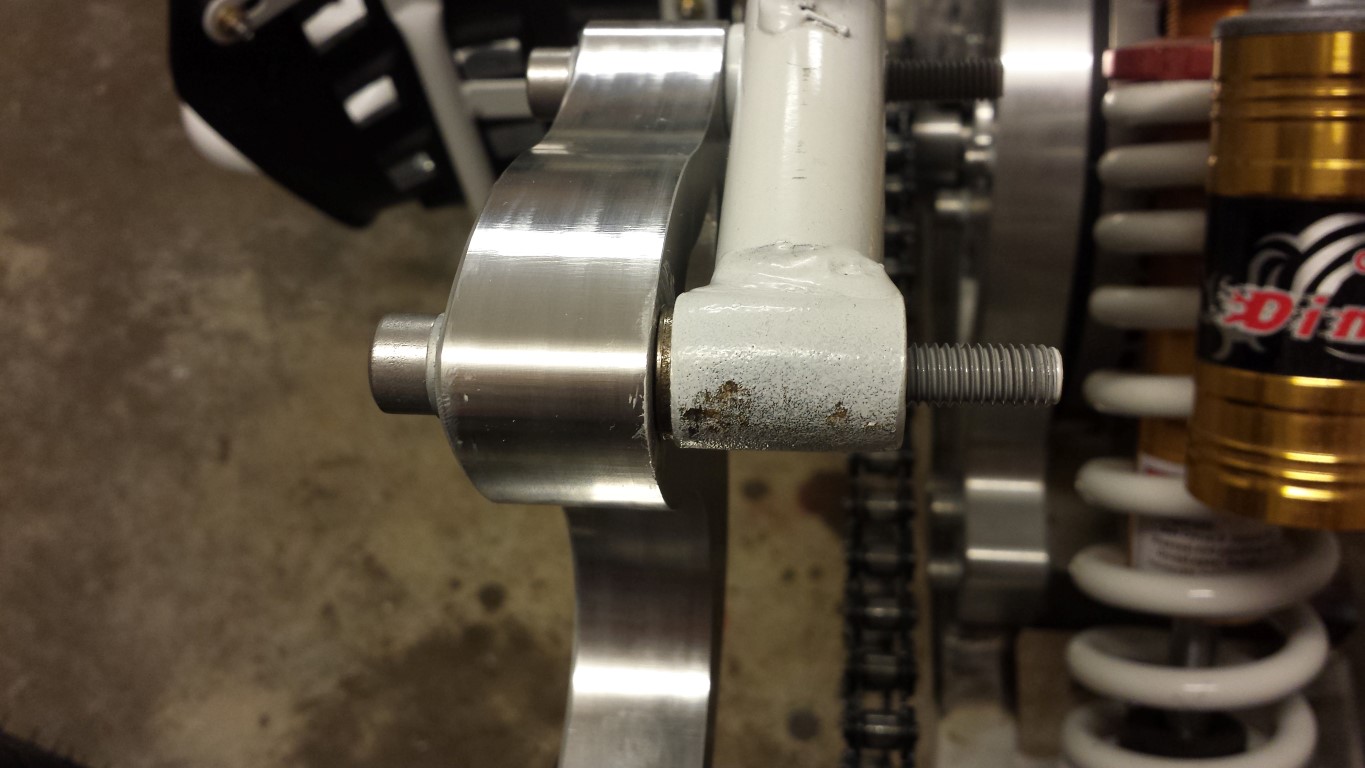
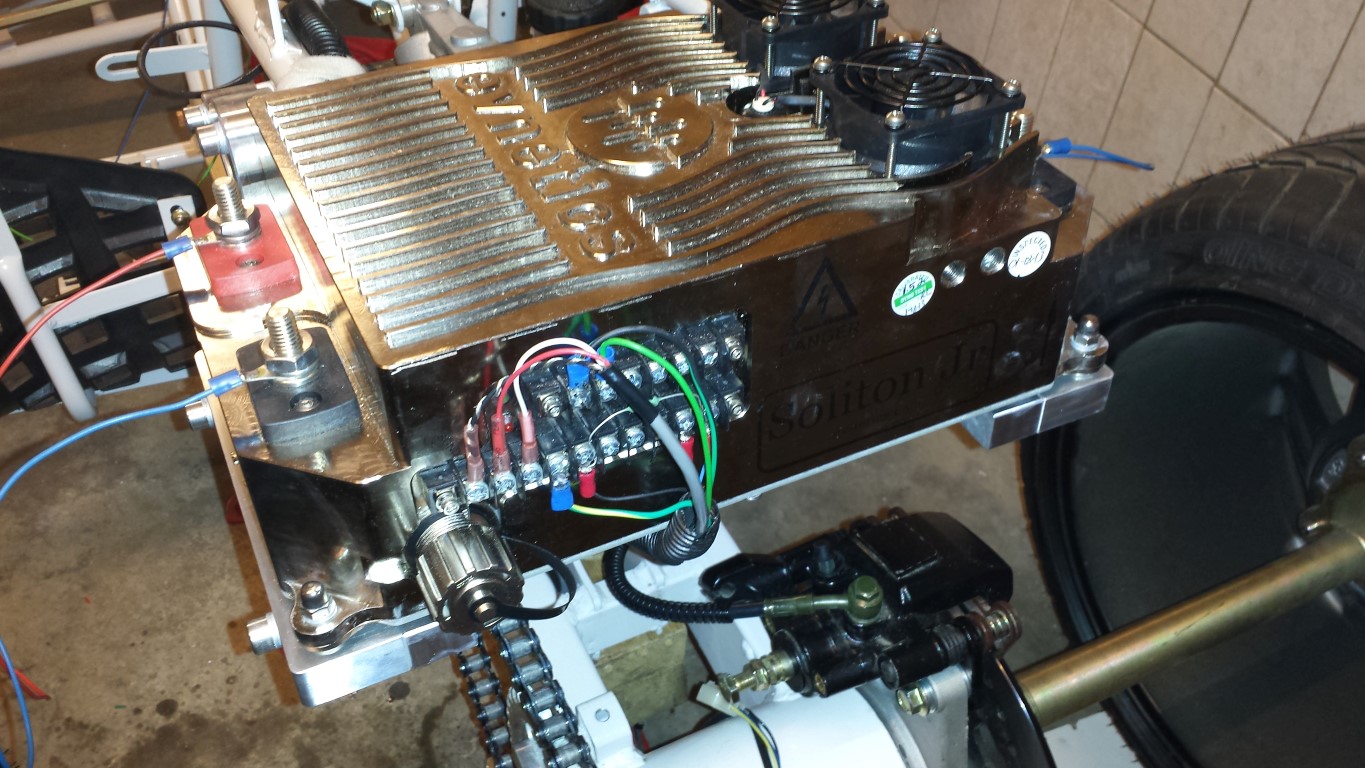
Blog / Controller mounts fitted straight and wiring for testride
Controller mounts fitted straight and wiring for testride
Posted on 14 September 2013 at 12:02 am (CET)
Category: Controller
Posted on 14 September 2013 at 12:02 am (CET)
Category: Controller
Today I wanted to grind off a bit of those 2 mounting points so the mounts would be sitting straight. But I found out this wasn't possible since those 2 points were already even with the frame. So I found another solution, just adding a ring on the other 2 points and they sit perfectly straight now.
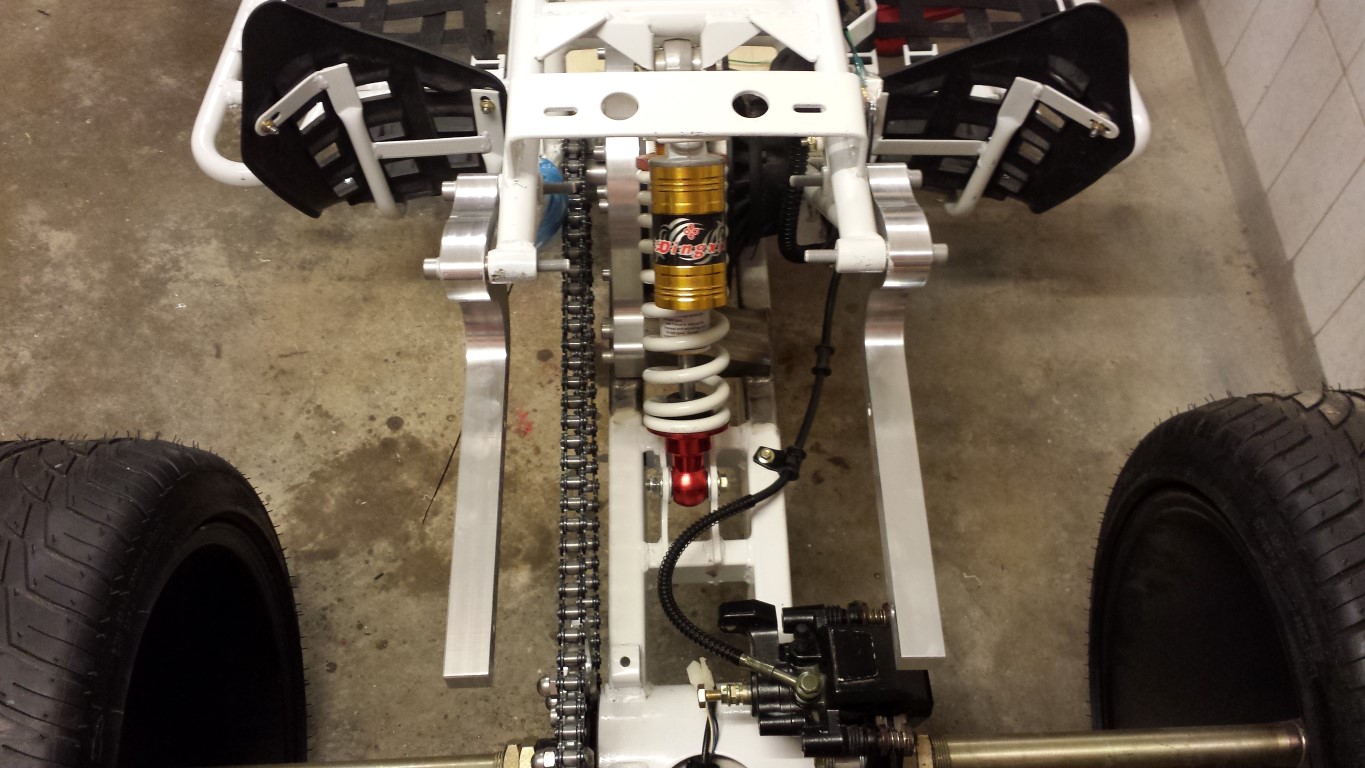
Another picture now everything's really attached. Eventually the aluminium enclosure will be placed around the controller. Can't leave it open like this later on with the lithium batteries, quite deadly if you'd touch the 2 terminals where the cables of the batteries are connected to.
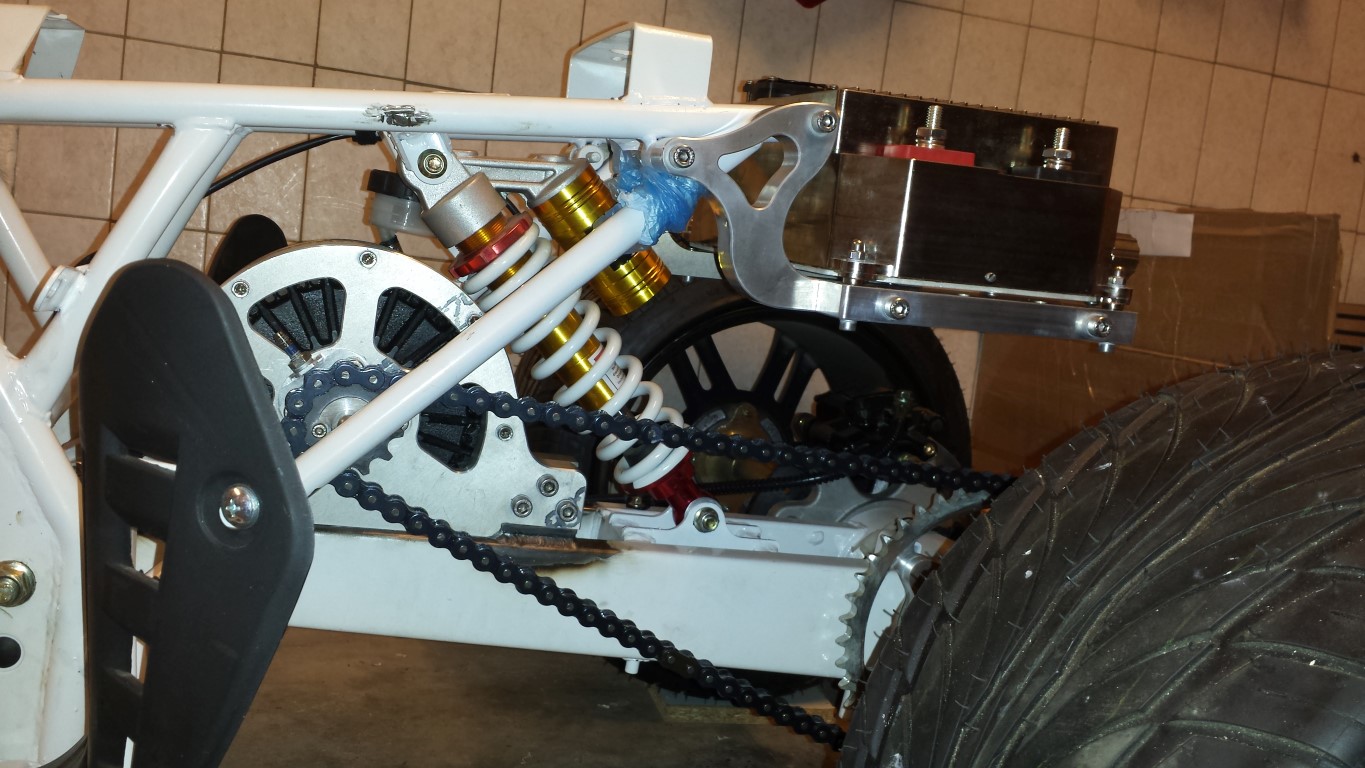
Today I spent most of the time on the wiring to be able to start testing. Cut almost everything out of the old wire harness and tidied it up a bit with a piece of wire loom. Otherwise the wires could cause some problems if they'd hit the chain.
And something else happened today but I'll save that for tomorrow.