
 Nederlands
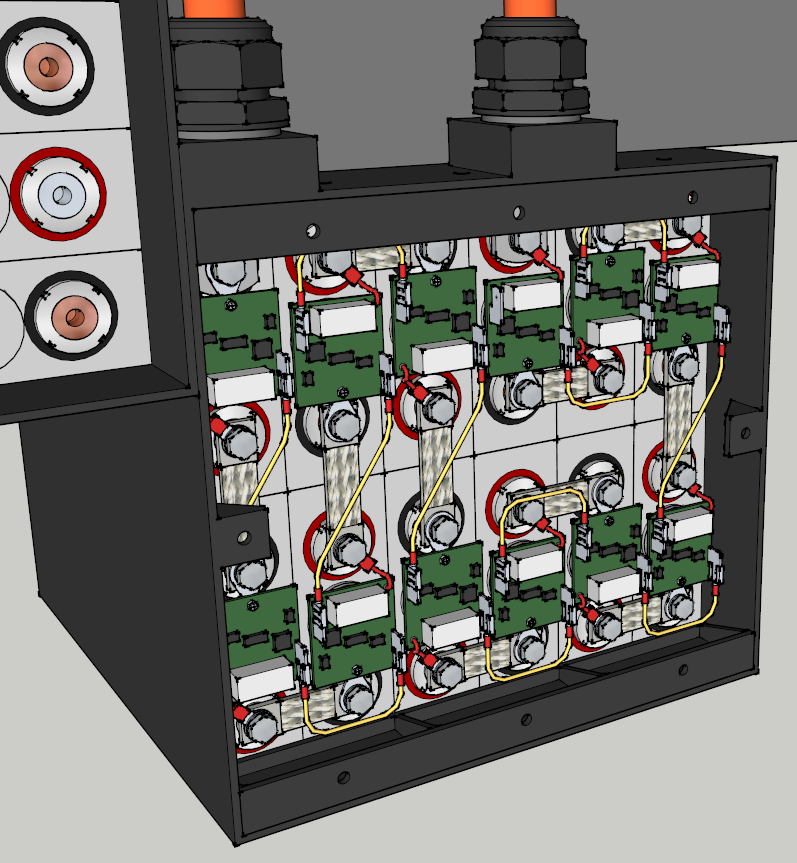
Blog / Batteries
Posted on 13 April 2013 at 10:27 pm (CET)
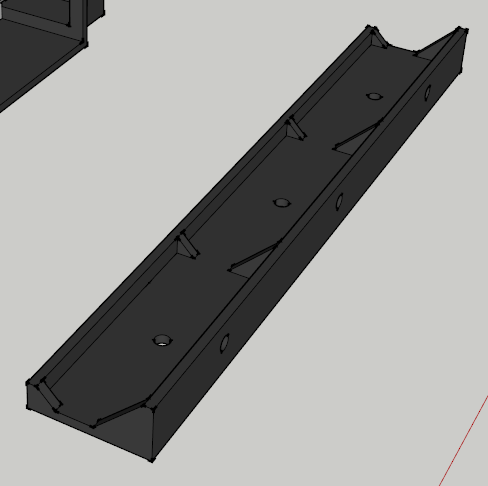
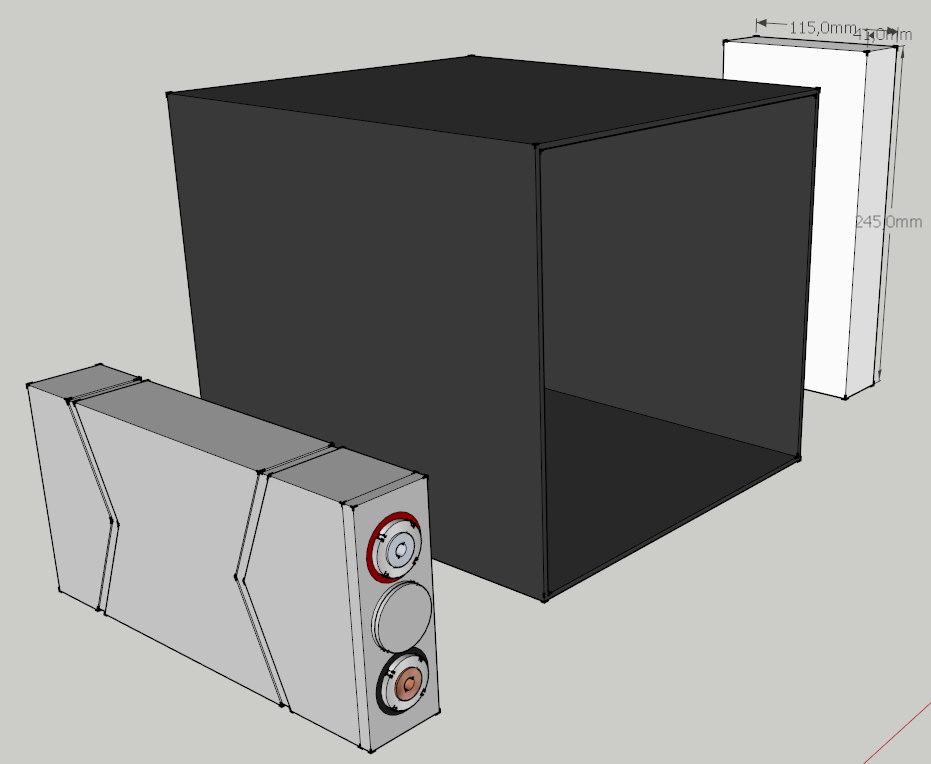
Drawing of the biggest battery box is pretty much done now, still had to modify some things since the location of the cable glands, orange cables and frame of the quad bike didn't work out that well. So it'll probably be more or less like this.
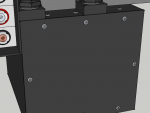
And this is what it'll look like closed. Still needs a warning sticker for high voltage though but on this big battery box I don't just want a basic sticker. Will have to see if I can get something funny made for this when it's all made and done at least.
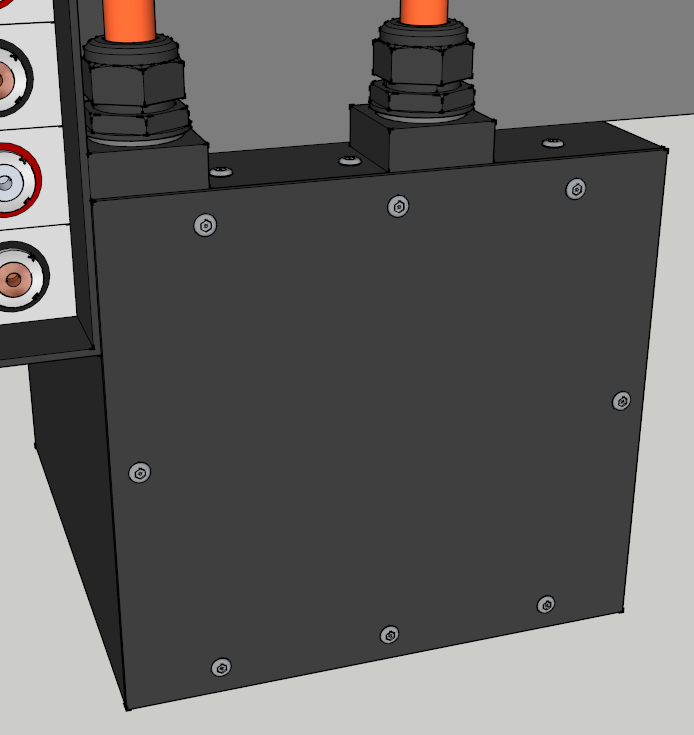
Pretty nice this 3D drawing, can immediately see if something fits or not before even starting with the real thing.
Think I'll only have a hard time with the other battery boxes since the frame of the quad bike is kind of in the way to be able to pass the cables through the boxes. Will have to wait and see how this will fit.
Posted on 12 April 2013 at 10:08 pm (CET)
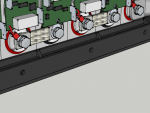
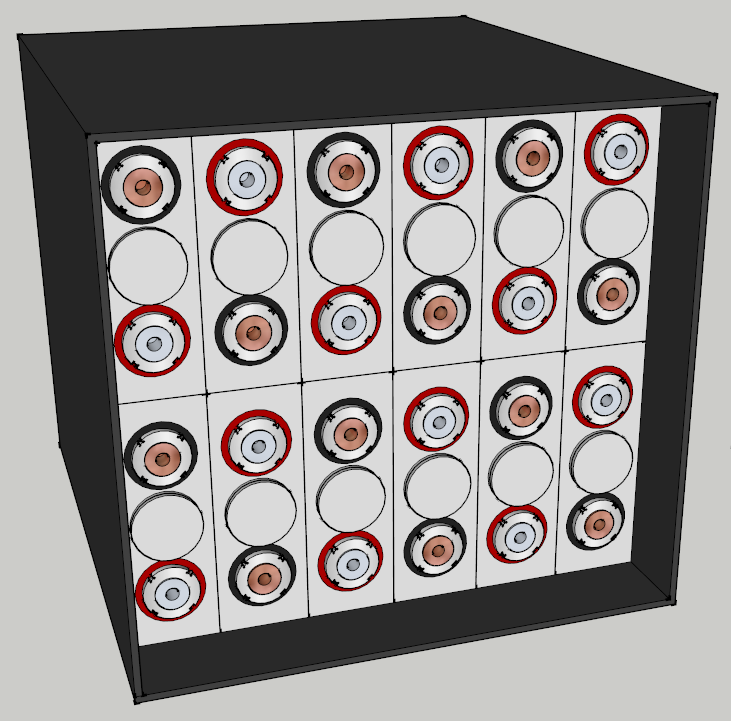
Here's what I had in mind to hold the batteries in place and it's also for attaching the cover. There will be rivet nuts in all of the holes and everything will be fastened from the outside this way.
Don't know if the triangular shapes are necessary but it should be sturdier that way.
Here it's in the battery box.
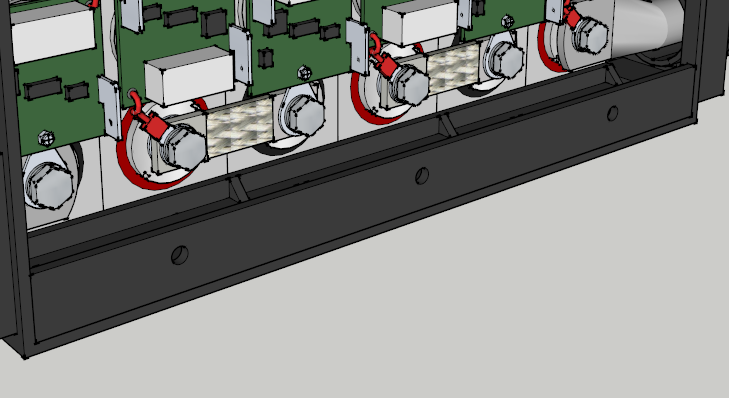
Might have to add something else in the middle of this battery box though since there are 2 rows of batteries in it. The other battery boxes will all have 1 row so it should be easier for those.
Posted on 11 April 2013 at 10:57 pm (CET)
I've continued with the 3D drawing.
I think the only way to secure the batteries is to place an L-profile of the same material as the battery box at the top and bottom and fasten them from the outside with bolts. I want to use rivet nuts with this and seal it with rubber to make it waterproof. No idea how else to do it.
I'm also not really sure yet if the batteries will actually be placed in this position, will have to wait till I receive the batteries. Only then I can see how they'll fit.
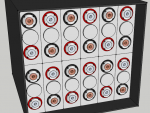
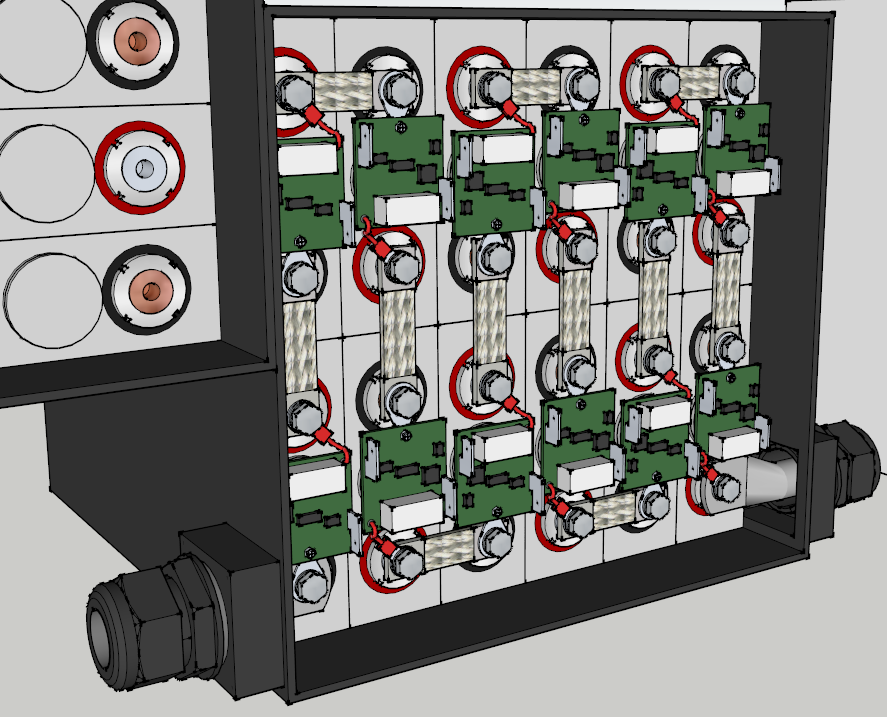
Was a bit bored today waiting for the plate for the motor mount to arrive. So I played around a bit in SketchUp and replicated the batteries I will be using. Think it turned out pretty well, first time actually using the program.
Also made one of the battery box (the biggest one) in which the batteries will be held together. And I'm in luck, there are 2 sizes given for the width of the batteries on the supplier's website but the smallest size seems to be correct. I always assumed the larger size to be correct. This will give me another 3mm to spare for each battery which is quite a lot really. Will be even easier to place them.
Only problem is I have to make sure they won't be able to move inside of the box. That's why I'm making this 3D drawing, to discover a solution for this.
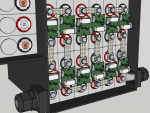
I also filled up the box with batteries, pretty fun program. Easy to work with.
Think I'll continue and add the BMS boards and connections as well.

Posted on 3 April 2013 at 10:19 pm (CET)
Today I received the BMS (Battery Management System). Had to get this all the way from America since we don't have anything like this here. Or well, only 3-4x more expensive. Pretty quick delivery, bit less than 2 weeks. Also didn't have to pay much tax for import, way less than expected.
The BMS is there to take care of the batteries so you can't under- or overcharge (very important for lithium batteries). The batteries also get balanced while charging so that you can get the maximum capacity out of them for a bit higher range.
Here you can see the whole system. All the small printboards will come on each of the batteries and are connected in series. I ordered a few extra just in case I'd destroy one making a wrong connection.
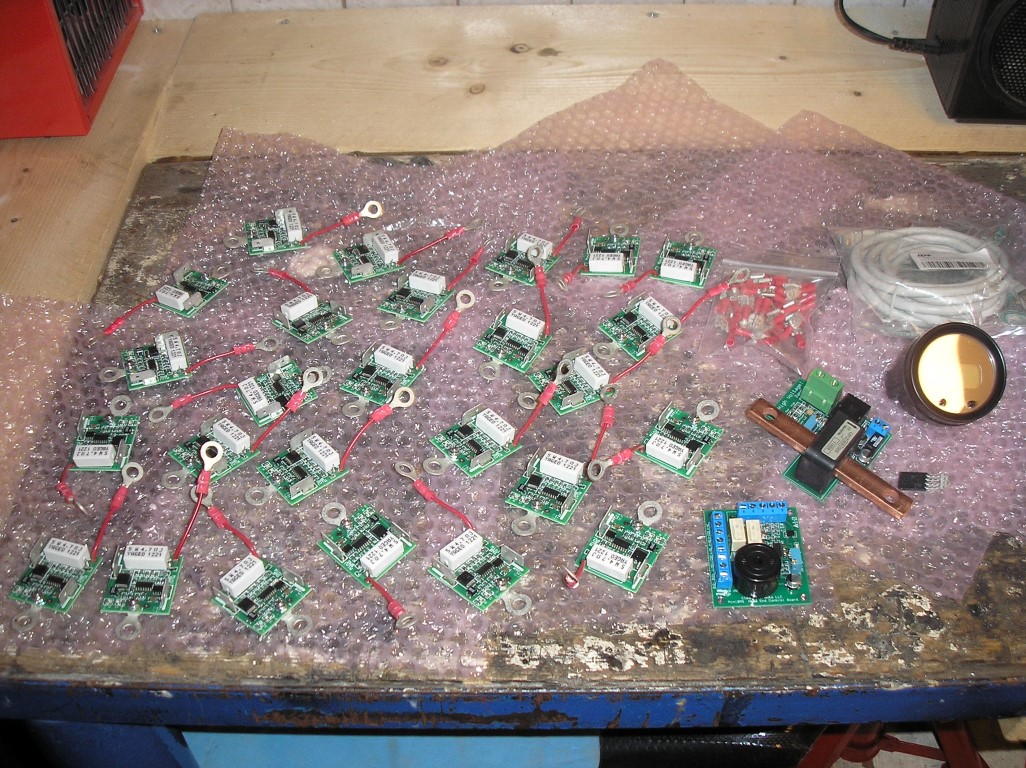
On bottom left is the head-end board as they call it. The whole loop of battery boards will be connected to this and this one basically manages everything.
In the middle is a sensor that can measure the current, voltage, temperature and some more things. It sends all this information to the display you can see on top right. On this display you can also see the capacity of the batteries.
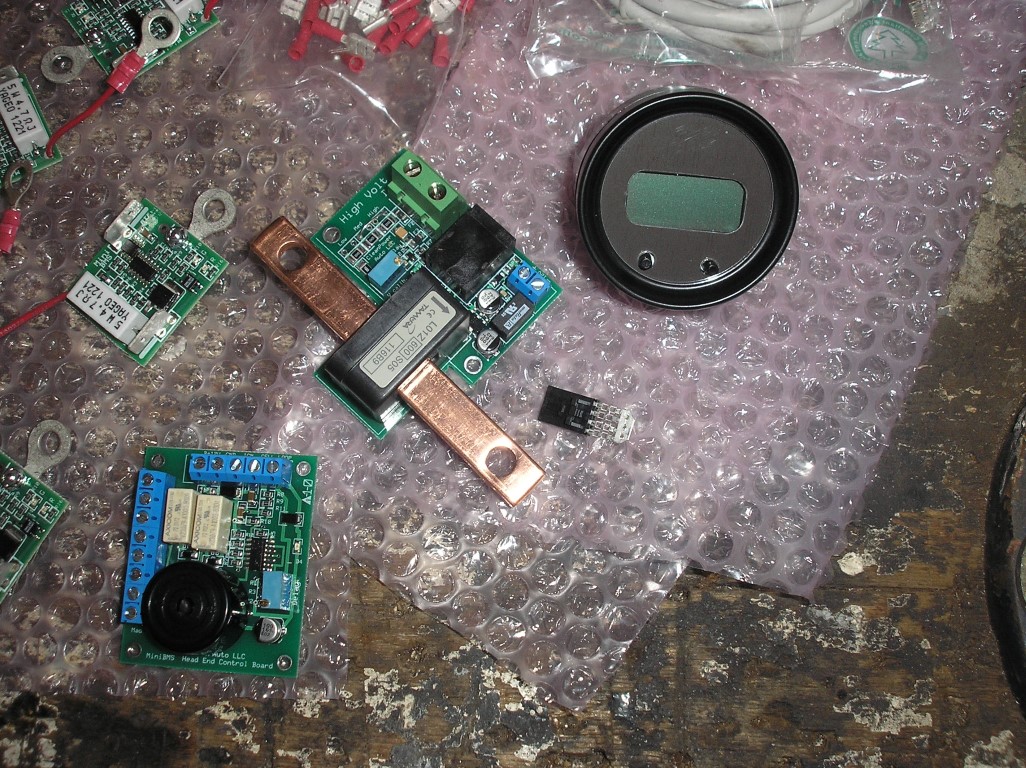
Head-end board coincidentally fits in the small box that I got with the charger. This was actually meant for the little relais but I can place this in there as well now.

Last week I still got some more parts, will post them here as well since it's all part of the project.
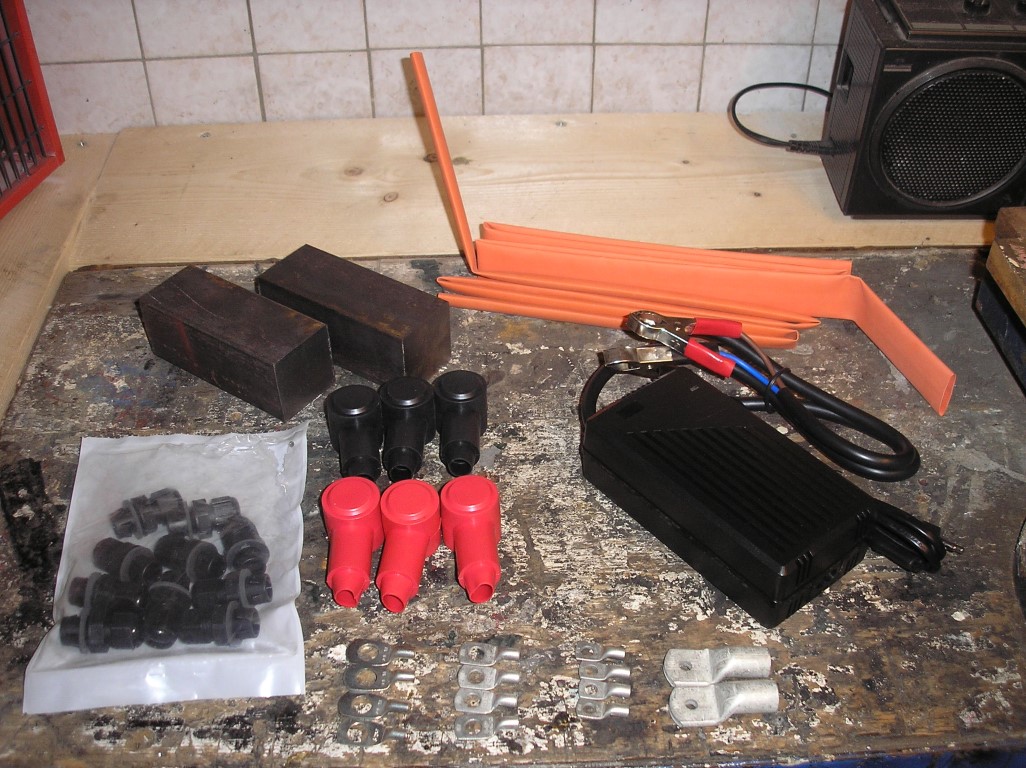
Black cable glands in trade for the wrong gray ones. Rubber insulator caps for the terminals of the controller and motor. Some more cable shoes with different sizes (will still have to order more of the big M6 ones since the batteries also need M6 instead of M10). Orange heat shrink only for color coding on the black cables I received for the charger and DC-DC converter since this is also high voltage.
Then there's still a small charger that can charge one 3.2V lithium battery at a time. I will need this to charge all of the batteries for the first time to get them balanced. The batteries will all be connected in parallel for this. After that the BMS will keep them balanced. Came all the way from Czech Republic, just can't get these things here. This won't be fitted to the quad bike but it does make sure the batteries are immediately ready for use.
Also 2 steel blocks. I will have these routed together with the motor mount so they'll get a bit smaller, sloped and lighter. After that I can get them welded on the rear swing arm and the motor mount will be attached to these blocks.
The plate for the motor mount is also ordered already. It was pretty hard to find the correct size. I again couldn't find it here so I ordered it in Germany.