Nederlands
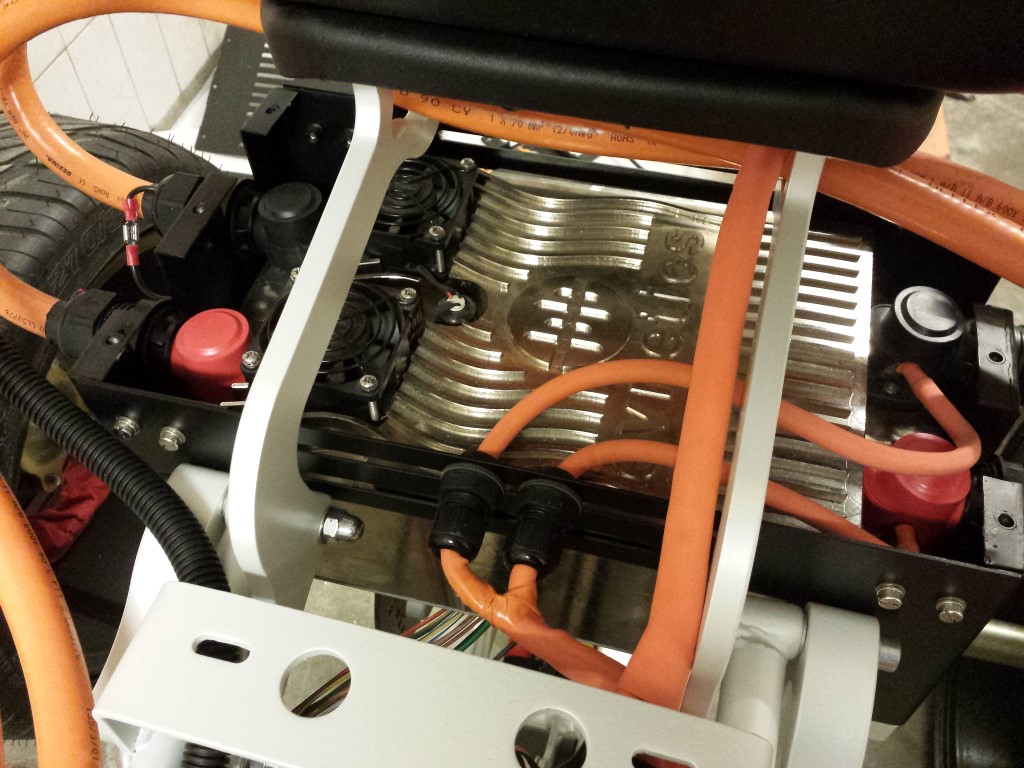
Blog / Charger

Posted on 16 January 2015 at 11:37 pm (CET)
Posted on 16 January 2015 at 11:37 pm (CET)
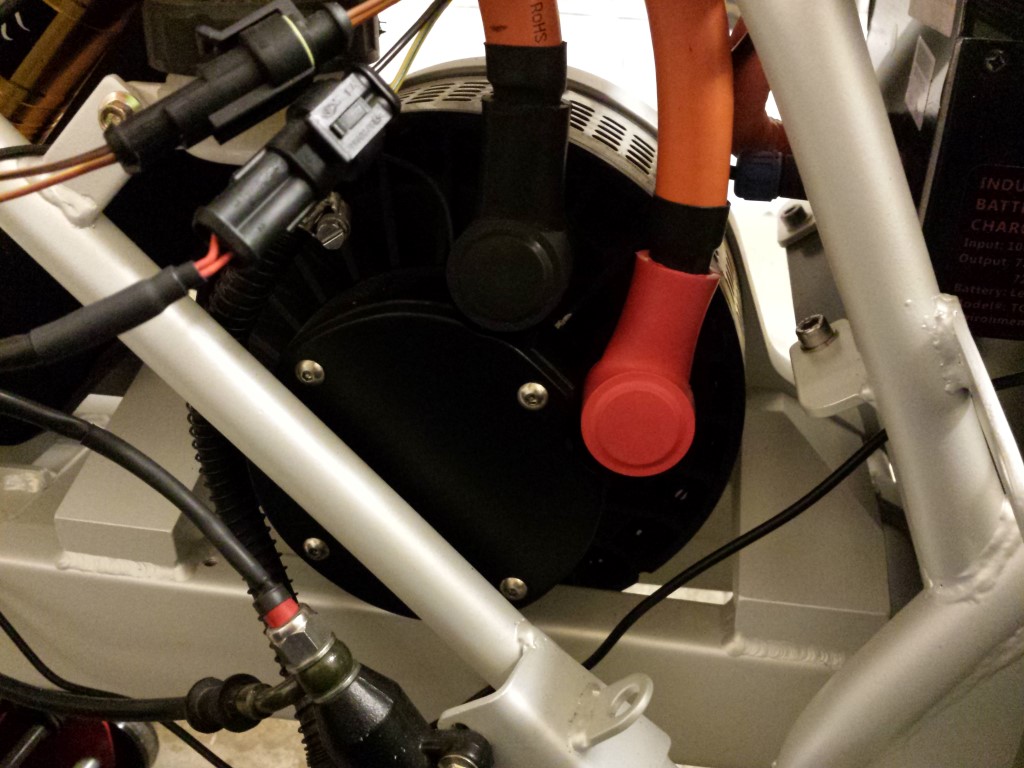
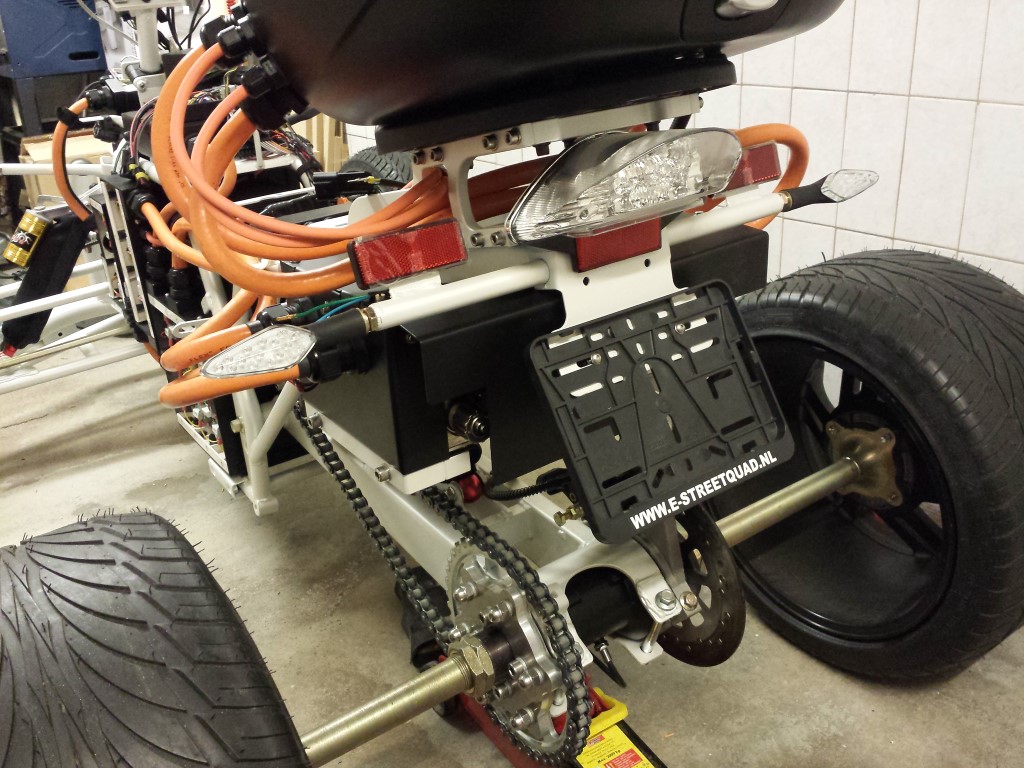
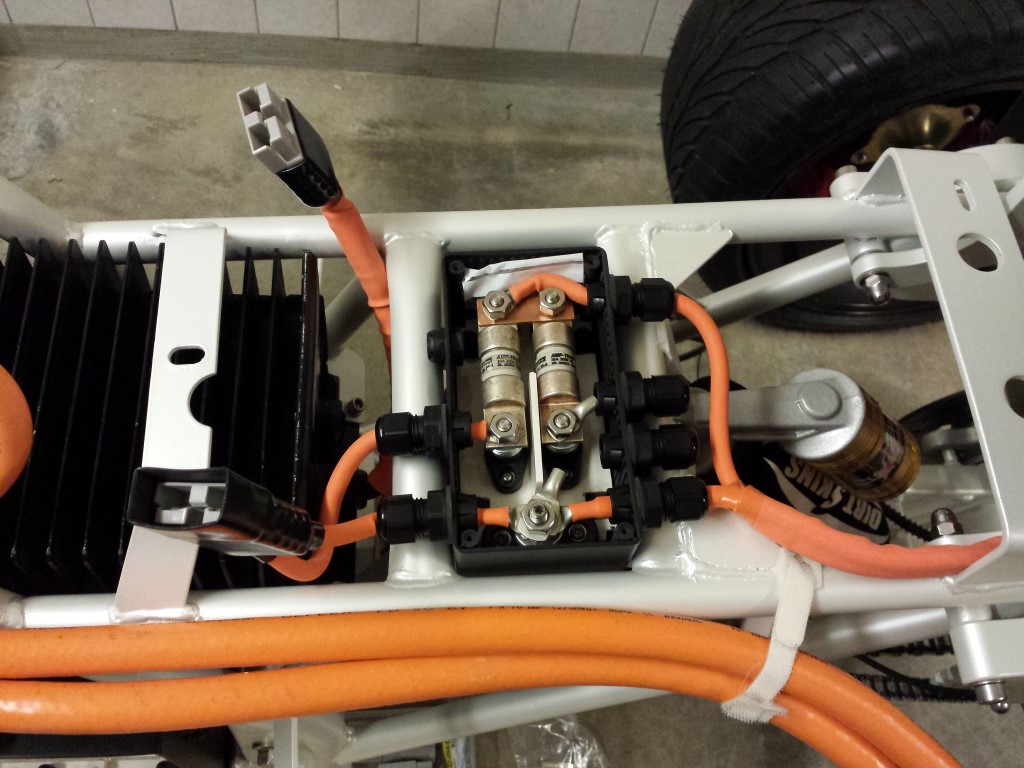
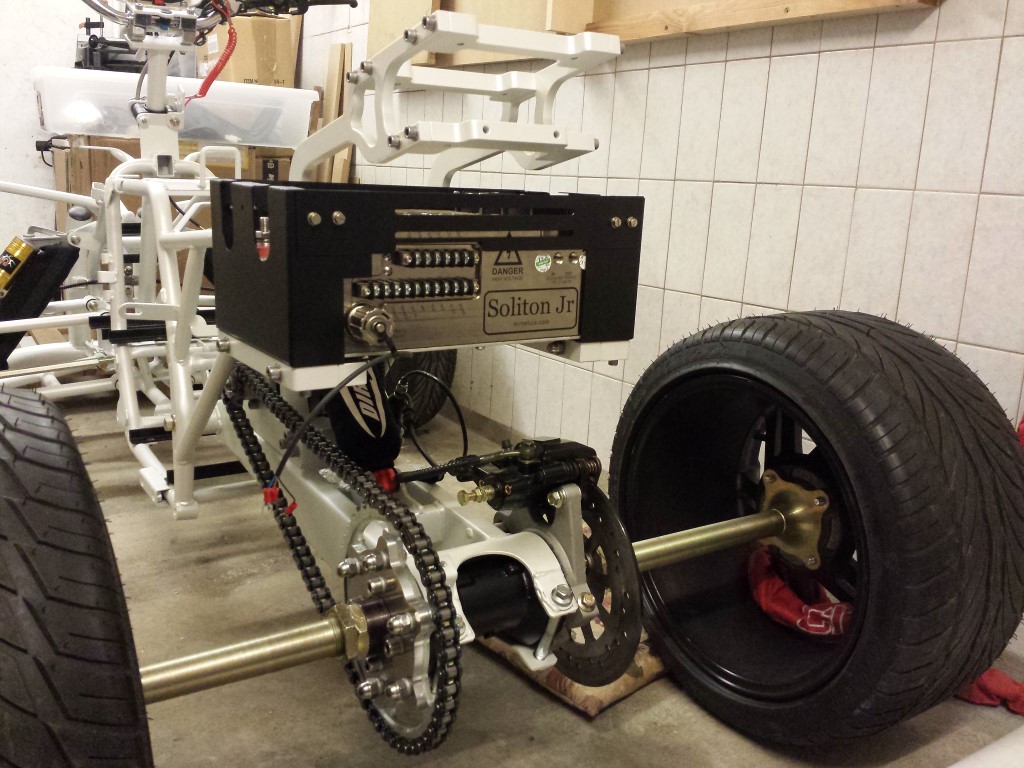
I have all of the connections on the controller and motor covered up now. should be safe enough like this.
Also placed the last part of the enclosure on the controller. Doesn't look very pretty but for now it'll have to do. It's important for the road approval test at the RDW.
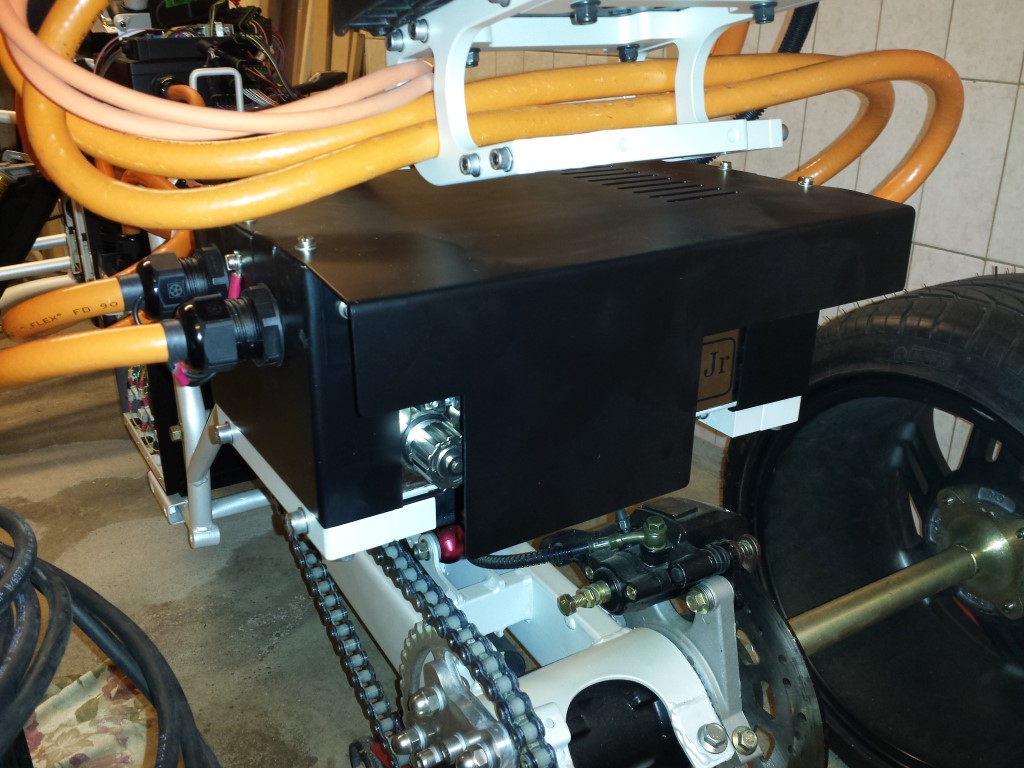
After that I already attached the rear lights and license plate holder. It all barely fits between the controller's enclosure and top case.
A long while ago I already made the charge cable but I had to get a different plug for this back then. I still hadn't put that one on yet so I've done that as well now. It's not suitable for charge stations, I won't make use of them anyway. Will just be charged from an outlet at home.

And then some more good news, charging the battery pack for the first time went perfectly as well. The battery cells were all still close to full so it didn't need much time. The BMS disables the charger when it has to so no problems there either. Only thing not working is a button I want to use to enable and disable the charge process. Just still have to add an extra relay to it so that's an easy fix.
Posted on 19 December 2014 at 12:11 am (CET)
Category: Charger, Wiring (12V)
Posted on 19 December 2014 at 12:11 am (CET)
Category: Charger, Wiring (12V)
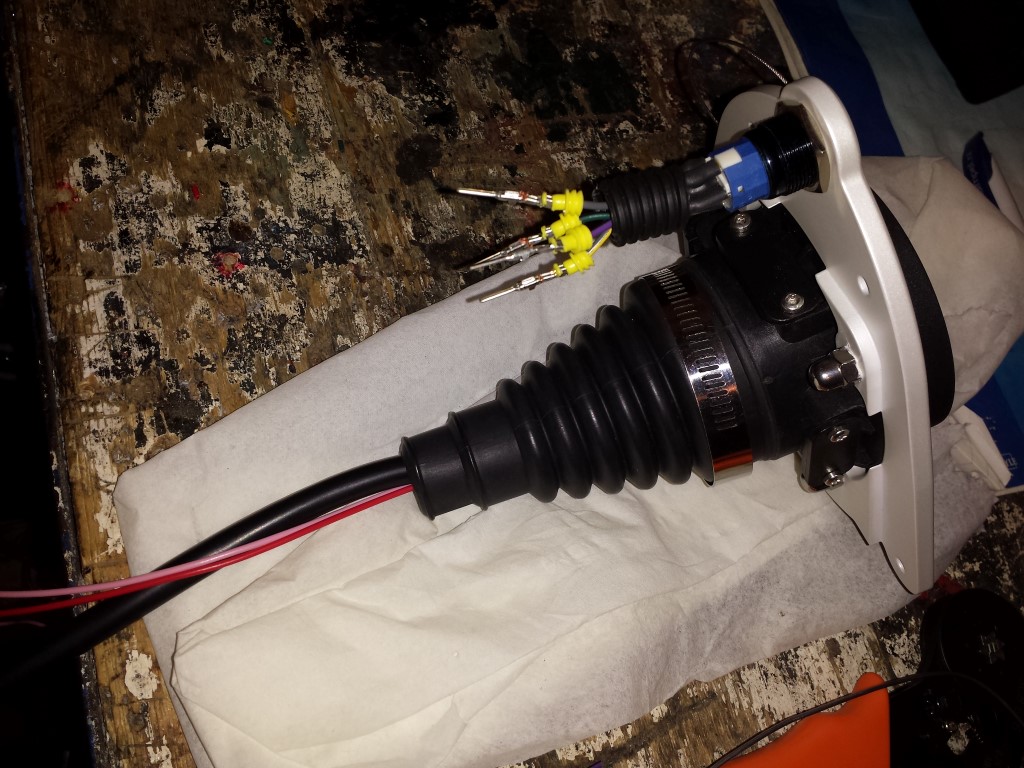
Past few days I was able to do a bit more again. The charge inlet is all connected now. Just still have to find a way to seal the rubber at the bottom.
I also still continued with the wire harness, there are quite a few wires added again and everything that had to be combined is already soldered.
The wire harness is almost completely done for a test ride now. Just still have to add the wires for the lighting after that. But I'm still waiting on the new wires that I ordered, untill I get them I can't really continue with it.
Posted on 24 October 2014 at 11:59 pm (CET)
Posted on 24 October 2014 at 11:59 pm (CET)
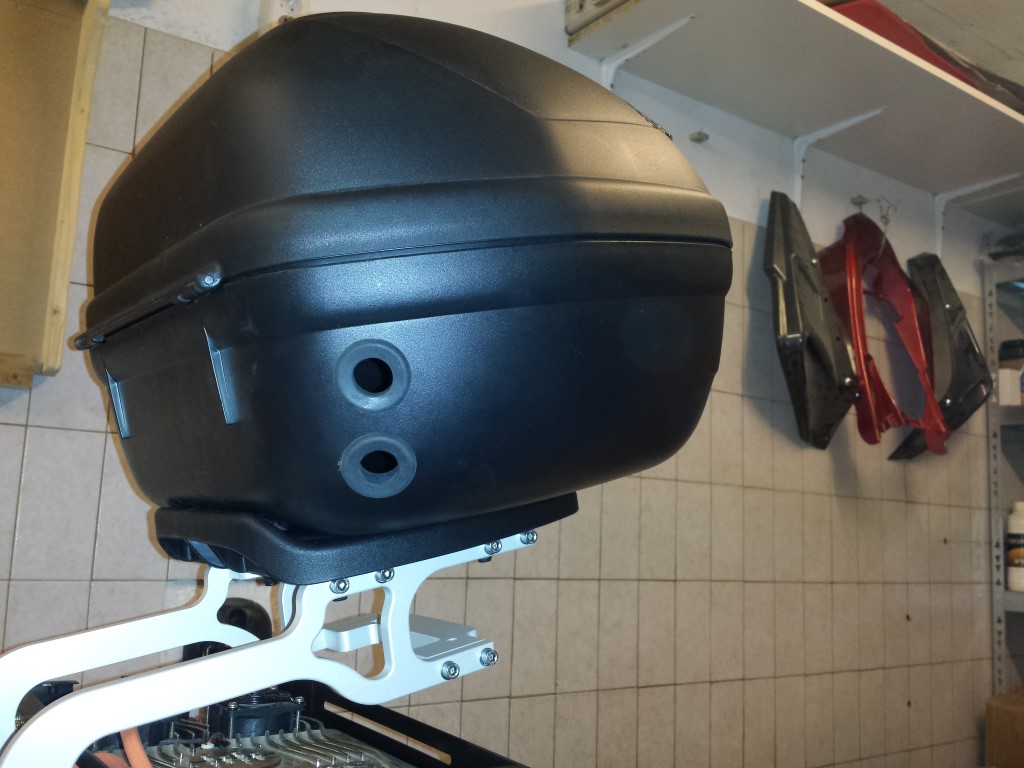
These past few days I've been busy again. Got a reply from the RDW saying it's no problem that a few components will be placed in the top case and that there will be high voltage wires coming out of it and sticking out a bit. So this is all allowed, just has to be done in a safe way of course.
First I started making some pass through holes for the wires in the top case. I just don't know whether I'll keep using these rubbers or use cable glands again. With the rubbers the wires won't stick out as much.
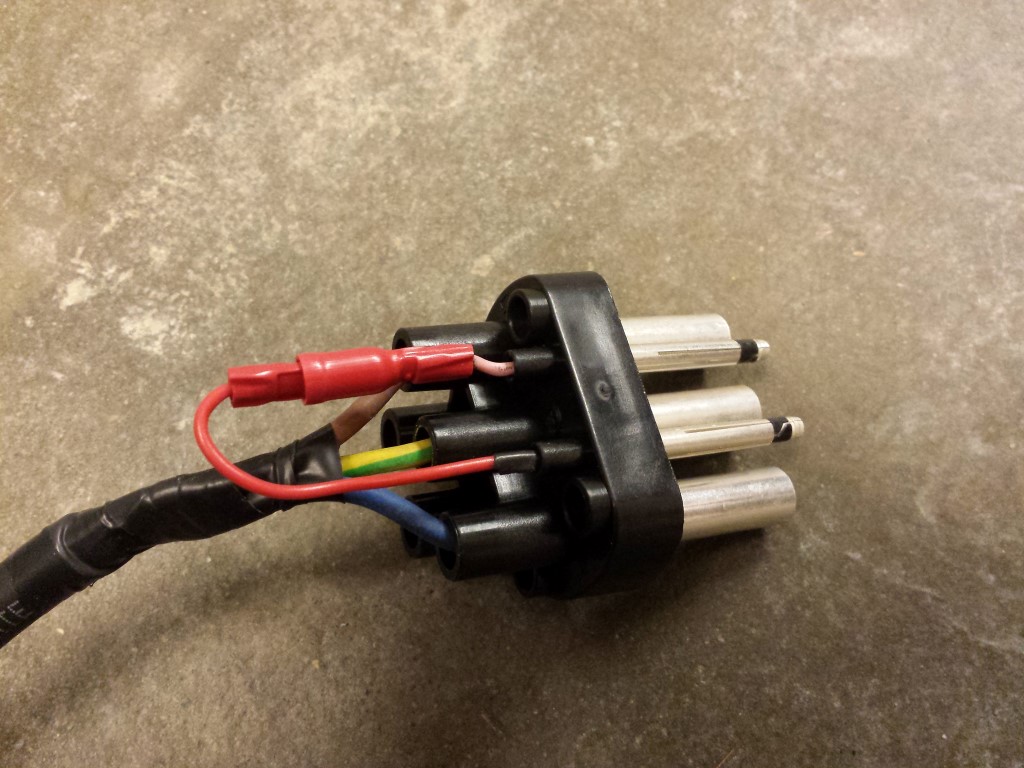
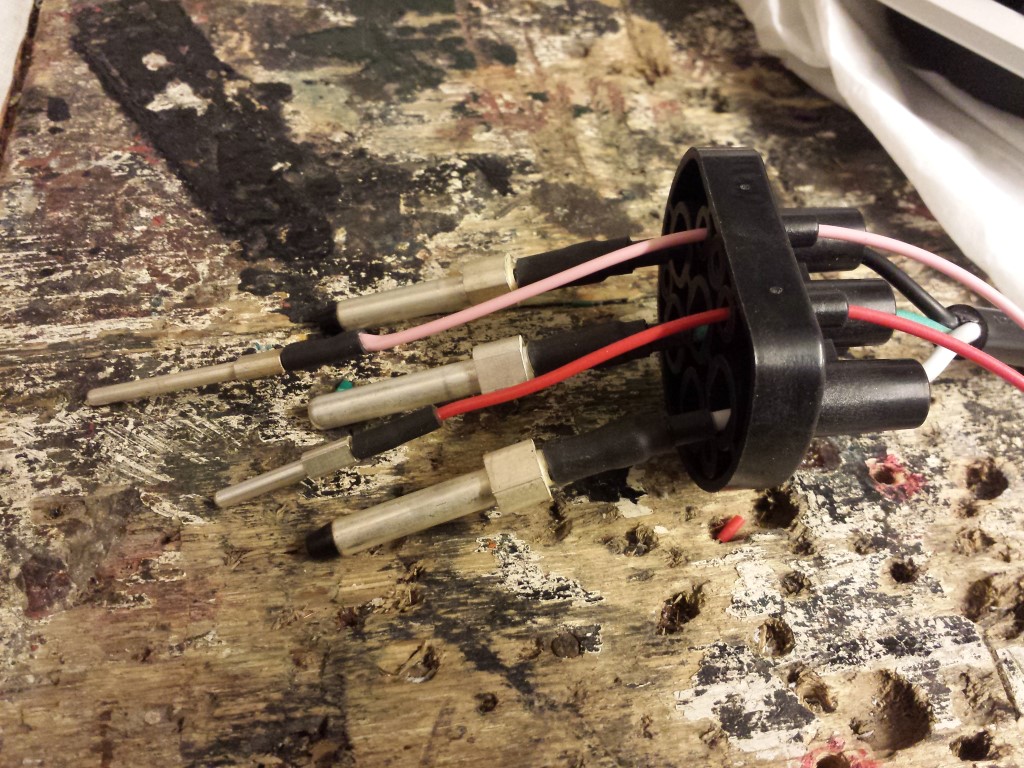
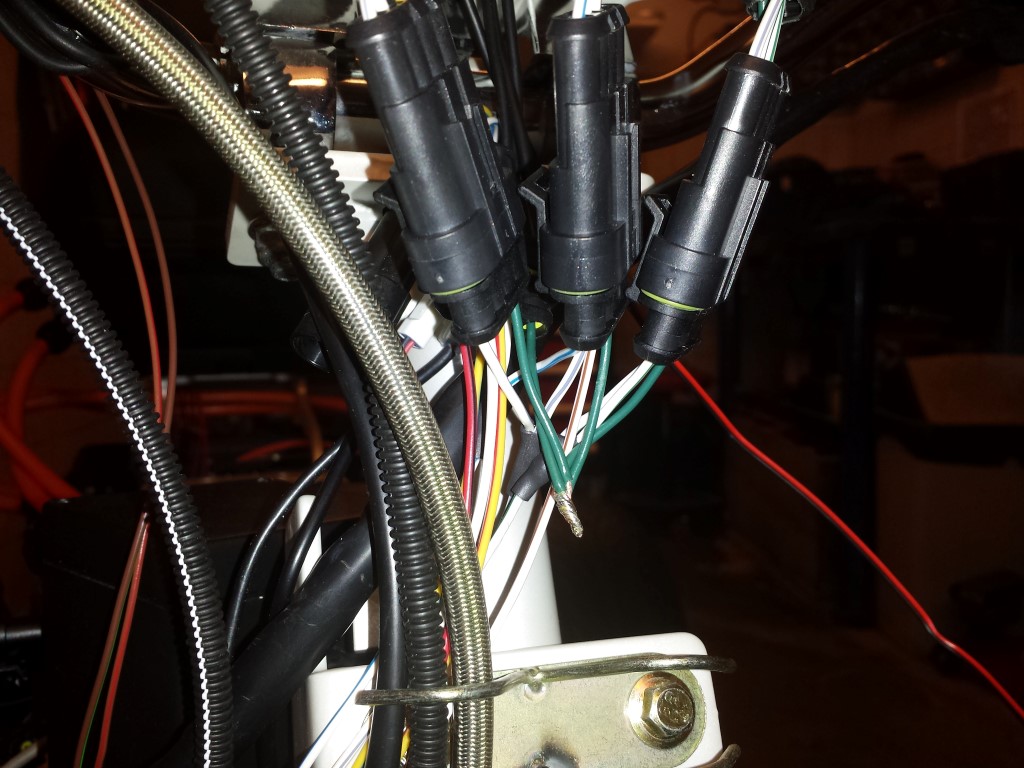
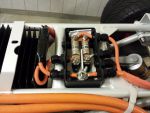
Also bought some new heatshrink so I could continue again making the wires for the charger. There are also connectors inbetween so I can disconnect the charger from the batteries just in case it's ever needed.
Here with the connectors connected. Because of the rubbers that are all around it stays completely waterproof.

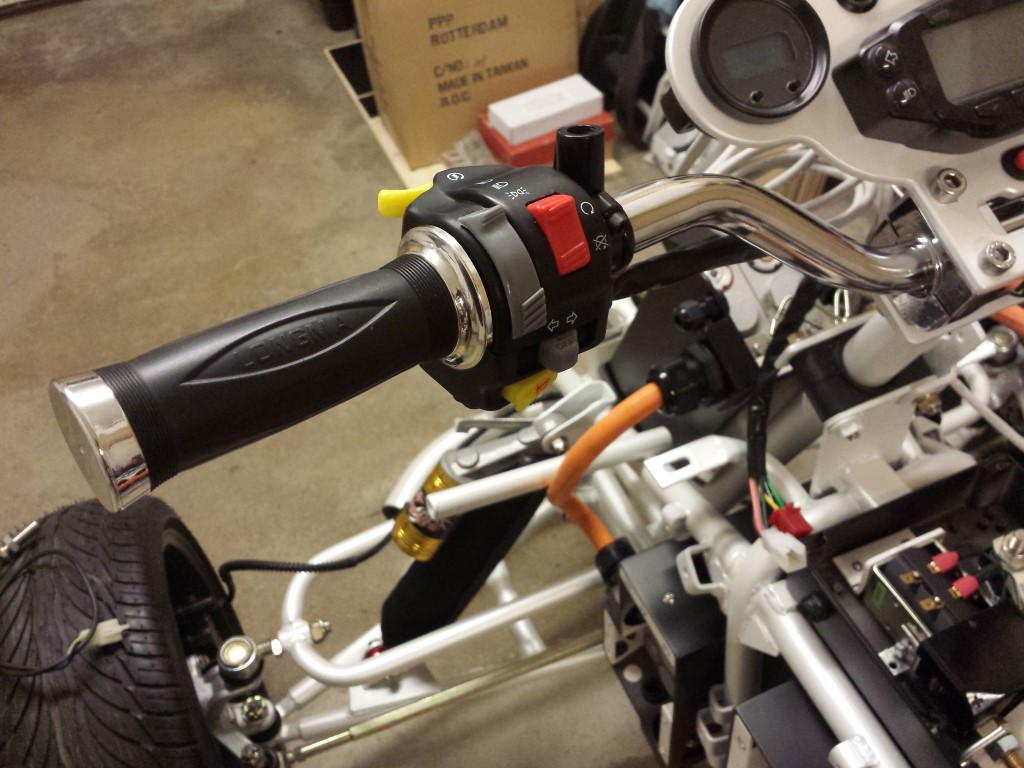
Meanwhile I have also done some smaller things. The new handle switch is attached and soldered all of the wires for the led buttons.
This weekend I'll start attaching all of the components in the top case.
Posted on 29 September 2014 at 11:50 pm (CET)
Posted on 29 September 2014 at 11:50 pm (CET)
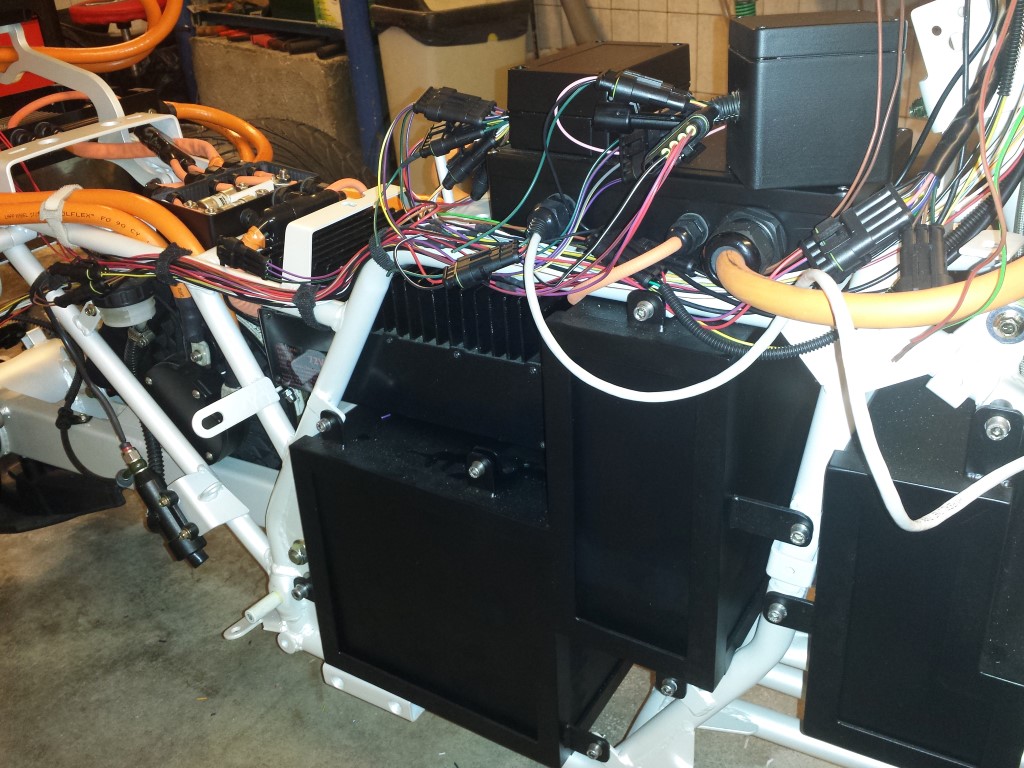
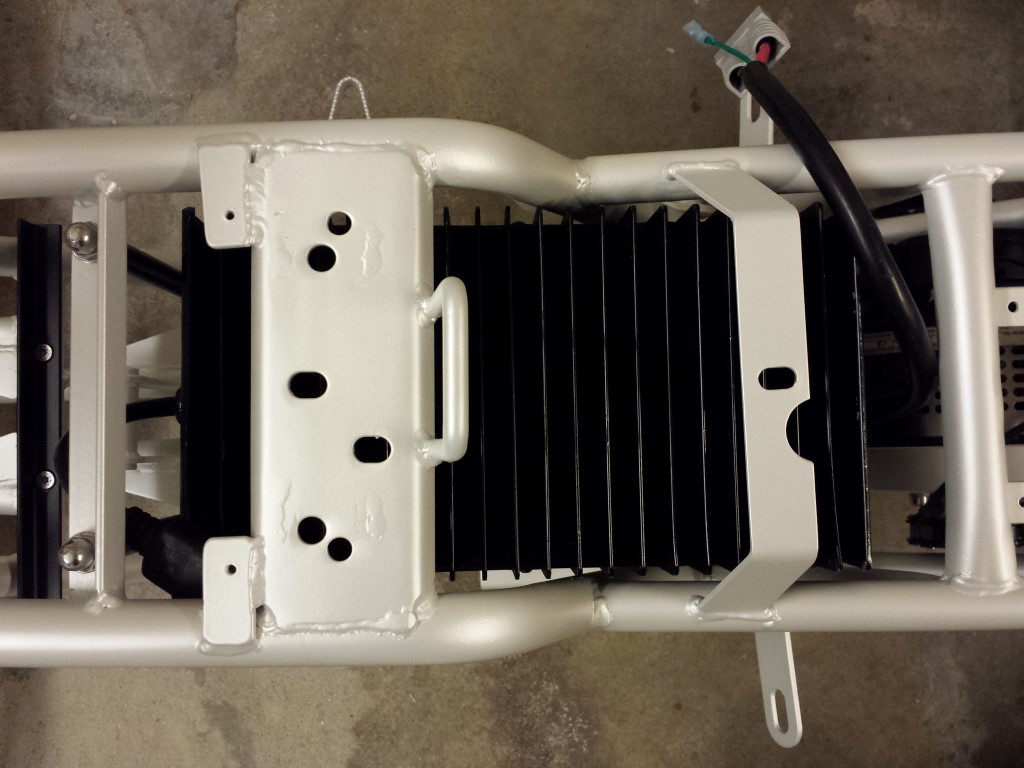
Today the mounts for the controller and top case were placed. I still really like the look of them.
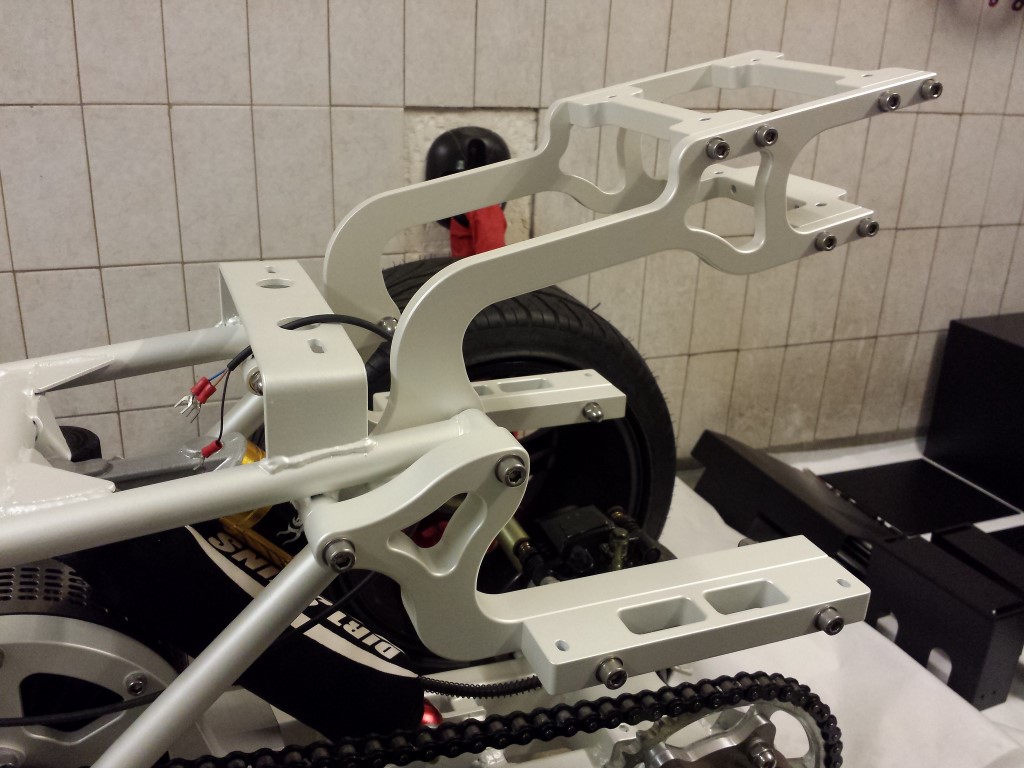
I also put part of the temporary aluminium enclosure around the controller and placed it on the mounts. While it's an ugly enclosure I think it looks much better than before now it's matte black. It still is a shame that the controller itself won't be visible for now though, untill I can make something else for it.
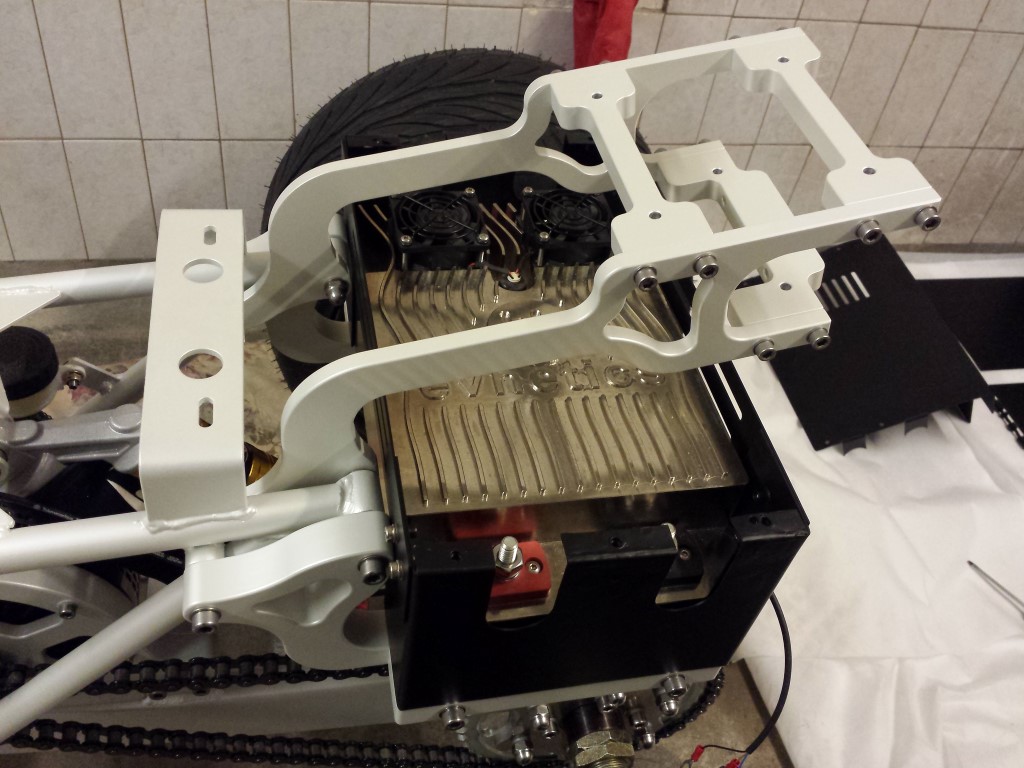
The charger is also attached. This is hanging nicely in there as well now.
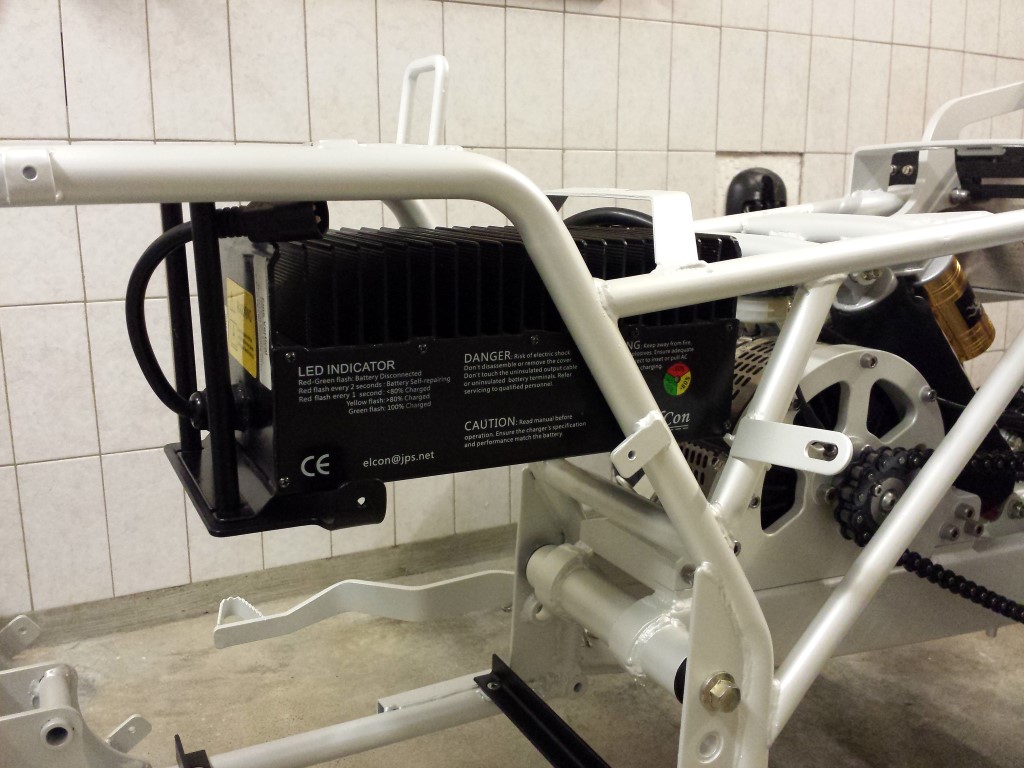
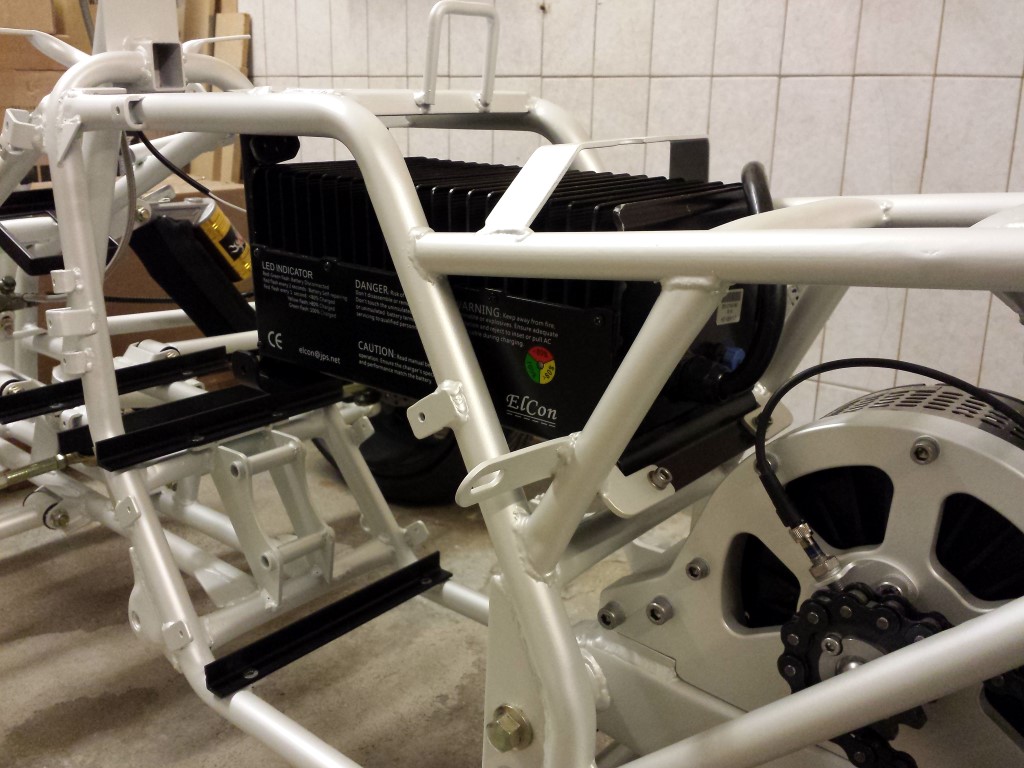
I think I'll start with charging the batteries one by one at the same level tomorrow. Meanwhile I can continue filling up the other boxes with components and connecting some wires again.
Posted on 22 May 2014 at 10:46 pm (CET)
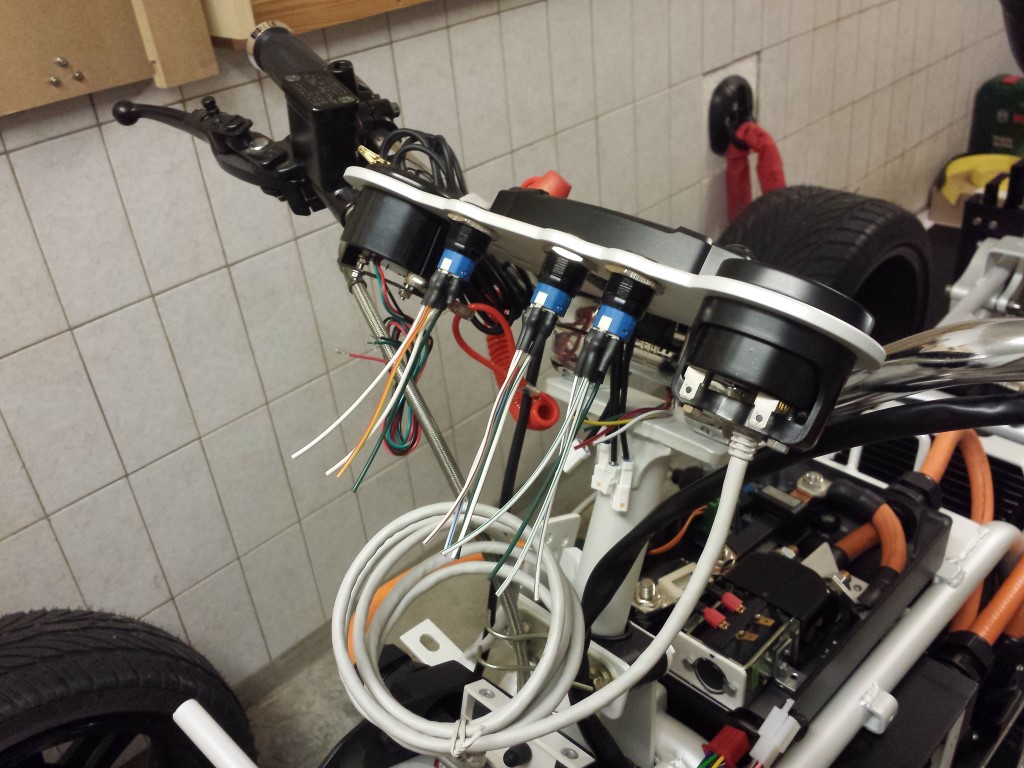
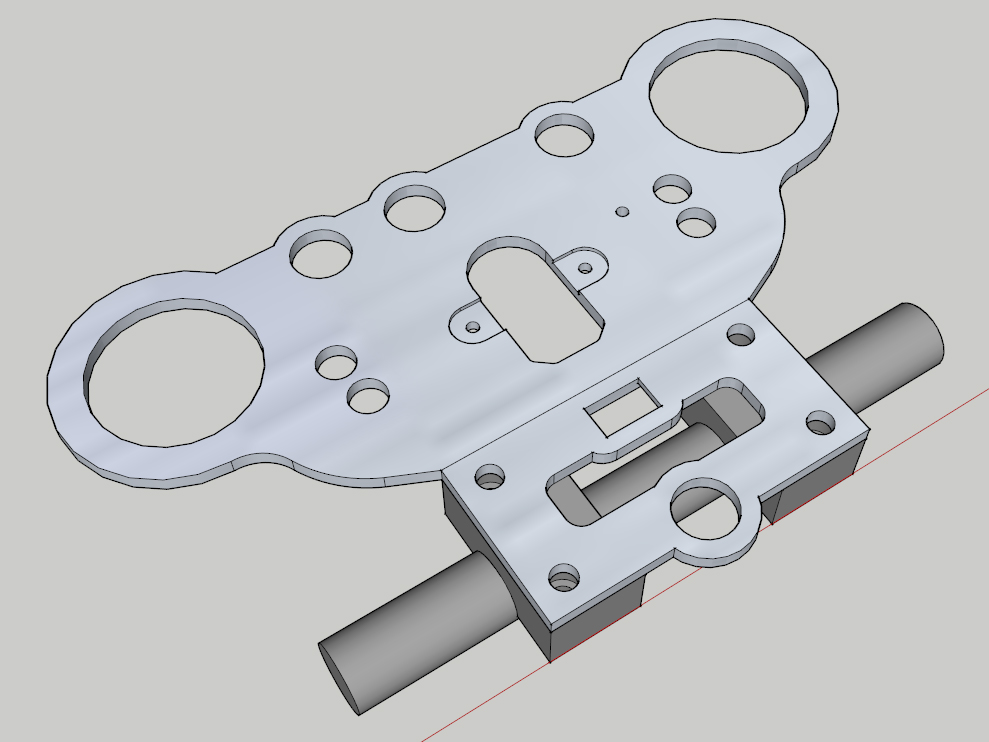
I've made some drawings again. These will probably be the last 2 aluminium parts that still have to be made. First is a mounting plate for all the gauges and switches. This will be mounted on the handlebar.
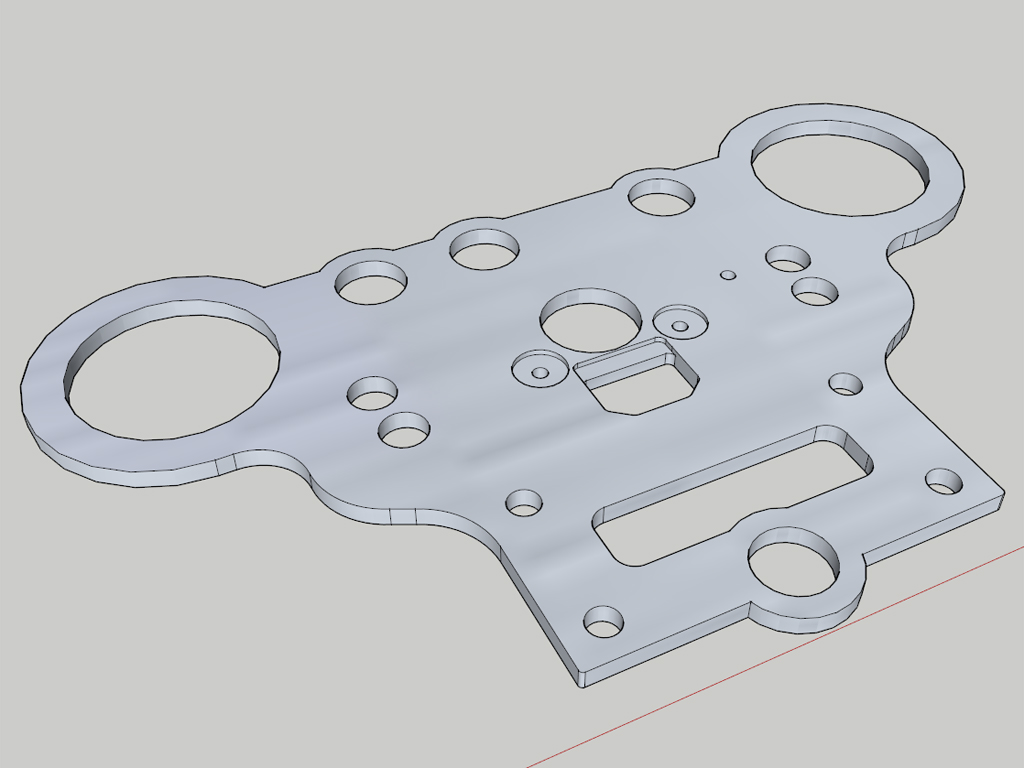
As usual I made a paper model of it to see how everything would fit.

It all fits pretty good, just the angle of the gauges isn't really that great. Would be better if the plate could be bent to an angle of about 20 degrees, would be looking straight at the gauges then when sitting on the quad bike. I modified the drawing a bit to make this possible. Also made some small changes to make it easier to route and added another hole for the hazard lights switch. The plate will be bent by about 20 degrees on that line in the middle.
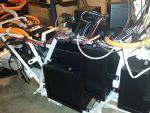
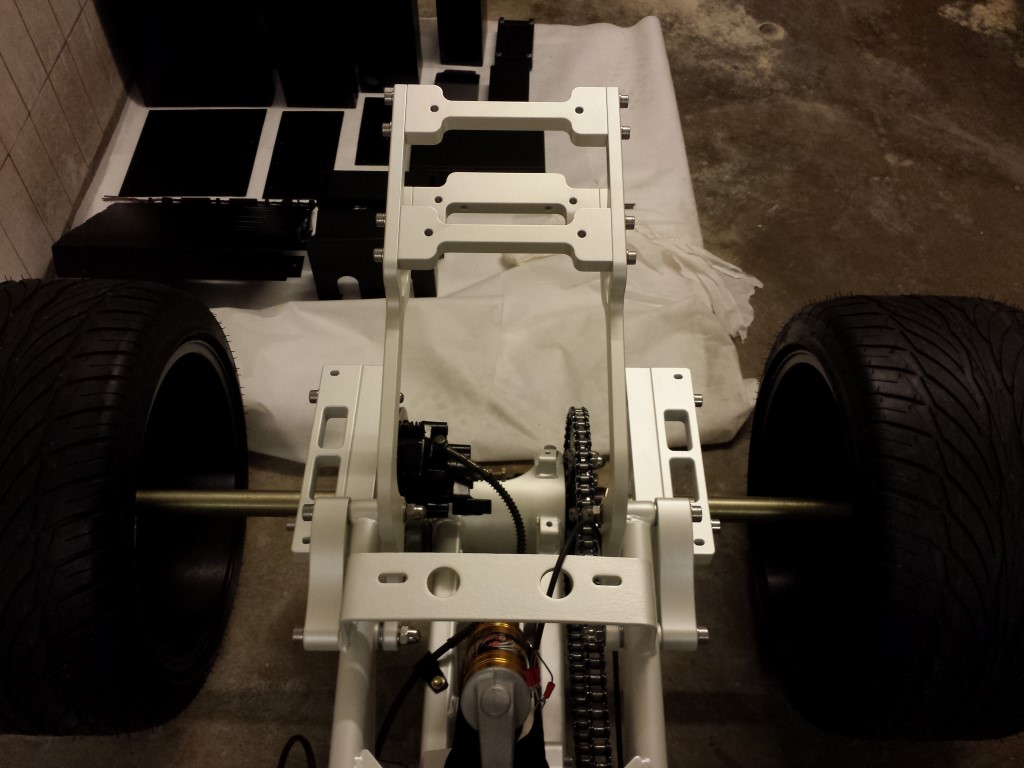
To be able to measure a few more things I had to place the fenders again. So here's a nice picture of the whole quad bike. It's actually starting to look like something.

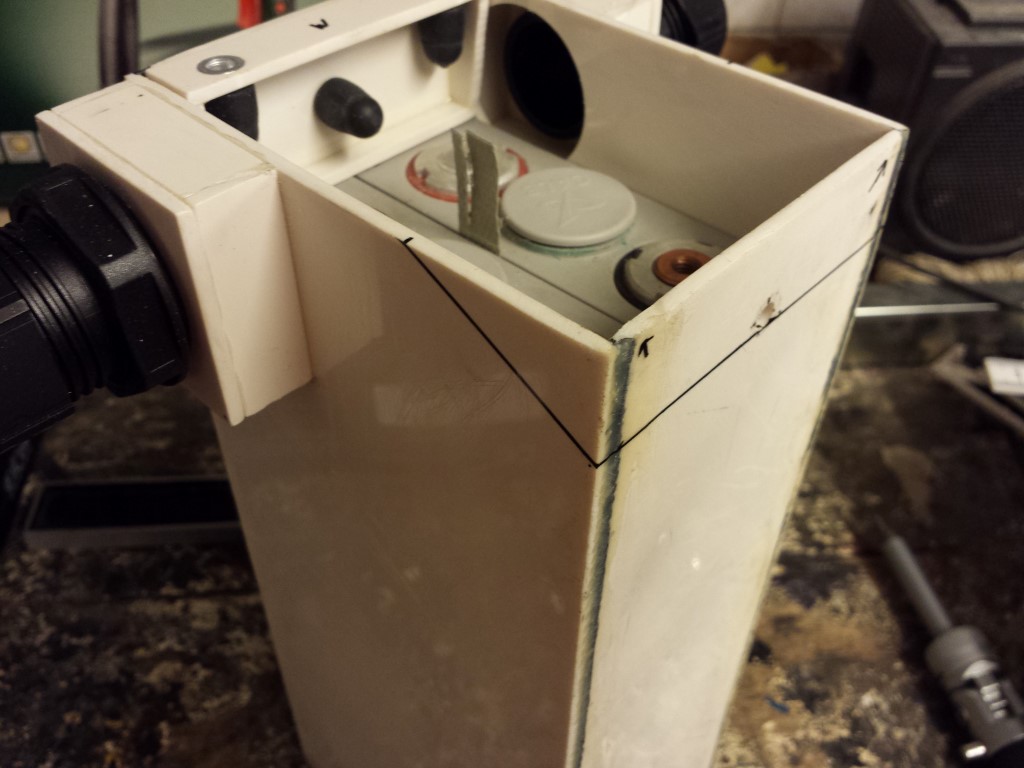
I just ran into a problem with the battery box that's in the front below the carbon fender. It barely doesn't fit and the box is being pushed against the steering shaft which isn't a good thing. So I'll have to modify this box a bit, make it beveled on one side. Because of this I also haven't been able to saw the steel corner profiles to size yet since they'll have to be different for this box as well.
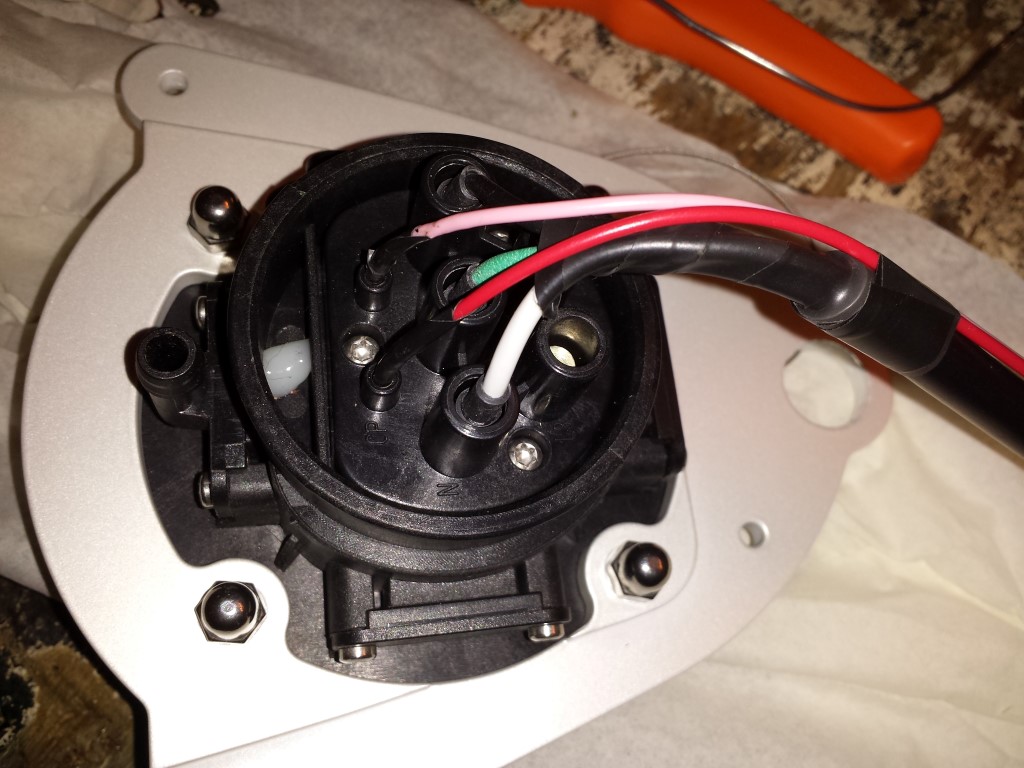
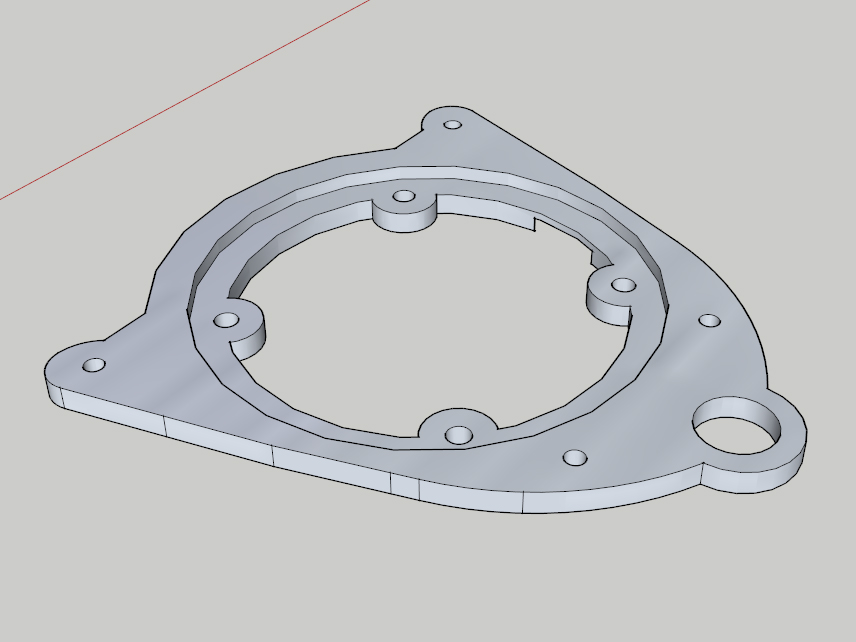
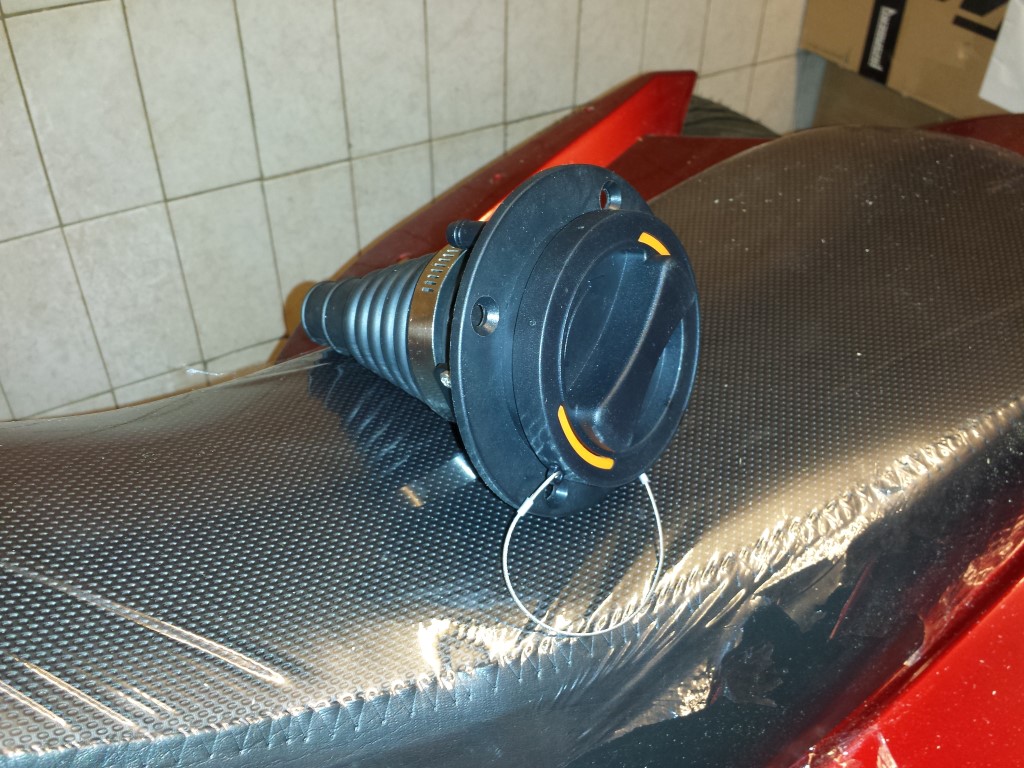
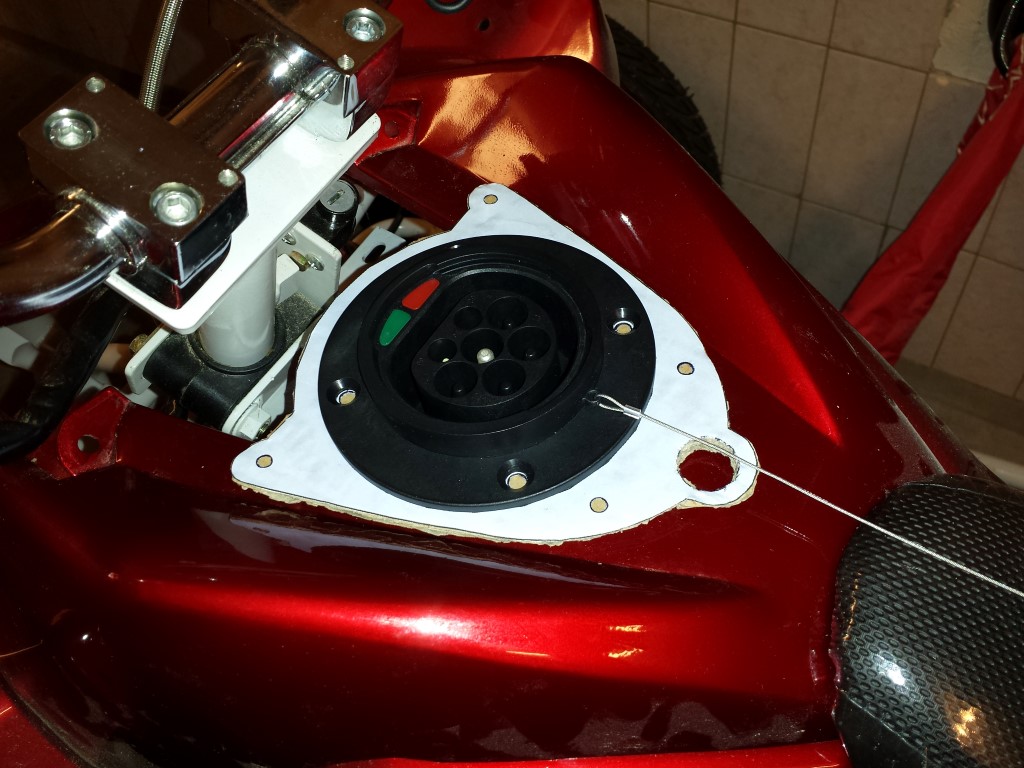
Then there's still the other plate. This one's for the charge inlet and will be in the same spot where the gas filler cap once used to be. For this I needed all the sizes of the fender which is quite tricky since the lines aren't straight but bent just slightly. I had the idea of just sticking a piece of paper on it and then try to find the lines with a pencil, worked pretty well.
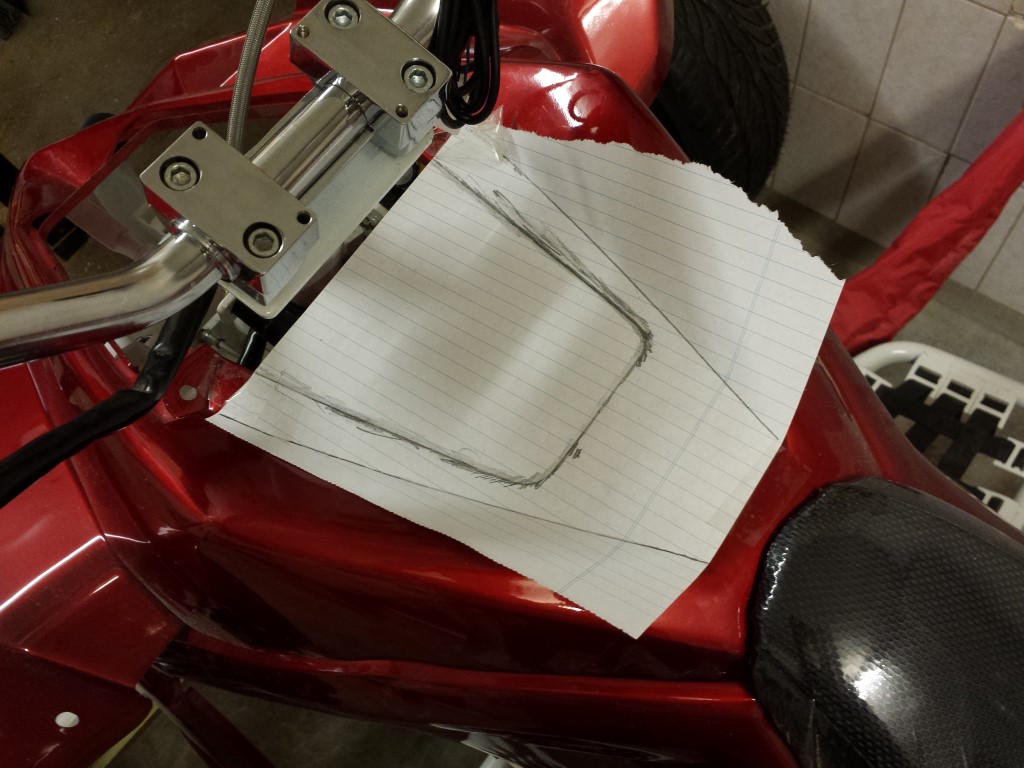
Now I could easily measure everything while drawing without having to take the whole fender with me.
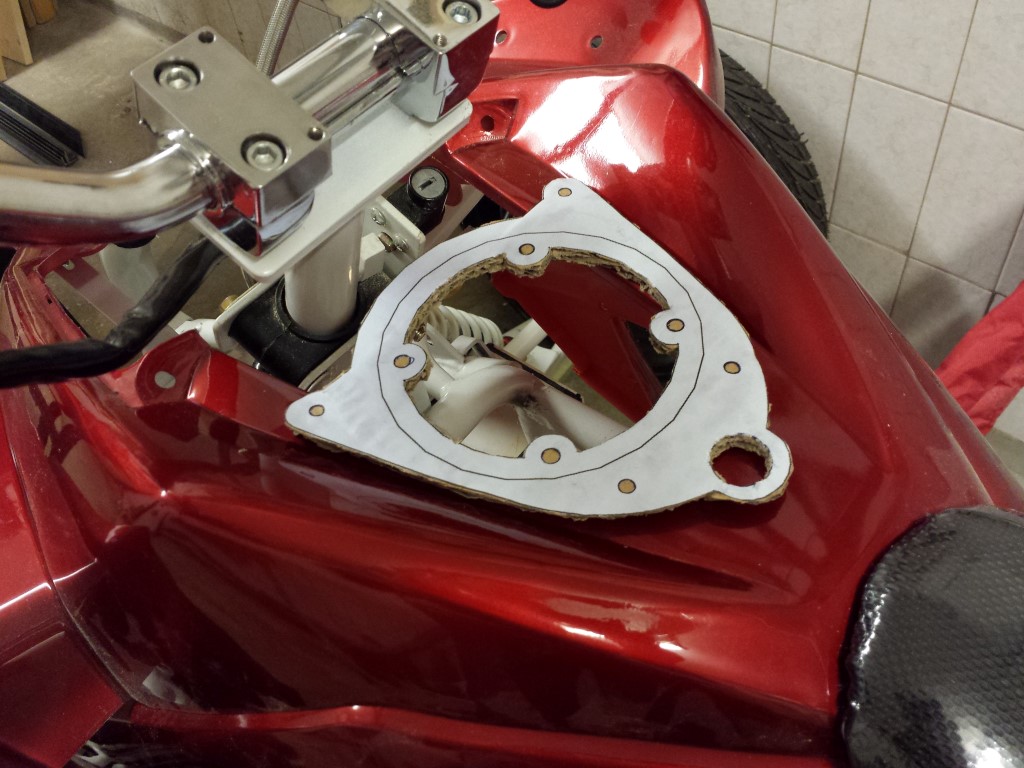
I again made a paper model of it and it all fits perfectly, no modifications needed.
The charge inlet is new after some advice from Rebbl, this is a mode 3 type 2 (IEC 62196). It's the standard everywhere in Europe now for all electric vehicles. Last year or so I already bought a CEE inlet but meanwhile this won't be approved anymore at the RDW (our institute for road safety). So unfortunately I had no choice but to buy this one. But I'm quite happy with it now, it's much more solid, safer and also waterproof.
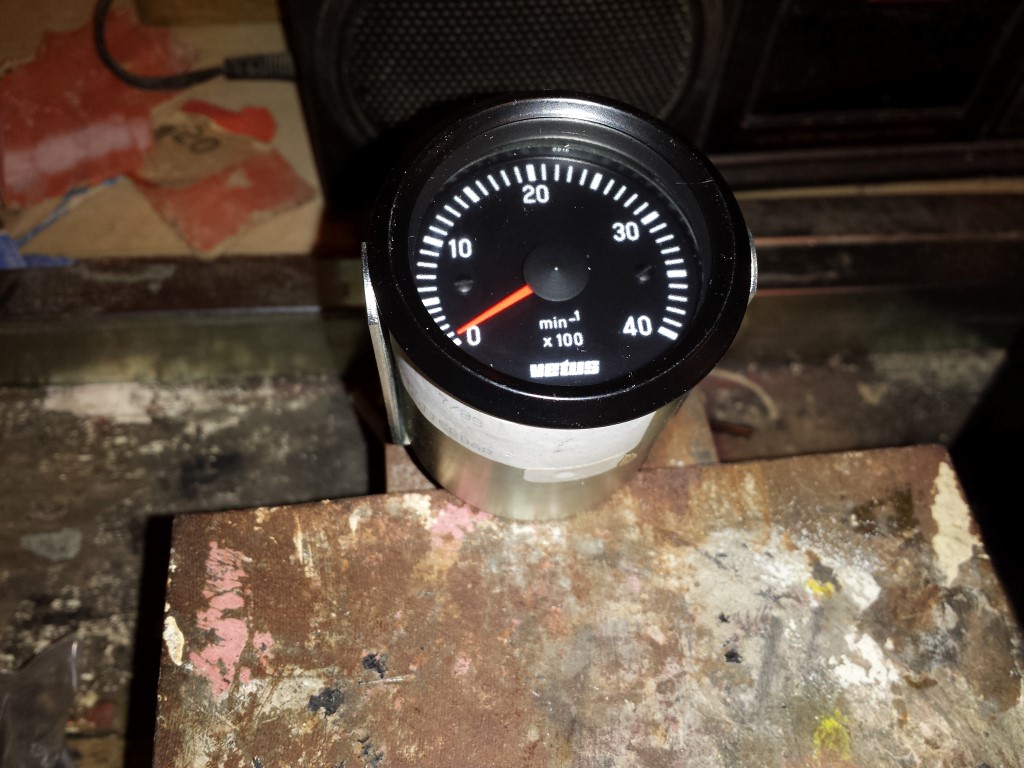
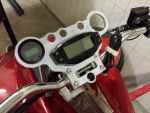
Also bought a new analog tachometer for a very cheap price. But unfortunately I can't get this one to work either. I was really sure it would work with this one since it normally gets connected to the alternator and also gets a pulse signal. But it doesn't do anything with the pulse signal that's coming from the controller. So I'll have to look for a solution again.