
 Nederlands
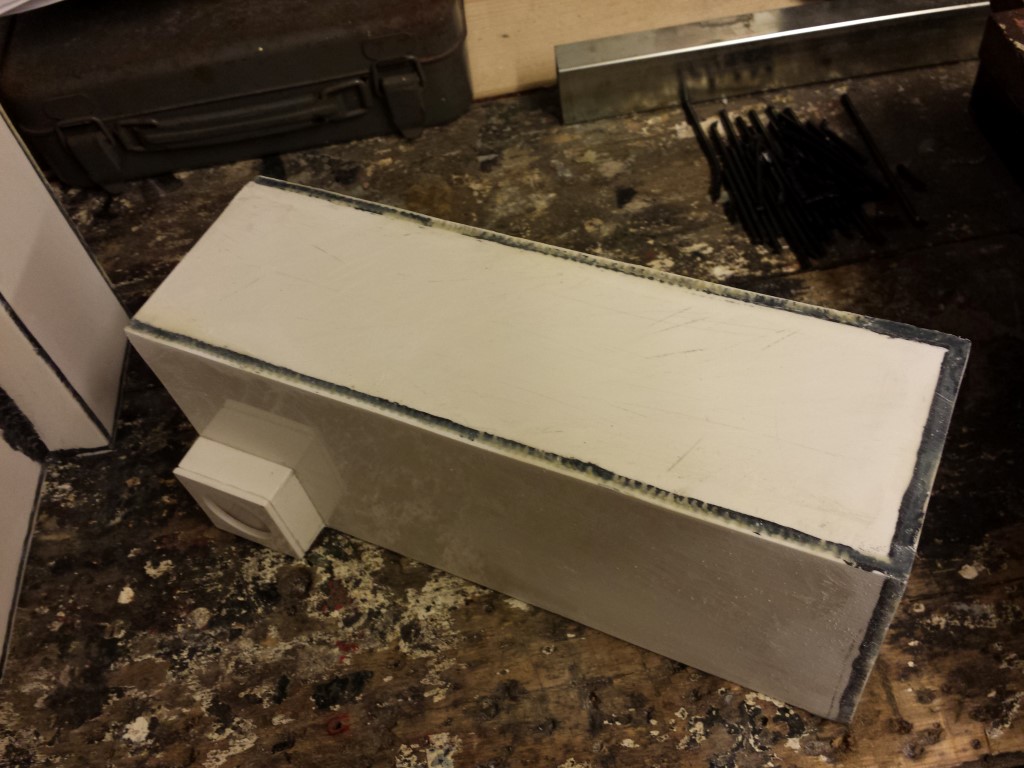
Blog
Posted on 7 September 2013 at 12:30 am (CET)
Made some progress again.
These past few days I've been busy with epoxy glue on the battery boxes. Works pretty well, is very strong and fills reasonably good. Just not everywhere since the grooves are rather deep in some places. But might be able to just use filler for that before it gets sprayed. In any case it's sturdy enough now.
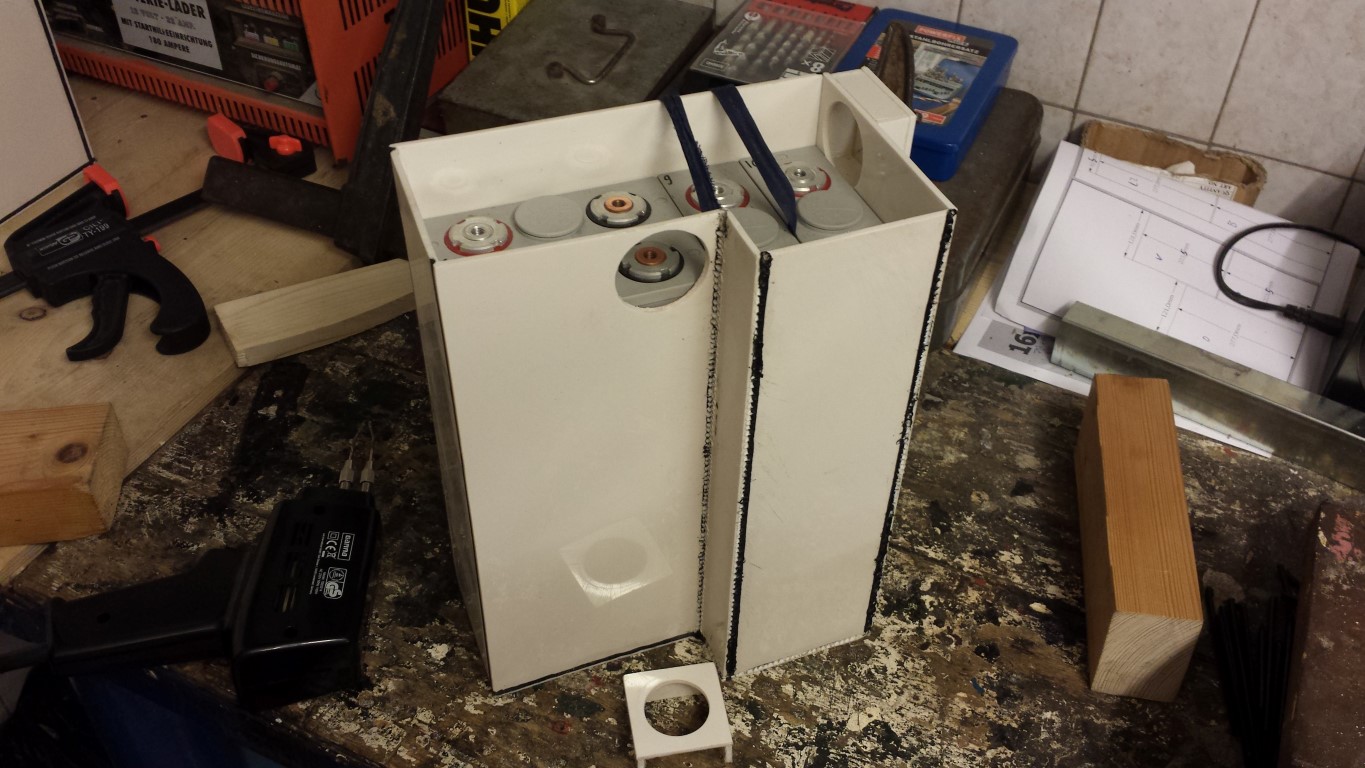
Today I tried fitting the batteries in all the battery boxes again. I got some green plastic straps from someone of the China Quad forum during a club meeting but unfortunately these were just a bit too thick (0,9 mm). But coincidentally I received a package today with some smaller gray plastic straps around them (0,65 mm). It were 2 straps with just the right length to make 4 pieces out of them.

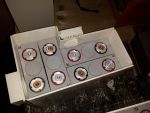
In the biggest and smallest battery box they fit perfectly without having to modify anything. In the bigger one which has 6 batteries I had to file the top of one of the batteries a bit. The plastic enclosure is thick enough anyway and the top part kind of sticks out a bit on them all. Ofcourse I first put some tape on the terminals. Accidentally causing a short circuit with the file doesn't seem fun to me. But it worked, the strap fits in this battery box as well now, can still get the battery out with a little force.
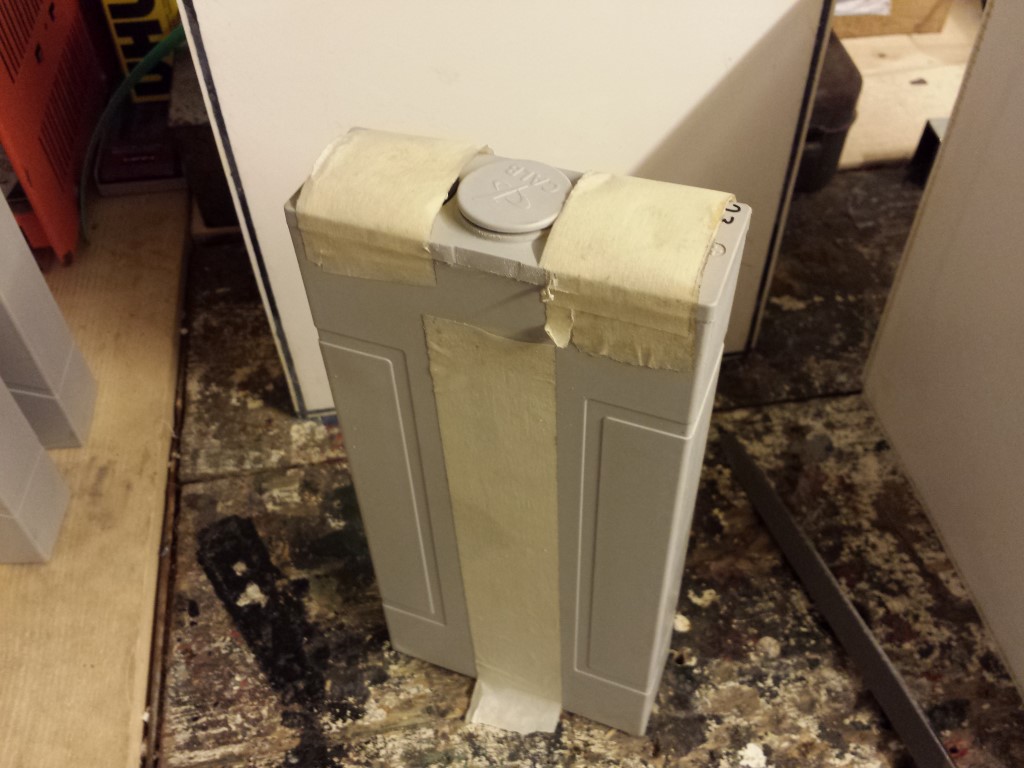
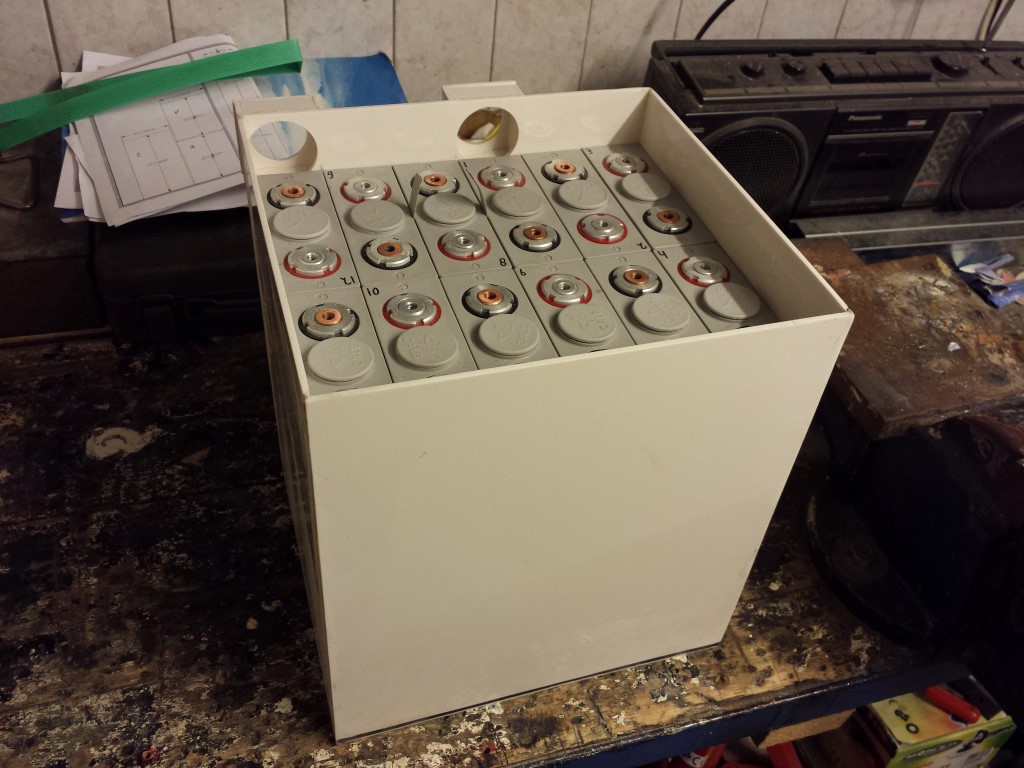
But then the battery box with the corner in it. Been messing around with this box since the beginning and ofcourse it gave me some more problems now. Without a strap the batteries barely fit. There just wasn't enough space for a strap so I also filed the top of the batteries quite a bit. But unfortunately the problem isn't at the top but at the bottom of the battery box. There's just no space left there at all for a strap and I can't file the bottom of the batteries. So I have no idea what to do with this. For now I just left them in without a strap. Can still get them out by placing the battery box upside down but ofcourse this won't work once it's fitted onto the quad bike. I will try and find a solution for this later.

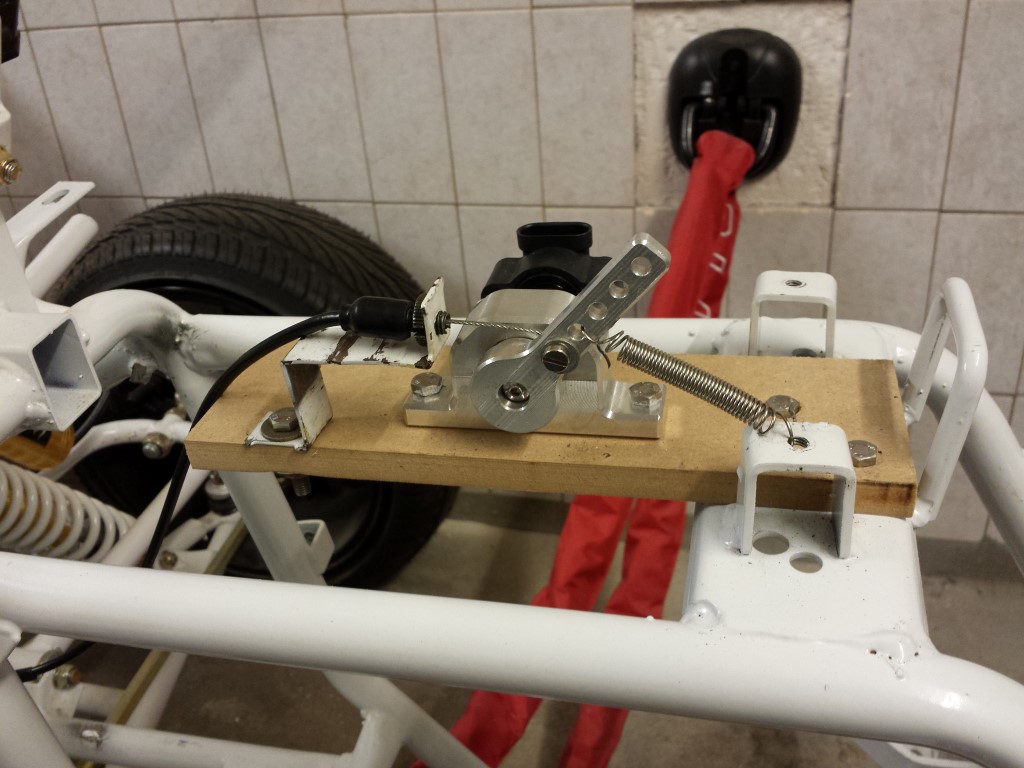
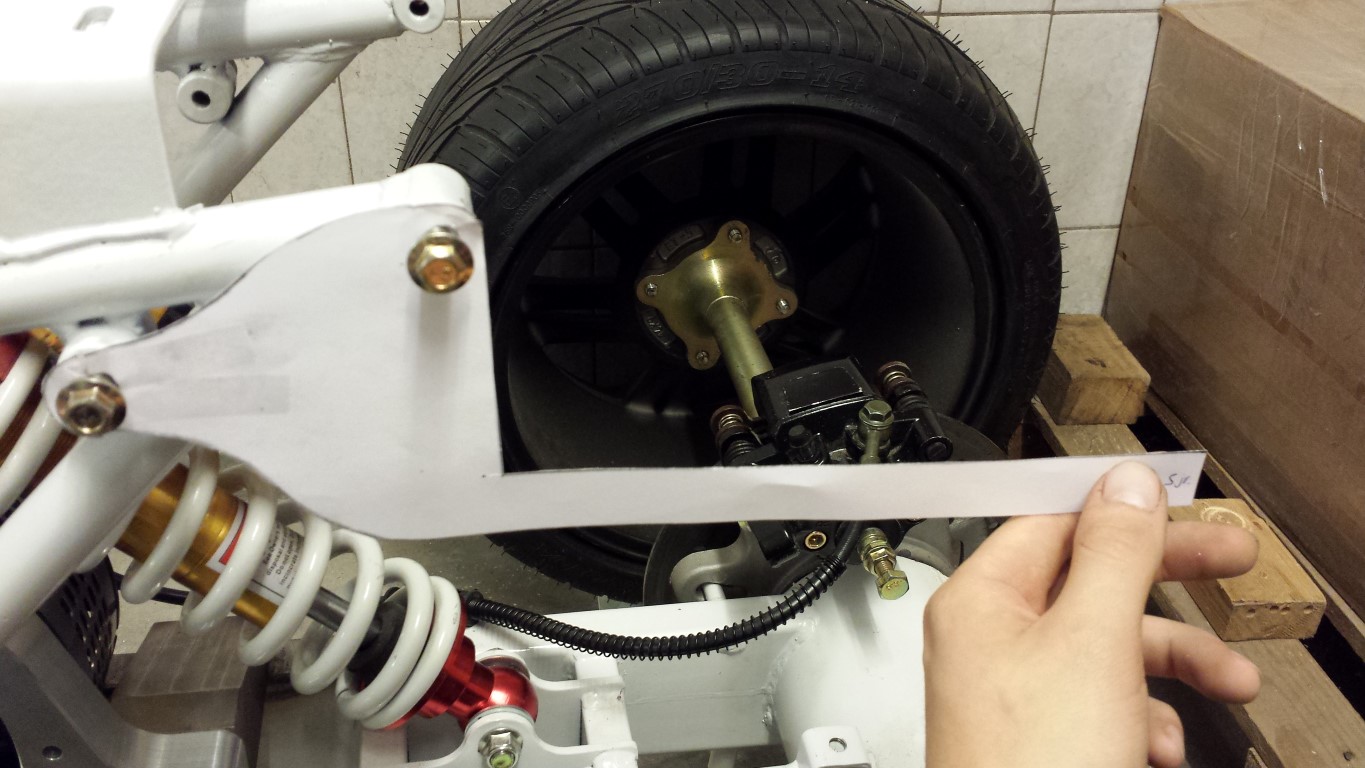
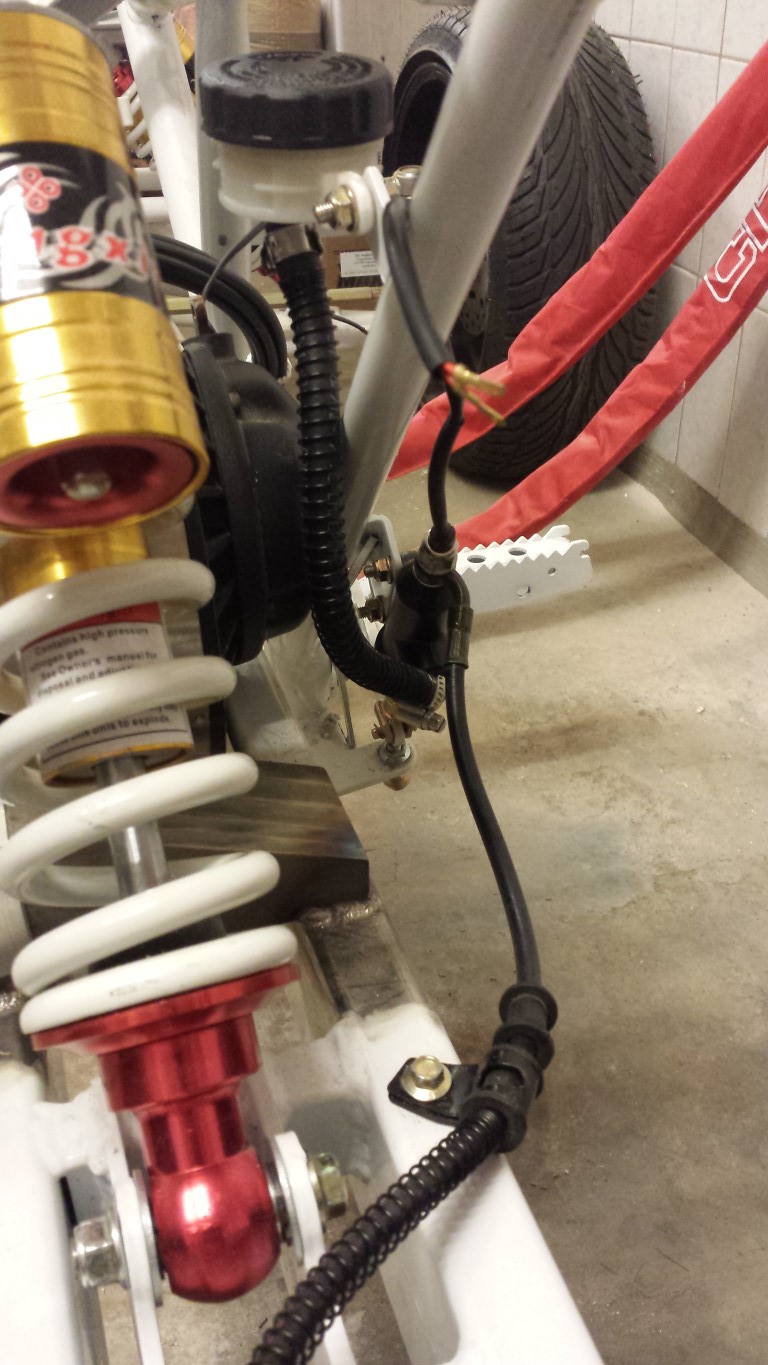
For the rest I also temporarily fitted the hall sensor and placed the throttle cable on it. This is only for the testride which will be soon, eventually I'll make something different for this and also in an enclosure so there can't get any dirt or water in there.
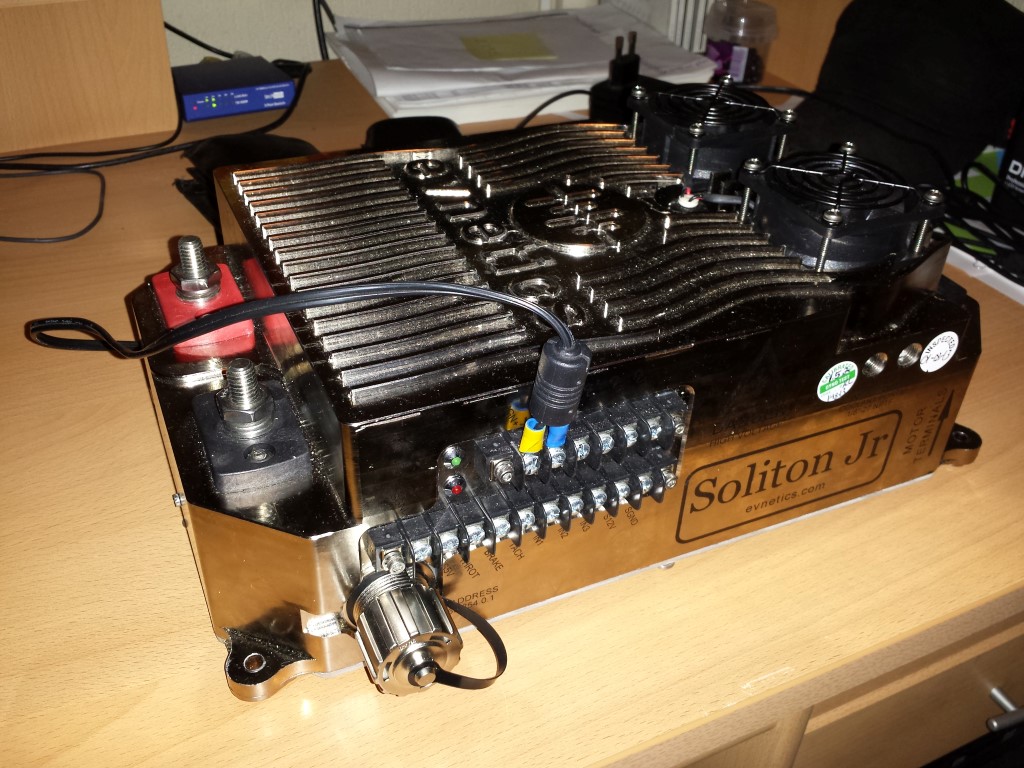
Now I just need to wait for the controller mounts, if all goes well they should be done wednesday and then I can finally attach the controller to the frame.
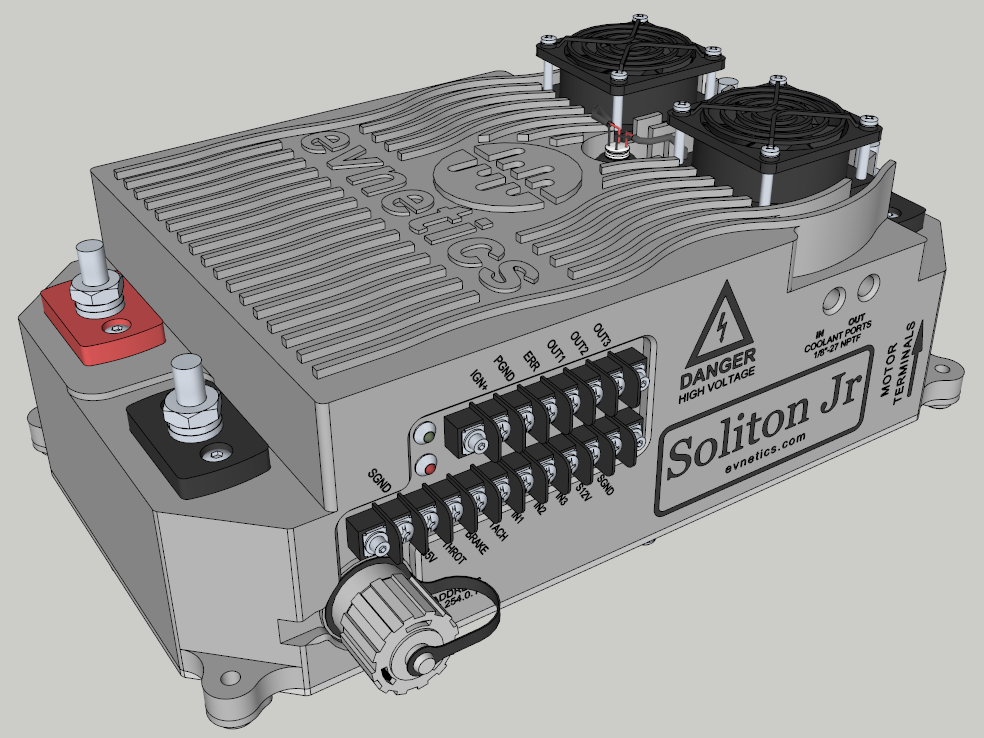
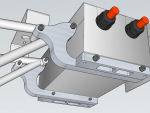
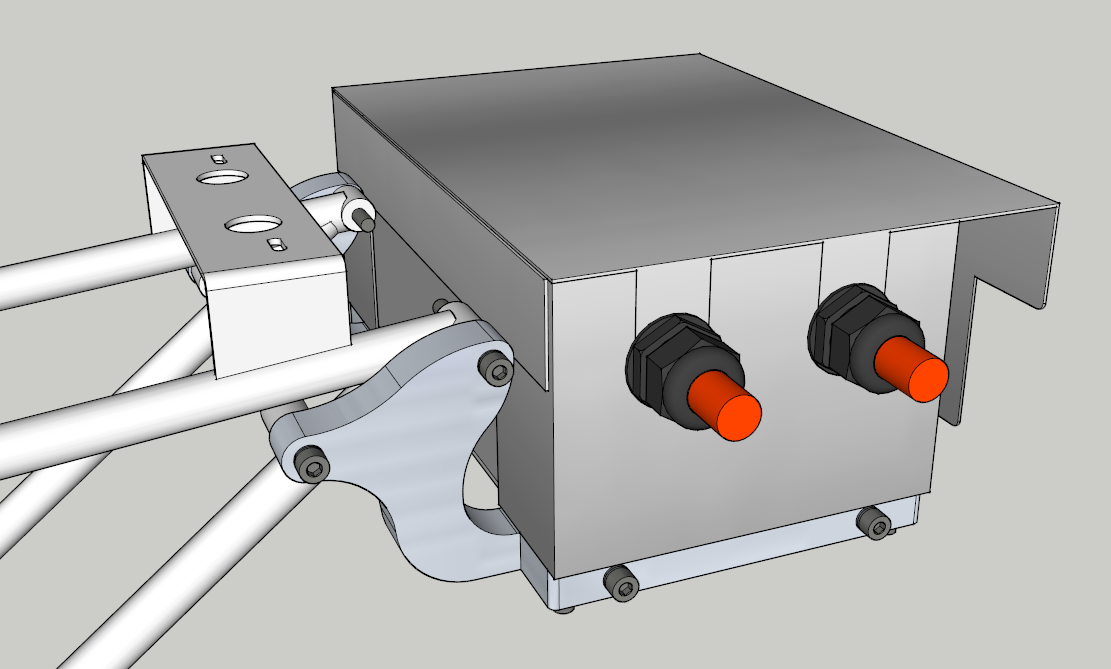
Was a bit bored meanwhile so I tried to replicate the controller in SketchUp. Think it turned out pretty good. I just can't get it to shine so it's very gray now.
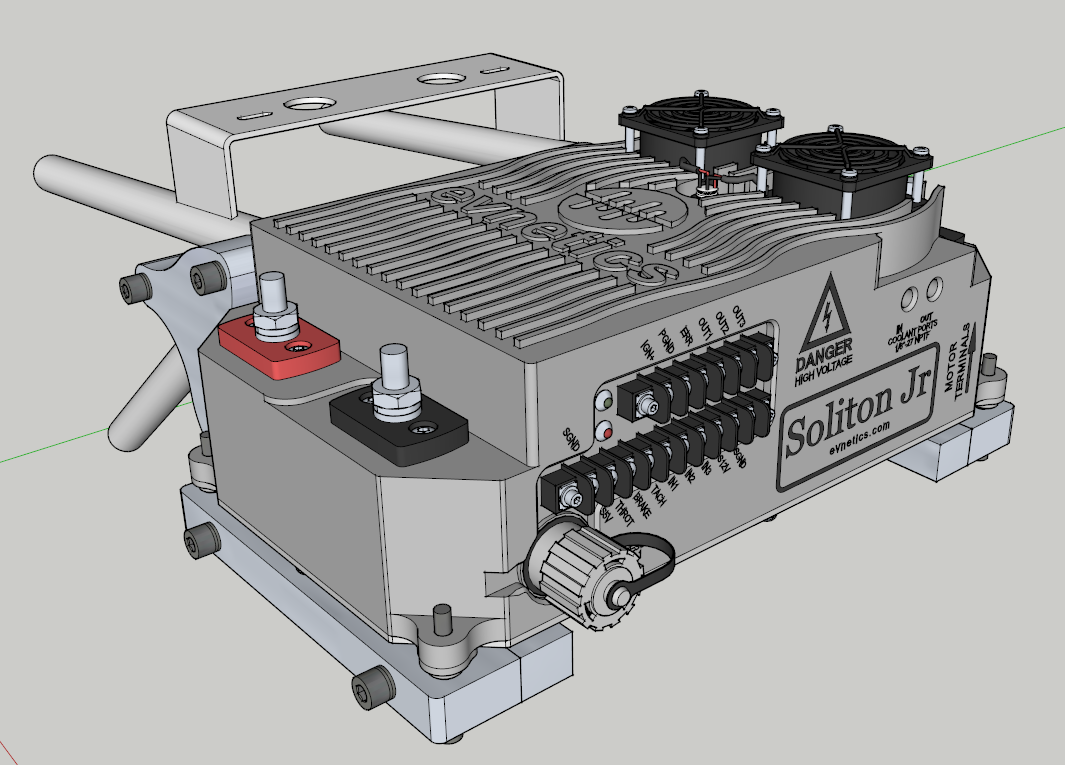
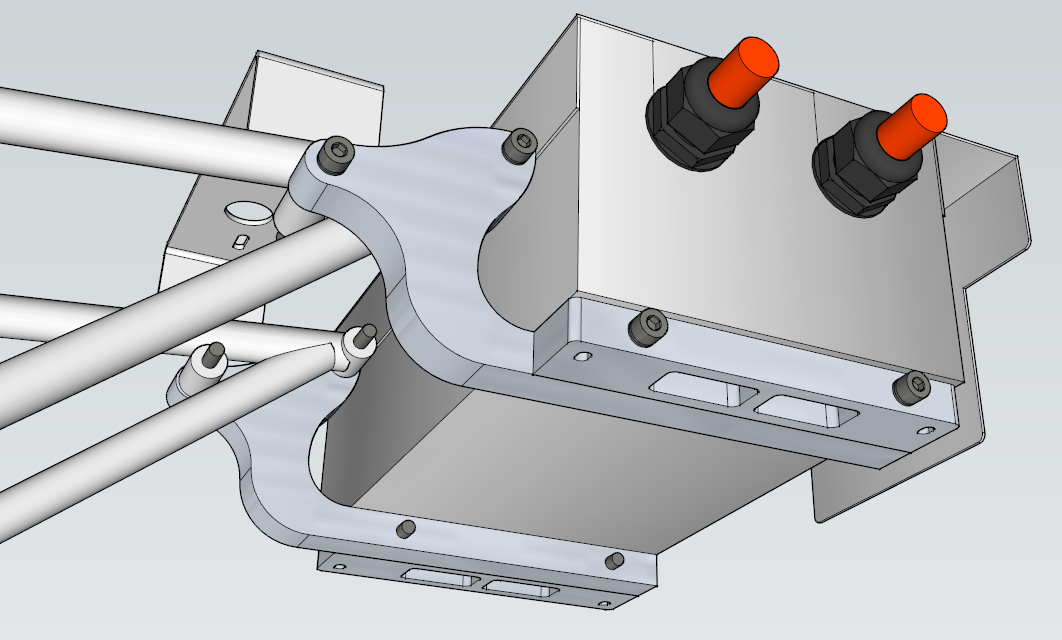
And here on the mounts. Hopefully it actually fits this well.
That was it for today.
Posted on 23 August 2013 at 10:59 pm (CET)
Category: Electric motor, Parts
Today I received both adaptors and ofcourse I already fitted them. The metalworking company (Geraets Metaalbewerking) did a very good job, it all looks great and fits perfectly.
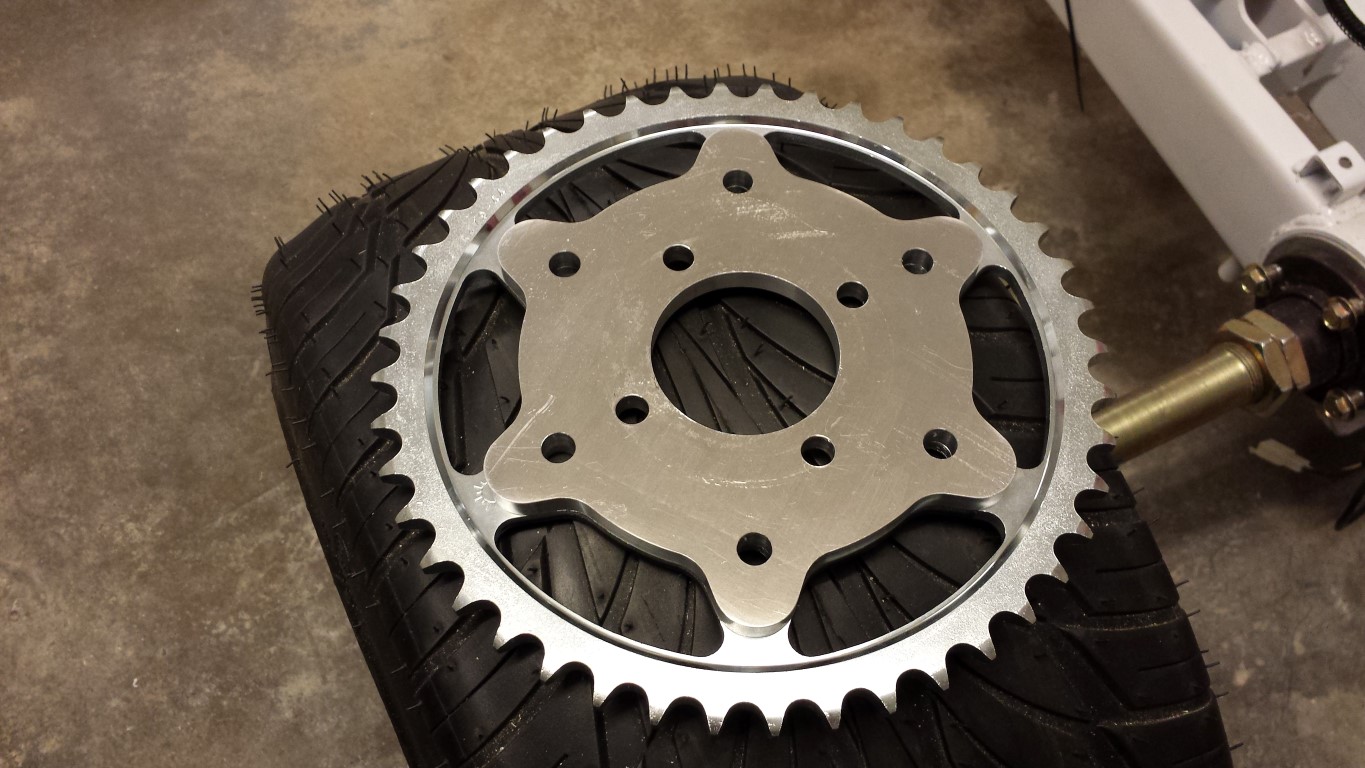
What used to be a rear sprocket has now become an adaptor for the new rear sprocket.
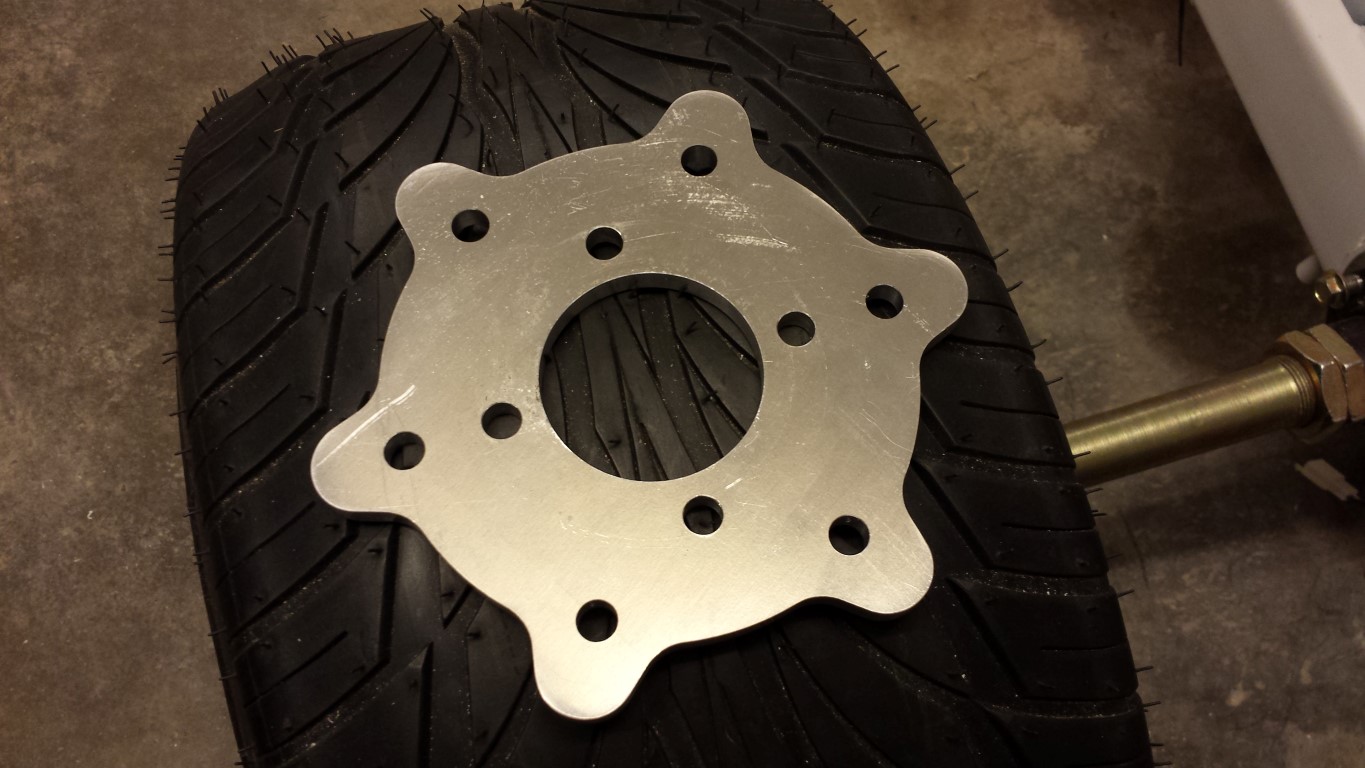
With this adaptor the rear sprocket can be placed a bit more inward so that the chain will run perfectly straight. Here you can see how the adaptor fits on the rear sprocket. They really made a lot of effort to perfectly align all the edges with the sprocket. It looks great.
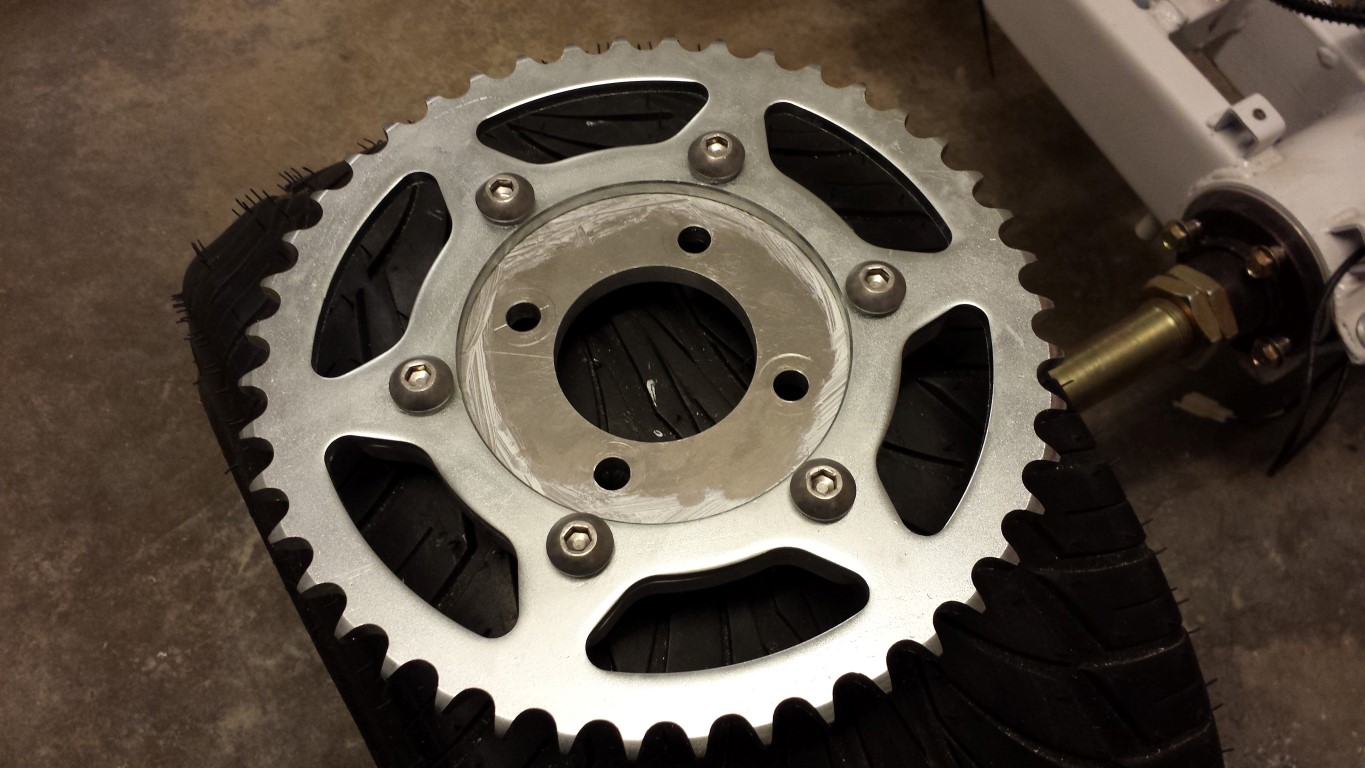
And here with the bolts and nuts on it. Everywhere where different materials are touching eachother I used anti-seize paste to prevent corrosion. Sprocket is steel, adaptor is aluminium and bolts/nuts are stainless steel. Without the paste this usually wouldn't work out so well.
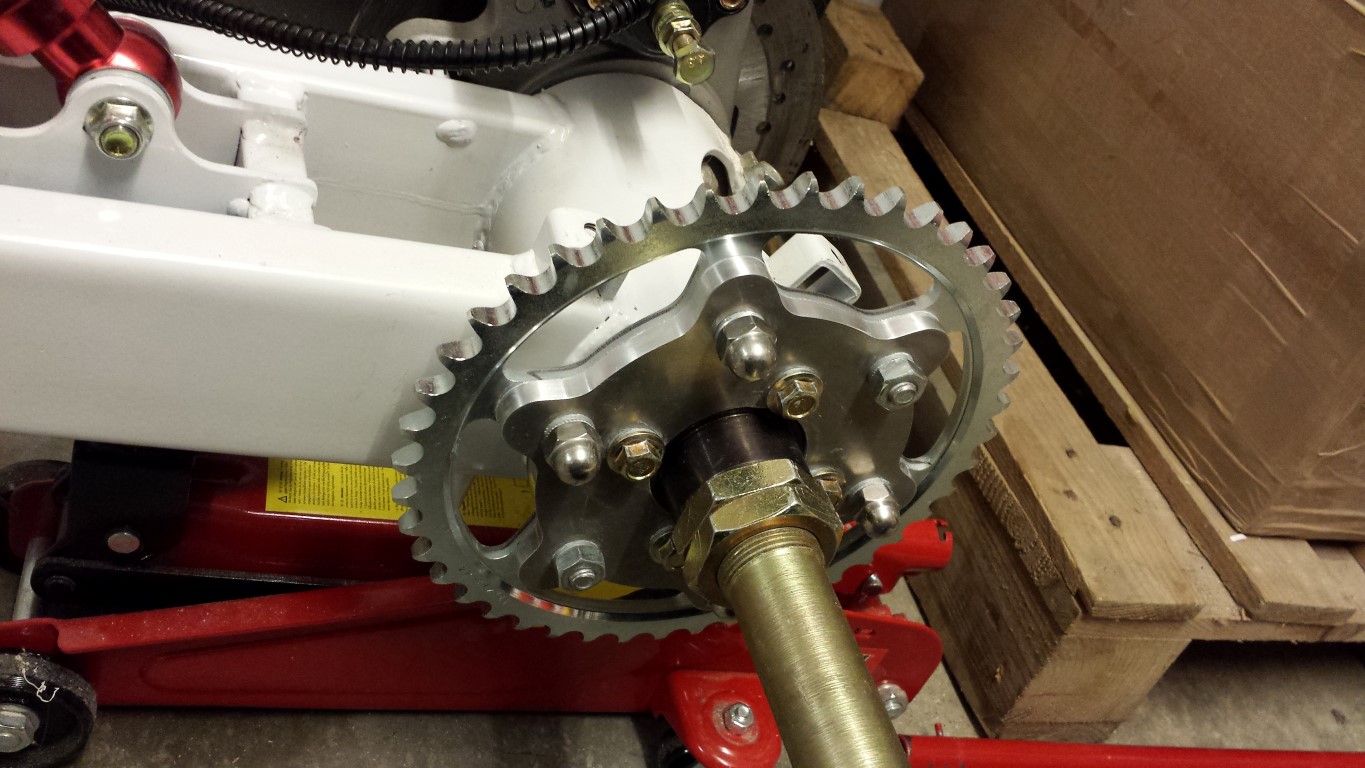
Here's the adaptor with the rear sprocket attached to the rear axle. It all fits very good, I was only missing 2 cap nuts. I will replace these later when I have to order some more fastening materials. Also need to get new ones for the 4 bolts on the axle. I ordered bolts with 1.5 thread, but the original bolts are 1.25. Pretty odd since I even measured this beforehand but apparently I made a mistake.
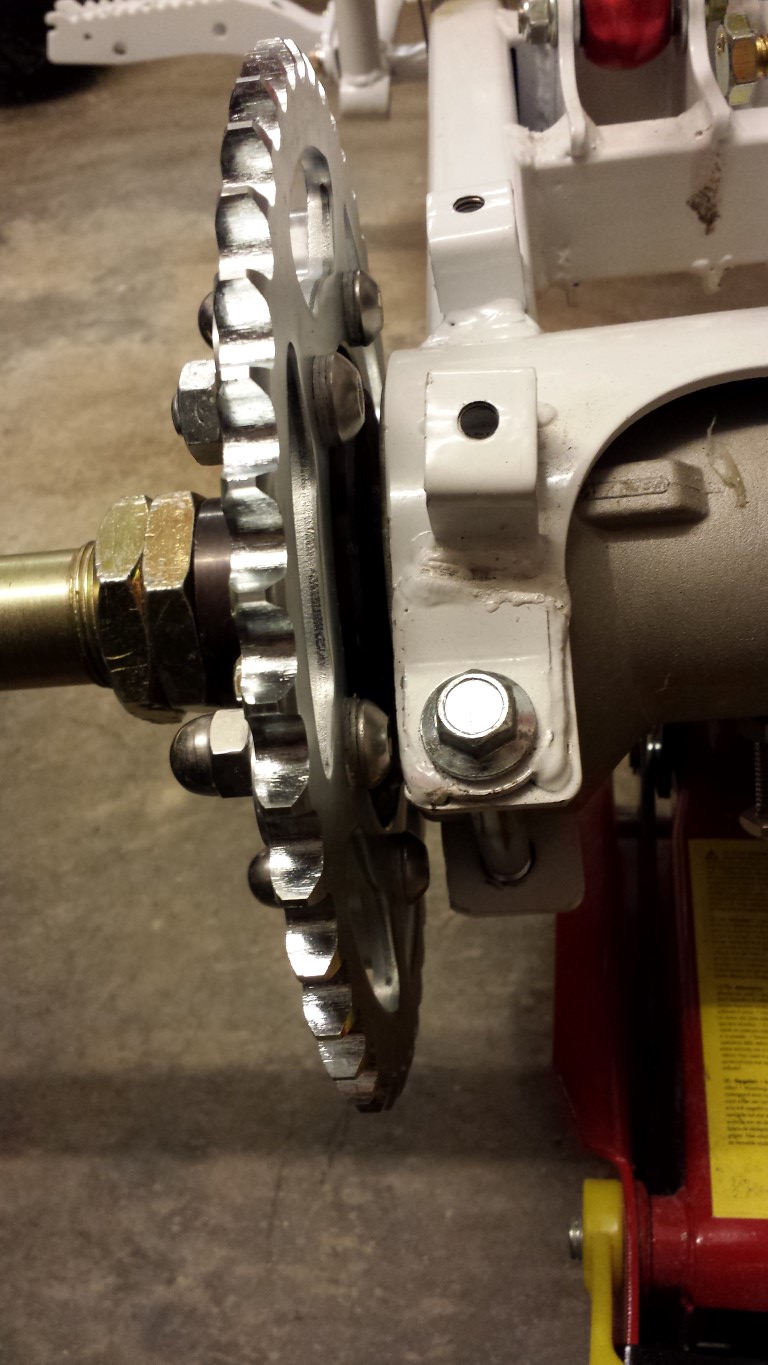
Already chose bolts with a low head to get the most clearance between the bolts and the rear swingarm which was definately a good choice. To be sure I even filed some of the welds that were sticking out. On some points there's like 1,5-2 mm clearance. So it barely fits. But it's mainly because of the Nord-locks that are inbetween. I'm really a big fan of these rings so I use them everywhere on parts that shouldn't come loose.
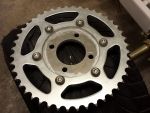
So rear end done, back to the front. The adaptor for the front sprocket has been modified quite a bit. The grooves for the sensor weren't equal and the side where the sprocket attaches to had to be rounded off a bit. There's also finally a keyway in there. And that ring has been made a little deeper in the middle so the bolt that comes on there has some more clearance with the quad bike's frame. So now it finally is exactly the way I wanted it from the beginning.
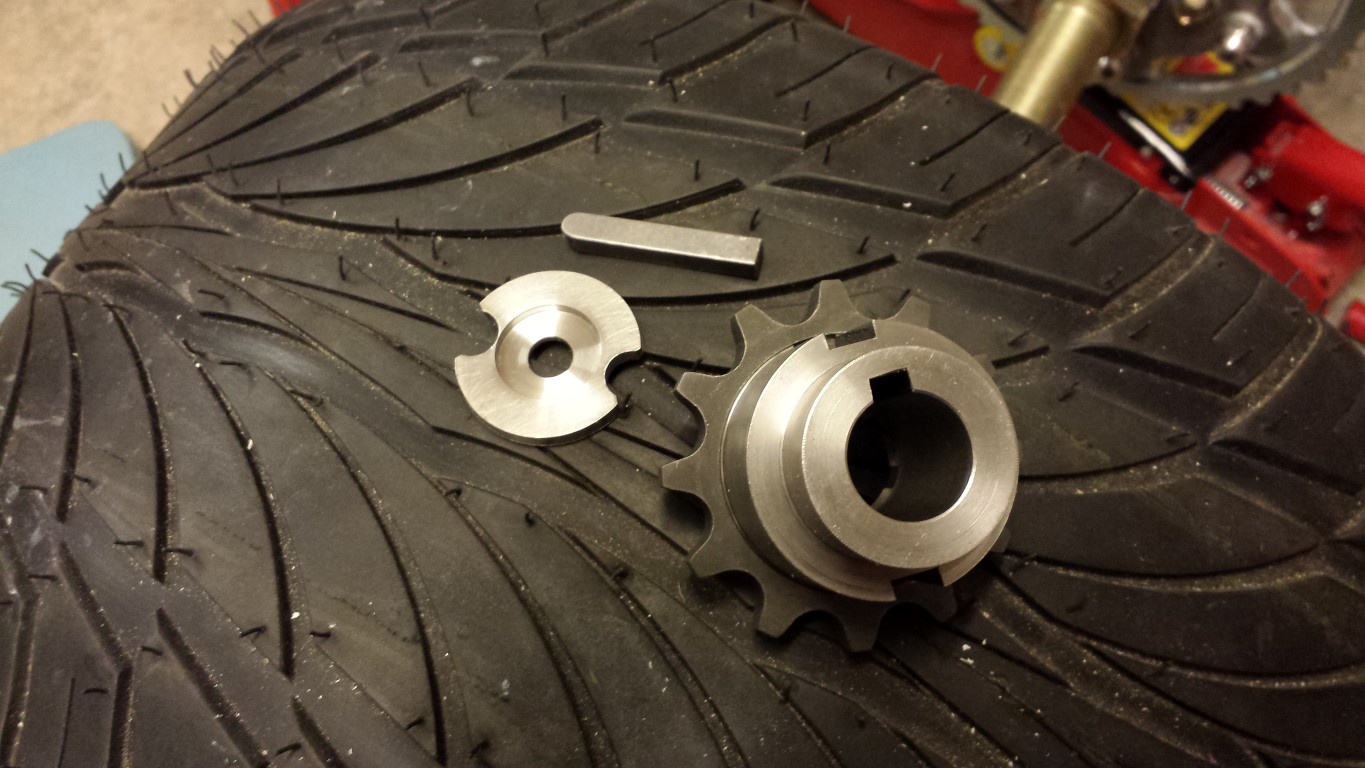
The keyway is also in the sprocket itself for some extra strength. I thought the 2 bolts alone wouldn't be enough with all the force that will be on here. The sprocket was very hard so they did this with a small router bit instead of broaching. Because of this it's rounded on the top but this doesn't matter at all for the key. And you won't see this anyway with the ring on there.
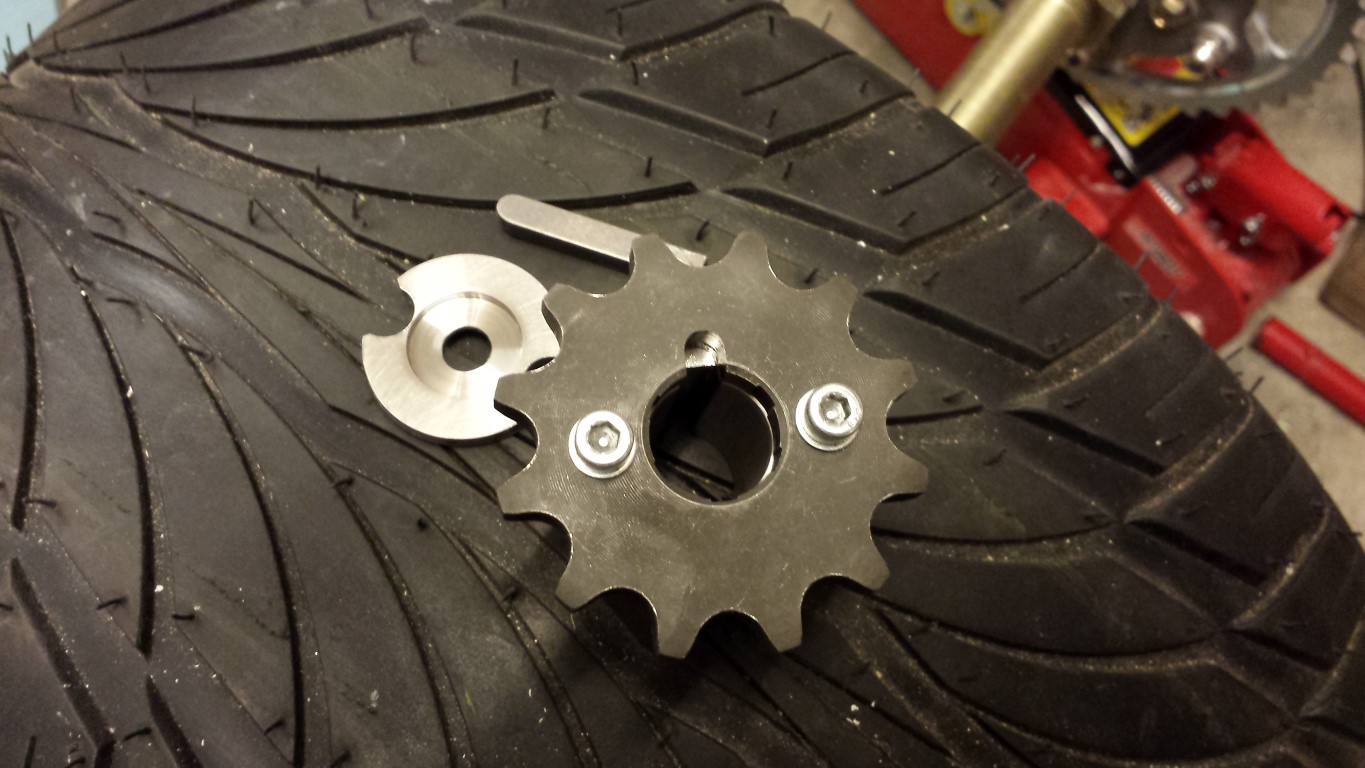
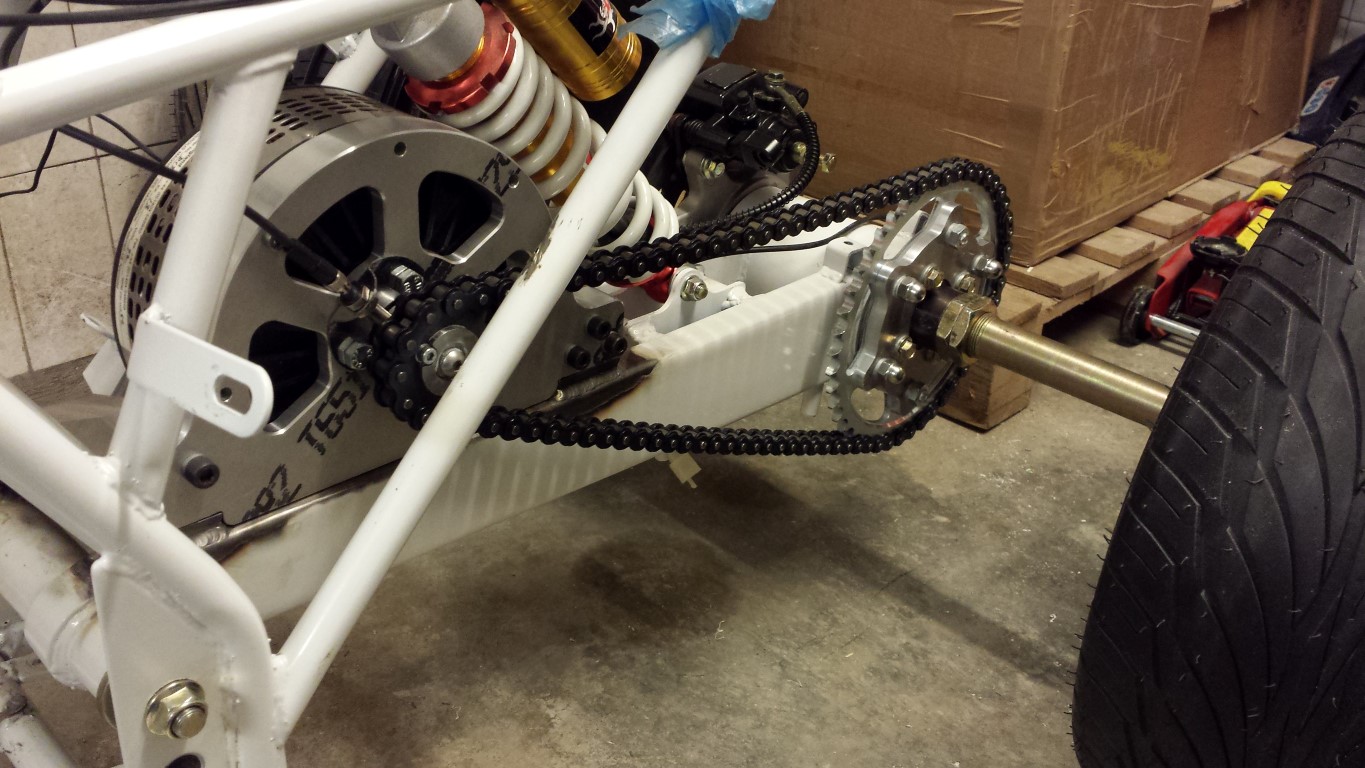
Here's the whole adaptor with sprocket attached to the motor's axle. There's still a very minimal amount of play though between the axle and adaptor, not sure if this will be a problem.
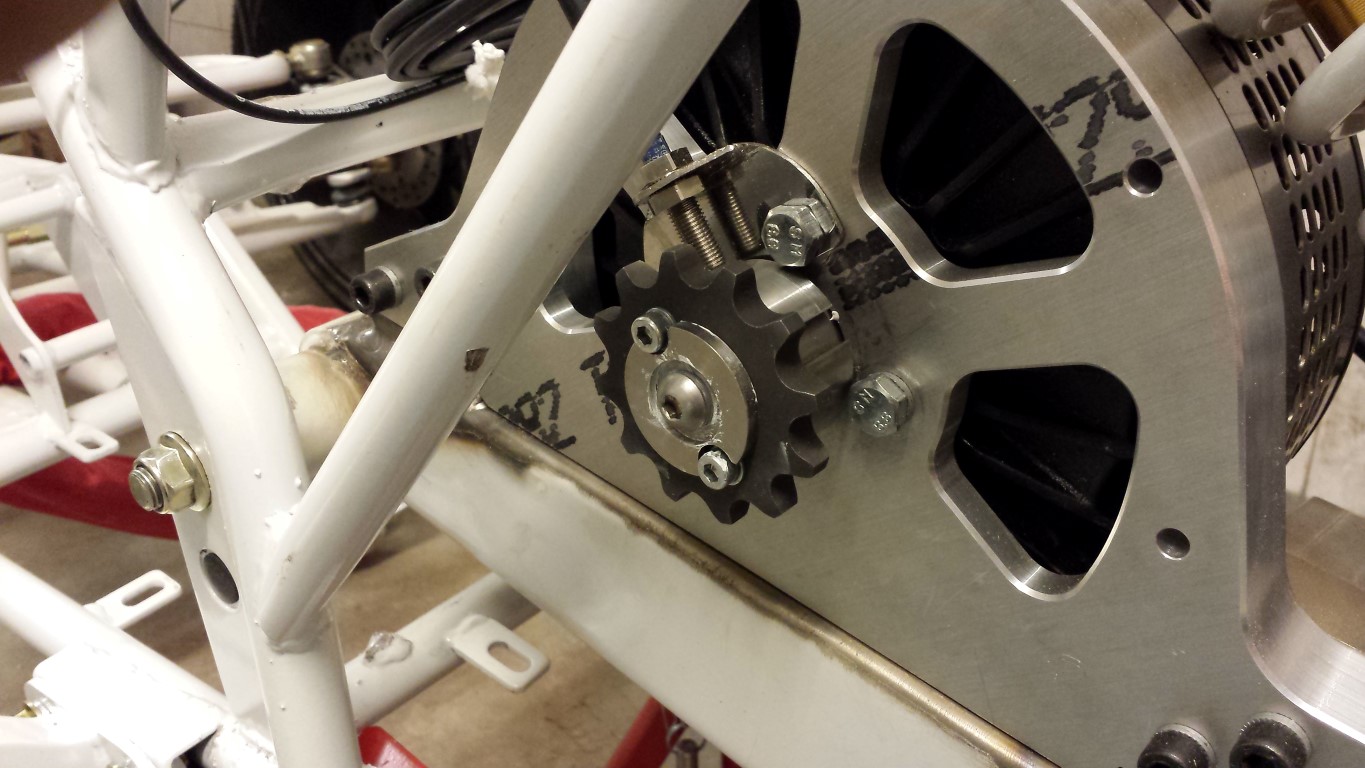
And with the chain on it again. I measured and turned it around a few times, the chain is sitting perfectly in the middle of the sprockets. This means it runs perfectly straight which is what I was hoping for.
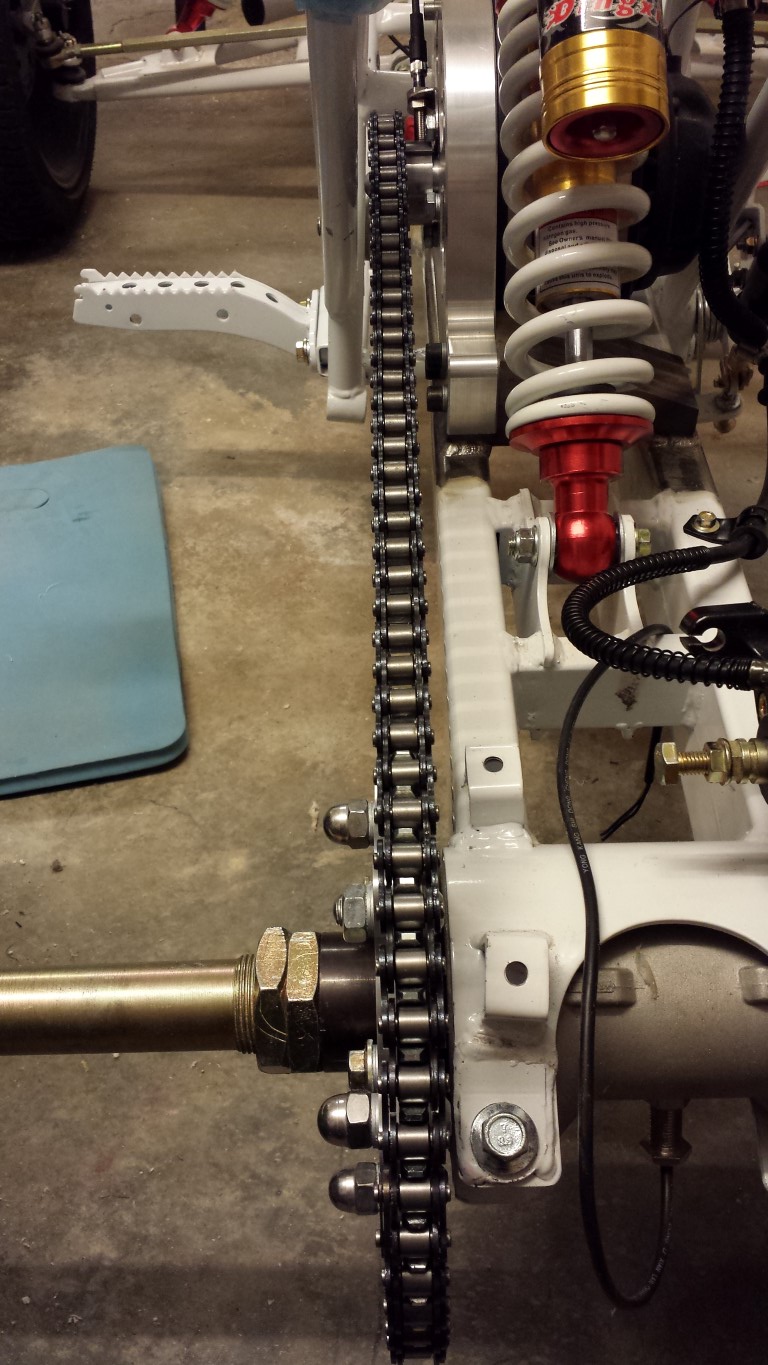
Here a complete picture of what it looks like right now. Ofcourse I wouldn't really say something negative about it myself but I really do think it looks very nice now.
So I'm happy to say that this part of the project is finally done. The next step will be the controller mounts. Just still have to measure a few things and check if everything is right, then I can also have them made at the same metalworking company.
Posted on 22 August 2013 at 12:10 am (CET)
Category: Controller, Drawings
Posted on 22 August 2013 at 12:10 am (CET)
Category: Controller, Drawings
Today I contacted the metalworking company, the parts are almost done. They just had to order some things to be able to broach the keyway in the adaptor, guess they didn't have the right size. And the key itself had to be ordered as well. It might still arrive there this week and then everything would be done. Really looking forward to see what they made of it all.
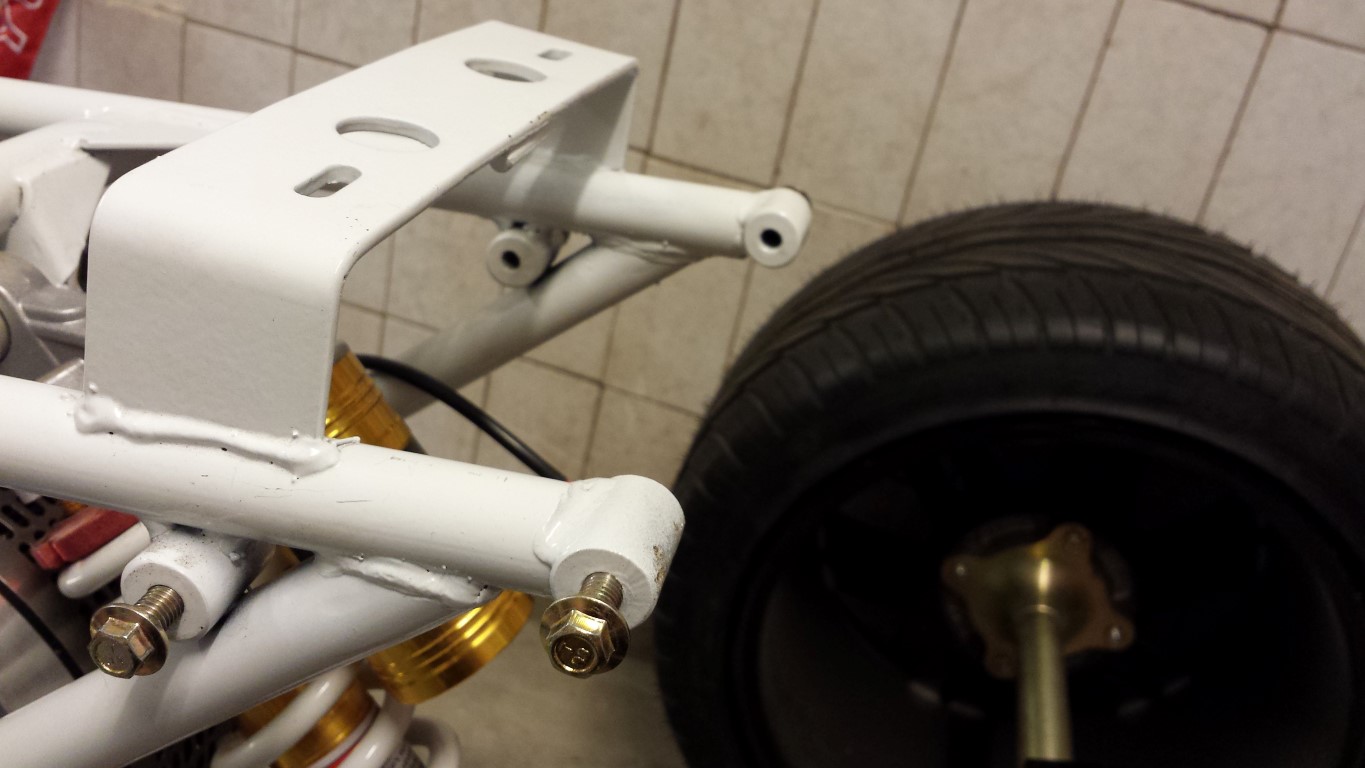
Then on to the controller mounts again. I'm going to do this differently now. The rack with those 4 points of the exhaust silencers will be removed. It just wouldn't have enough clearance with the chain if I'd hang the controller from there and it didn't help that those points were out of alignment either.
So now I'll be using the 4 points on the frame itself (where the rack was actually attached to), these are pretty much straight and it'll be a lot easier to make mounts for this. I tried to measure and draw these points again.
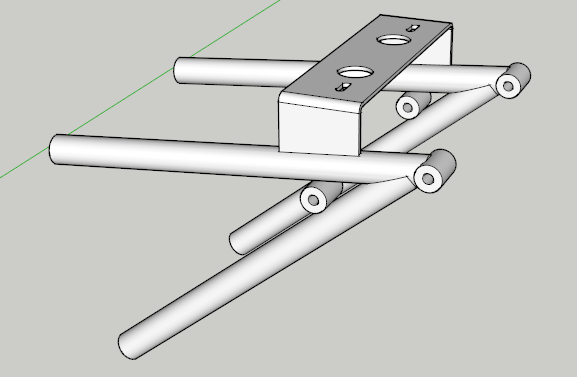
And this is what I have in mind. Looks good and strong enough.
But then I do still have to make something to attach the rear lights to. But I can figure that out later, will probably be seperate mounts on the inside of those same 4 points.
Meanwhile I also made some paper models to see how they fit on the frame. They'll fit pretty good and will never have any problems with the chain. Just still have to wait untill I have the other parts back so I can see how low I can make the mounts.
Posted on 17 August 2013 at 10:24 pm (CET)
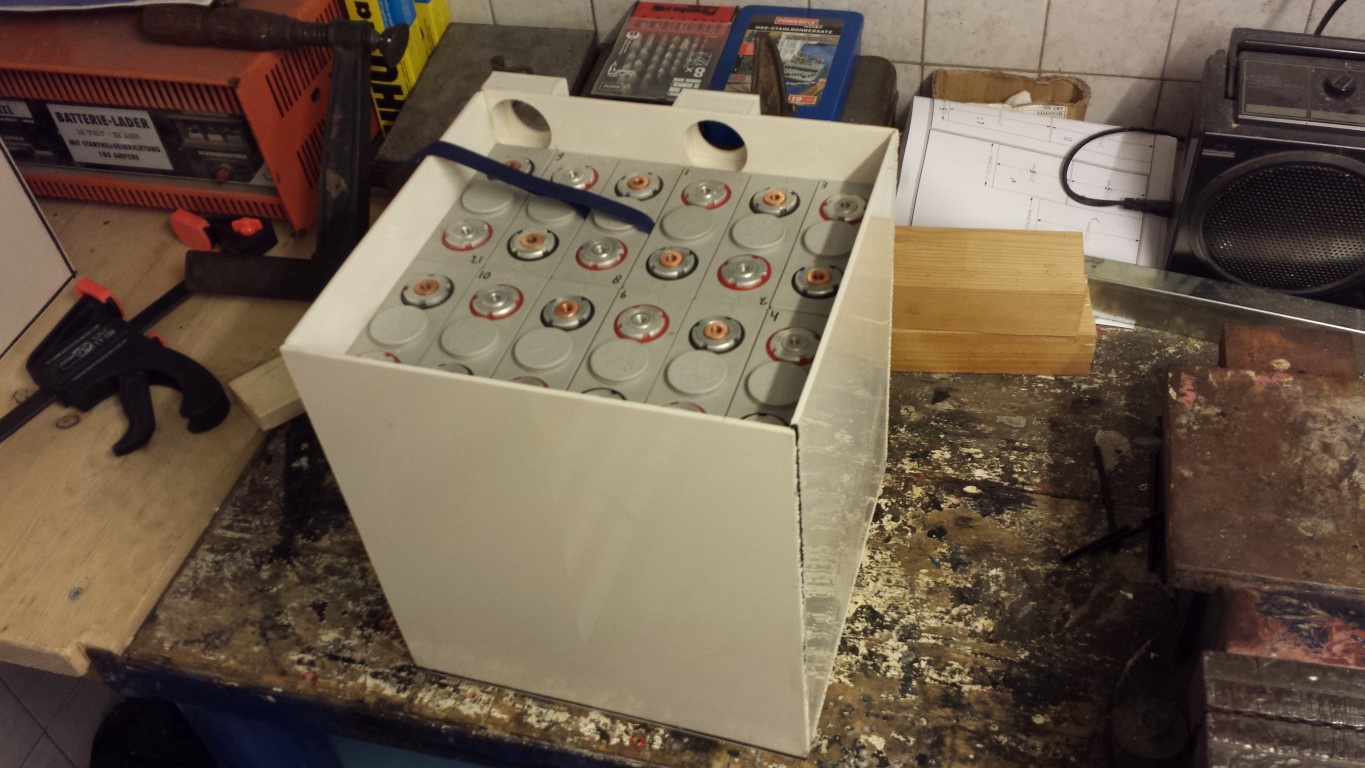
The battery boxes are all put together again. And most important, the batteries fit well now. They're firmly held together but it's also still possible to remove them pretty easily. I just still need to get something else for pulling the batteries out, one of the cotton ribbons already teared while trying to pull a battery out (before I pulled the boxes apart when the batteries were in way too tight). I just want some of those plastic straps that get used for packaging, I just have no idea where I can get them. But they have to be very small (0,5 mm or less) otherwise the batteries won't fit again.
Now I have to see if I'm going to weld them again or maybe try something different to make them sturdier.
Meanwhile I also got the clamps for the brake fluid hose so I placed this on again as well and filled the system with brake fluid. Have to wait and see now if this hose is resistant to dot 5.1 brake fluid but it should be.
Posted on 15 August 2013 at 08:37 pm (CET)
Category: Batteries
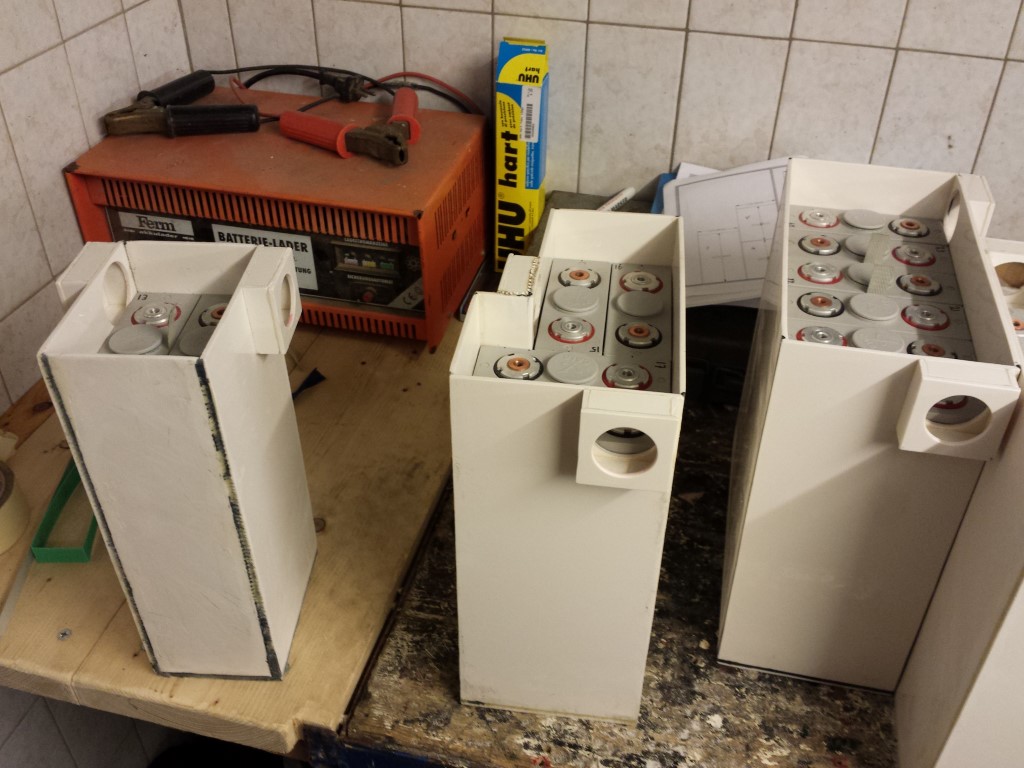
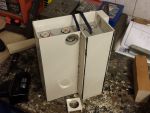
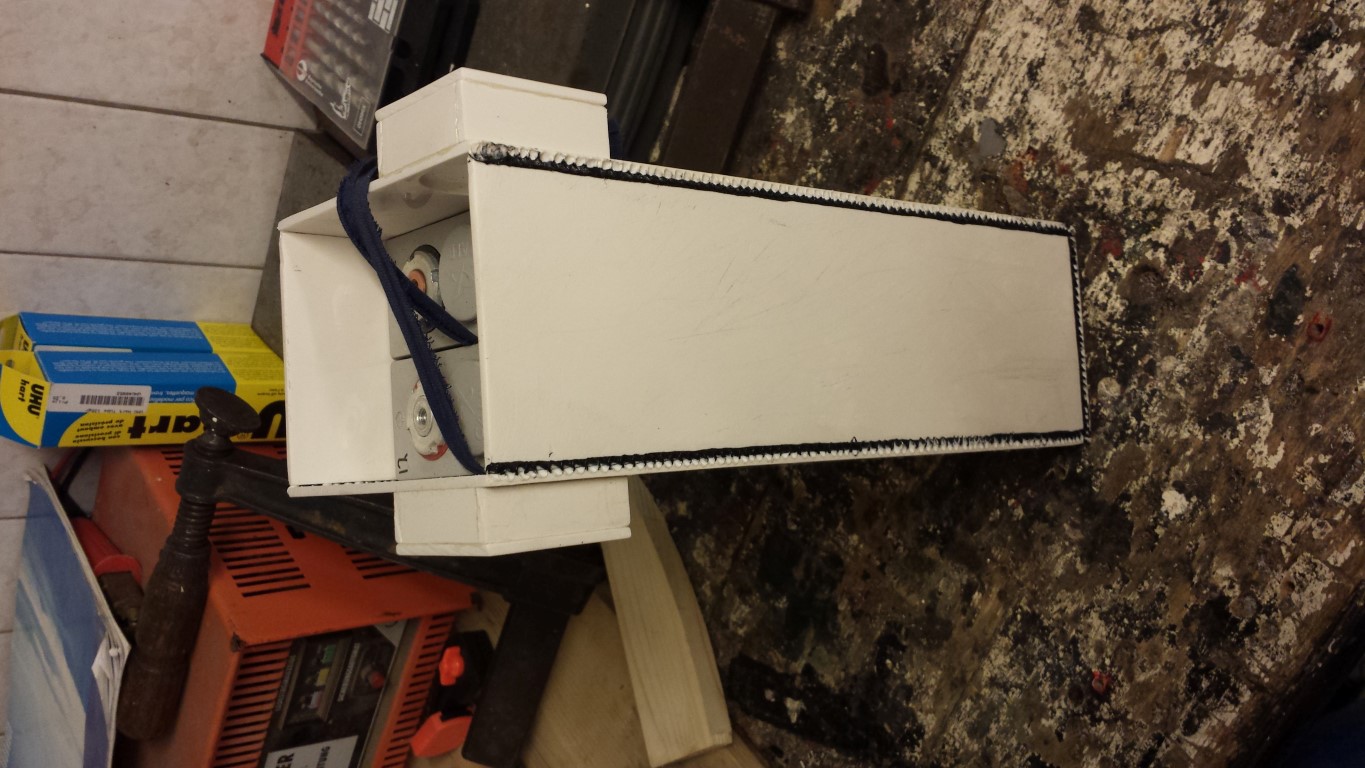
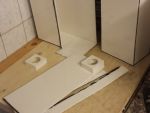
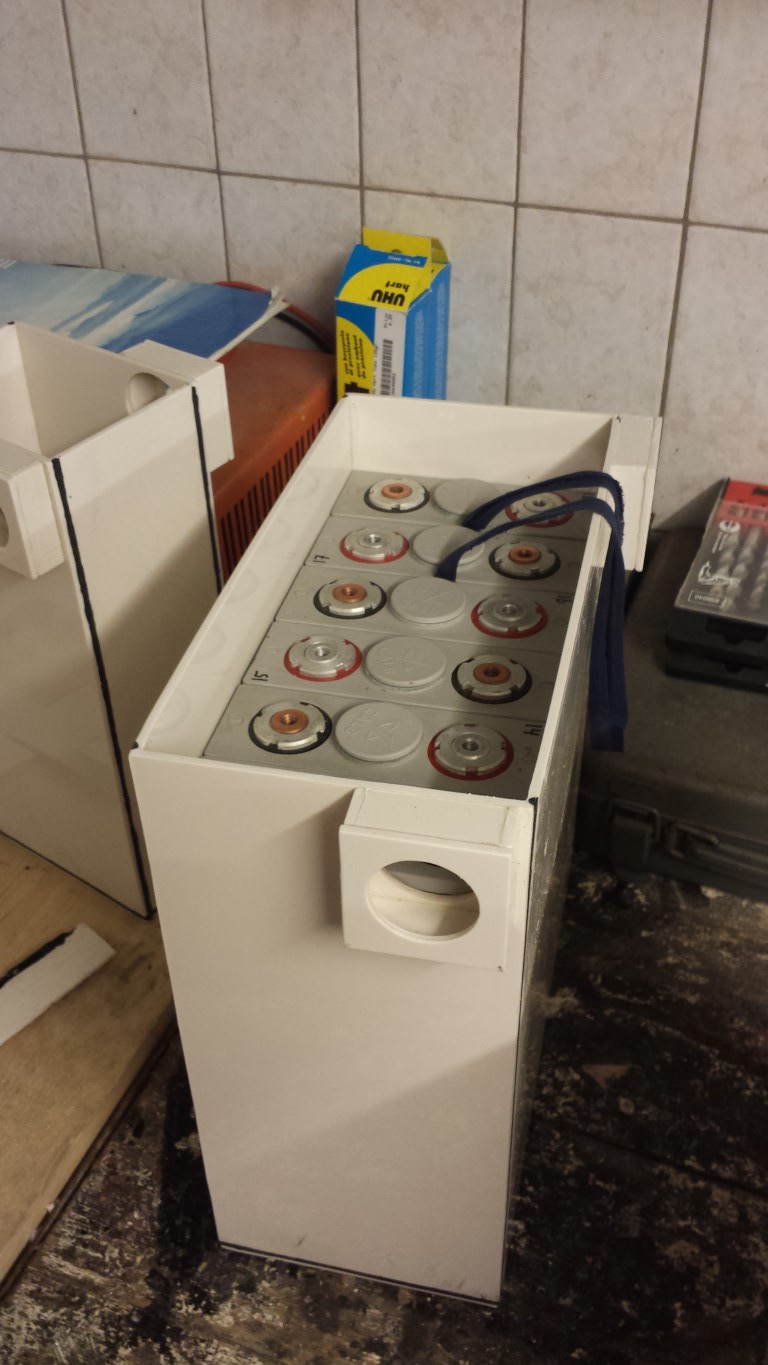
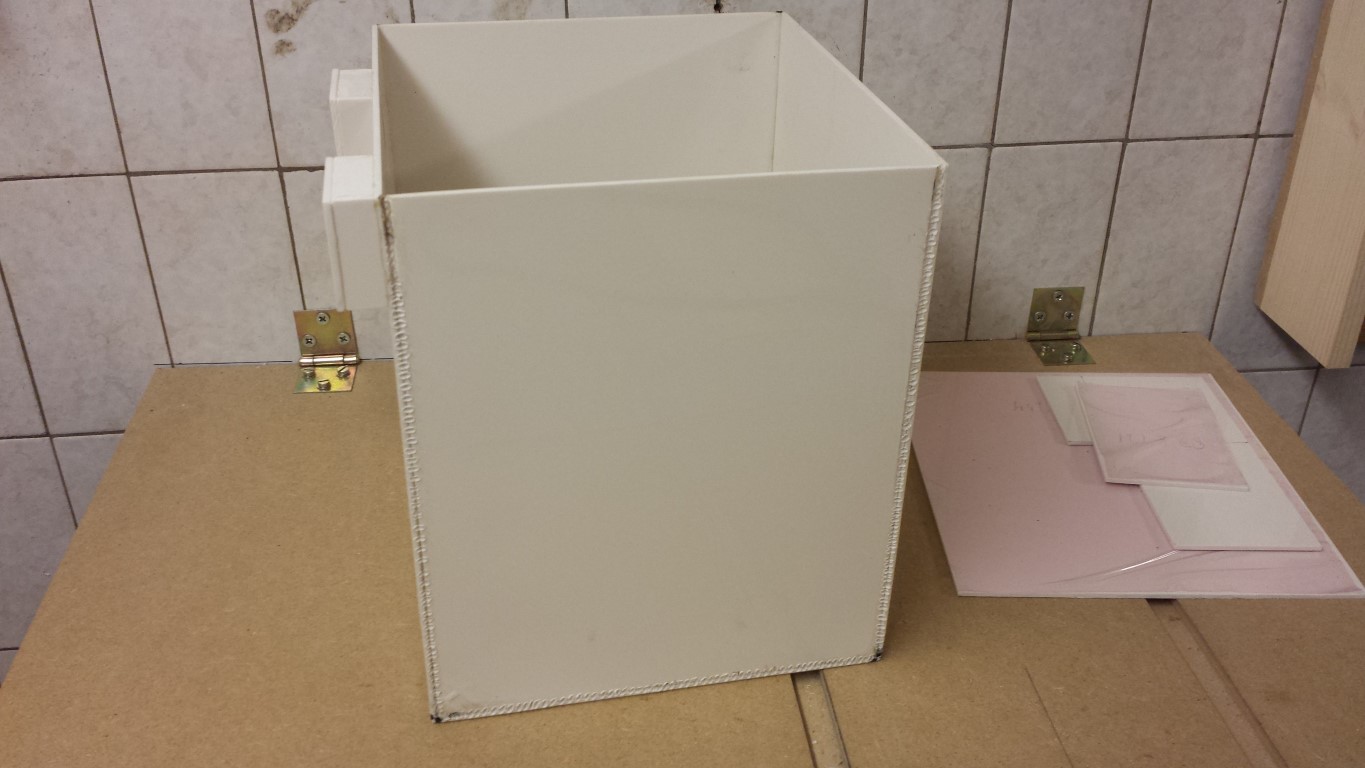
Today sadly a big setback. Was really happy that I was almost done with the battery boxes, but I'll have to continue with them a bit longer. Was planning to start with the clamps for the batteries today. For this I had to place all of the batteries back in the boxes. I only came to the conclusion that they didn't fit anymore. Apparently the boxes bent just a little while welding. Might have been my stupid mistake, should have just left the batteries in while welding. But I thought it could be done like this and I wasn't really sure if the batteries would like the heat so much. I only need like 1 mm or something to be able to fit them but there just isn't enough space. I've been lucky with one battery box though (in the last picture), they do still fit in this one. But the other 3 I've already torn apart to start over again with glueing and welding. It's only a bit hard to do since the plates are all bent.
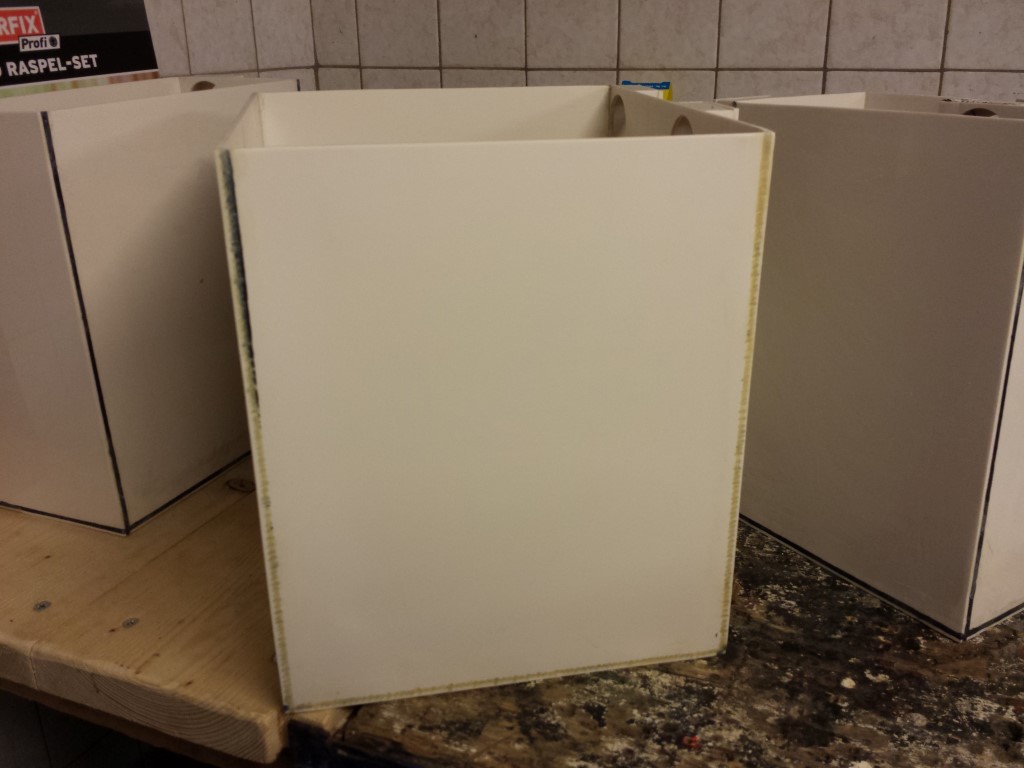
Here's what they look like now.
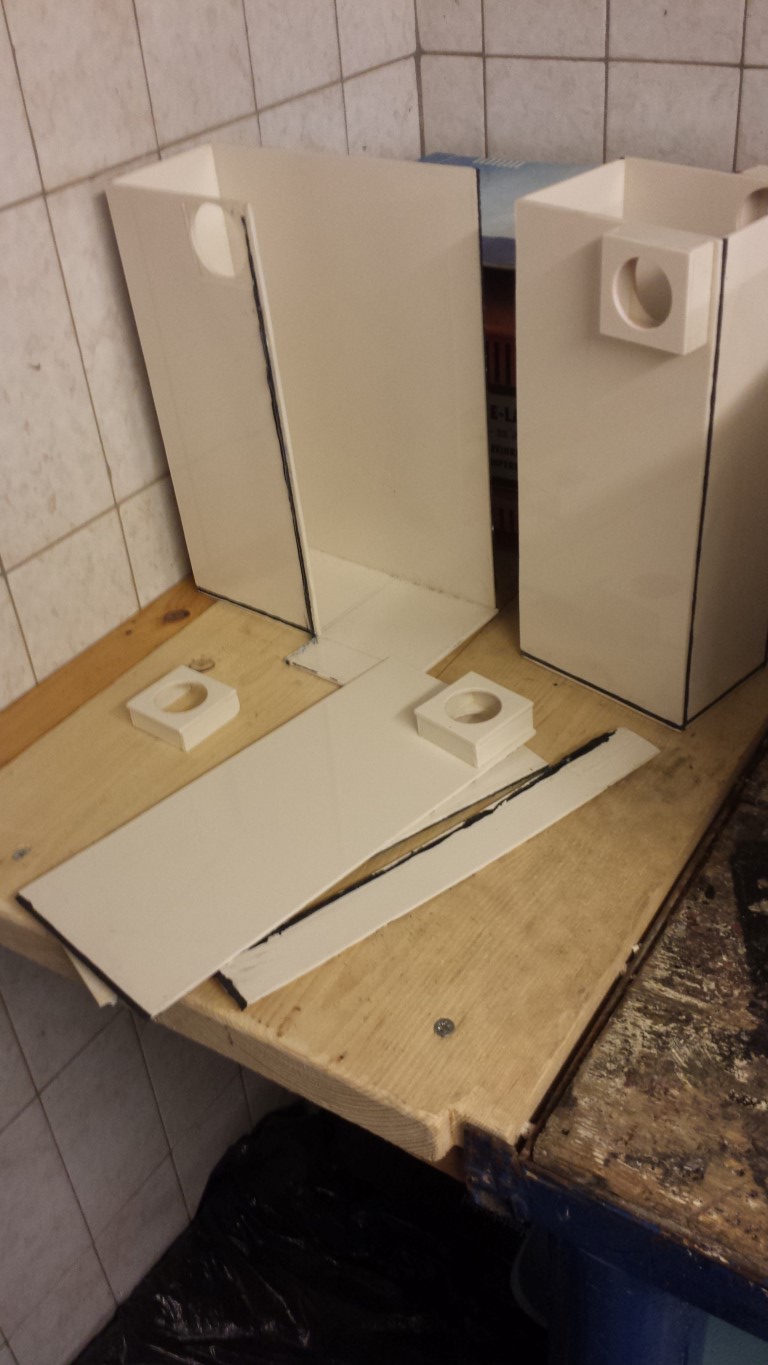
Think I'll be busy with these 3 boxes again for a while. The welds also weren't really strong enough so I'll have to see what I'm going to do with this.
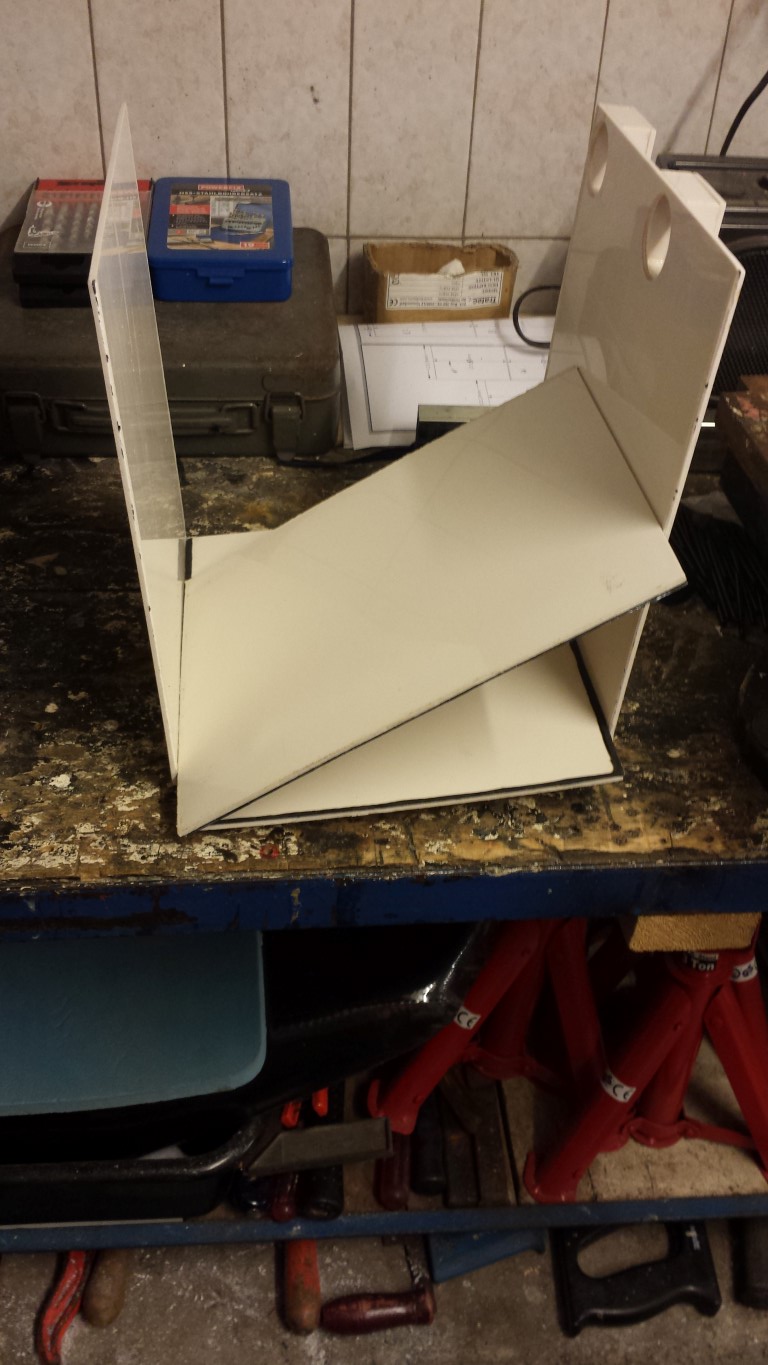
Meanwhile battery box #1 is put together again. I melted the plates together at a lot of places with a soldering gun and glued on the inside again.
Tomorrow the other 2 boxes.