
 Nederlands
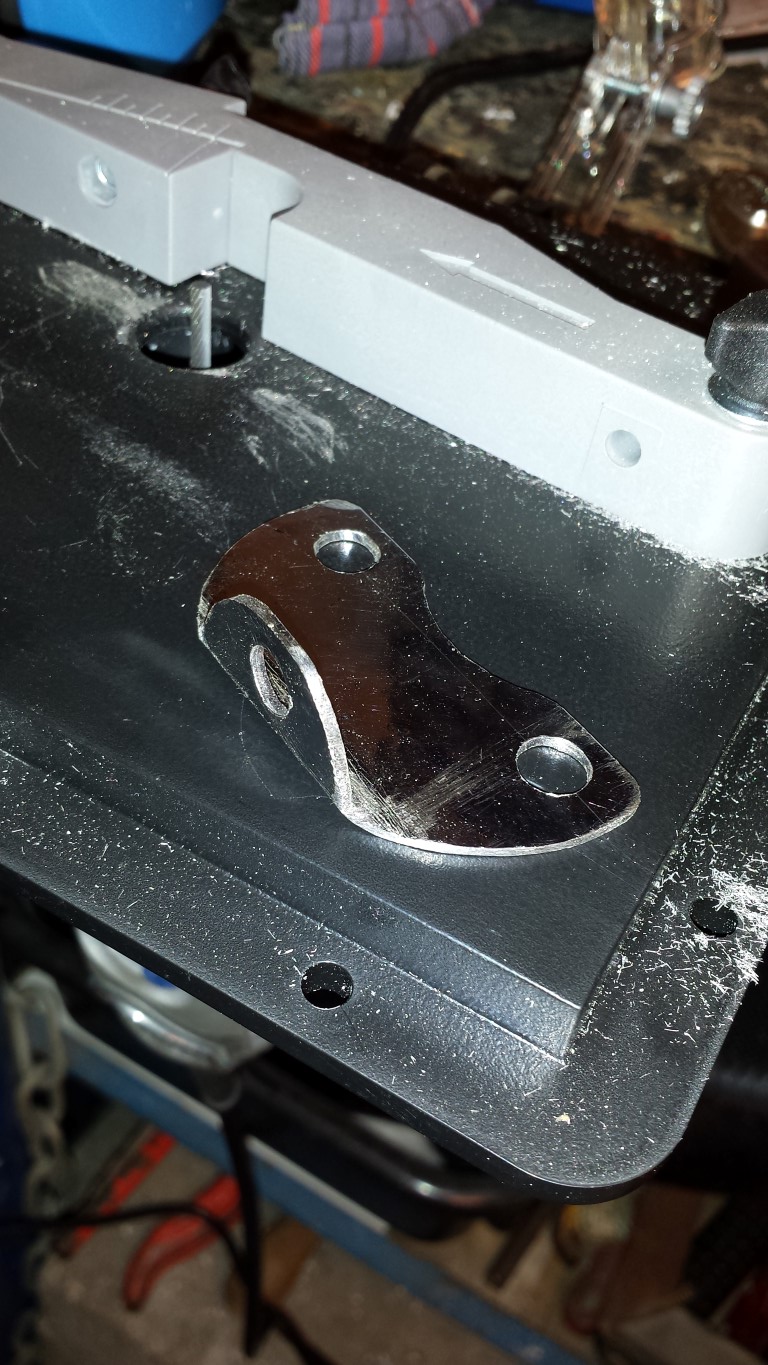
Blog / Parts
Posted on 14 July 2013 at 06:28 pm (CET)
Category: Electric motor, Parts
Posted on 14 July 2013 at 06:28 pm (CET)
Category: Electric motor, Parts
A little progress again, but something very important. The mount for the RPM sensor. Still had a small steel plate laying around with the right size. Only had to bend it a bit and make it round.
And here it's mounted on the motor mount. There's around 1 mm between the sensor and adaptor and the sensor has a range of 1,5 mm so it should work fine like this.
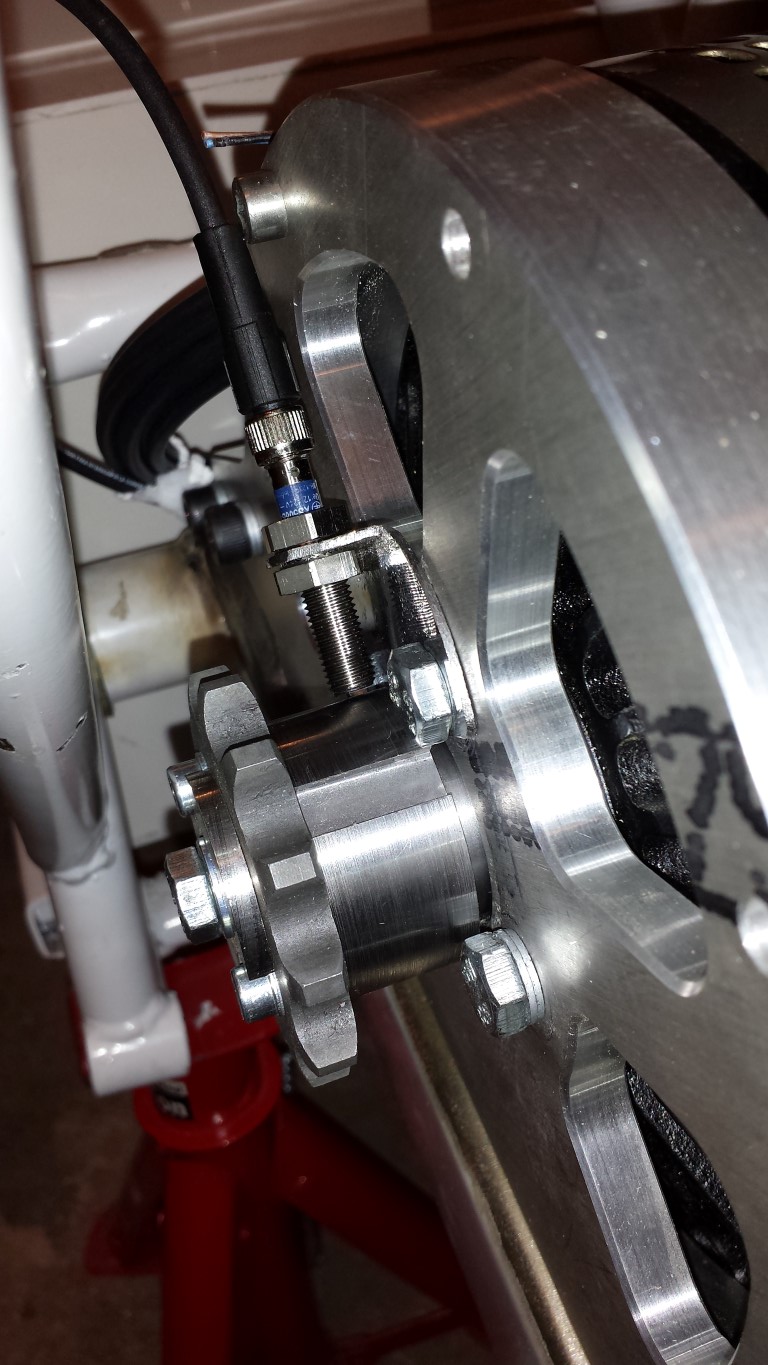
Could've been a little lower but I think it's okay. At least the chain will have some more space now.
Posted on 12 July 2013 at 10:22 pm (CET)
Posted on 12 July 2013 at 10:22 pm (CET)
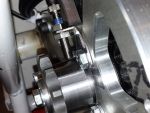
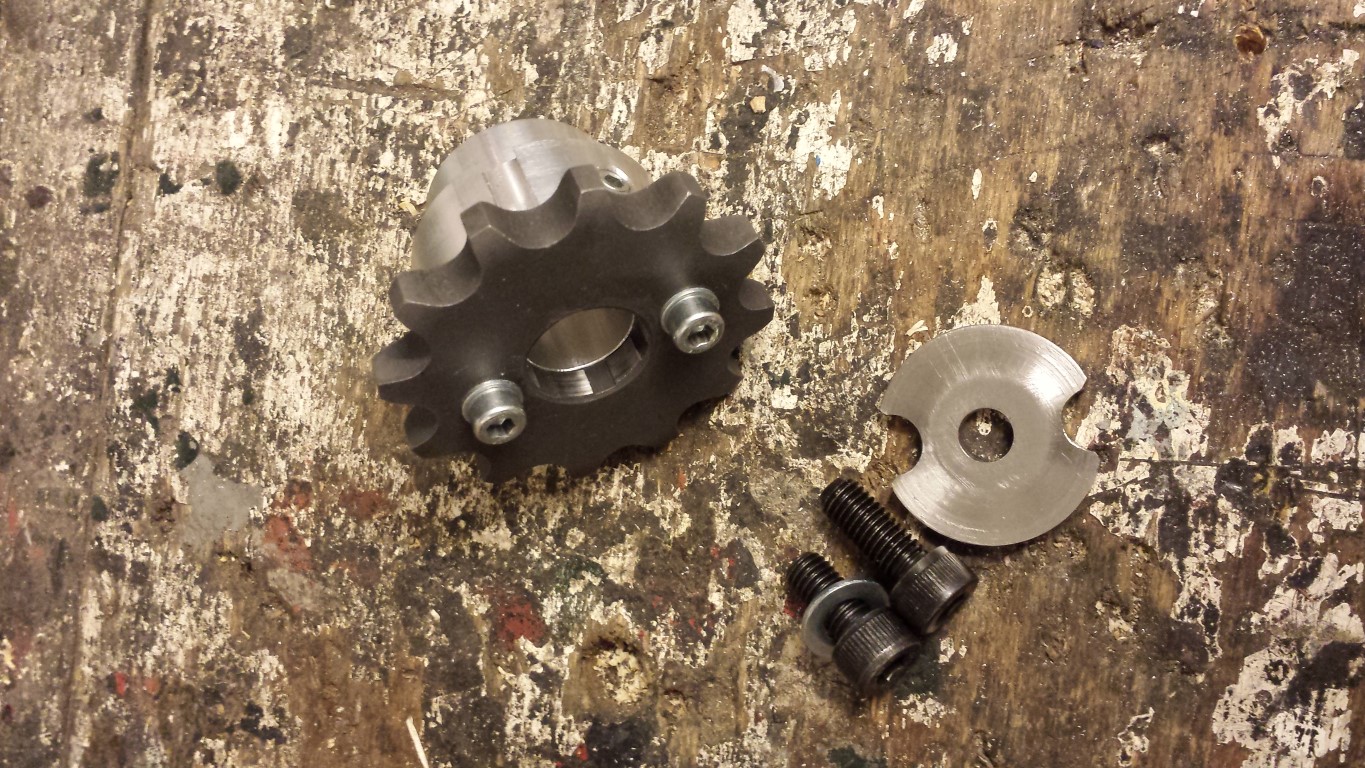
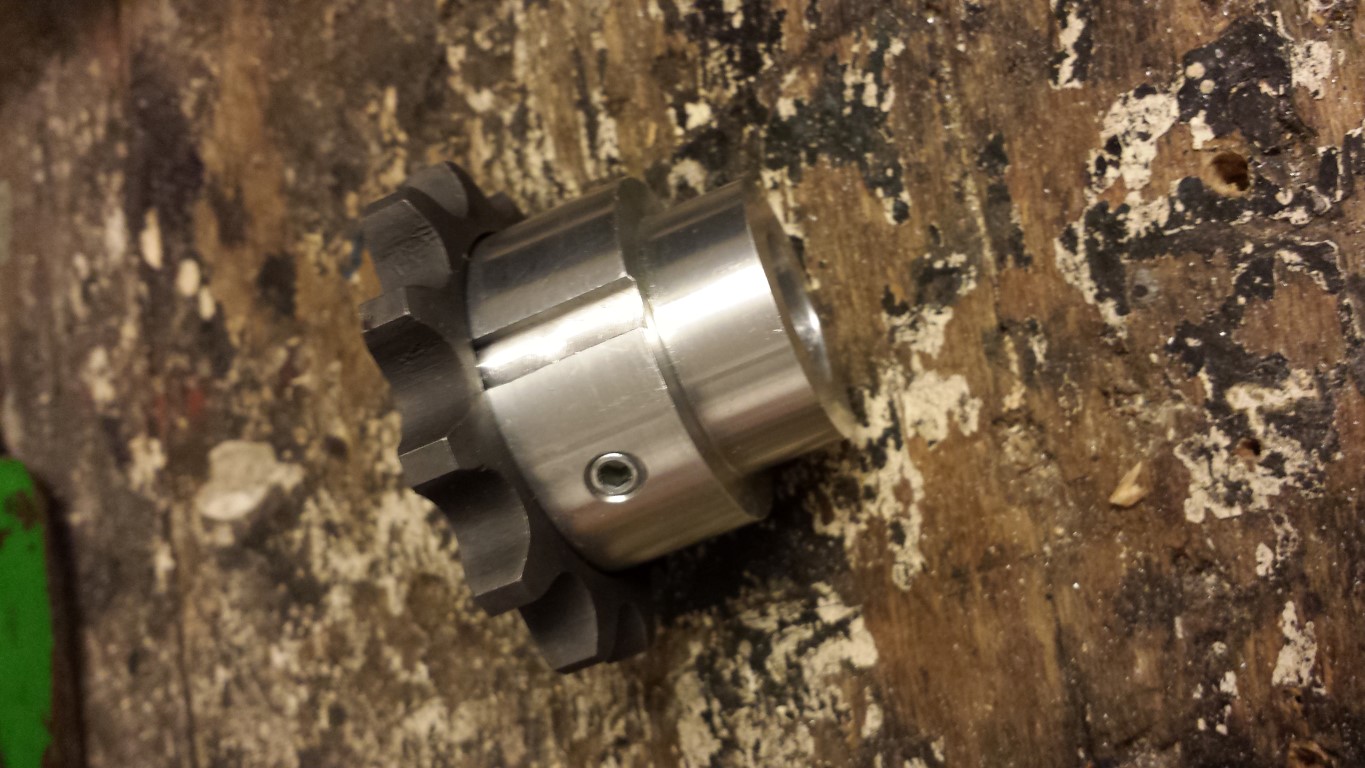
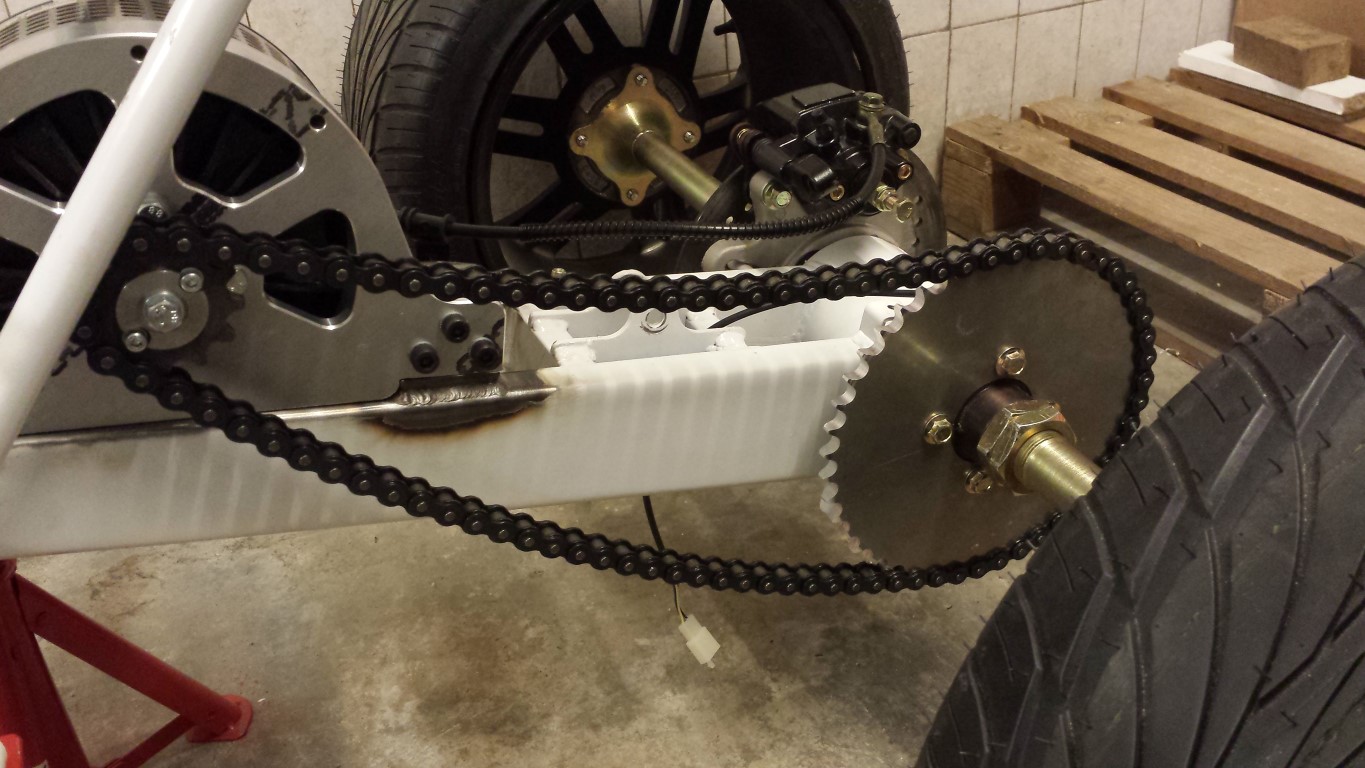
Finally some progress again. Or well, I'm back where I was one and a half month ago. The new adaptor for the front sprocket has been made. I asked for stainless steel but it's a steel one. Looking back at it this seems to be better anyway, I contacted some metalworking company about this. They said that stainless steel probably wouldn't be strong enough for this application. But it all fits pretty well now, also no more play between the adaptor and sprocket which was the case with the old adaptor. There's only a little bit of play between the motor's axle and the adaptor but it's very minimal. It'll be firmly attached anyway so I don't think it'll be a problem.
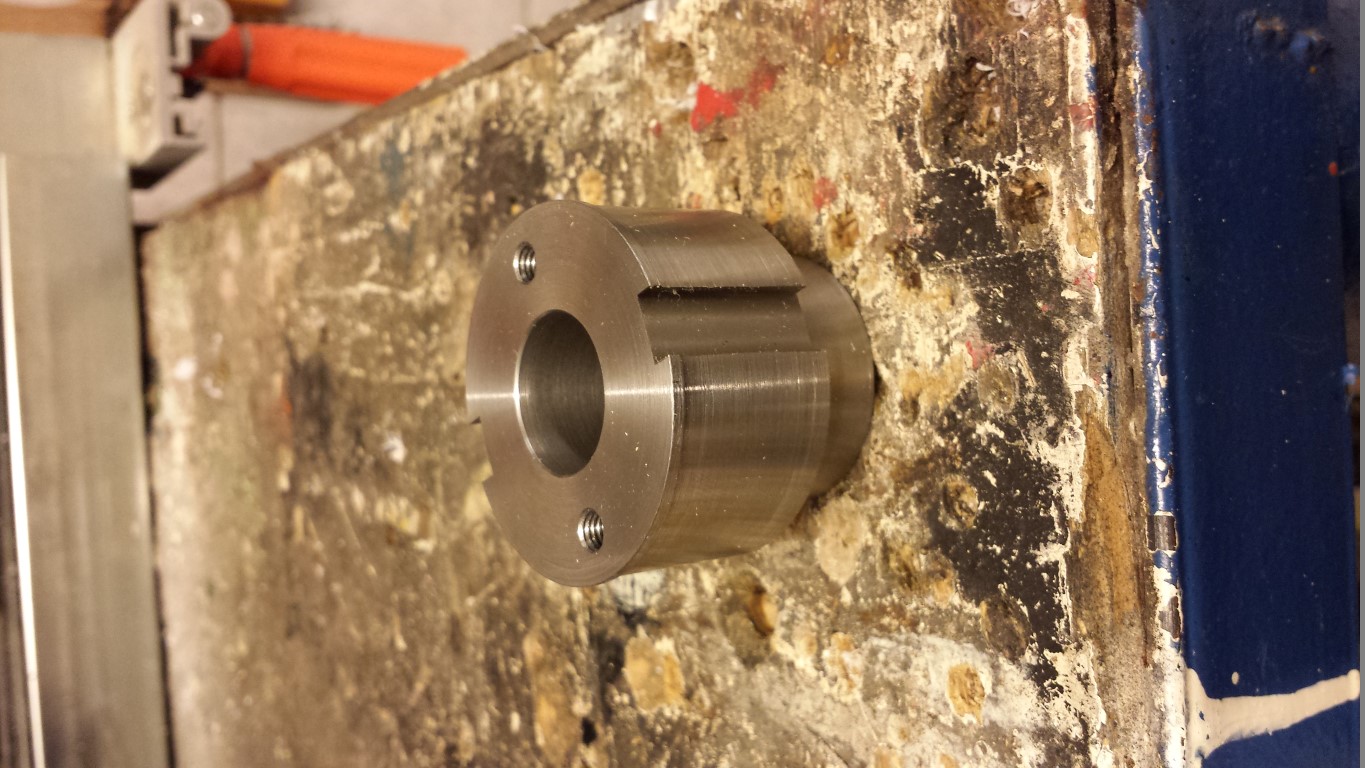
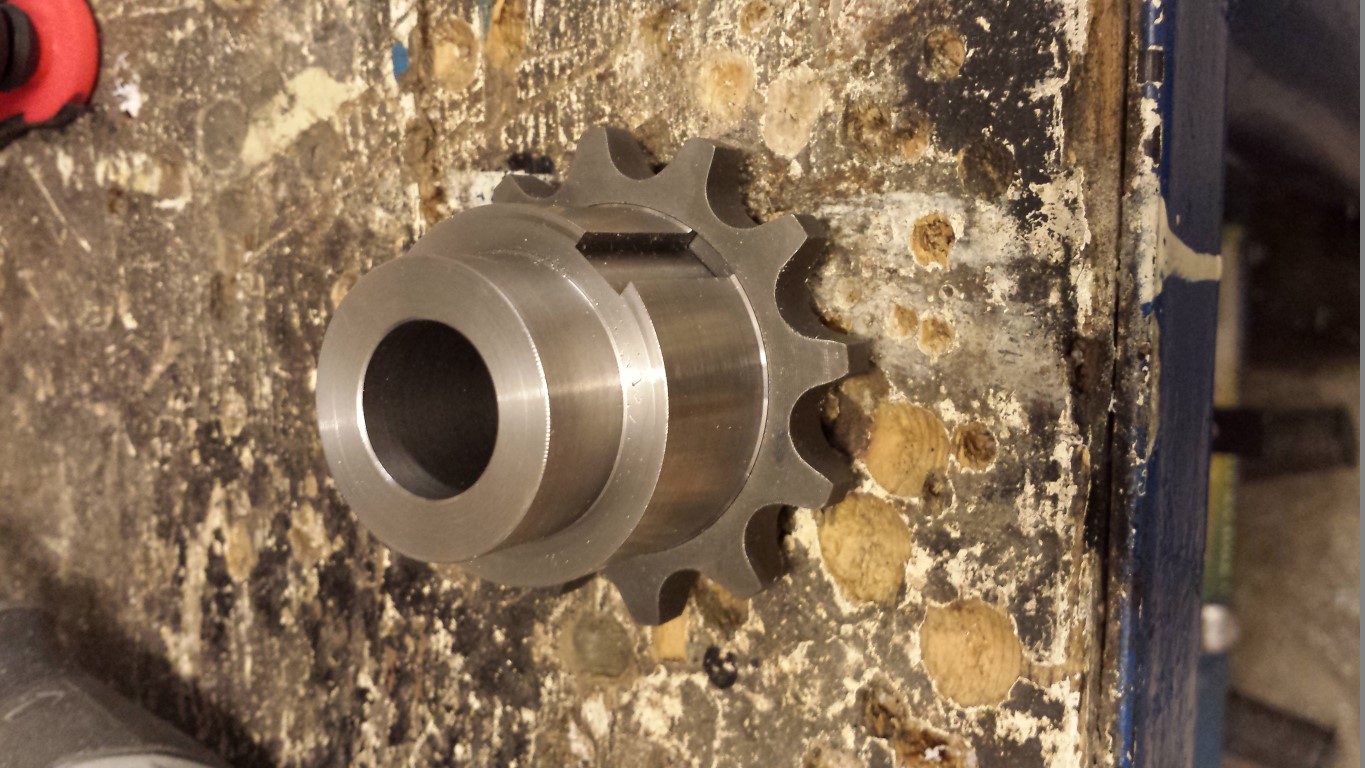
Just have go search for someone who has a wire cutting machine now to cut out a keyway in the adaptor and sprocket. Apparently this can't be done any other way. But after this I will actually have it the way I wanted it from the beginning.
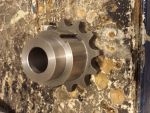
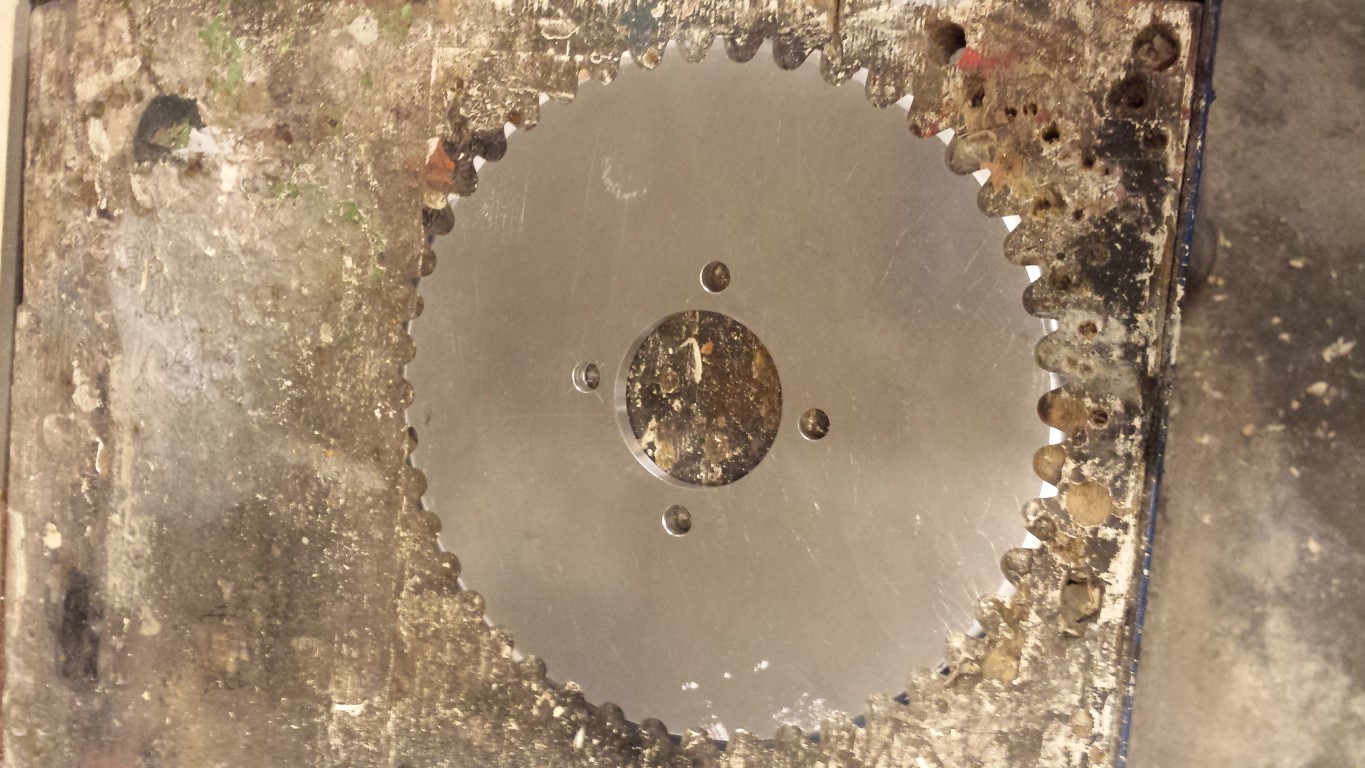
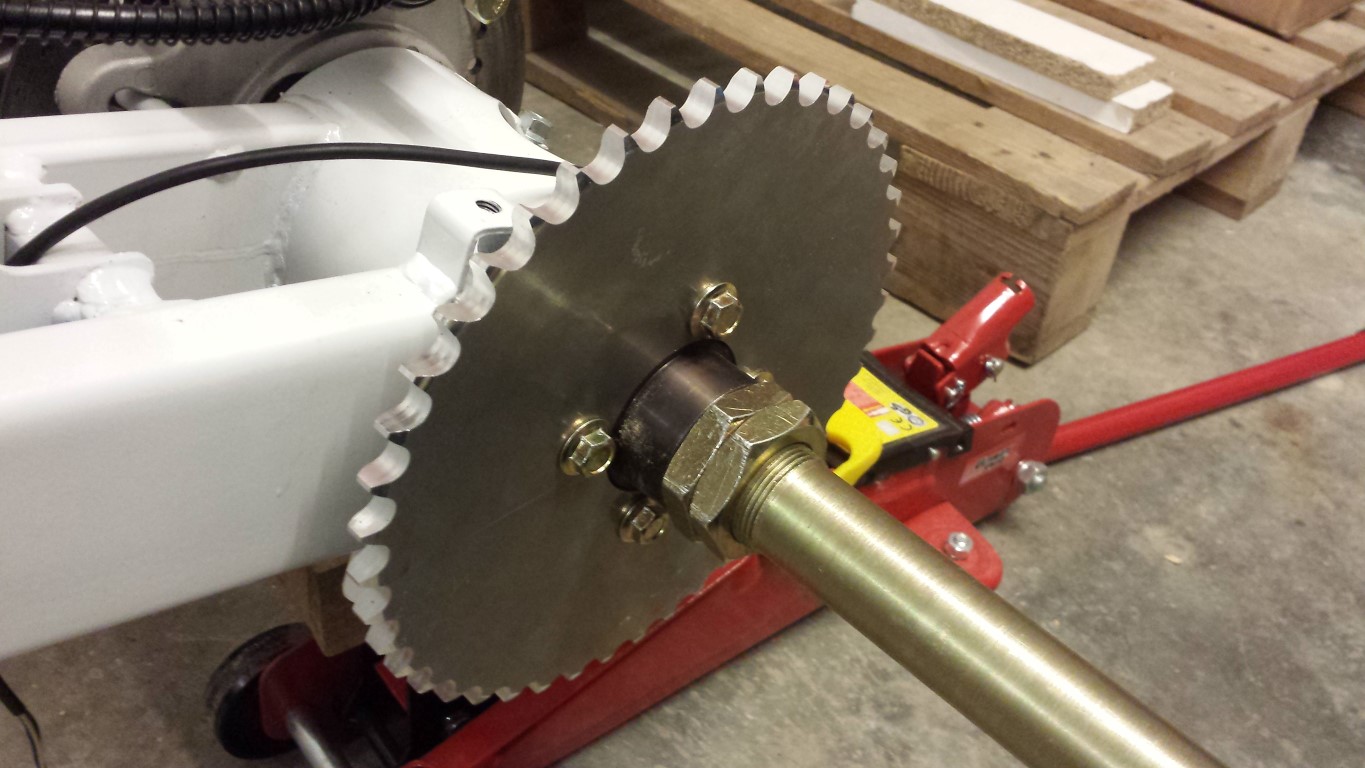
Today I also got something else. A new rear sprocket, steel 44 tooth of a Suzuki GSX-R 1000.
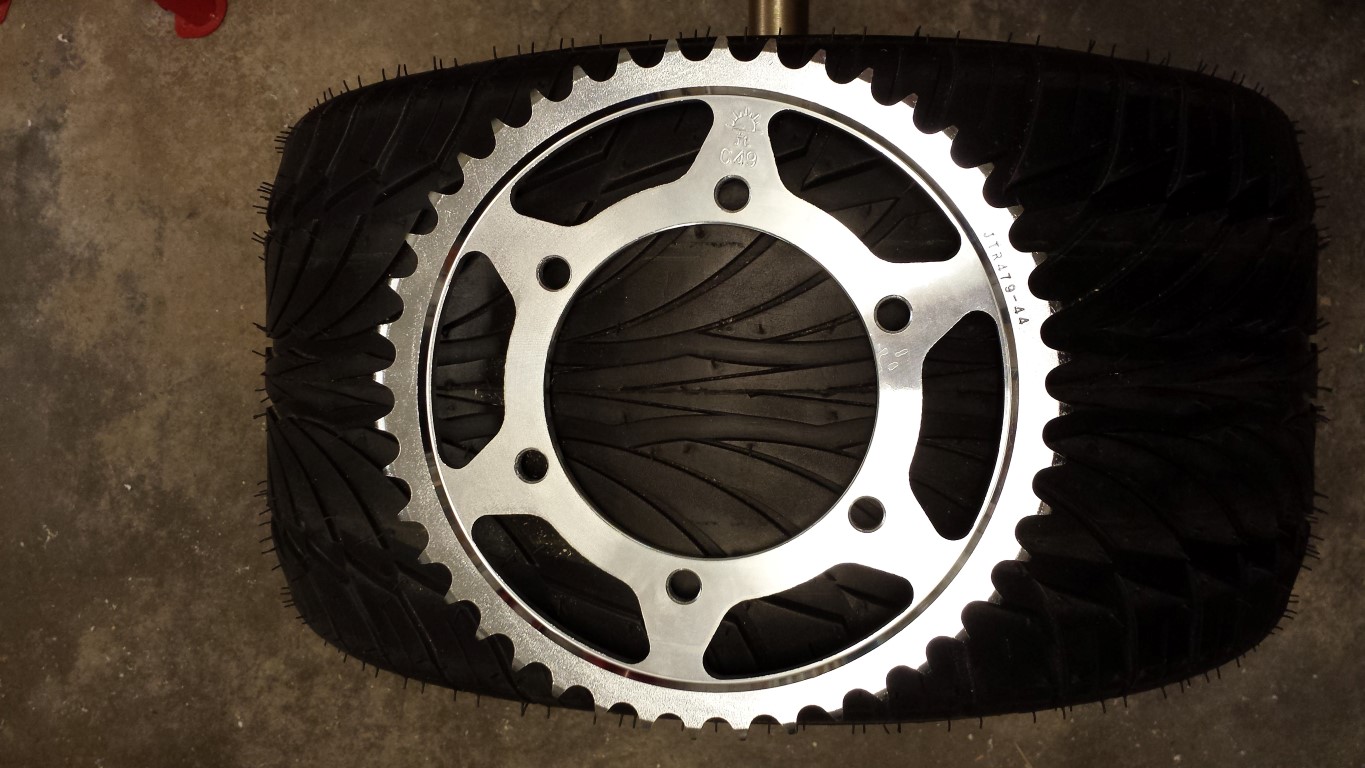
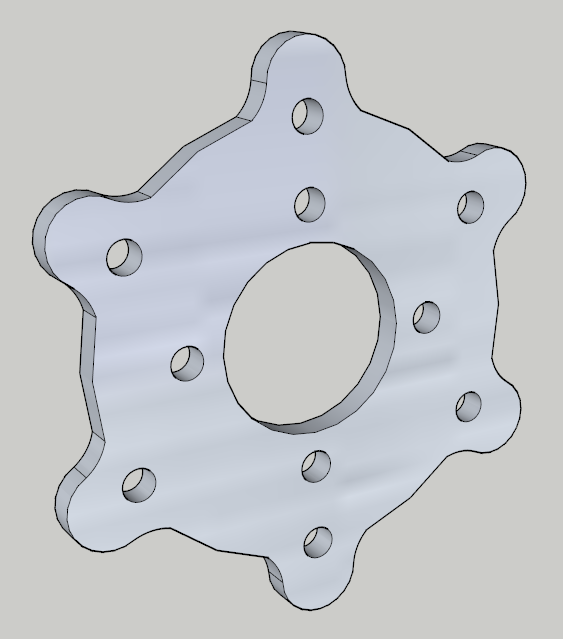
The aluminium sprocket will get a new life as an adaptor. I already drew it, just still need to get it routed. The rear sprocket can then be placed more inward and the chain will then run in a perfectly straight line. This is what it'll look like.
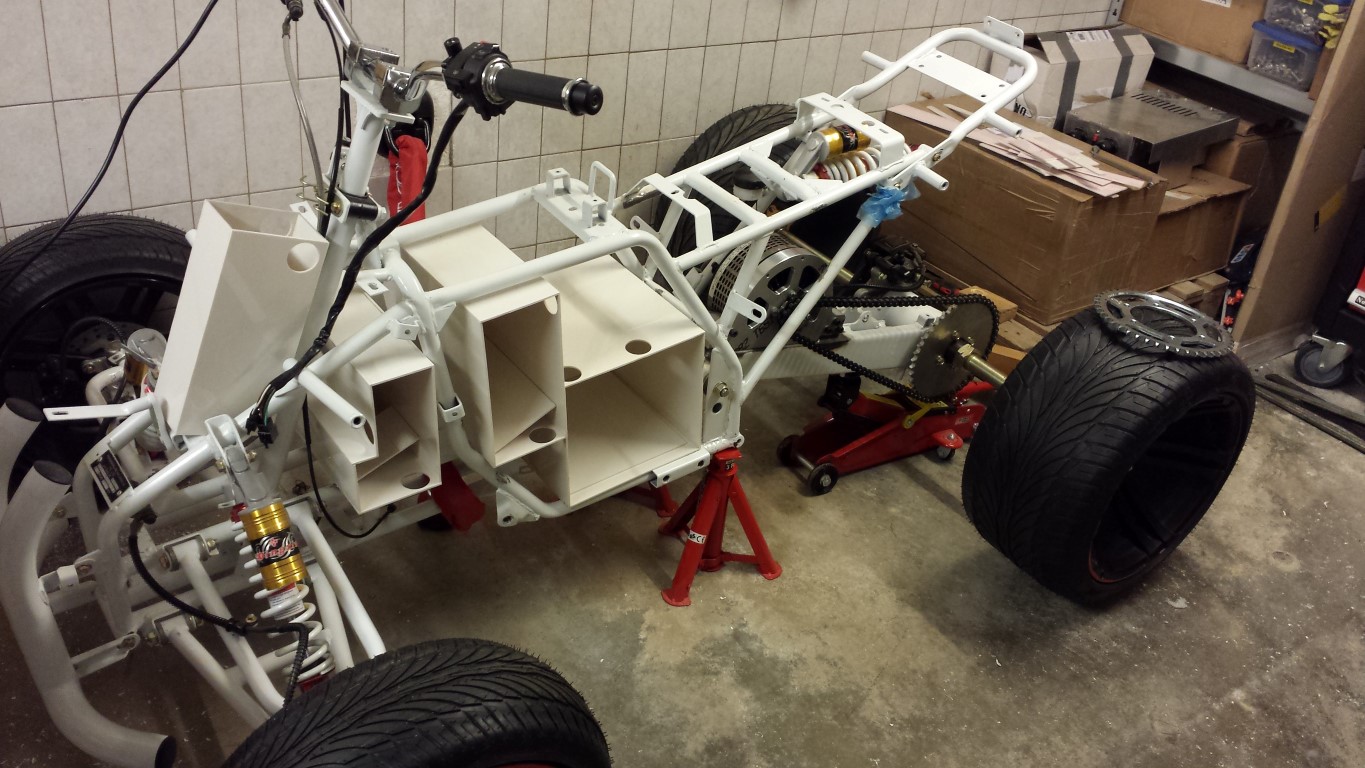
And a quick picture of the whole quad bike after today.
Posted on 1 June 2013 at 12:09 am (CET)
Category: Controller, Parts
Posted on 1 June 2013 at 12:09 am (CET)
Category: Controller, Parts
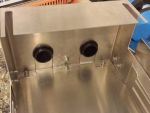
Today I've been busy modifying the controller's enclosure a bit. First a picture of how it looked like originally.
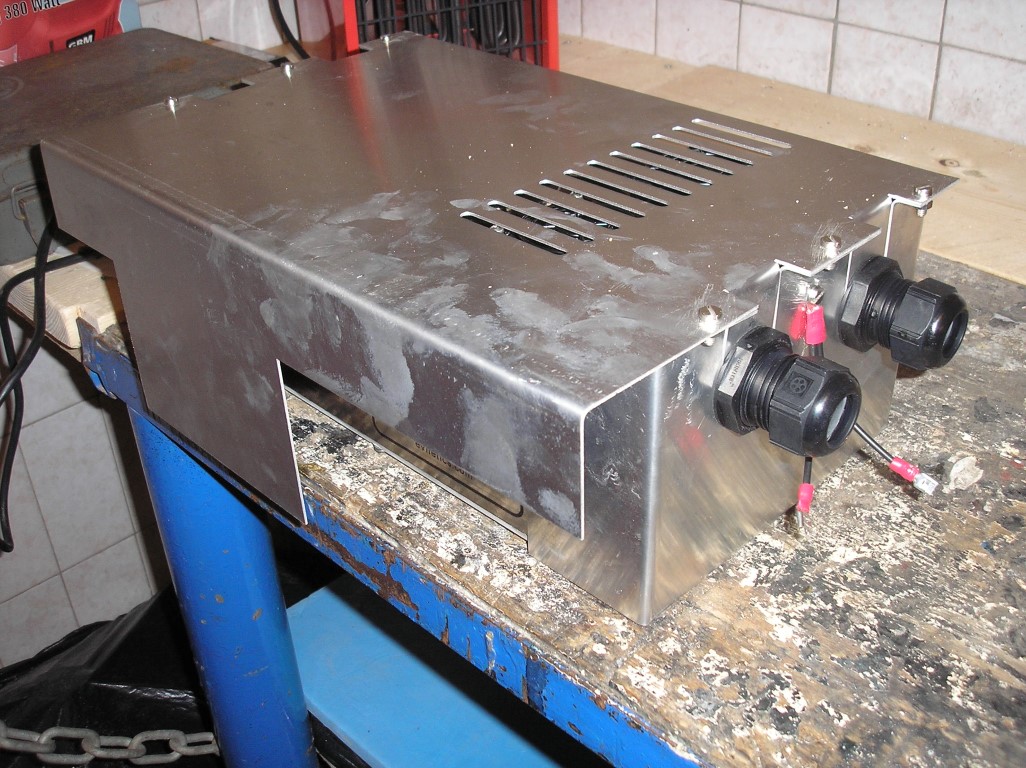
And here what it looks like now.
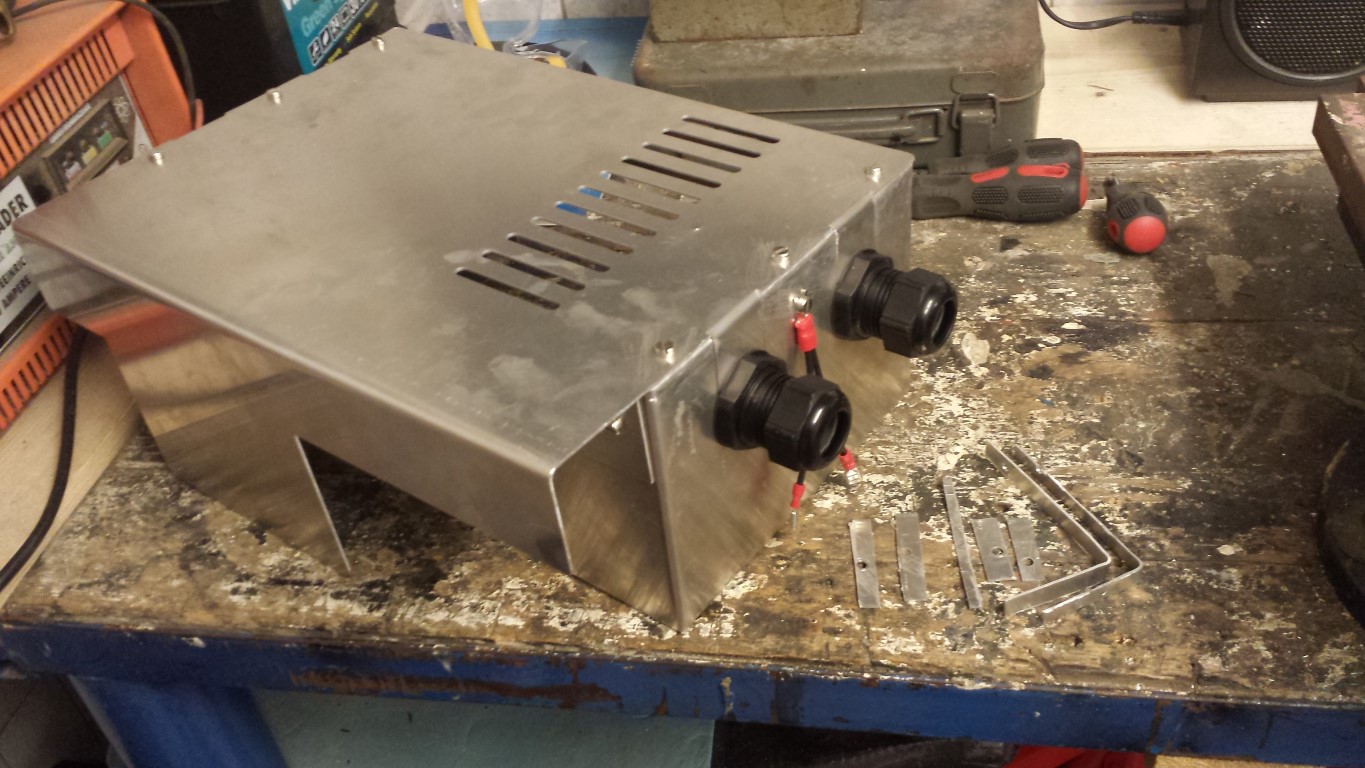
On the sides I bent those outside parts inwards and fitted rivet nuts in there. In all other mounting points I also fitted rivet nuts. I think they're great, already used a lot of them too.
On the top plate I cut off the outer parts and filed them nice and straight. Also filed all of the sharp edges so they're rounded now.
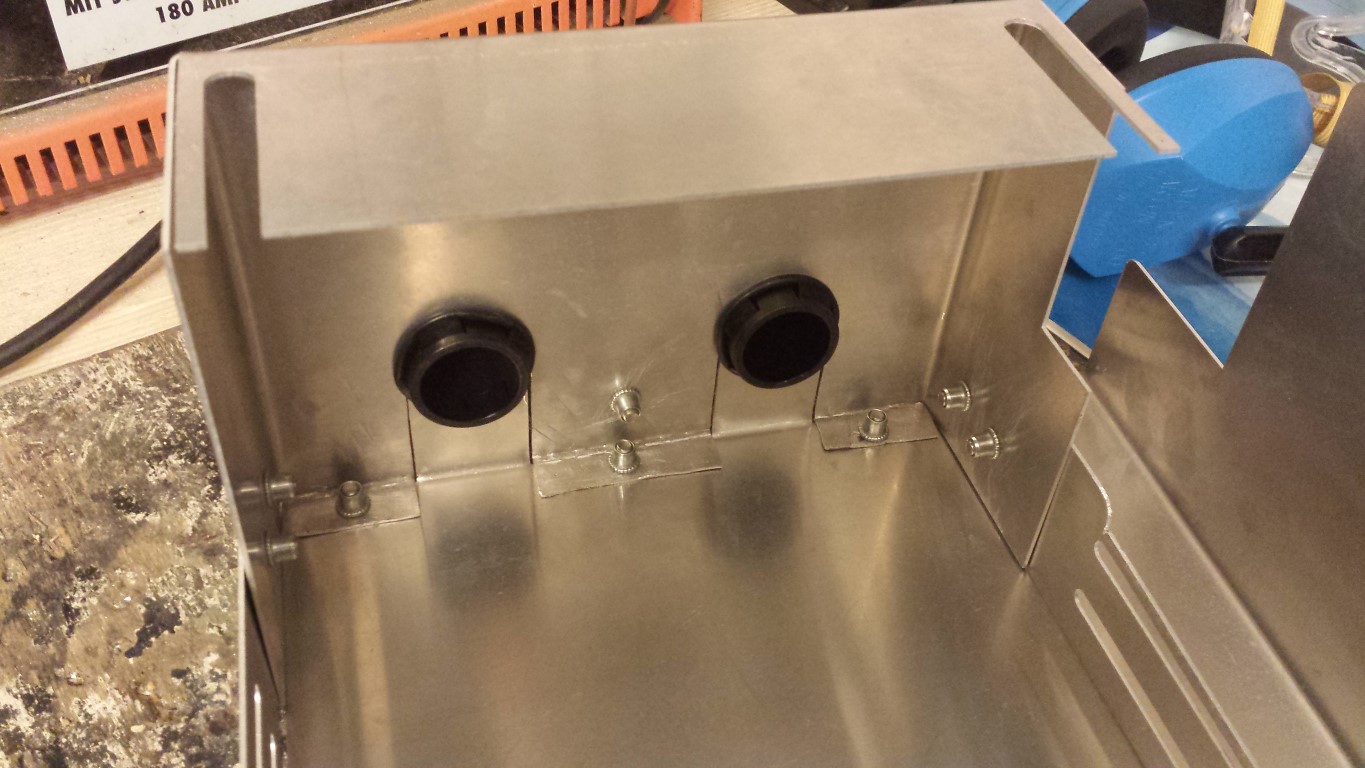
Looks a bit better again and it seems smaller as well now. But what's most important is that I can let the mounts which will be attached to those points where the exhaust silencers used to be just drop down since the enclosure is exactly the same width now.
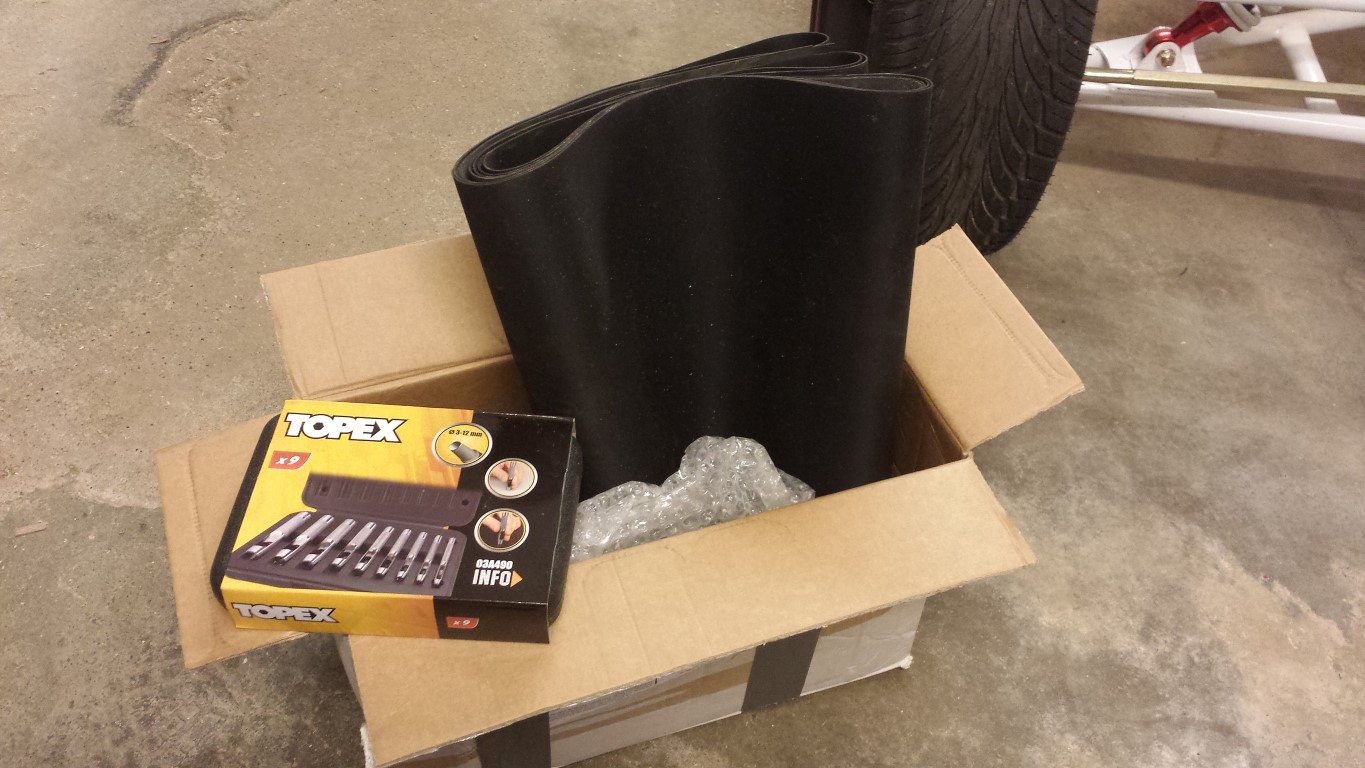
Also received some more parts today. The ABS plates to make the battery boxes, EPDM rubber to make them waterproof and a hole punch set to be able to make some rubber rings.
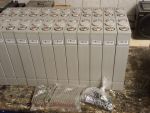
Some more news today. I went inside to get something and suddenly heard a van stop outside. So I went to look at the door and it was the delivery man with 2 heavy packages from Amsterdam. What could be in there?
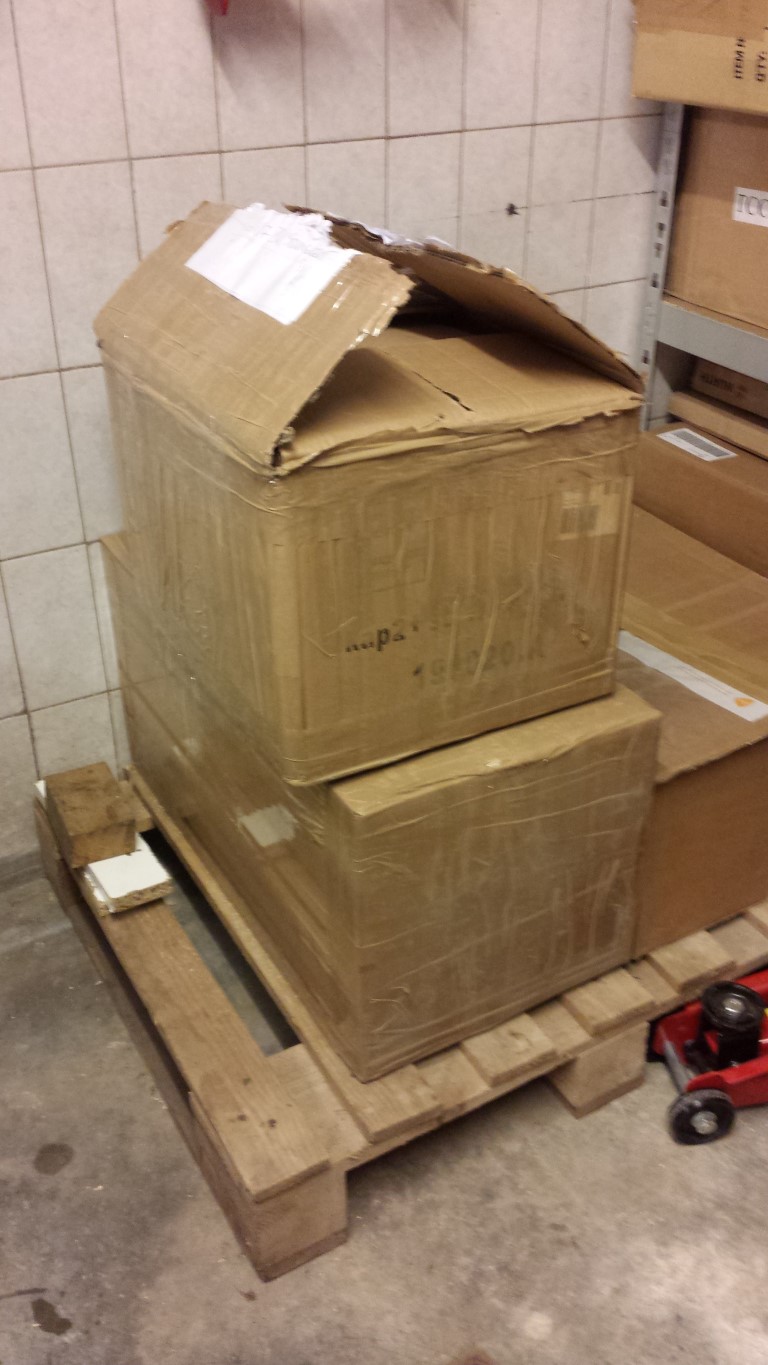
Was a surprise since I didn't even get a message yet that they were actually sent. But the batteries are finally here. And with connection plates, bolts and Nord-lock rings included.
Just not from that official dealer where I still had to wait 8 weeks but from New Electric here in the Netherlands which did have them on stock.
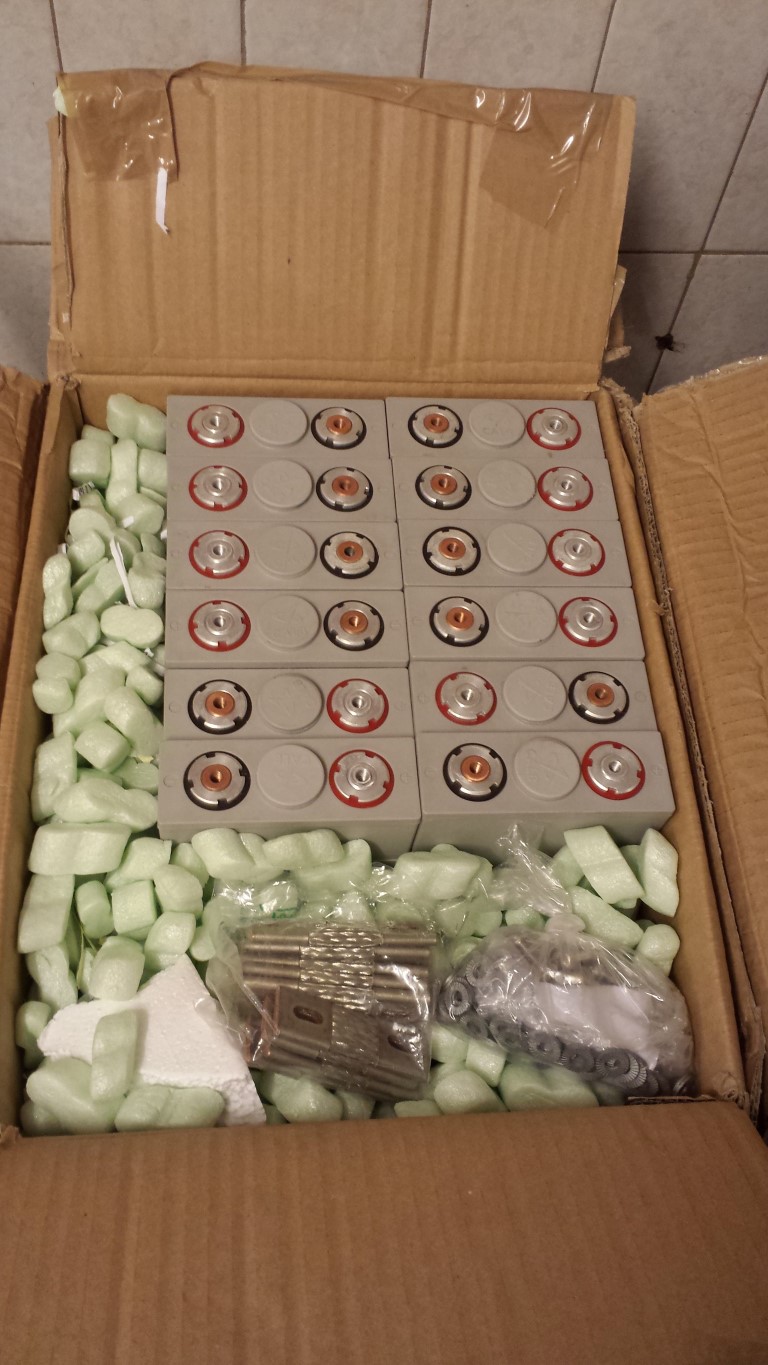
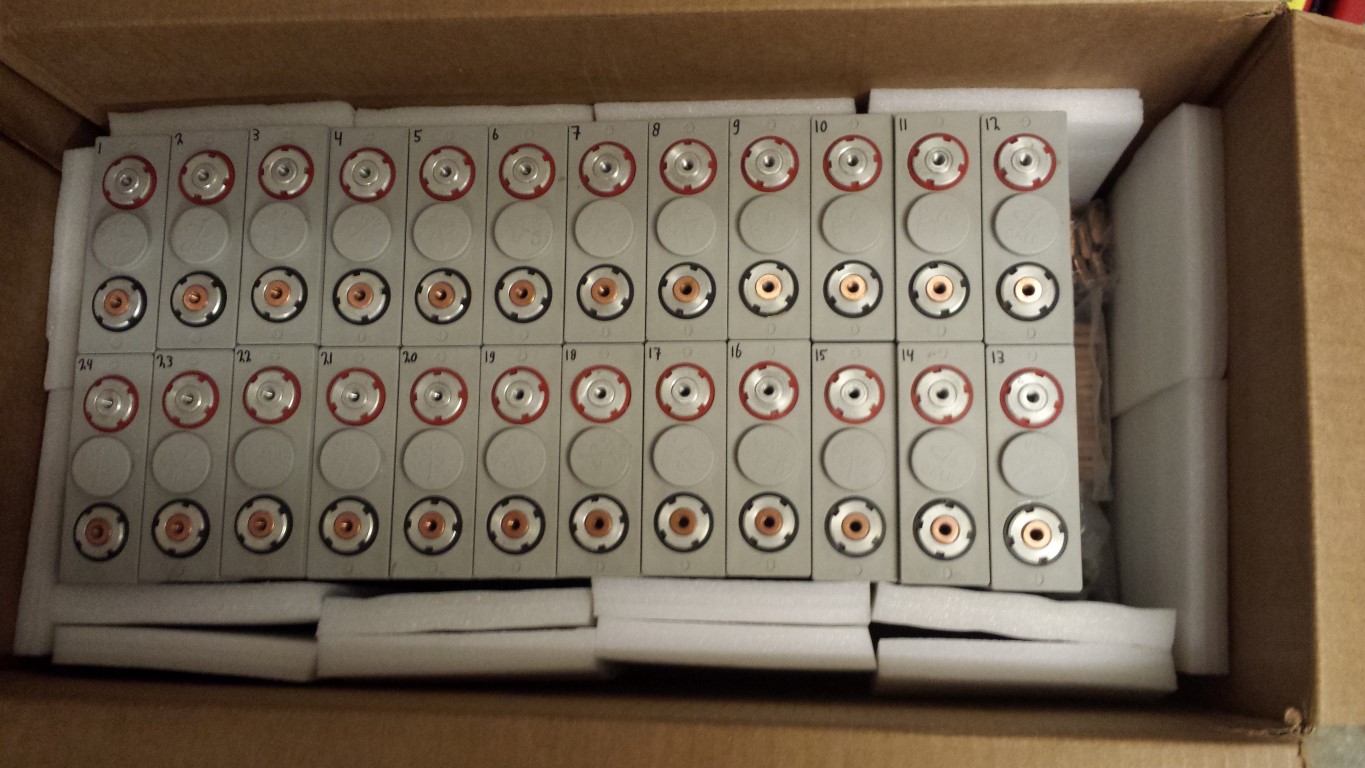
Here are some more pictures.

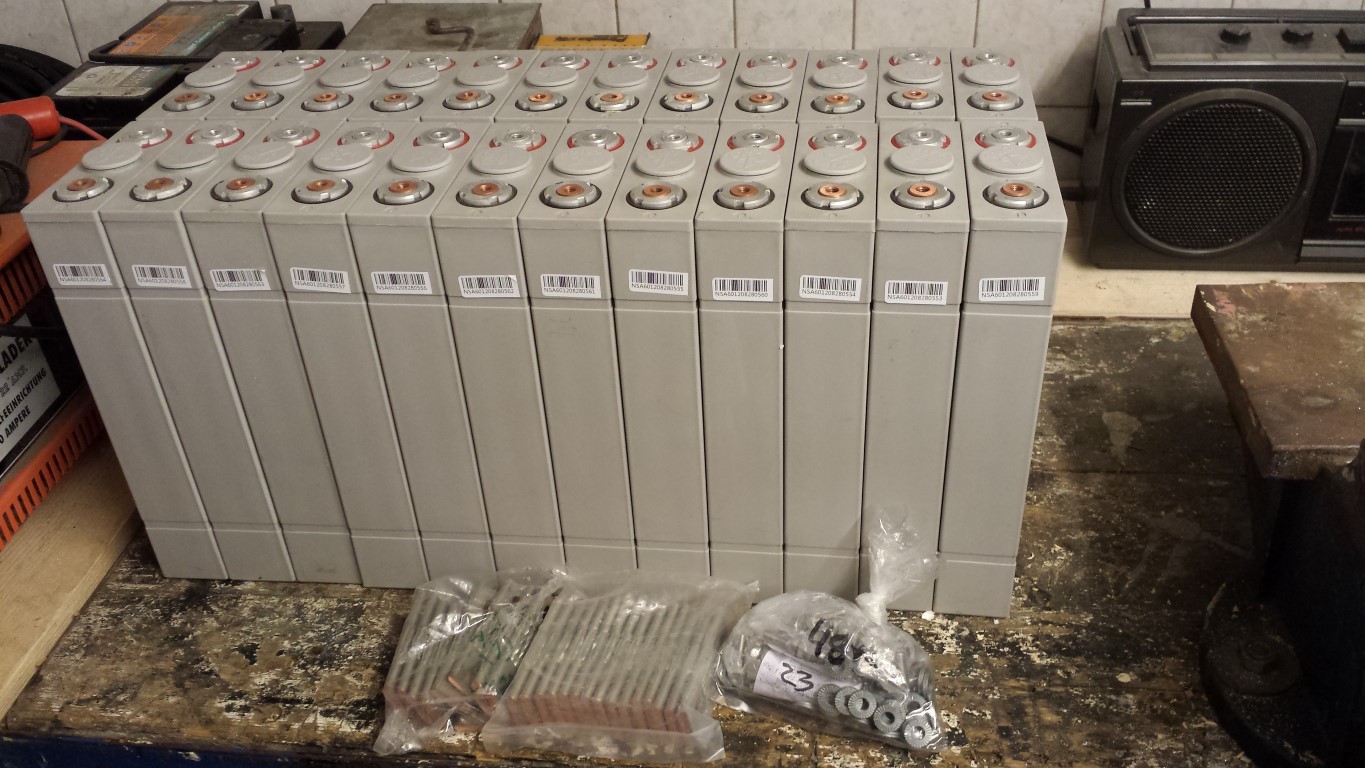
Also measured and numbered them all. As far as I could see there are no defects. And they're all charged at the same level. There are 11 batteries at 3.286V and the other 13 at 3.287V. For now I put them back in the box again. Will first have to try and fit them in the frame and then start making the battery boxes.
Posted on 23 May 2013 at 11:35 pm (CET)
Posted on 23 May 2013 at 11:35 pm (CET)
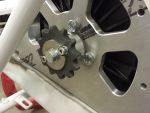
Today I was able to continue building. I received the adaptor and sprockets. They all fit perfectly.
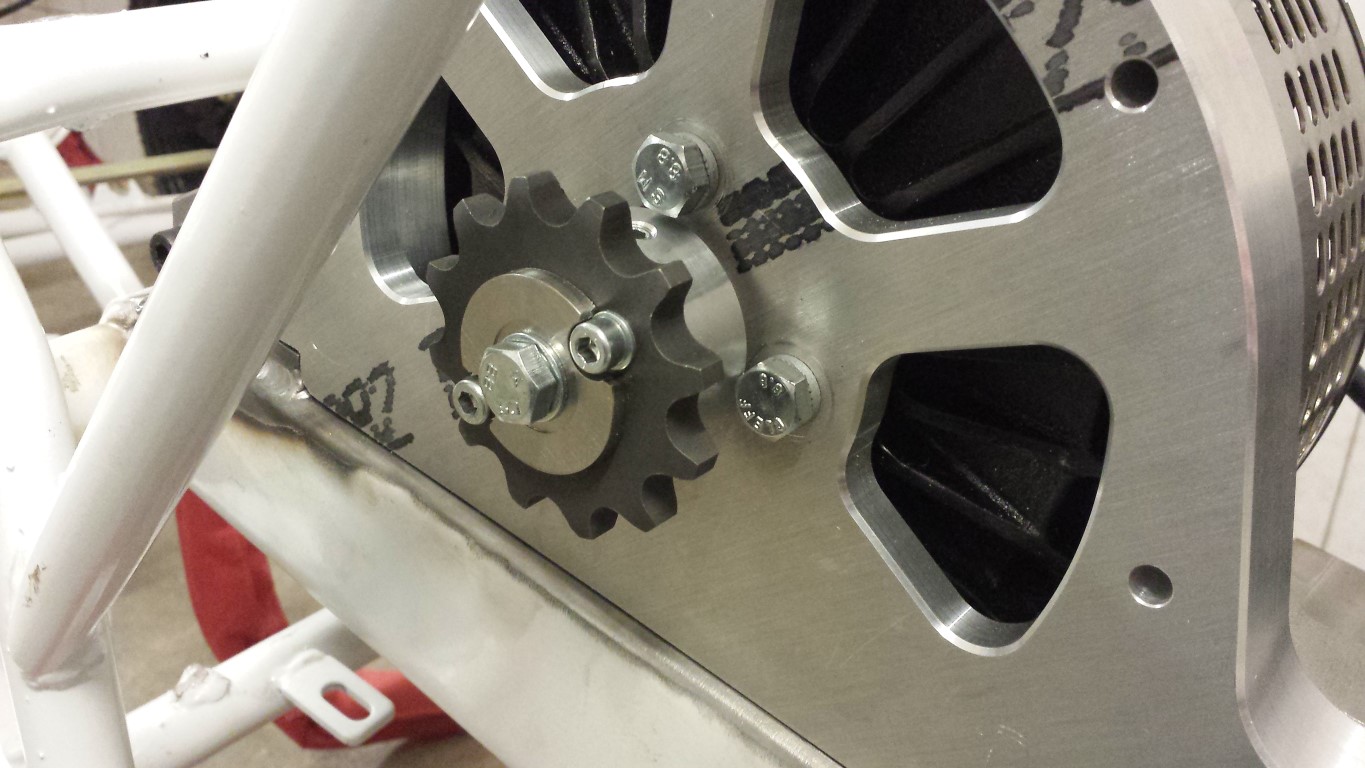
Also checked how the chain would fit. Could shorten it quite a bit.

Took a while to shorten it since I don't have the tools for this but I succeeded anyway.
Now it just needs some more tension but it was getting a bit late already so I'll do this tomorrow. Could be that I still have to take 1 link out, not really sure if I still had the bearing house in the front position. It has quite a bit of play right now. But from what I can tell the chain is sitting in a straight line, didn't even have to adjust the adaptor. It just sits all the way on the axle.