
 Nederlands
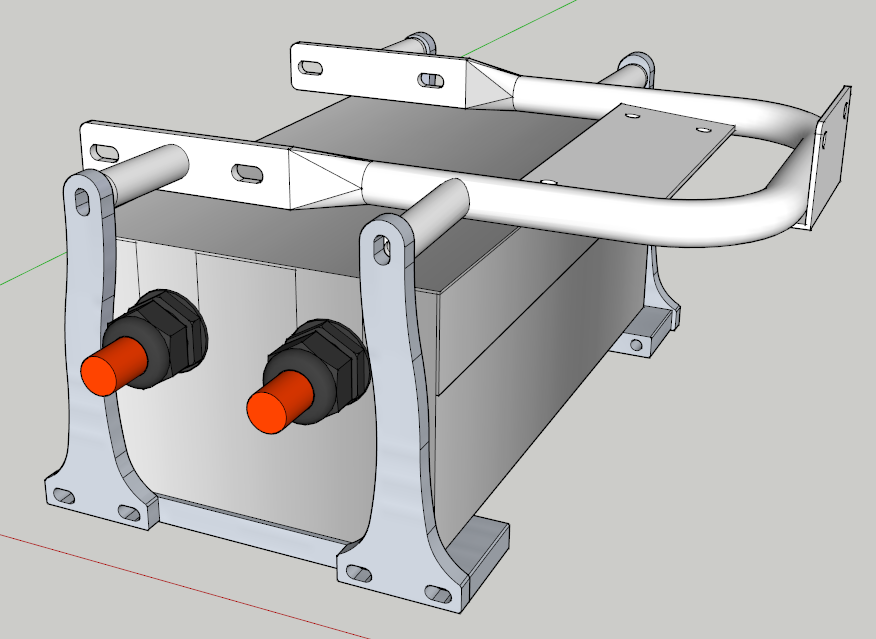
Blog
Posted on 31 July 2013 at 10:18 pm (CET)
Category: Controller, Drawings
Posted on 31 July 2013 at 10:18 pm (CET)
Category: Controller, Drawings
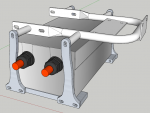
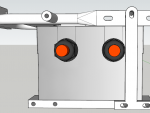
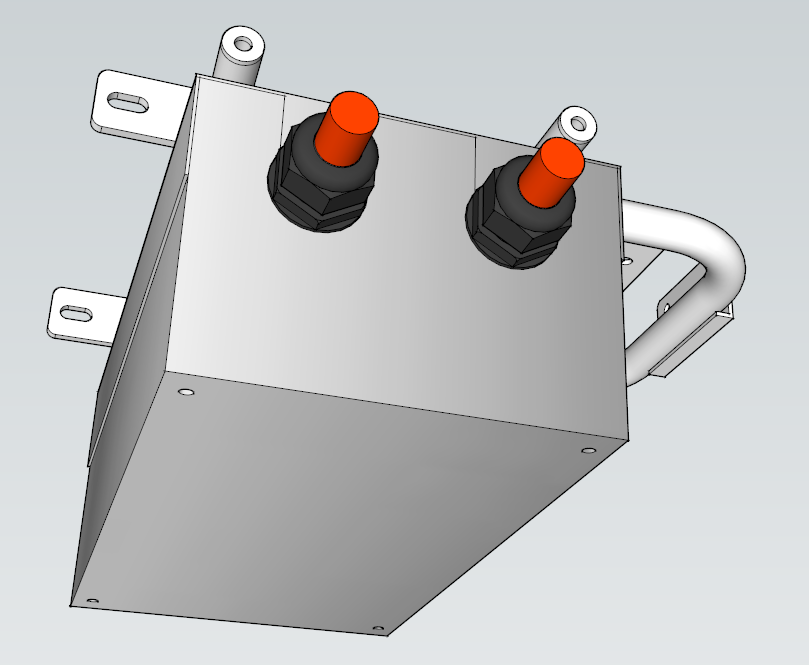
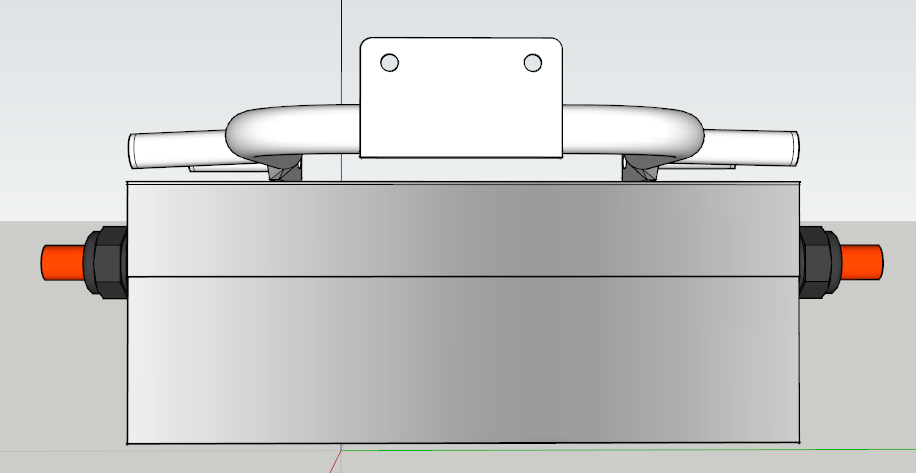
I finished the drawing of the controller mounts, think they'll actually be made like this. In the drawing everything fits well at least.
Just still have to think about it some more before actually having them made since there are still some small little problems with it. Will have to see if I can fix them.
Posted on 28 July 2013 at 09:49 pm (CET)
Category: Controller, Drawings
Posted on 28 July 2013 at 09:49 pm (CET)
Category: Controller, Drawings
Yesterday I evened out all the welds on the battery boxes. So I can continue with those again. But first something more important, the controller mounts. I'm drawing again to see how I want them but it seems to be a bit harder than I thought it would.
The idea is that the controller will hang from these 4 points where the exhaust silencers used to hang from.
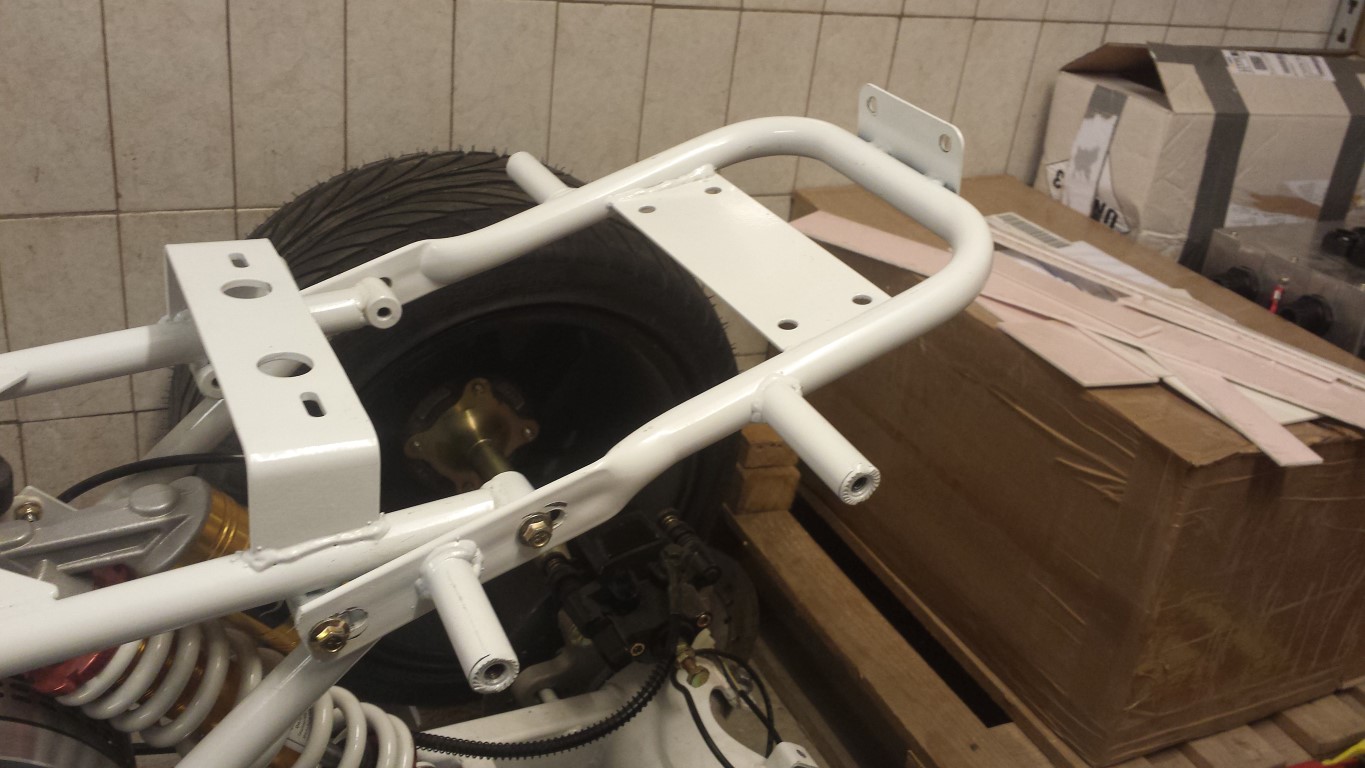
Problem is just that a Chinese probably welded this together on a monday morning. There are a lot of inaccuracies in it. I tried to measure and draw this as accurate as possible.
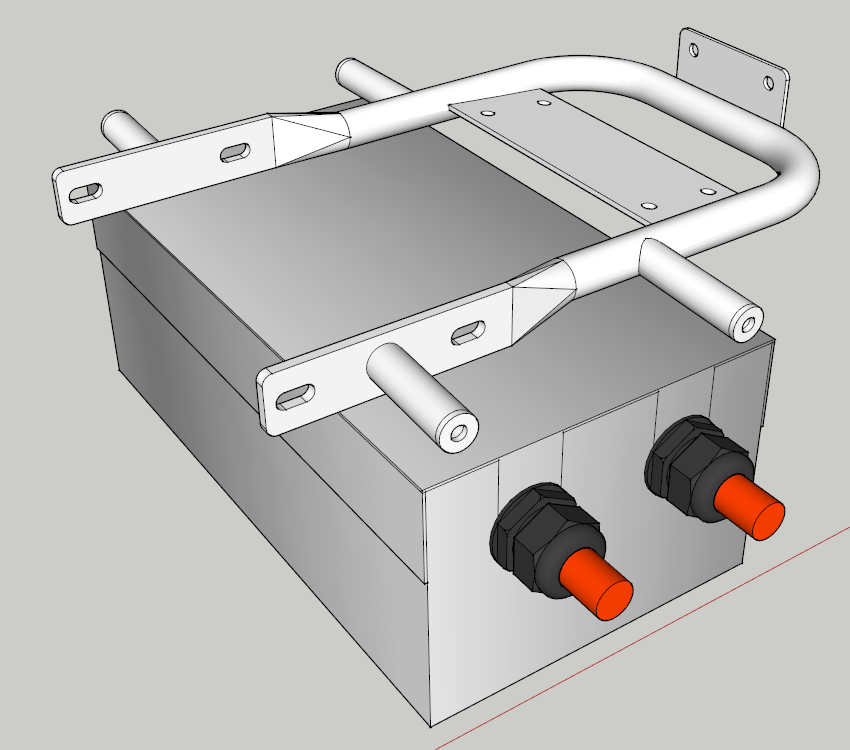
There will have to be 4 mounts that go all the way down, there are 4 points where I can attach the controller.
But as I said it's all very badly welded. Here you see really well that the upper left part points a little to the right. And the left bottom part points some more to the left. The inaccuracy between the middle of both sides is 4 mm. That's quite a lot to me but it'll have to do.

Then we have the 2 rear parts, while these are actually straight looking from above, there are sadly more inaccuracies when looking from the rear. Left part points down 3 mm and the right one 1,5 mm.
But that's not all, some points are also welded a bit more to the left or right again. So it'll be very hard to make mounts for this that'll fit well. Only way to do this is by making adjustable mounts since I want to have 4 mounts that are exactly the same. More or less like this.
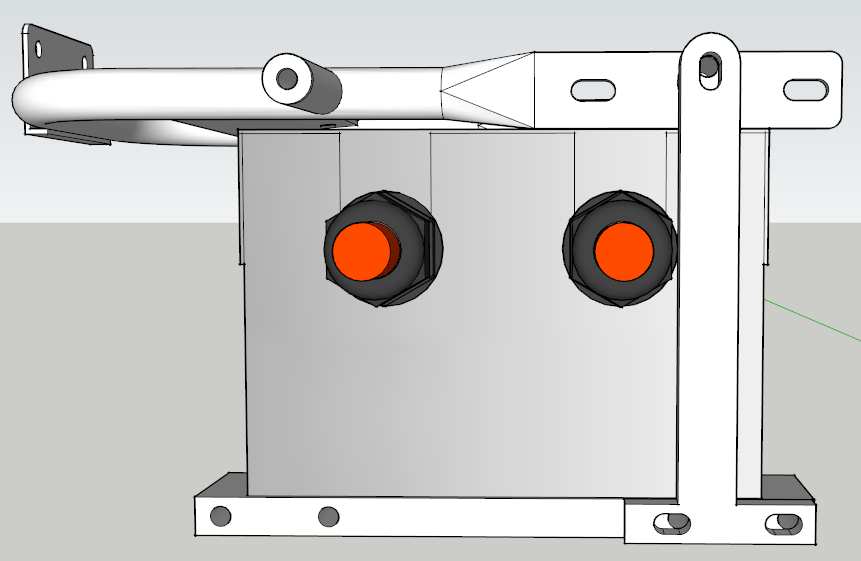
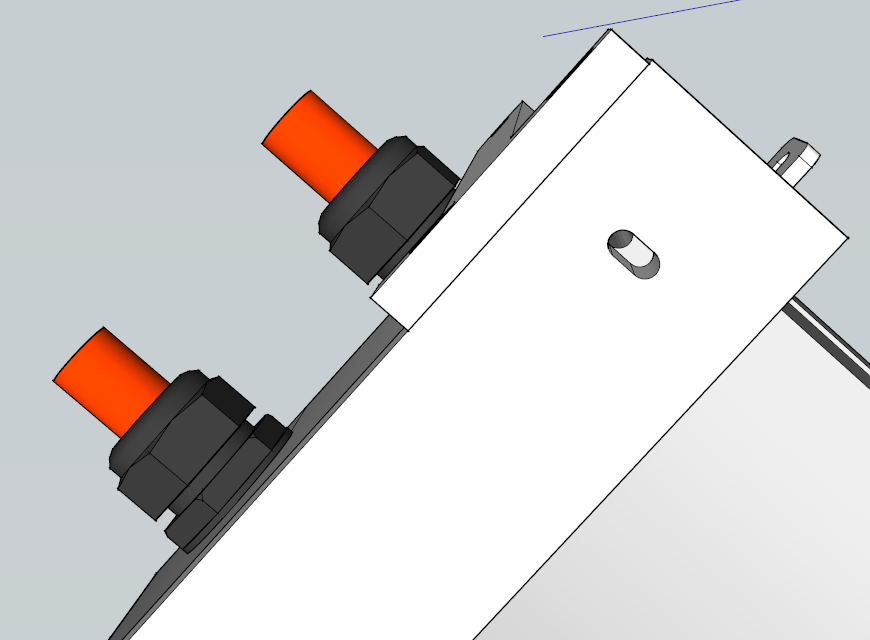
With slotted holes the inaccuracies shouldn't be a problem. Just still have to draw it a little better with nicer shapes.
Posted on 26 July 2013 at 09:03 pm (CET)
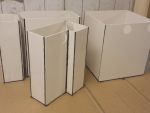
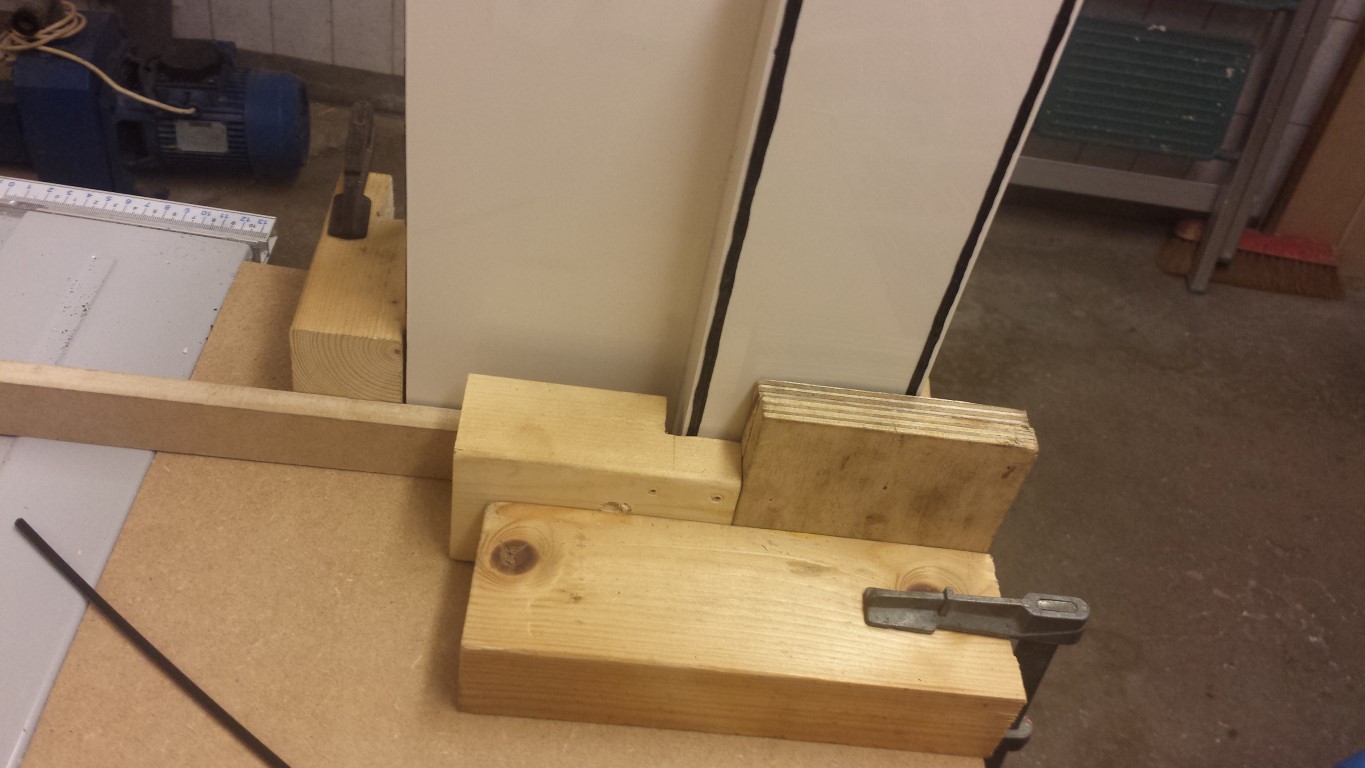
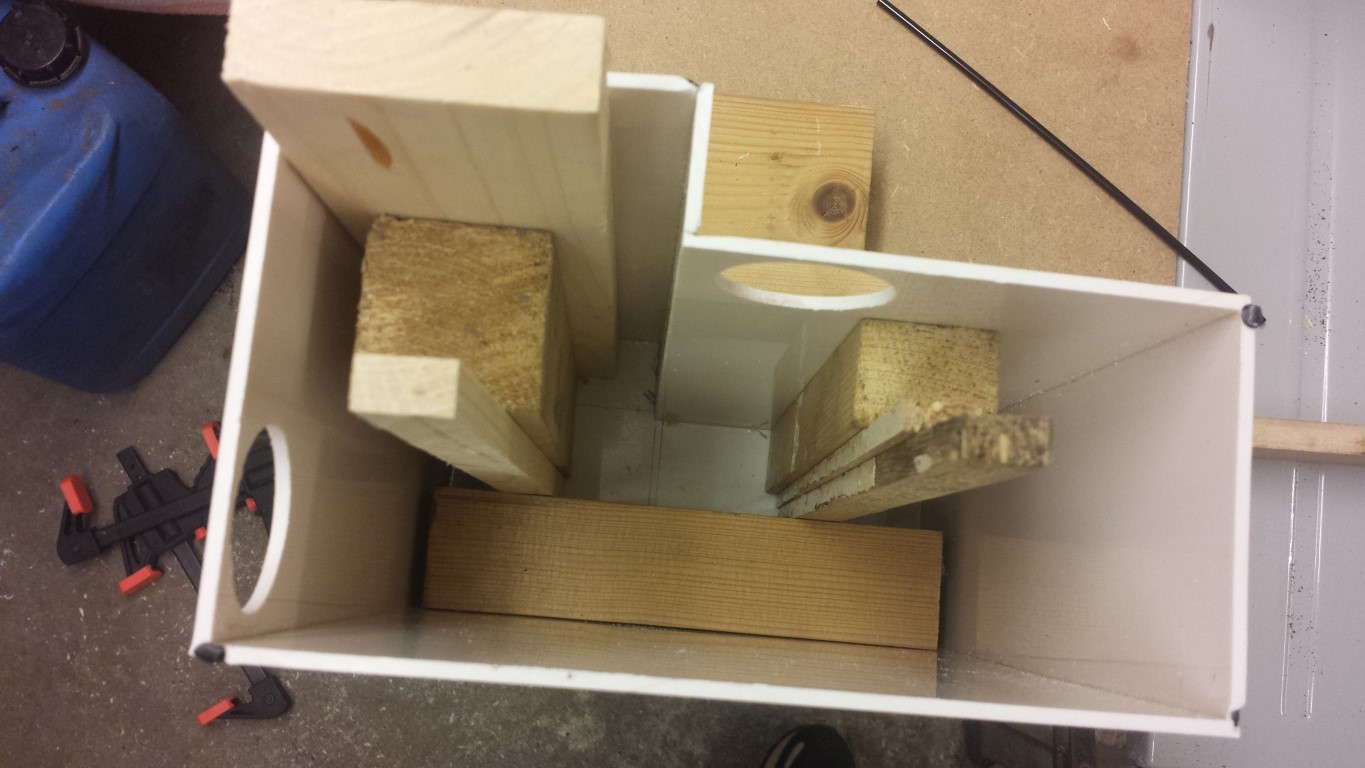
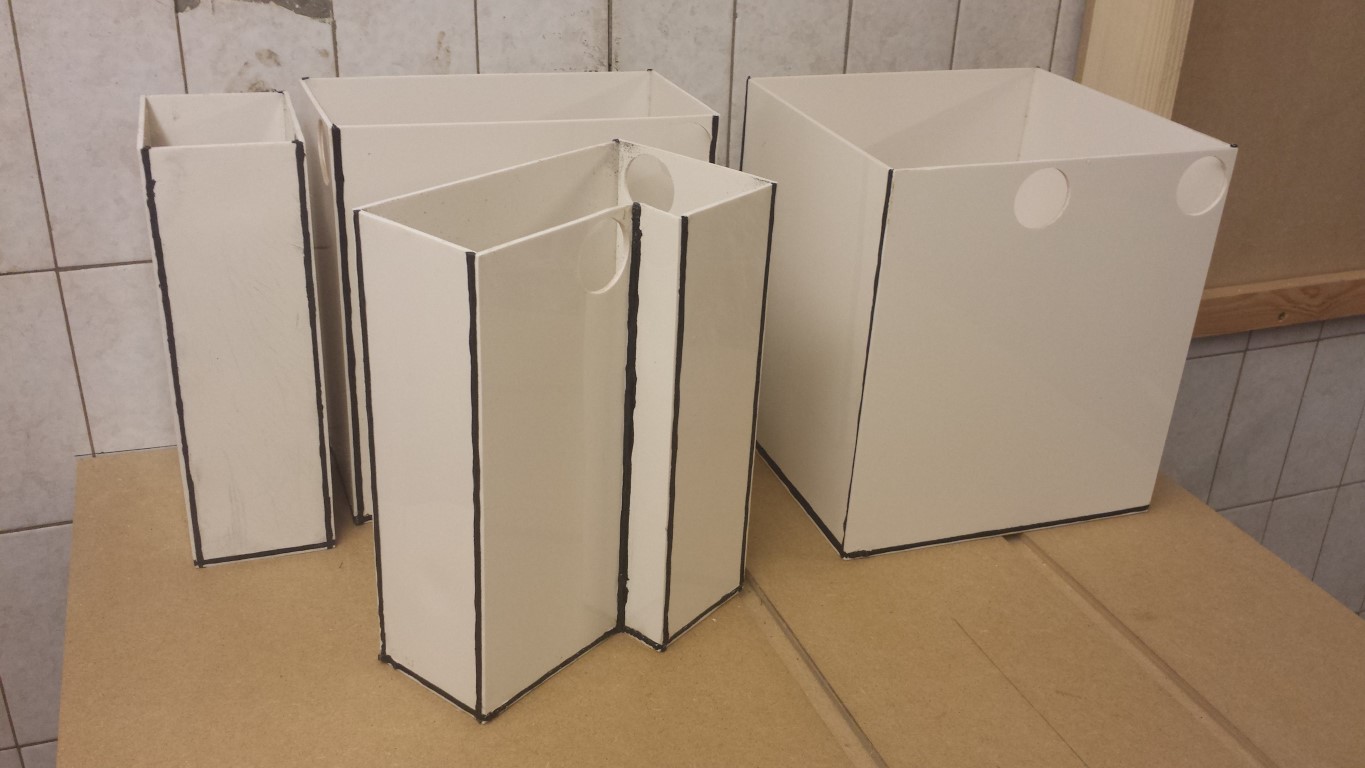
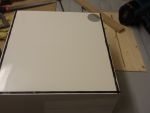
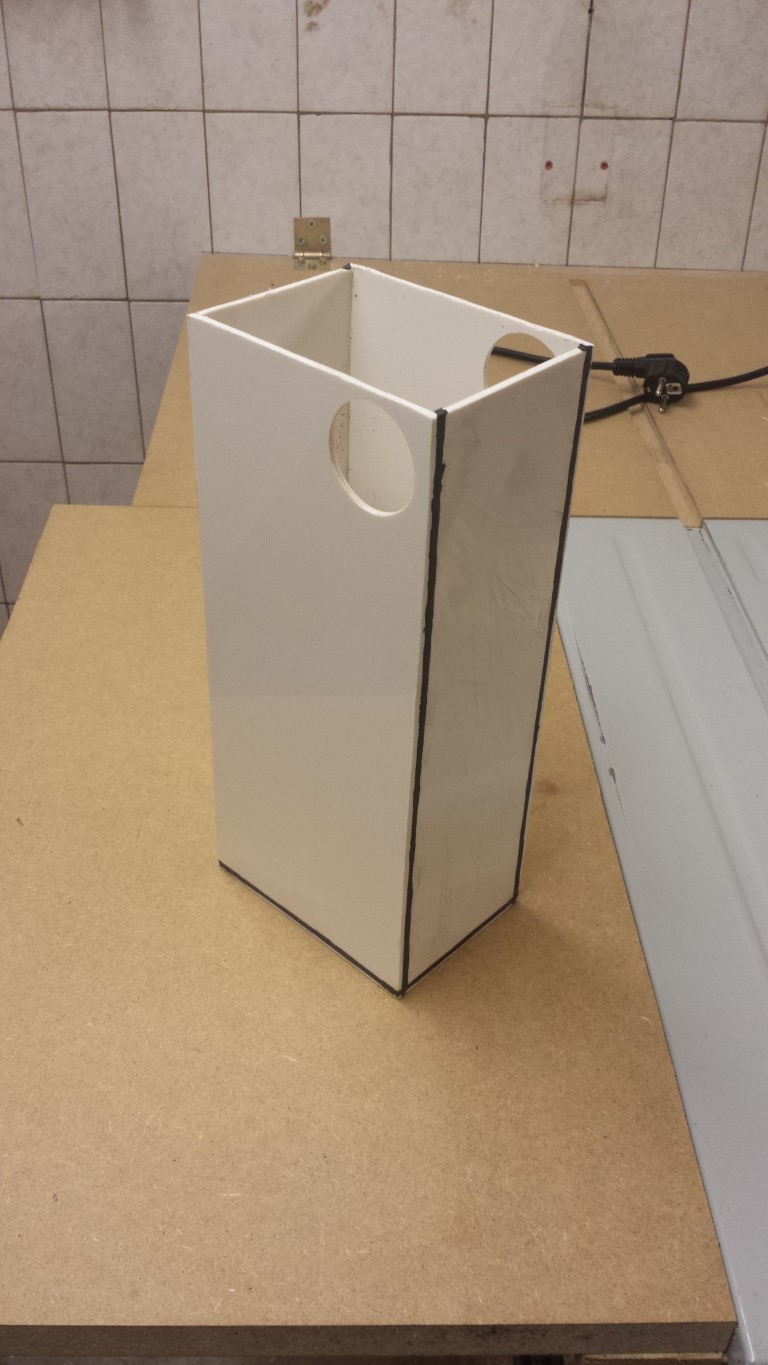
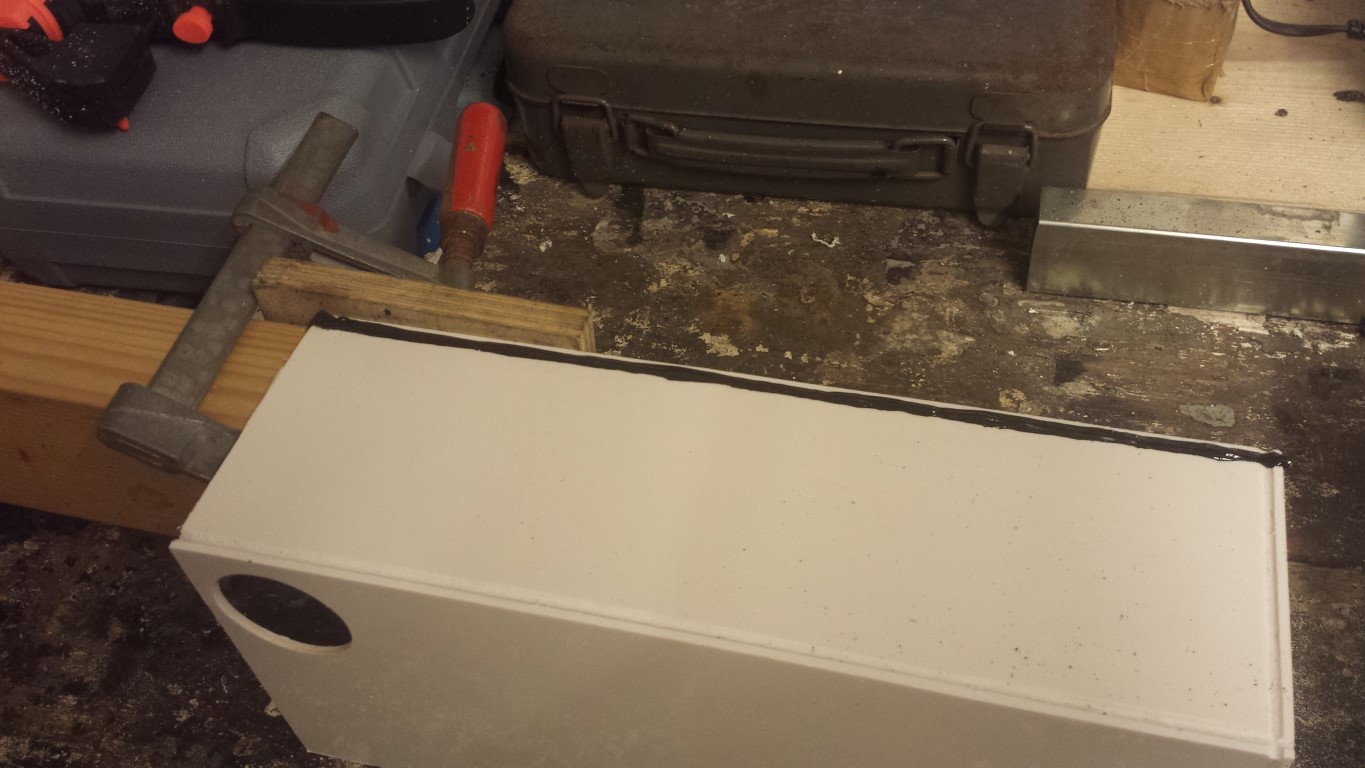
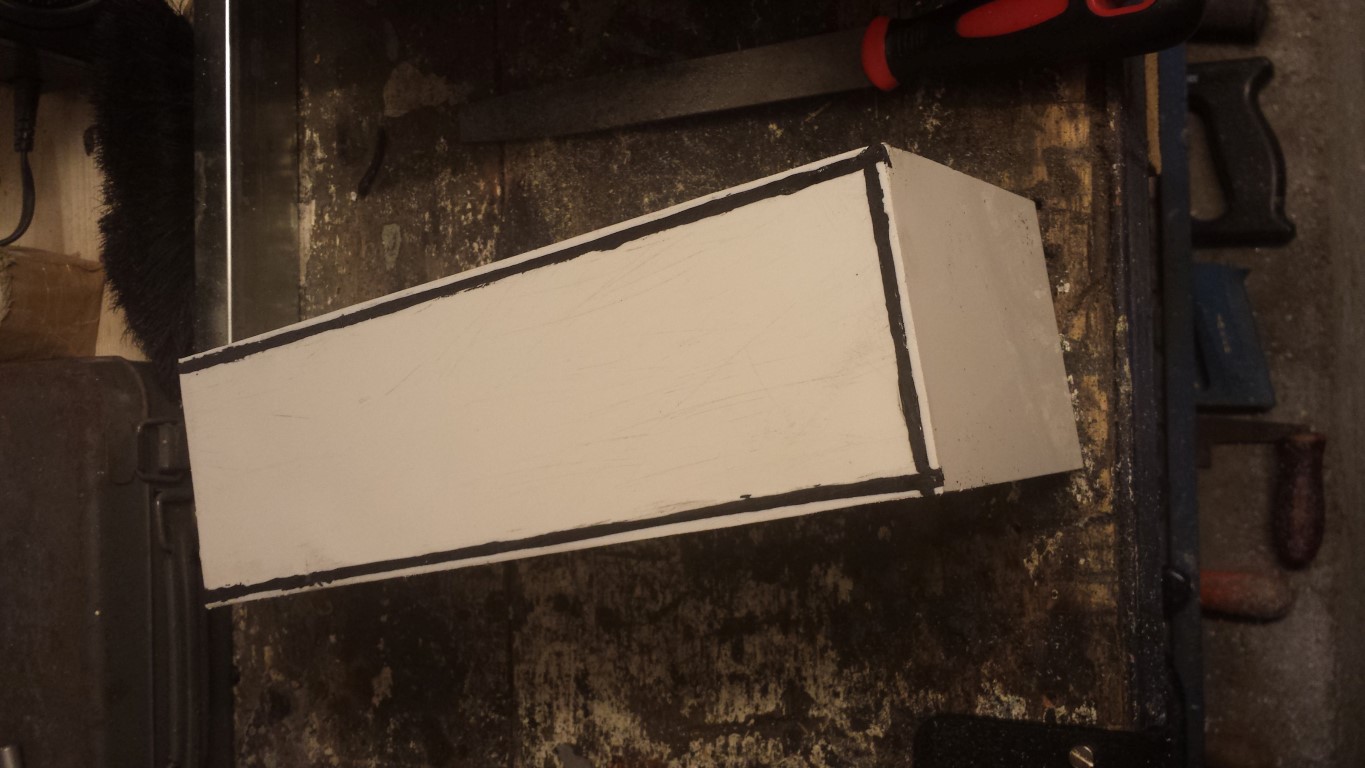
All 4 battery boxes are welded up now. The last one with the extra corner in it was quite tricky again. Had to make whole constructions of wooden blocks to be able to support and keep them in place while welding. This one didn't turn out as good as the other boxes but it's still good enough.
Most important is that they're all done now. Just have to even out the welds on them all now and then I can finally continue with the next step for the battery boxes.
Meanwhile I also got something in the mail again. Had to search for a long time to find the right size for these and delivery took pretty long as well but I finally have them now and they fit perfectly.
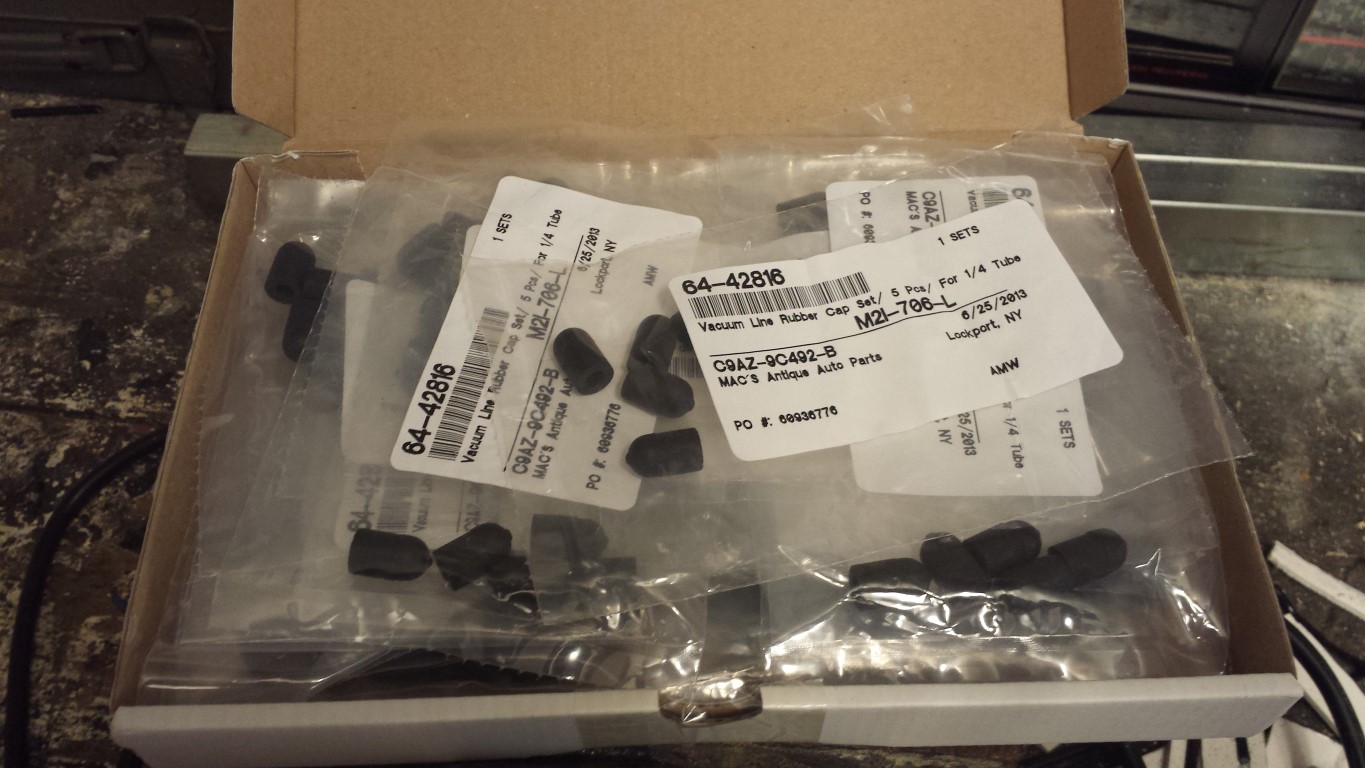
They're all rubber vacuum caps. In the clamps for the batteries that I'll be making inside of the battery boxes there'll be quite a few rivet nuts to attach everything with bolts. Like here on my testplate.
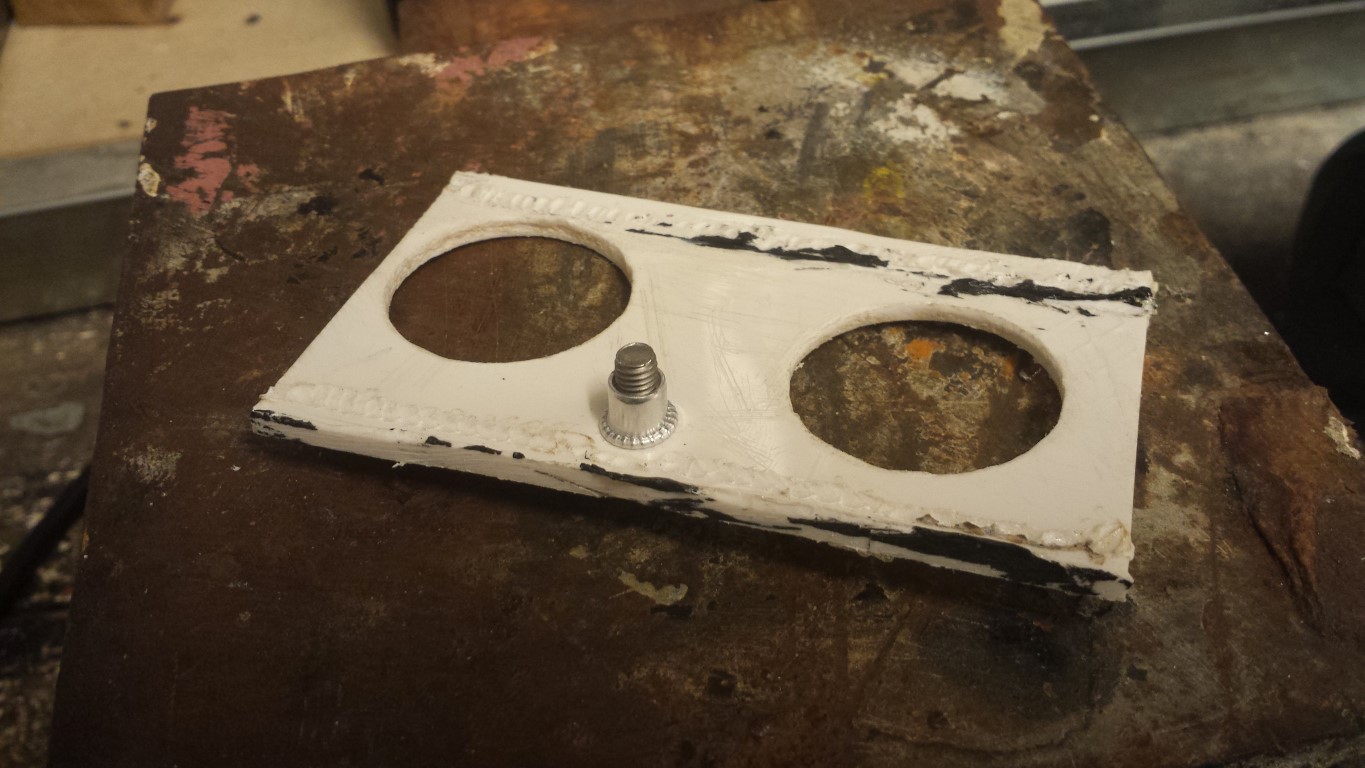
Since these will be close to the batteries I don't want to take the risk of a short circuit. So on all rivet nuts I'll place one of these vacuum caps as isolation.
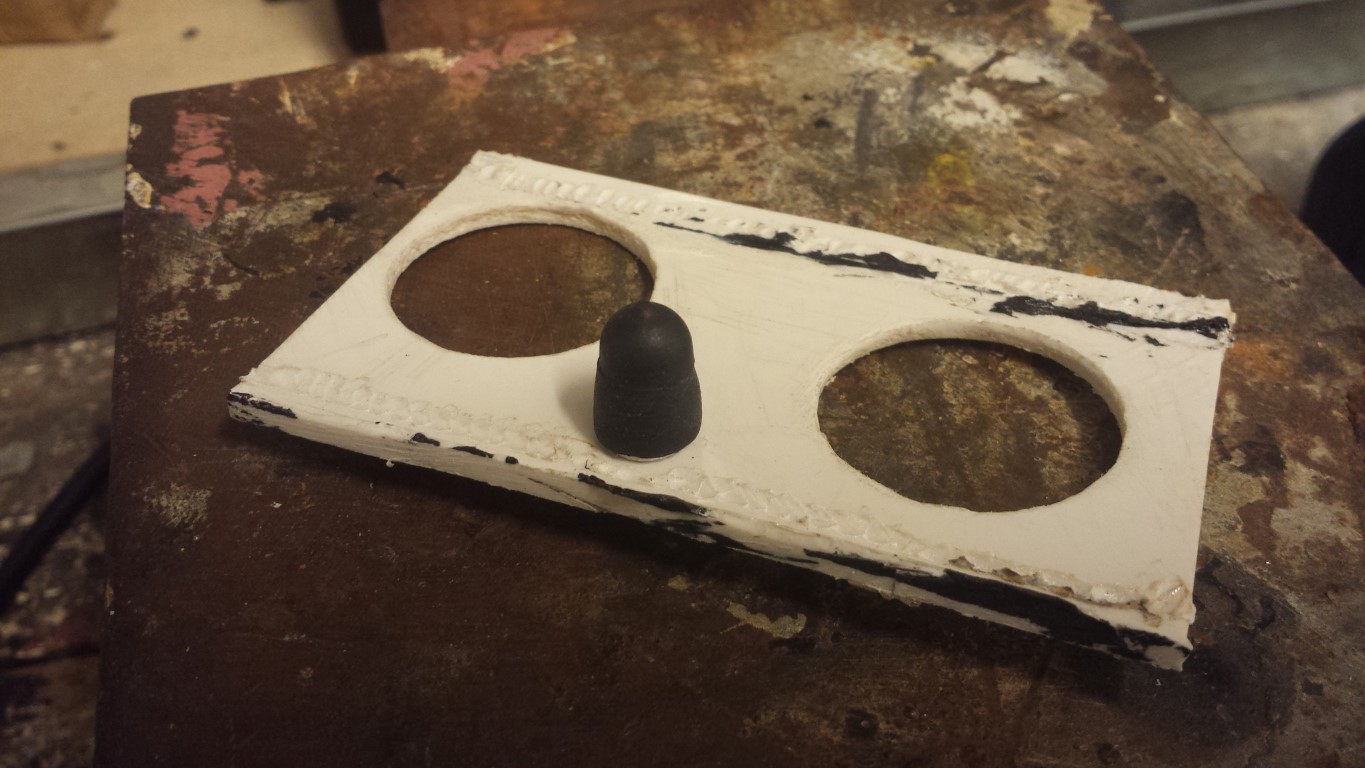
Fits perfectly as the inside diameter is slightly smaller than the outside diameter of the rivet nuts. So they will always stick on there which makes it a lot safer. And the rivet nuts will be really waterproof like this as well.
Posted on 24 July 2013 at 10:50 pm (CET)
Category: Batteries
Today was a very good day, fortunately it was a bit less hot than yesterday.
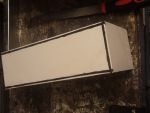
Battery Box #3 is all welded up and evened out now.
Battery box #2 is also welded up already. Very satisfied with this one, the weld sits almost perfectly straight everywhere and nicely into the grooves. Don't think I can do any better than this. It also didn't sink in anywhere, was able to support it very well everywhere with some wooden blocks. I'll even it out later when the other 2 battery boxes are also welded up.
Tomorrow I'll try to weld the biggest battery box, depends how hot the weather will be.
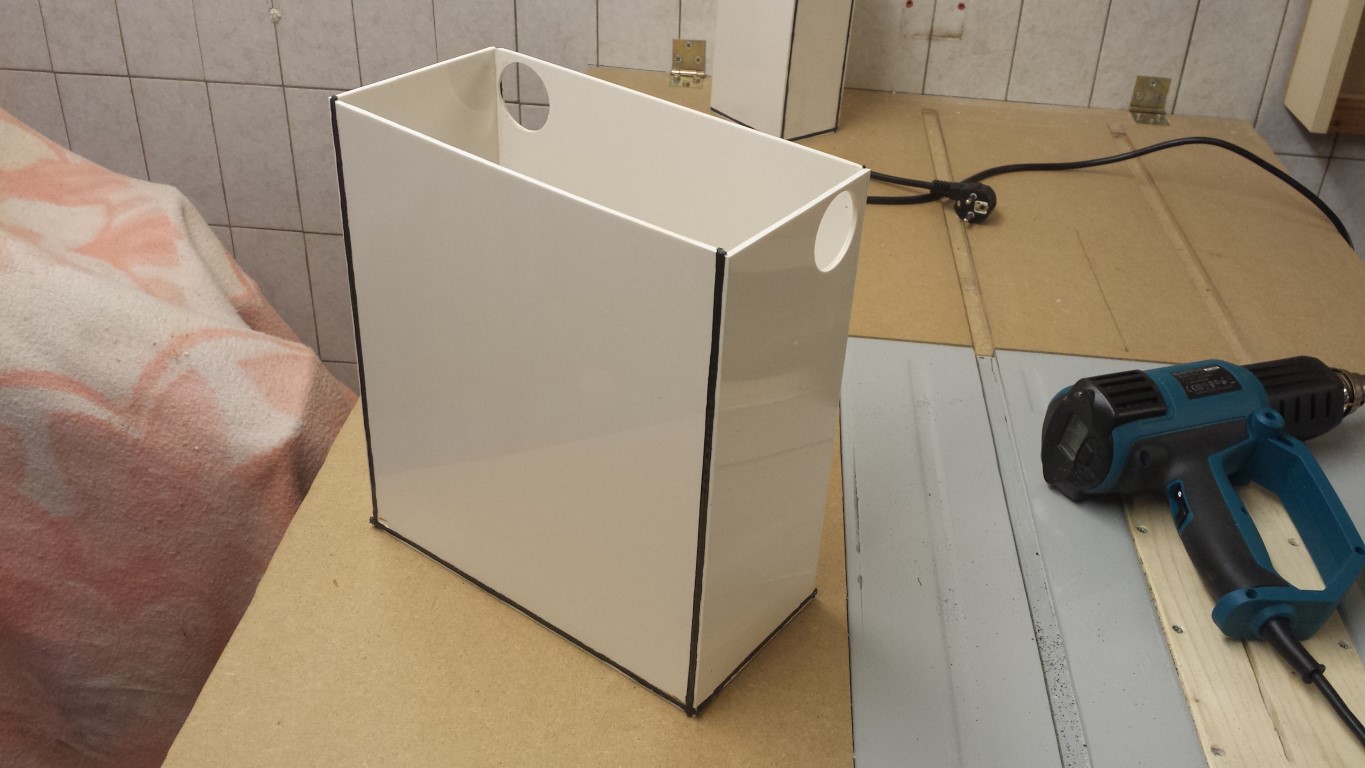
Posted on 23 July 2013 at 09:21 pm (CET)
Category: Batteries
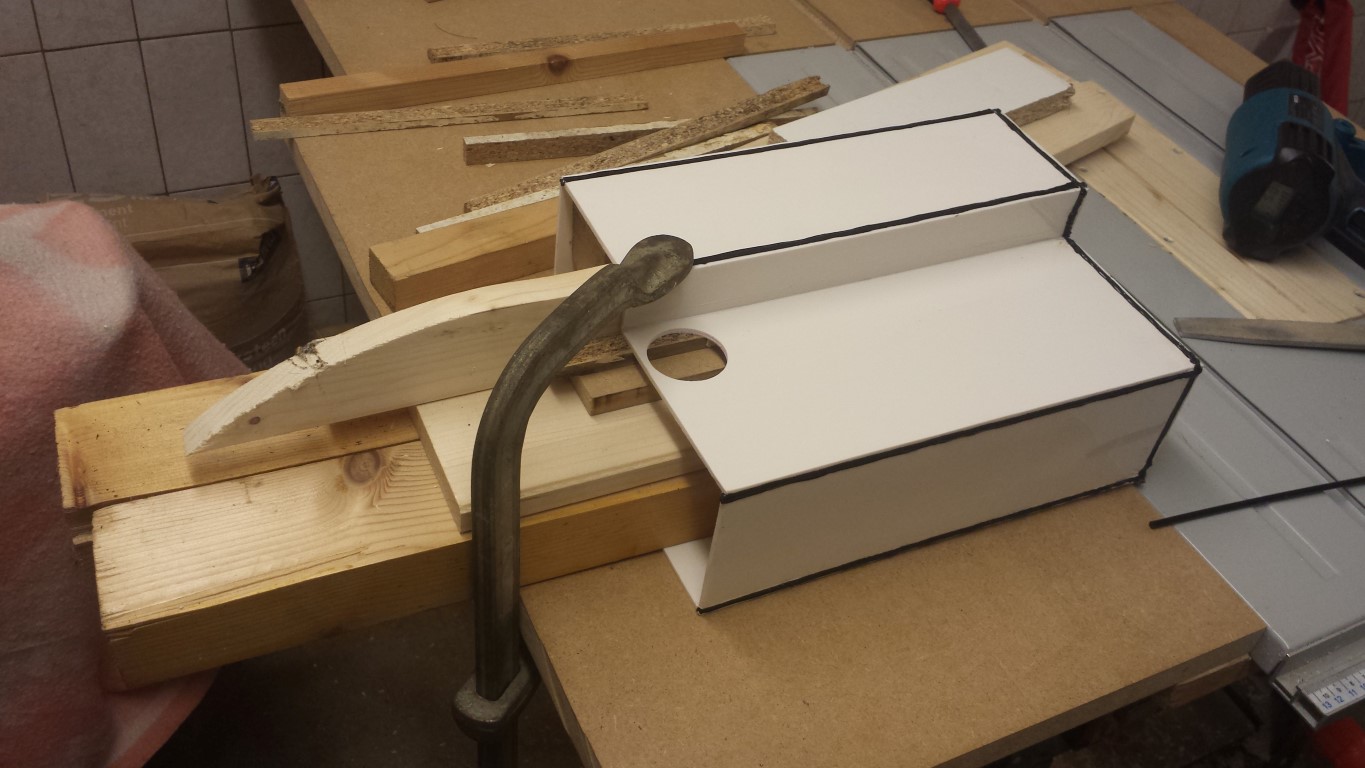
Today I started welding battery box #3 and almost finished welding it as well. Unfortunately I had to stop since it was just getting too hot, especially when working with a heatgun at 350 degrees (C). But it's going pretty well, it's just annoying that the plastic bends so quickly when heated. Have to keep supporting wherever I'm welding otherwise the whole box will just bend. That fortunately hasn't happened yet, but it did sink in just a little bit in some places. But it doesn't really matter that much with this small battery box. As long as it won't happen with the bigger one.
When it cooled off I also evened it out with the rest of the box. The weld sits nicely inside of the grooves everywhere just as it should. Hopefully it's also sturdy enough now.
Tomorrow I'll finish this one and continue with the other boxes.